
0-10V Dimmer Module (L+N)
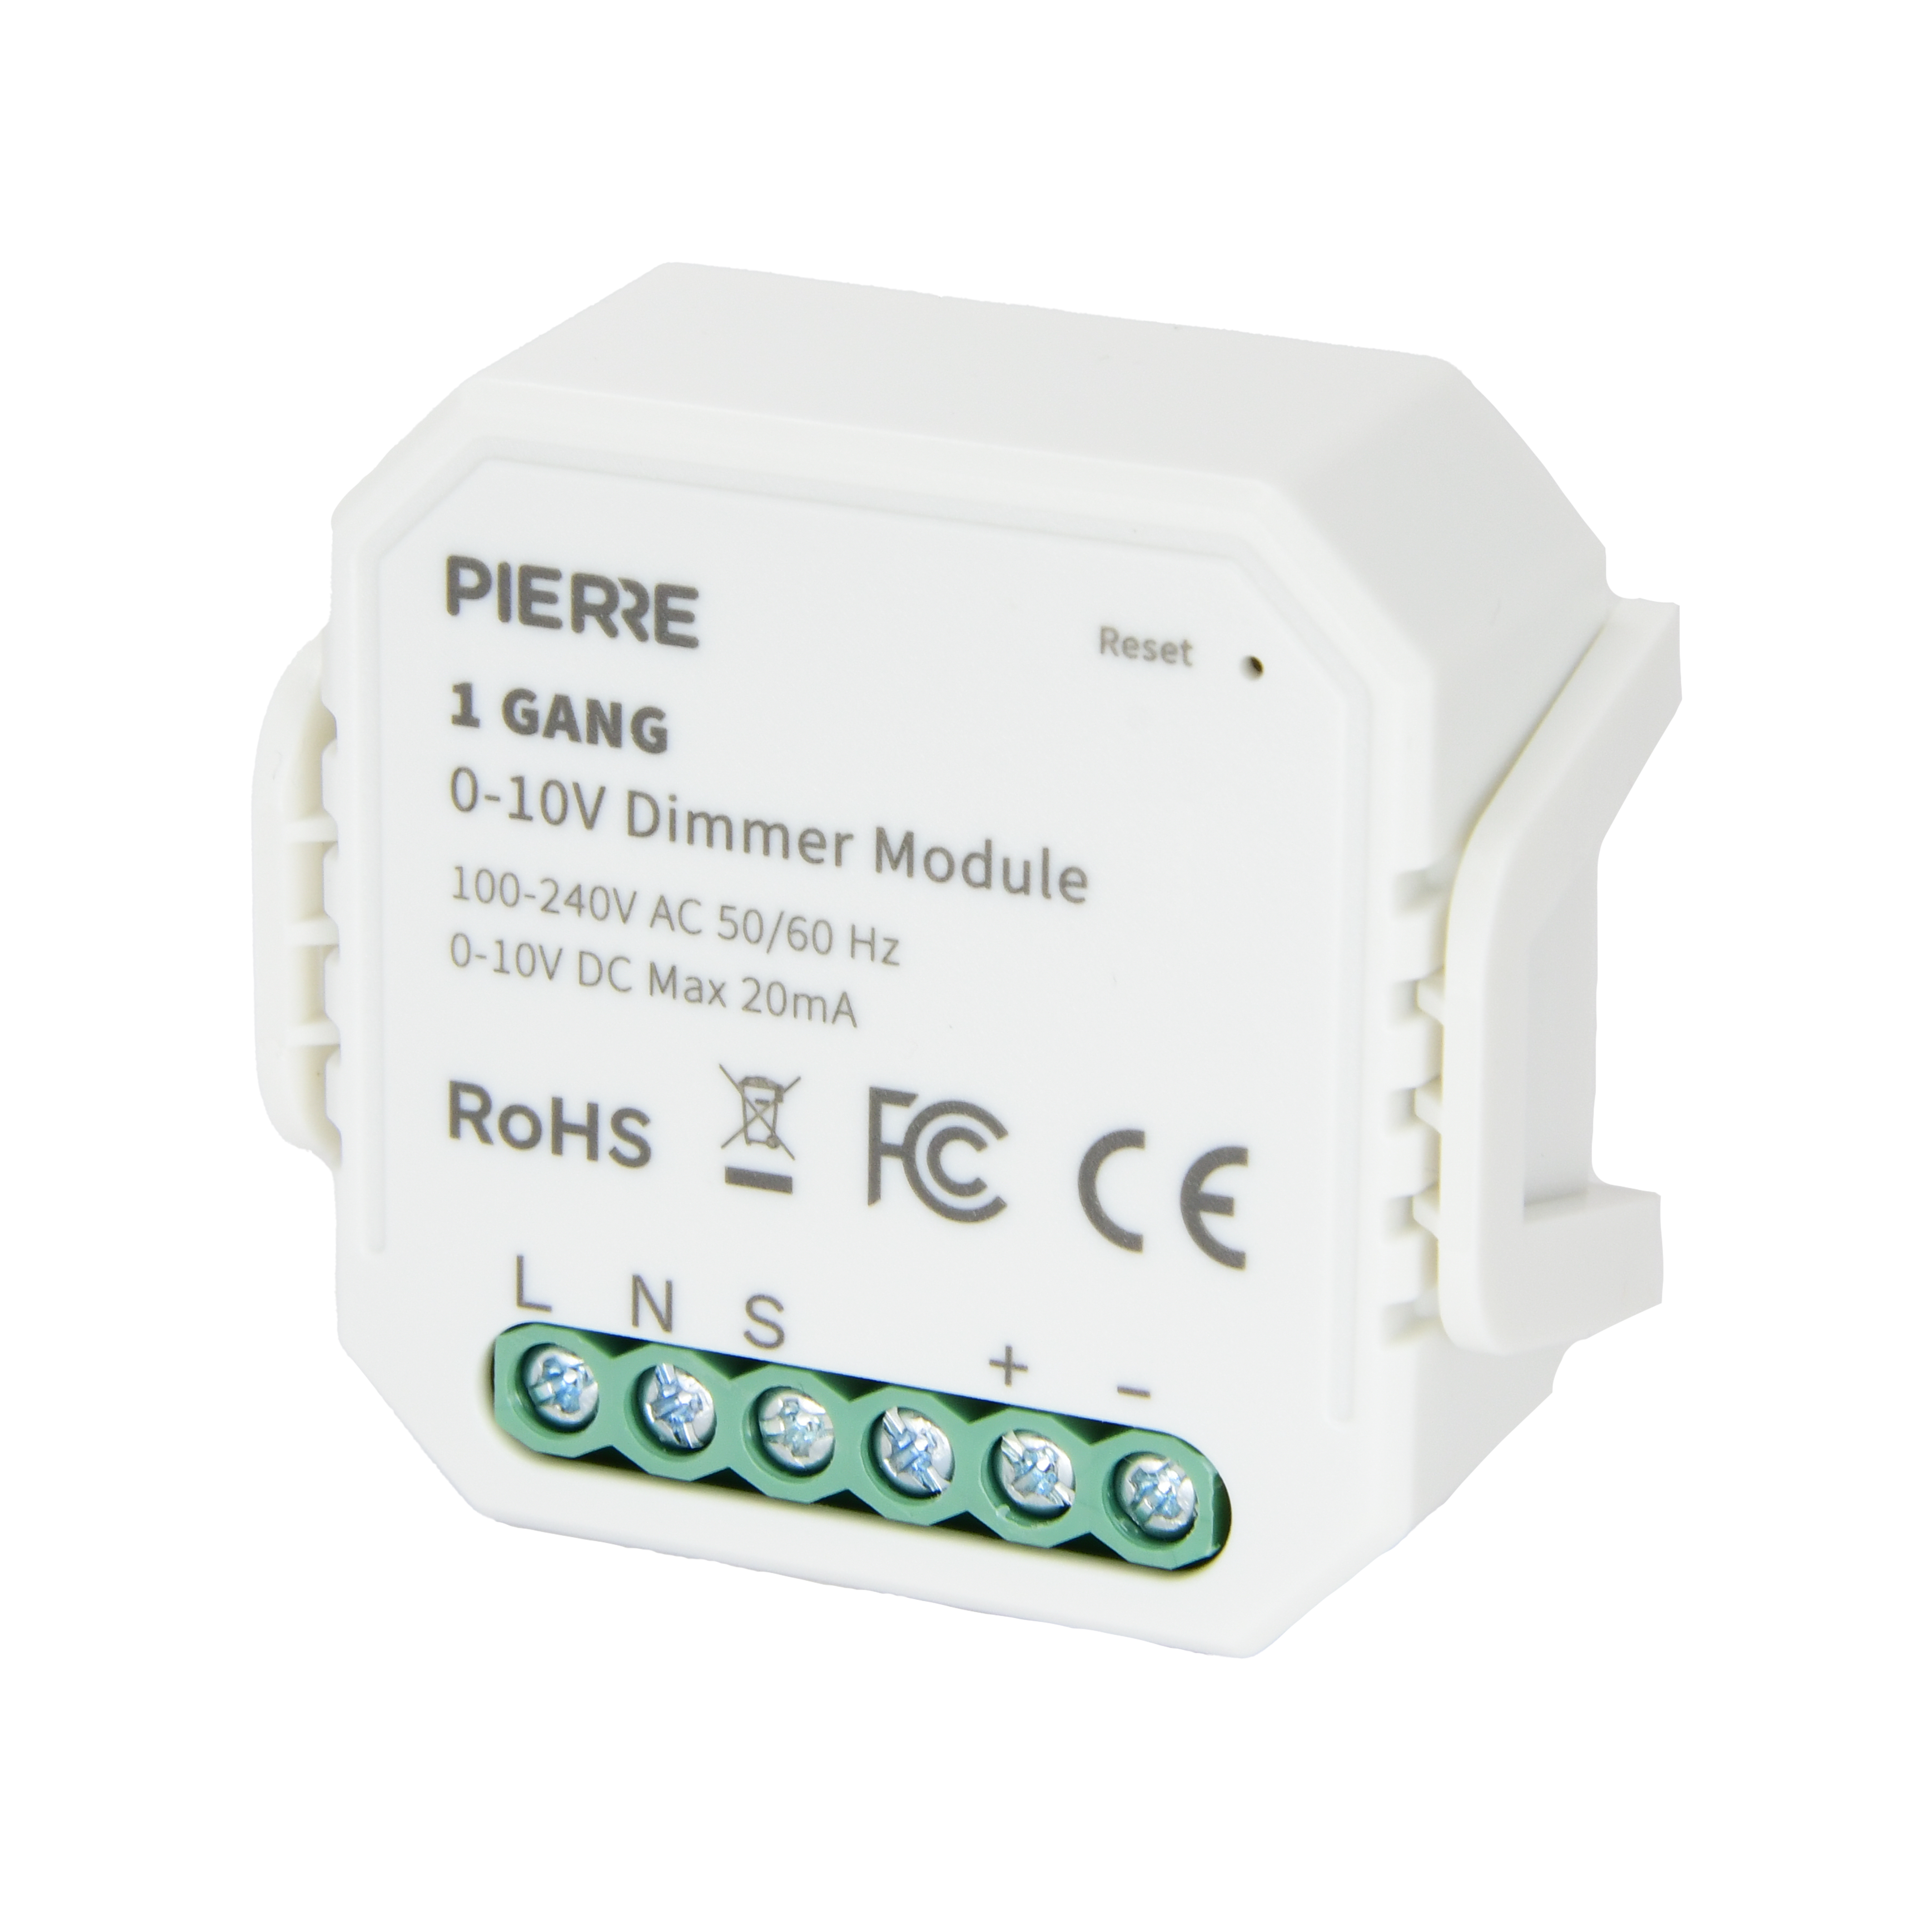
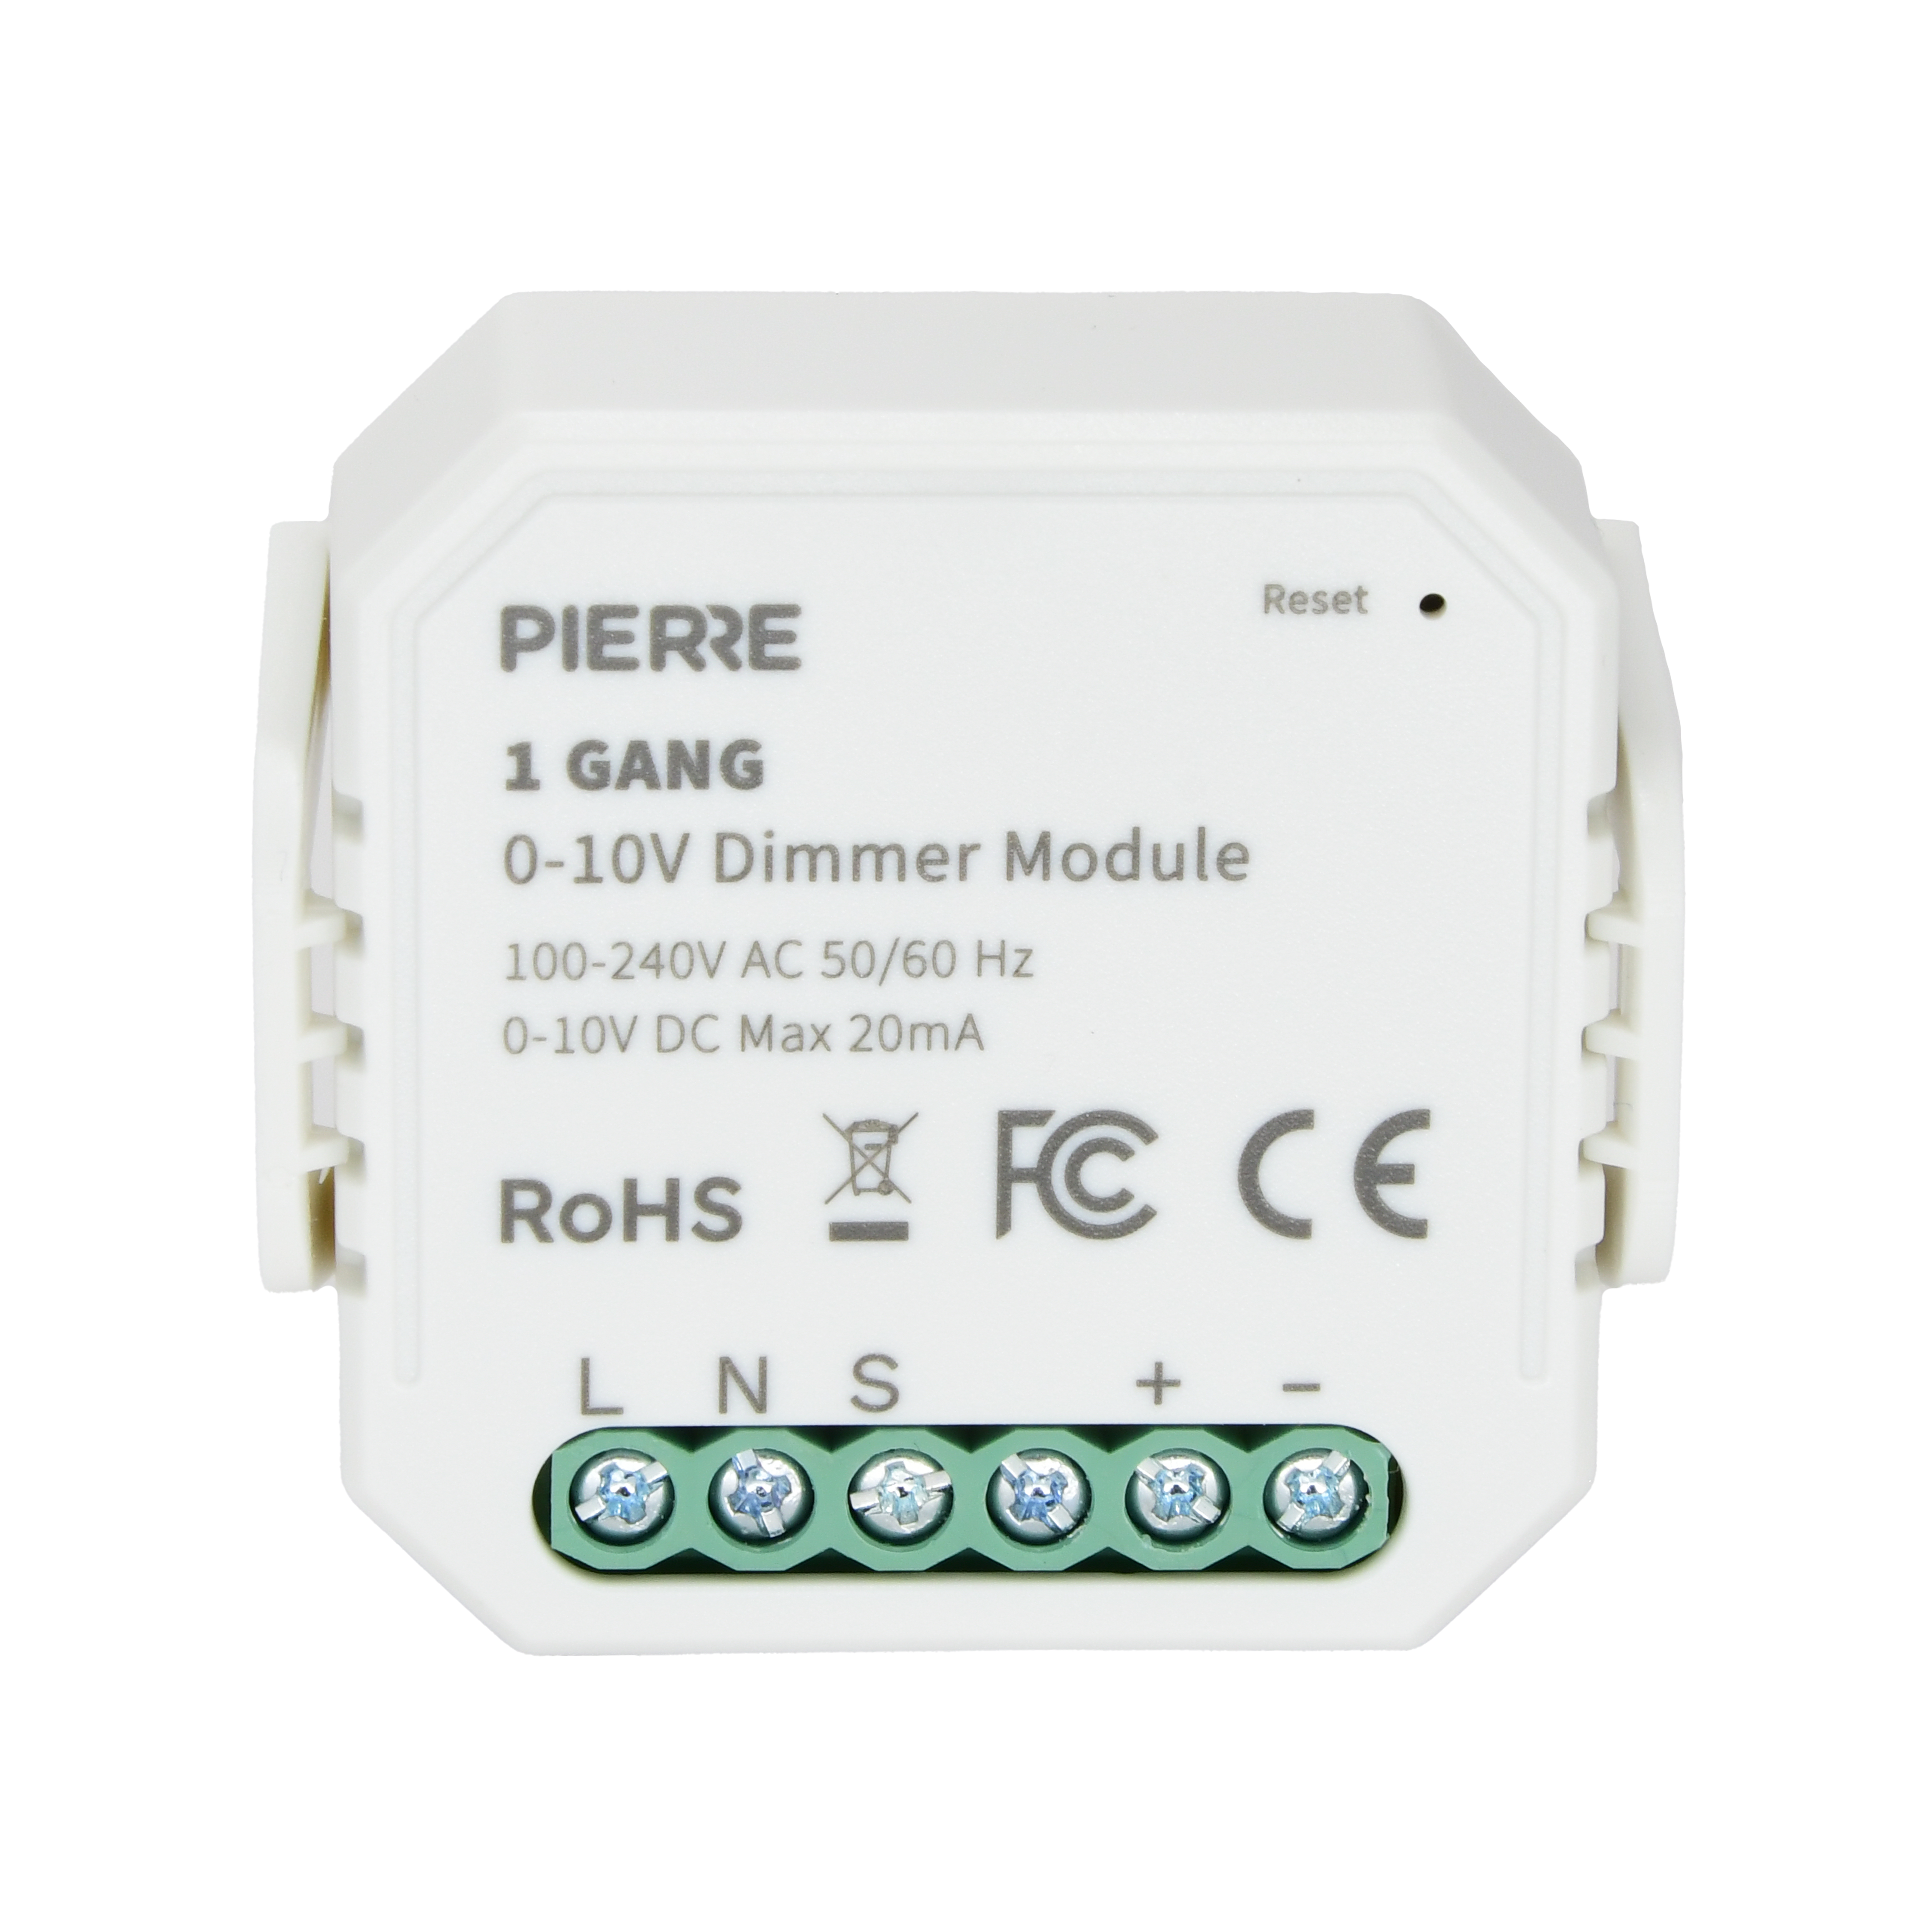
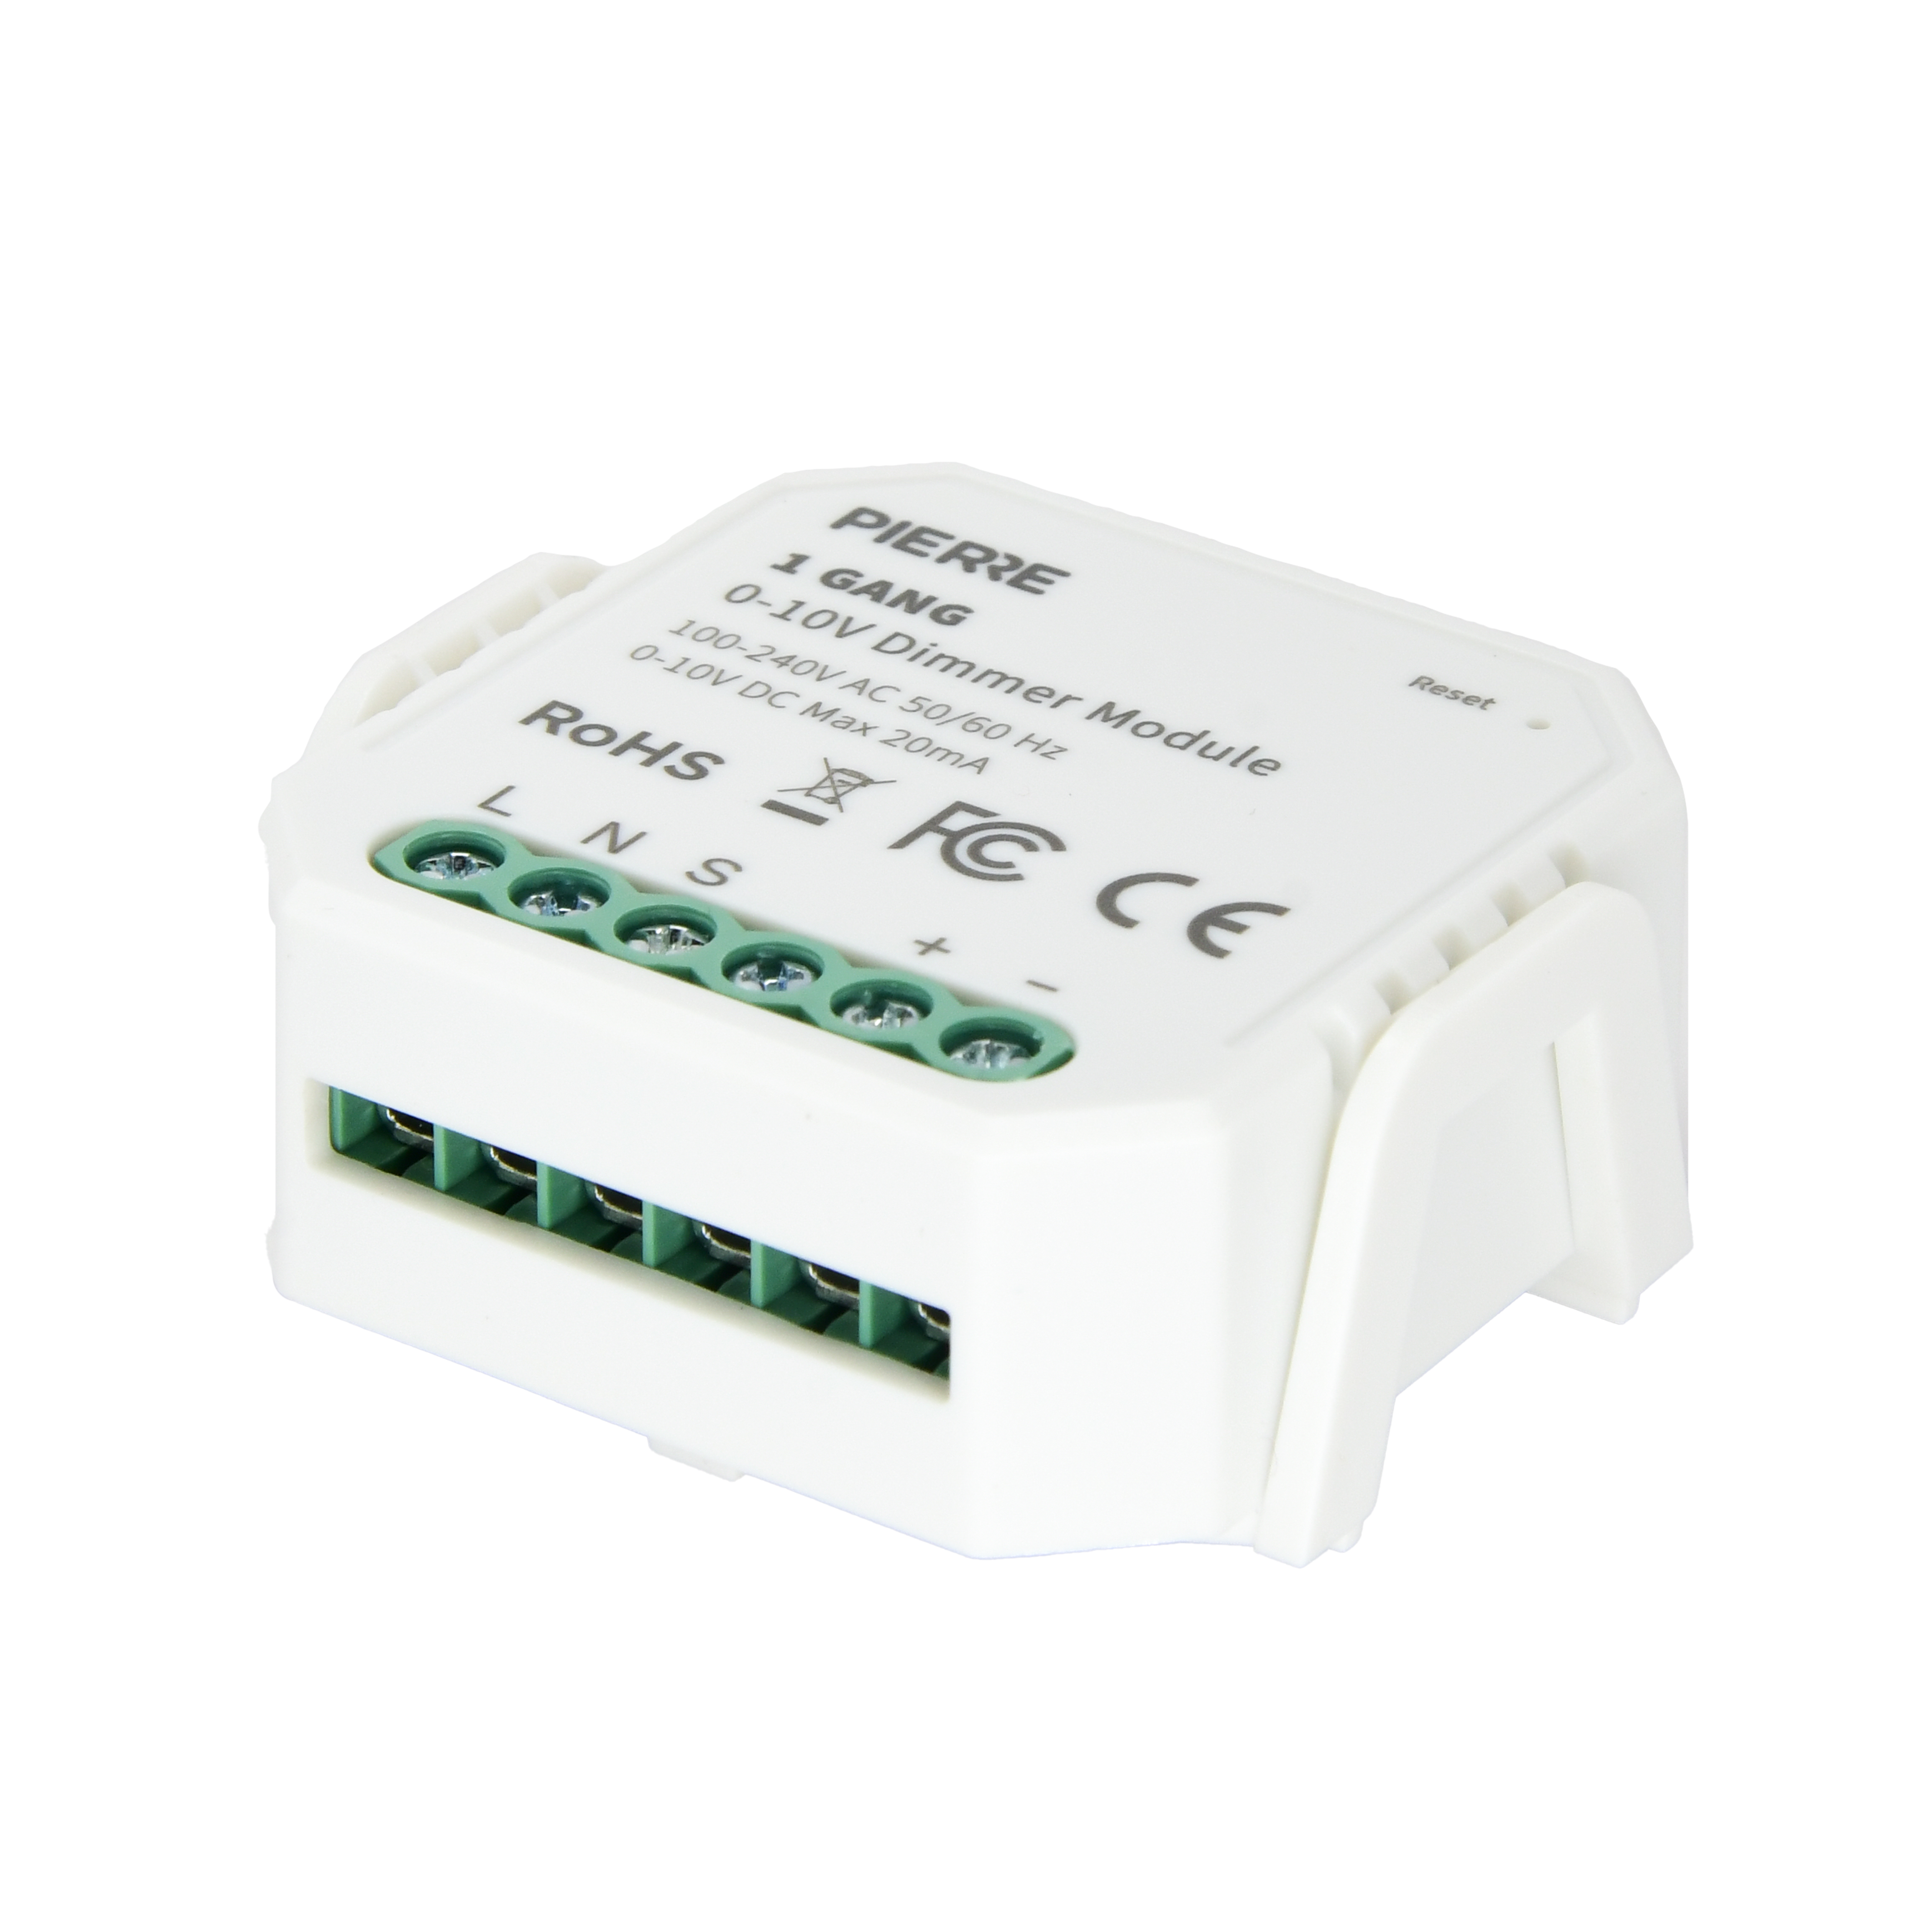
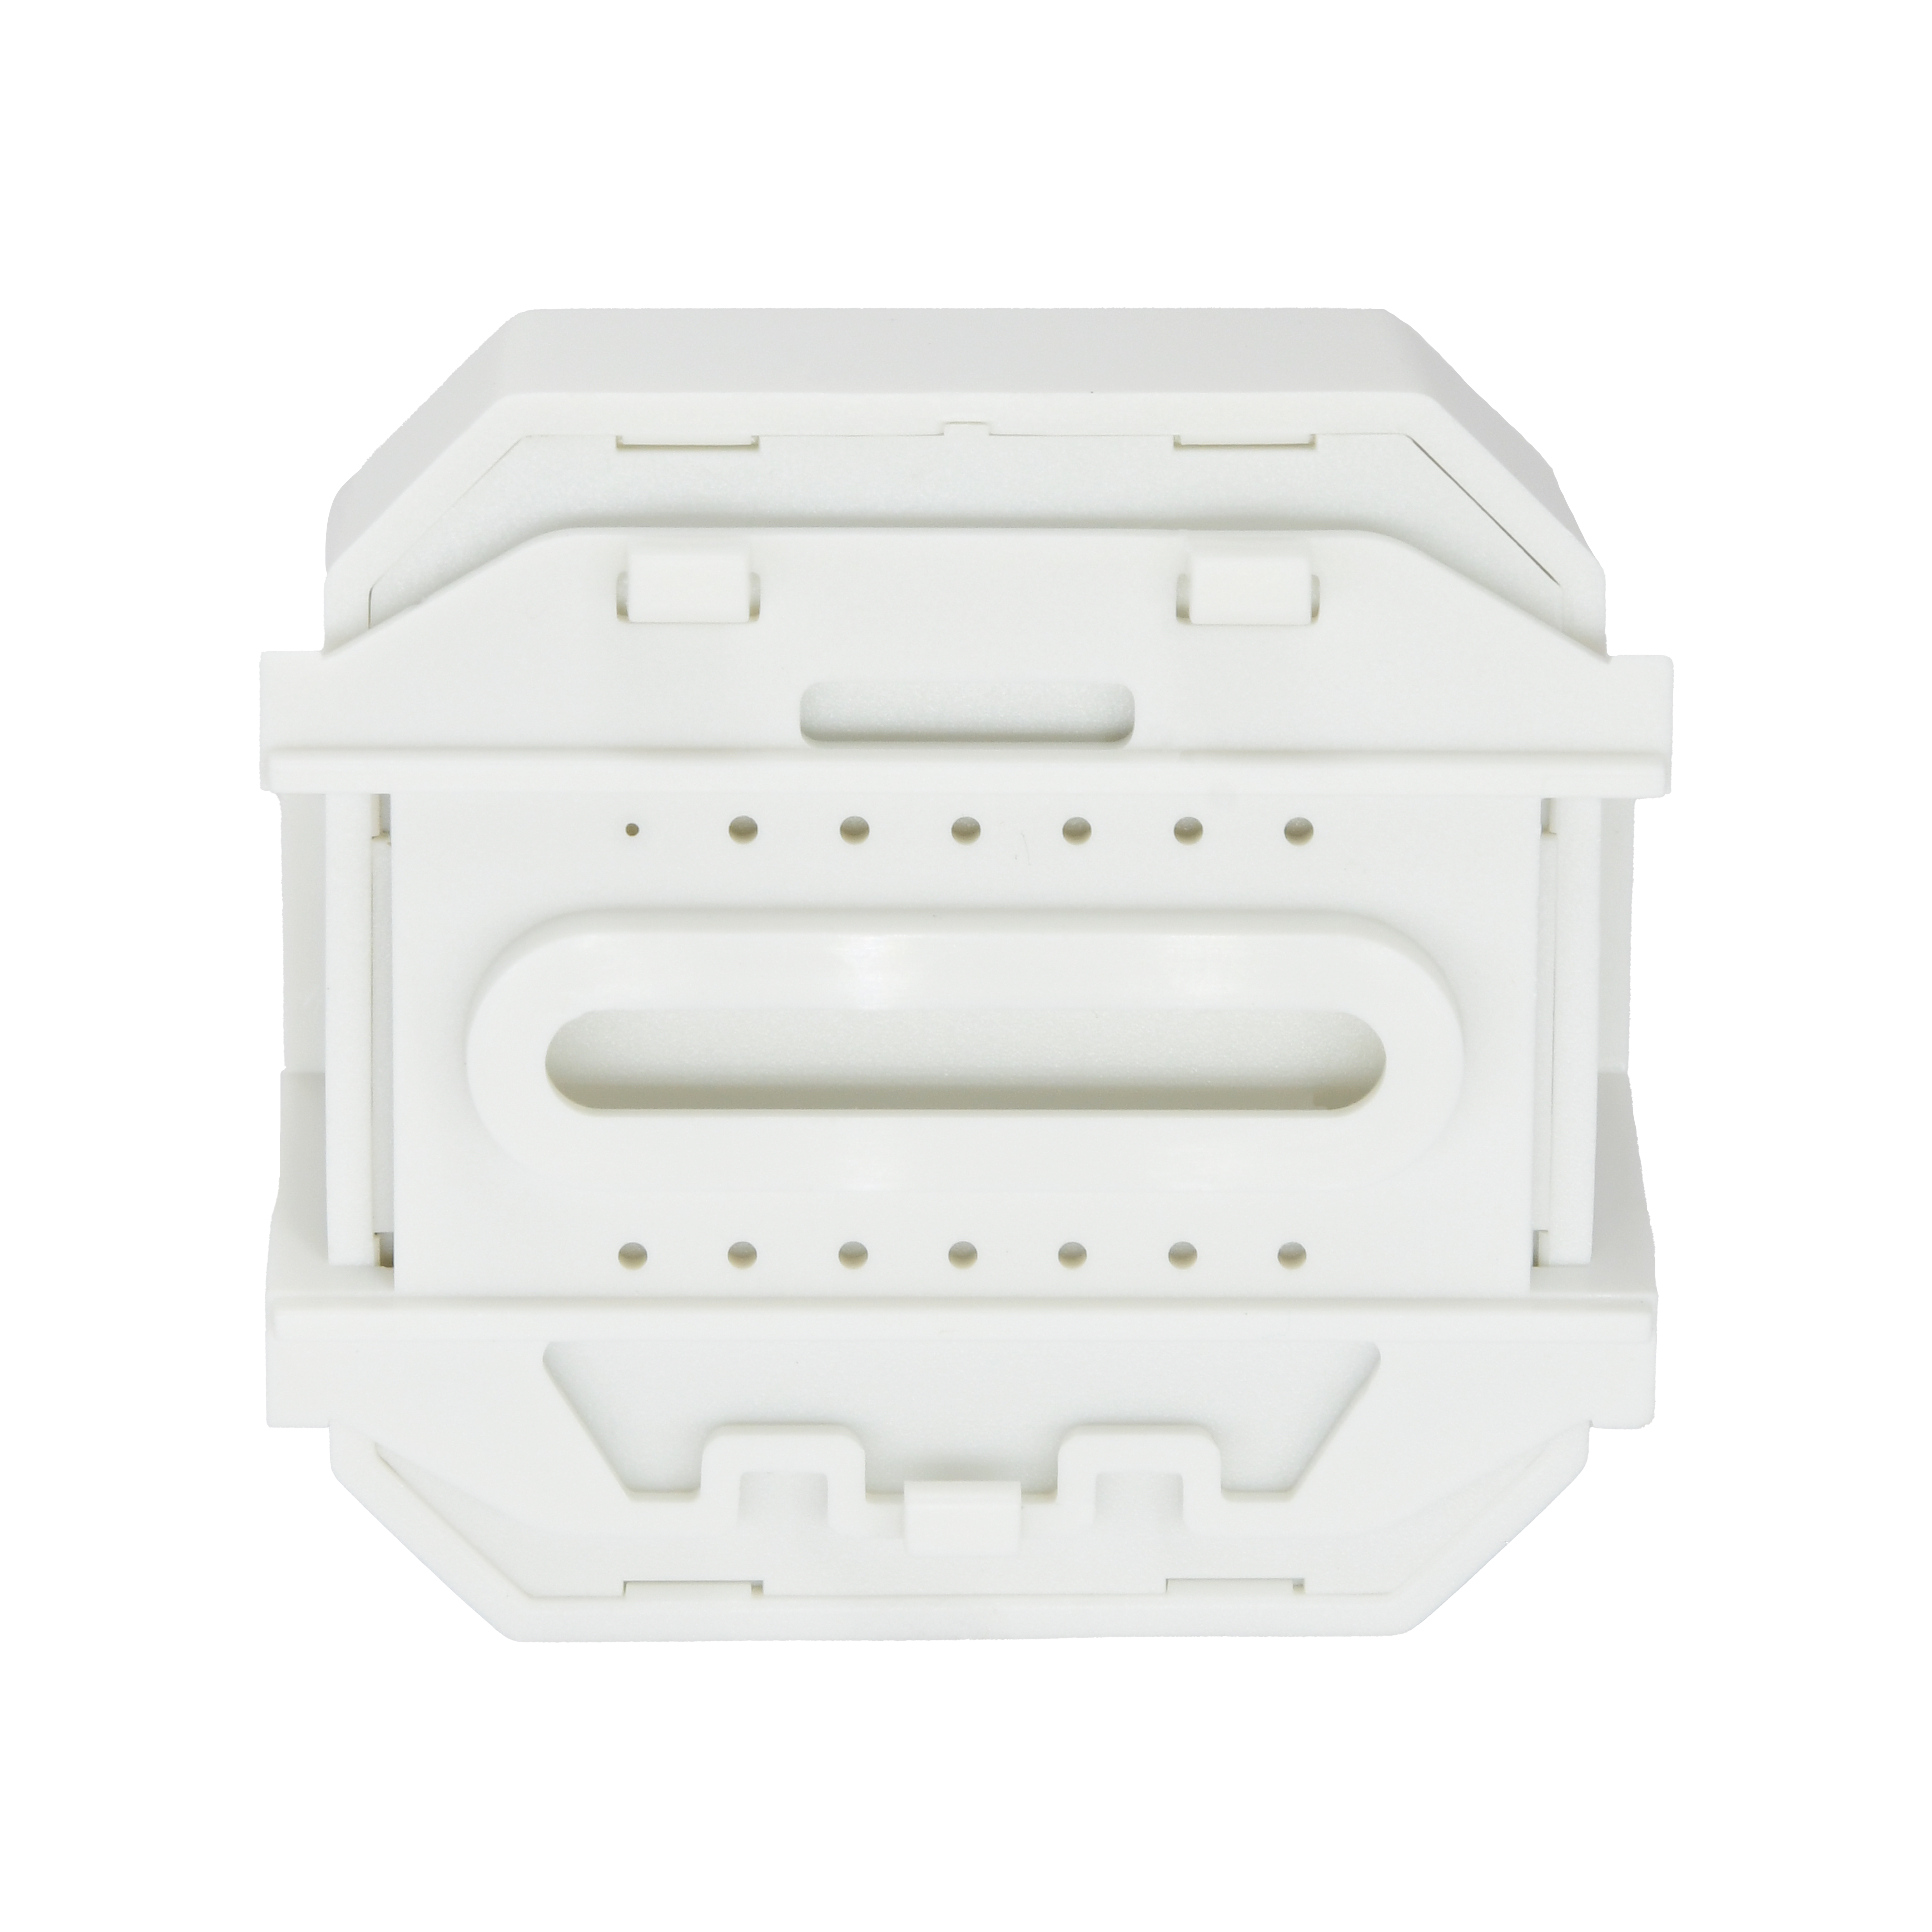
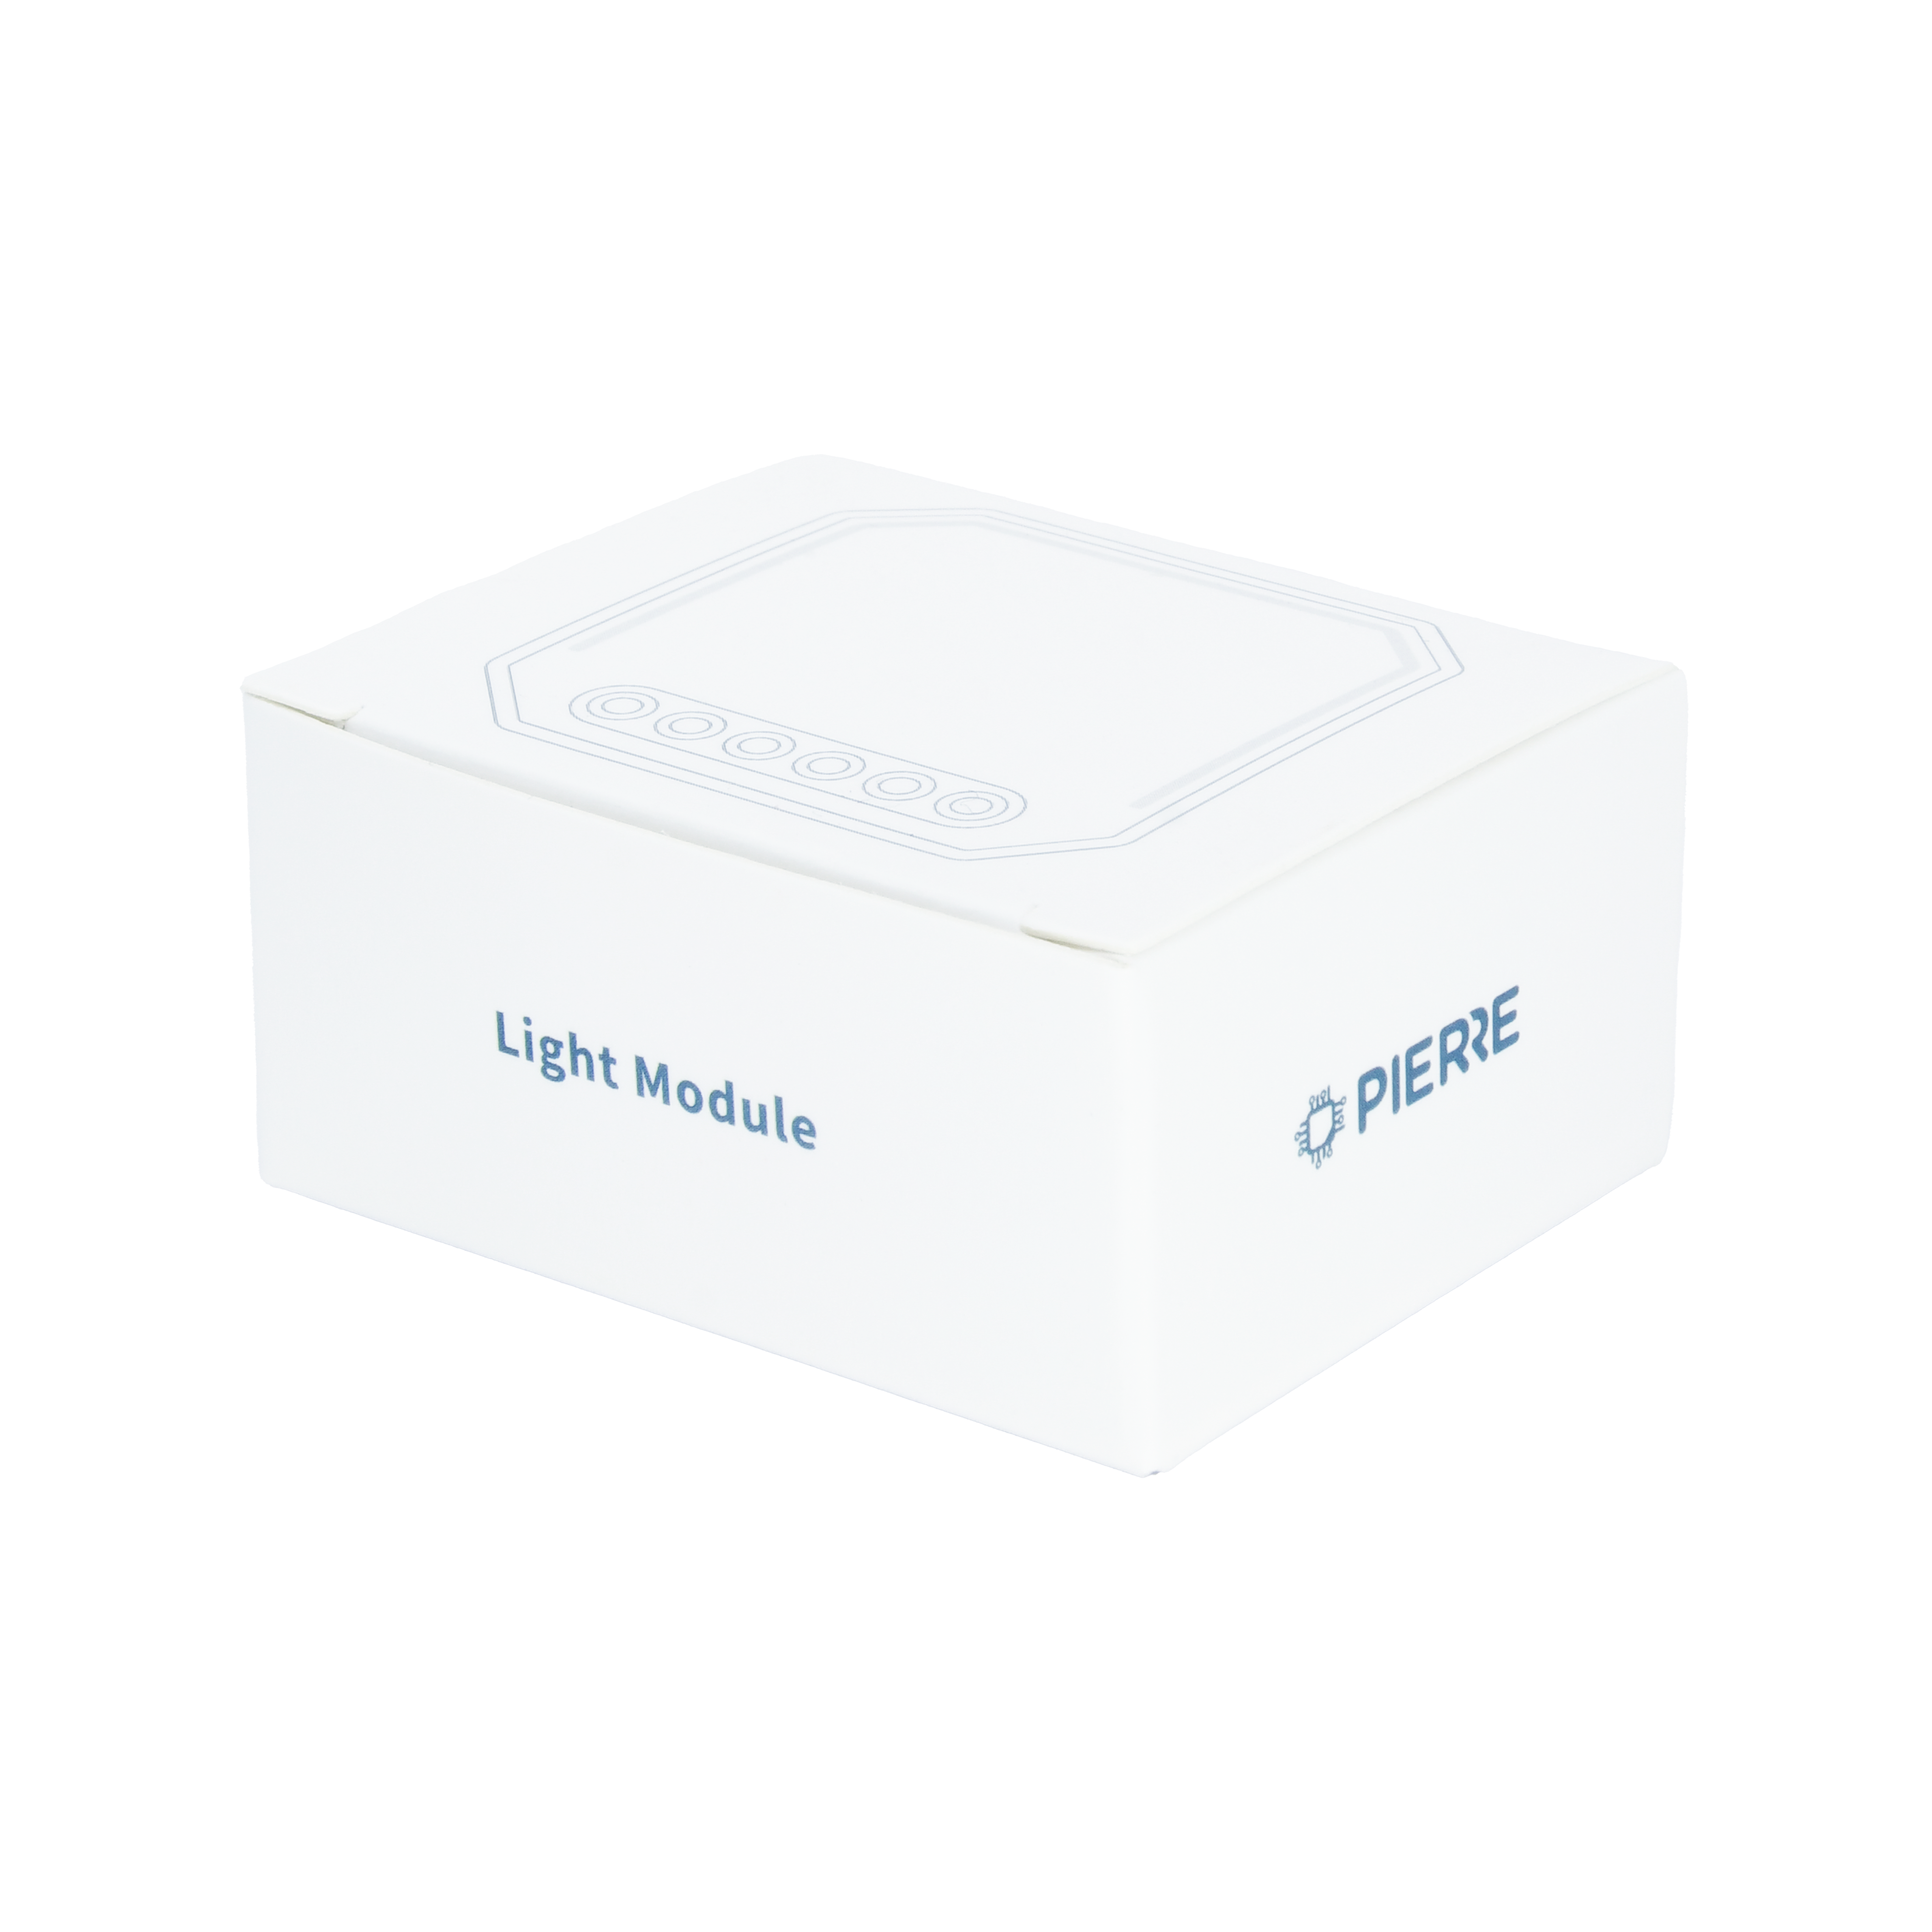
| SKU | PW-MOD-D010-1G-NL |
|---|---|
| Product line | PIERRE Wave |
| Category | Pierre Wave - Modules / Light control |
| Manufacturer | QualityLed |
| Manufacturer SKU | QS-Zigbee-D04 |
| GTIN / EAN | 8606034721083 |
| HS code | 8533409000 |
Overview
The PIERRE Wave - 0-10V Dimmer Module (L+N) dims lighting by sending a 0-10 V control signal to the driver, rather than by chopping the mains waveform. That is the distinction to check before ordering: most commercial LED drivers, fluorescent ballasts and constant-current supplies expect 0-10 V, and will flicker or refuse to dim on a TRIAC dimmer.
The module is powered from 100-240 V AC 50/60 Hz and needs both Live and Neutral at the point of installation. It provides one dimming channel and communicates over PIERRE Wave (Zigbee 3.0, 2.4 GHz).
The housing is ABS+PC, rated IP20, sized to sit behind a switch plate in a standard back box or above the ceiling alongside the driver it controls.
Protection covers overload, over-voltage, short circuit, thermal, electrostatic and surge. Operating range is -10 °C to +40 °C at up to 80% RH.
Key features
- 0-10 V analogue dimming output for LED drivers and ballasts
- One dimming channel
- 100-240 V AC 50/60 Hz, Live and Neutral required
- PIERRE Wave (Zigbee 3.0, 2.4 GHz)
- Overload, over-voltage, short-circuit, thermal, static and surge protection
Technical specifications
| Electrical | |
|---|---|
| Power Supply | 100-240V AC 50-60Hz |
| Frequency | 2.4GHz-2.484GHz |
| Connectivity | |
| Connectivity | Zigbee |
| Physical | |
| Panel Material | ABS+PC material |
| Product Color | White |
| Wiring Requirements | N - Neutral, L - Line |
| Environmental | |
| Operating Temperature (°C) | -10 - +40 |
| Operating Temperature | +14°F - +104°F |
| Operating Humidity | ≤ 80 % RH |
| IP Rating | IP20 |
| Safety | |
| Safety Features | Overload, Over Voltage, Short Circuit, Thermal Protection, Static Protection, Surge Protection |
| Control | |
| Number of Channels | 1 channel |
| Features | |
| Operation Range | 200 m |
Physical & packaging
| Dimensions (L × W × H) | 46 × 19 × 46 mm |
|---|---|
| Weight | 32 g |
| Box dimensions (L × W × H) | 59 × 29 × 50 mm |
| Box weight | 45 g |
User manual
- 1. Product Description
- 2. Product Size
- 3. System requirements
- 4. Installation
- 5. Wiring Instructions and Diagrams
- 6. Manual Override
- 7. App-to-Device Pairing
- 8. FAQ
2. Product Size
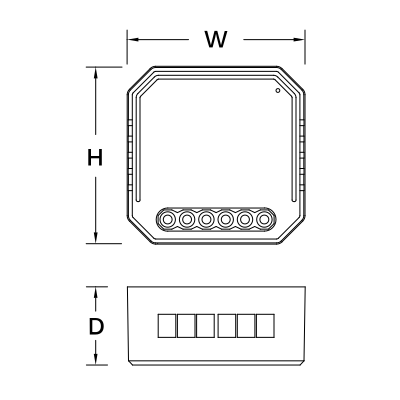
- Without Mounting Clip
- W: 46 mm
- H: 46 mm
- D: 18 mm
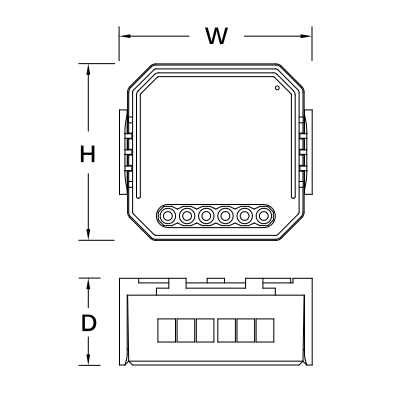
- With Mounting Clip
- W: 50 mm
- H: 46 mm
- D: 22.5 mm
3. System requirements
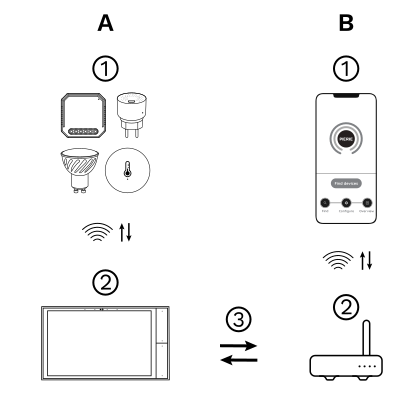
The PIERRE Wave (Zigbee 3.0, 2.4 GHz) system consists of the following components.
Required
- PIERRE Wave products: switches, modules, sensors, thermostats and other devices. They connect wirelessly to the gateway.
- Gateway: a PIERRE display and/or gateway. It links all PIERRE Wave devices and handles the communication with the app.
Optional
- Smart PIERRE app: control and monitoring from a smartphone or tablet. Not required for basic operation.
- Router: gives the gateway internet access for remote control.
Operation: the gateway connects to the router by Wi-Fi or LAN. PIERRE Wave products communicate wirelessly with the gateway in both directions: commands are sent and status updates are received through the Smart PIERRE app.
What you need
A PIERRE Wave (Zigbee 3.0, 2.4 GHz) gateway: a PIERRE display and/or gateway.
4. Installation
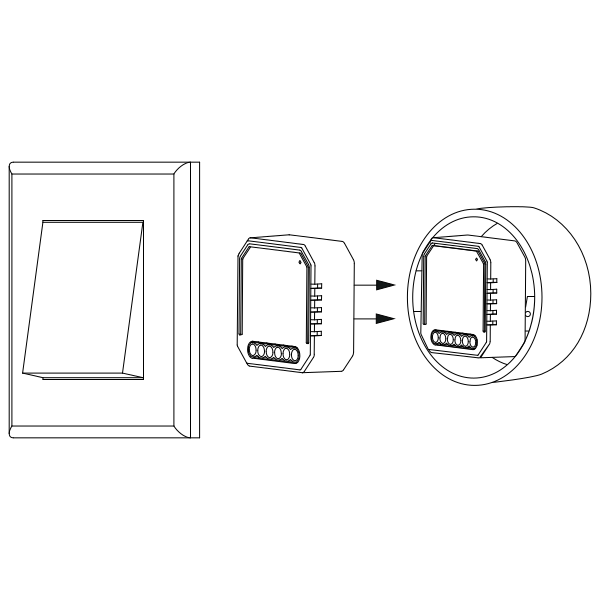
Warnings:
- Installation must be carried out by a qualified electrician in accordance with local regulations.
- Keep the device out of reach of children.
- Keep the device away from water, damp or hot environments.
- Install the device away from strong signal sources such as microwave ovens that may cause signal interruption resulting in abnormal operation of the device.
- Obstruction by concrete wall or metallic materials may reduce the effective operation range of the device and should be avoided.
- Do NOT attempt to disassemble, repair or modify the device.
5. Wiring Instructions and Diagrams
Safety First:
- Always disconnect power before installation.
- Only trained professionals should perform the work.
Comply with all relevant local and national codes (e.g., NEC, IEC).
Installation Steps
- Isolate Power
- Switch off the breaker and verify zero voltage.
- Wire the Module
- Connect terminals as per the wiring diagram:
- Live (L), Neutral (N), switched line to the driver (L1)
- 0–10 V output (+ and −) to the driver's dimming input, observing polarity
- Optional: push-button on S1
- Install in Box
- Place the module into the junction box. Avoid wire damage or strain.
- Restore Power & Configure
- Turn the power back on. Configure the module using the app or setup guide.
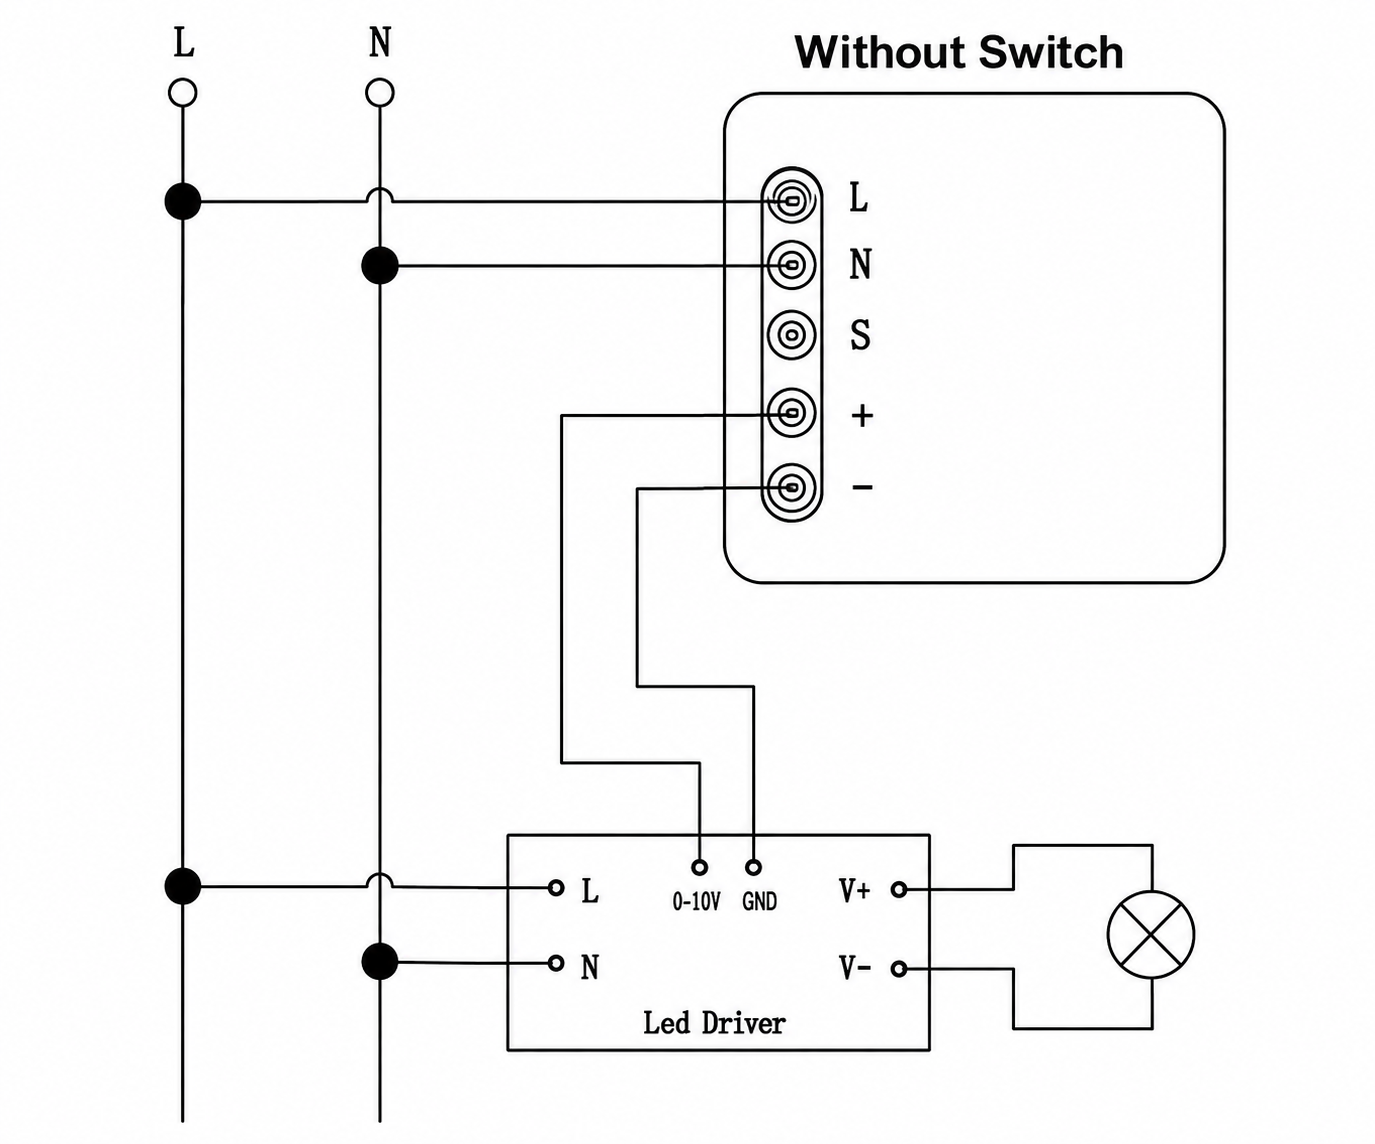
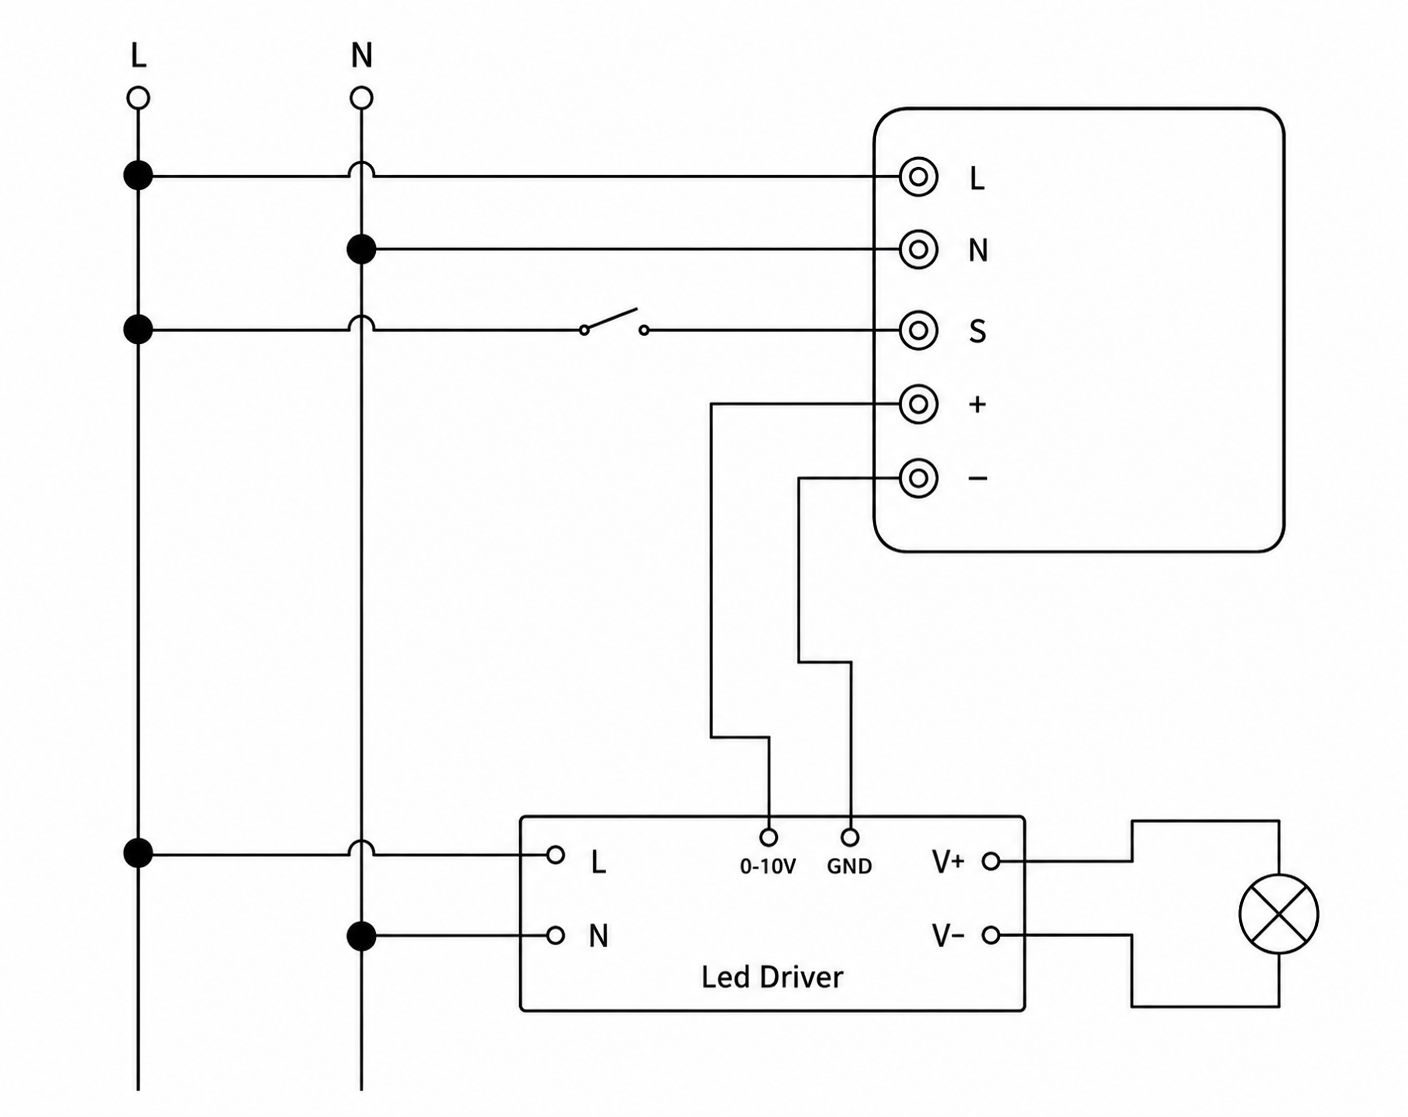
| Run | Wires | Cross-section | Cable type | Conductors |
|---|---|---|---|---|
| From electric box to dimmer module | 2 | 1.5 mm² | NYM-O | L, N |
| From dimmer module to LED driver (mains) | 2 | 1.5 mm² | NYM-O | L1, N |
| From dimmer module to LED driver (control) | 2 | 0.5 mm² | shielded 2-core signal cable (e.g. LiYCY) | 0–10 V + (DIM+), 0–10 V − (DIM−) |
| From dimmer module to switch | 2 | 0.75 mm² | NYM-J | COM, S1 |
Four runs. The supply into the module is two conductors at 1.5 mm², line and neutral. The switched line L1 and the neutral feed the LED driver on 1.5 mm². The 0–10 V control signal runs from the module's + and − terminals to the driver's 0–10 V input on a separate two-core signal cable (0.5 mm²): keep the polarity, + to + and − to −, and route it apart from mains cables where possible. The push-button is looped on two conductors at 0.75 mm², common and S1. Because the neutral is present at the module, it also works as a Zigbee repeater.
6. Manual Override
The push-button on the S terminal lets the end user switch the light on/off or adjust the brightness without the app.
- Short press (<1 s): on/off.
- Long press (>1 s): adjusts the brightness.
Notes:
- Commands from the app and from the push-button overwrite each other; the last setting is kept in memory.
- The app stays synchronized with the push-button.
- The S terminal may be left unconnected if no manual control is required.
Reset methods
- Press and hold the reset key for about 10 seconds until the indicator light or the connected light flashes quickly.
- Switch the connected push-button off, then press and hold it for about 10 seconds until the indicator light or the connected light flashes quickly.
- Power the module off, power it on for about 10 seconds, then switch it off and on 5 times in a row. Each off period must last more than 3 seconds and each on period less than 2 seconds.
7. App-to-Device Pairing
Please scan the QR code to download PIERRE application
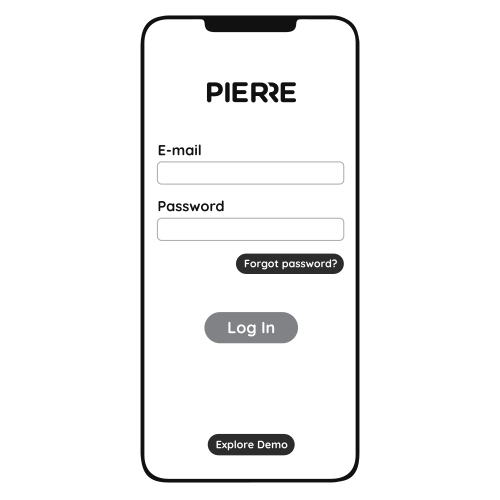
Log in with your Username and Password
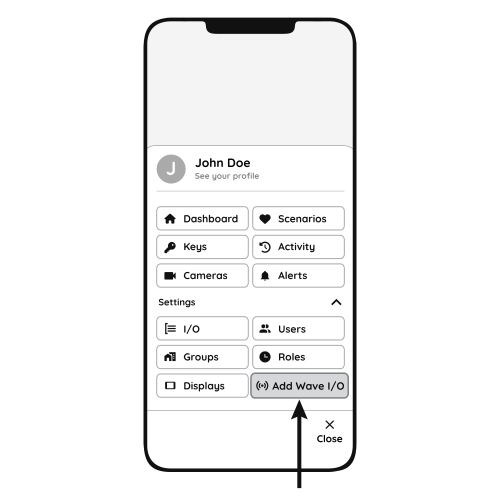
Open Settings and press "Add Wave I/O"
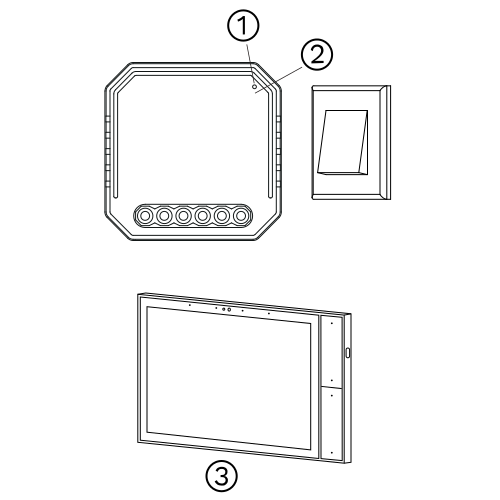
Press and hold the Reset Key for 10 seconds (use a small, thin object like a paperclip) until the Indicator Light starts flashing
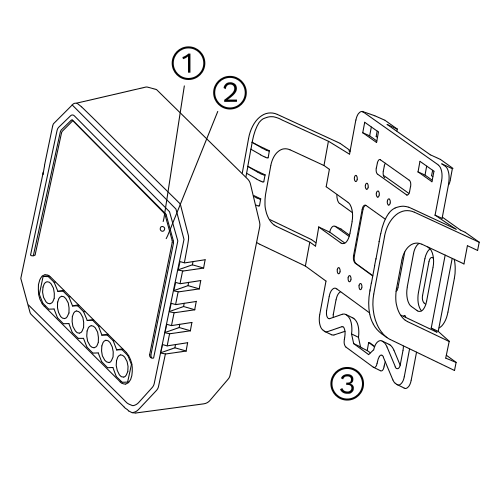
- Indicator Light
- Reset Key
- PIERRE Wave Gateway
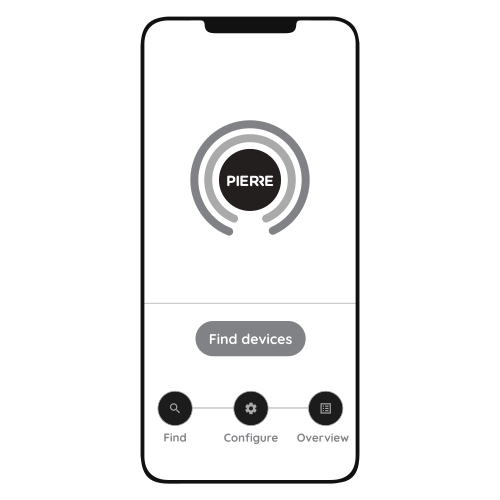
Press "Find Devices"
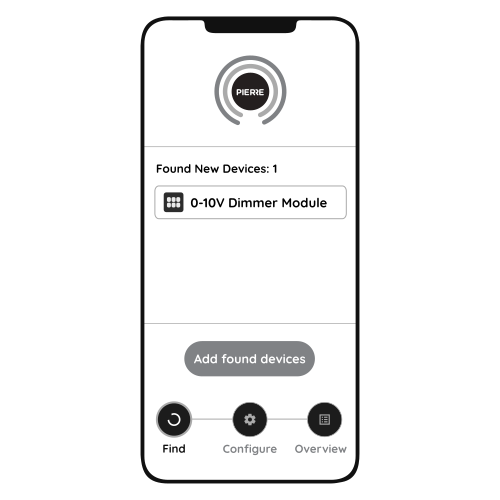
PIERRE application will show the list of available devices. Press "Add found devices"
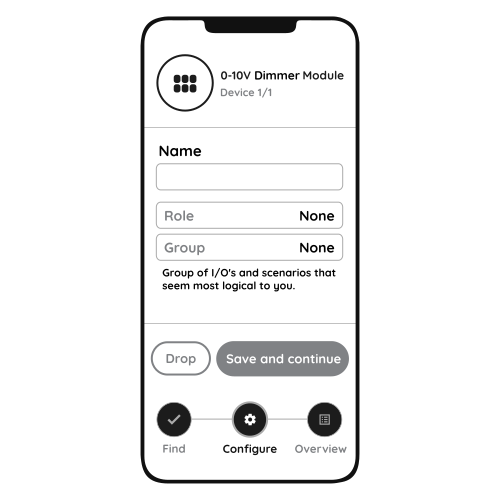
Enter Name, Role and Group settings and Save it
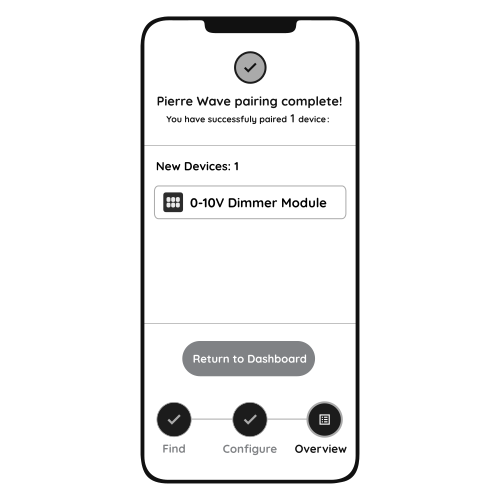
When the Light indicator stops flashing, the PIERRE Wave pairing process is finished
8. FAQ
Q1: What should I do if I cannot configure the 0–10 V dimmer module?
- Check that the module is powered.
- Make sure the PIERRE Wave gateway (PIERRE display and/or gateway) is online.
- Check the wiring against the diagram.
Q2: What loads can be connected to this module?
LED drivers, electronic ballasts and other loads with a 0–10 V dimming input. The module switches the driver's mains supply on L1 and dims it through the 0–10 V output; it is not a phase-cut dimmer for lamps.
Q3: What happens if the Wi-Fi or internet goes down?
The module keeps working locally. You can still switch and dim the light with the push-button and control it from the PIERRE display and/or gateway; only remote access from the app is unavailable.
Q4: How do I reset the module?
See Reset methods in the Manual Override section.
Q5: What happens during a power cut?
The module keeps its last state and comes back when power is restored.
Q6: What size wall box does the module need?
See the Product Size section. The module fits behind the switch in a standard wall box; a deep box makes wiring easier.
Q7: What is the difference between the neutral and no-neutral modules?
Modules with a neutral also act as Zigbee repeaters and strengthen the network. Use the no-neutral module where no neutral is available at the switch.
Q8: Can any switch or button be used?
Yes. Any standard wall switch or push-button can be connected to the S inputs.
Q9: Does it support multi-way switching?
Yes. See the diagrams in the Wiring Instructions and Diagrams section.
Q10: Can PIERRE handle 48 V magnetic recessed LED systems and their dimming?
Yes, if the driver of the 48 V system has a 0–10 V dimming input: connect it to this module's 0–10 V output.