
Smart Control Panel - Rio 4"
| SKU | P-DSP-RIO |
|---|---|
| Product line | PIERRE Pro, PIERRE Wave |
| Category | Displays |
| Manufacturer | Smatek |
| Manufacturer SKU | Model: S6-NZE |
| GTIN / EAN | 8606034720079 |
| HS code | 8537109100 |
Overview
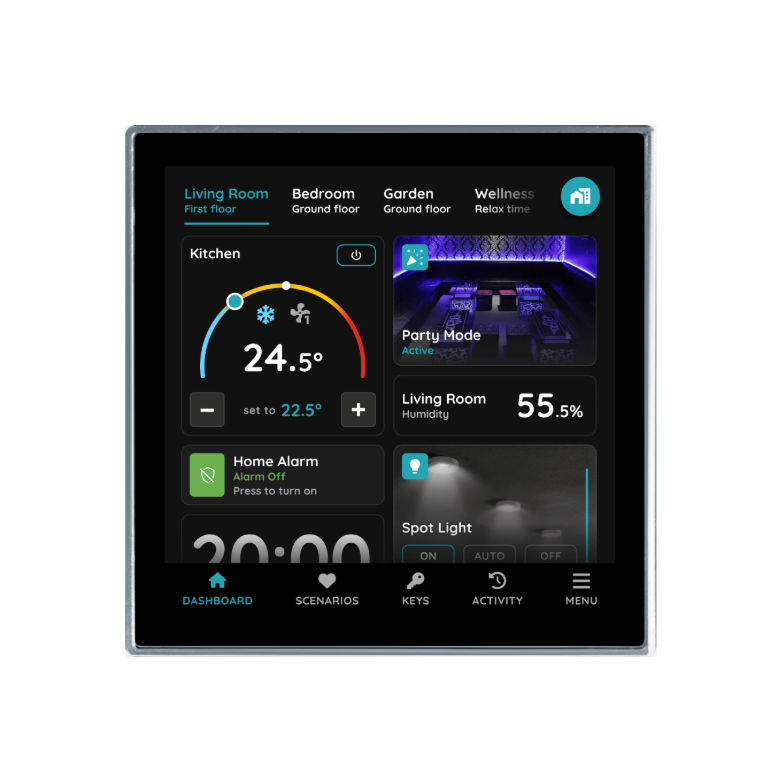
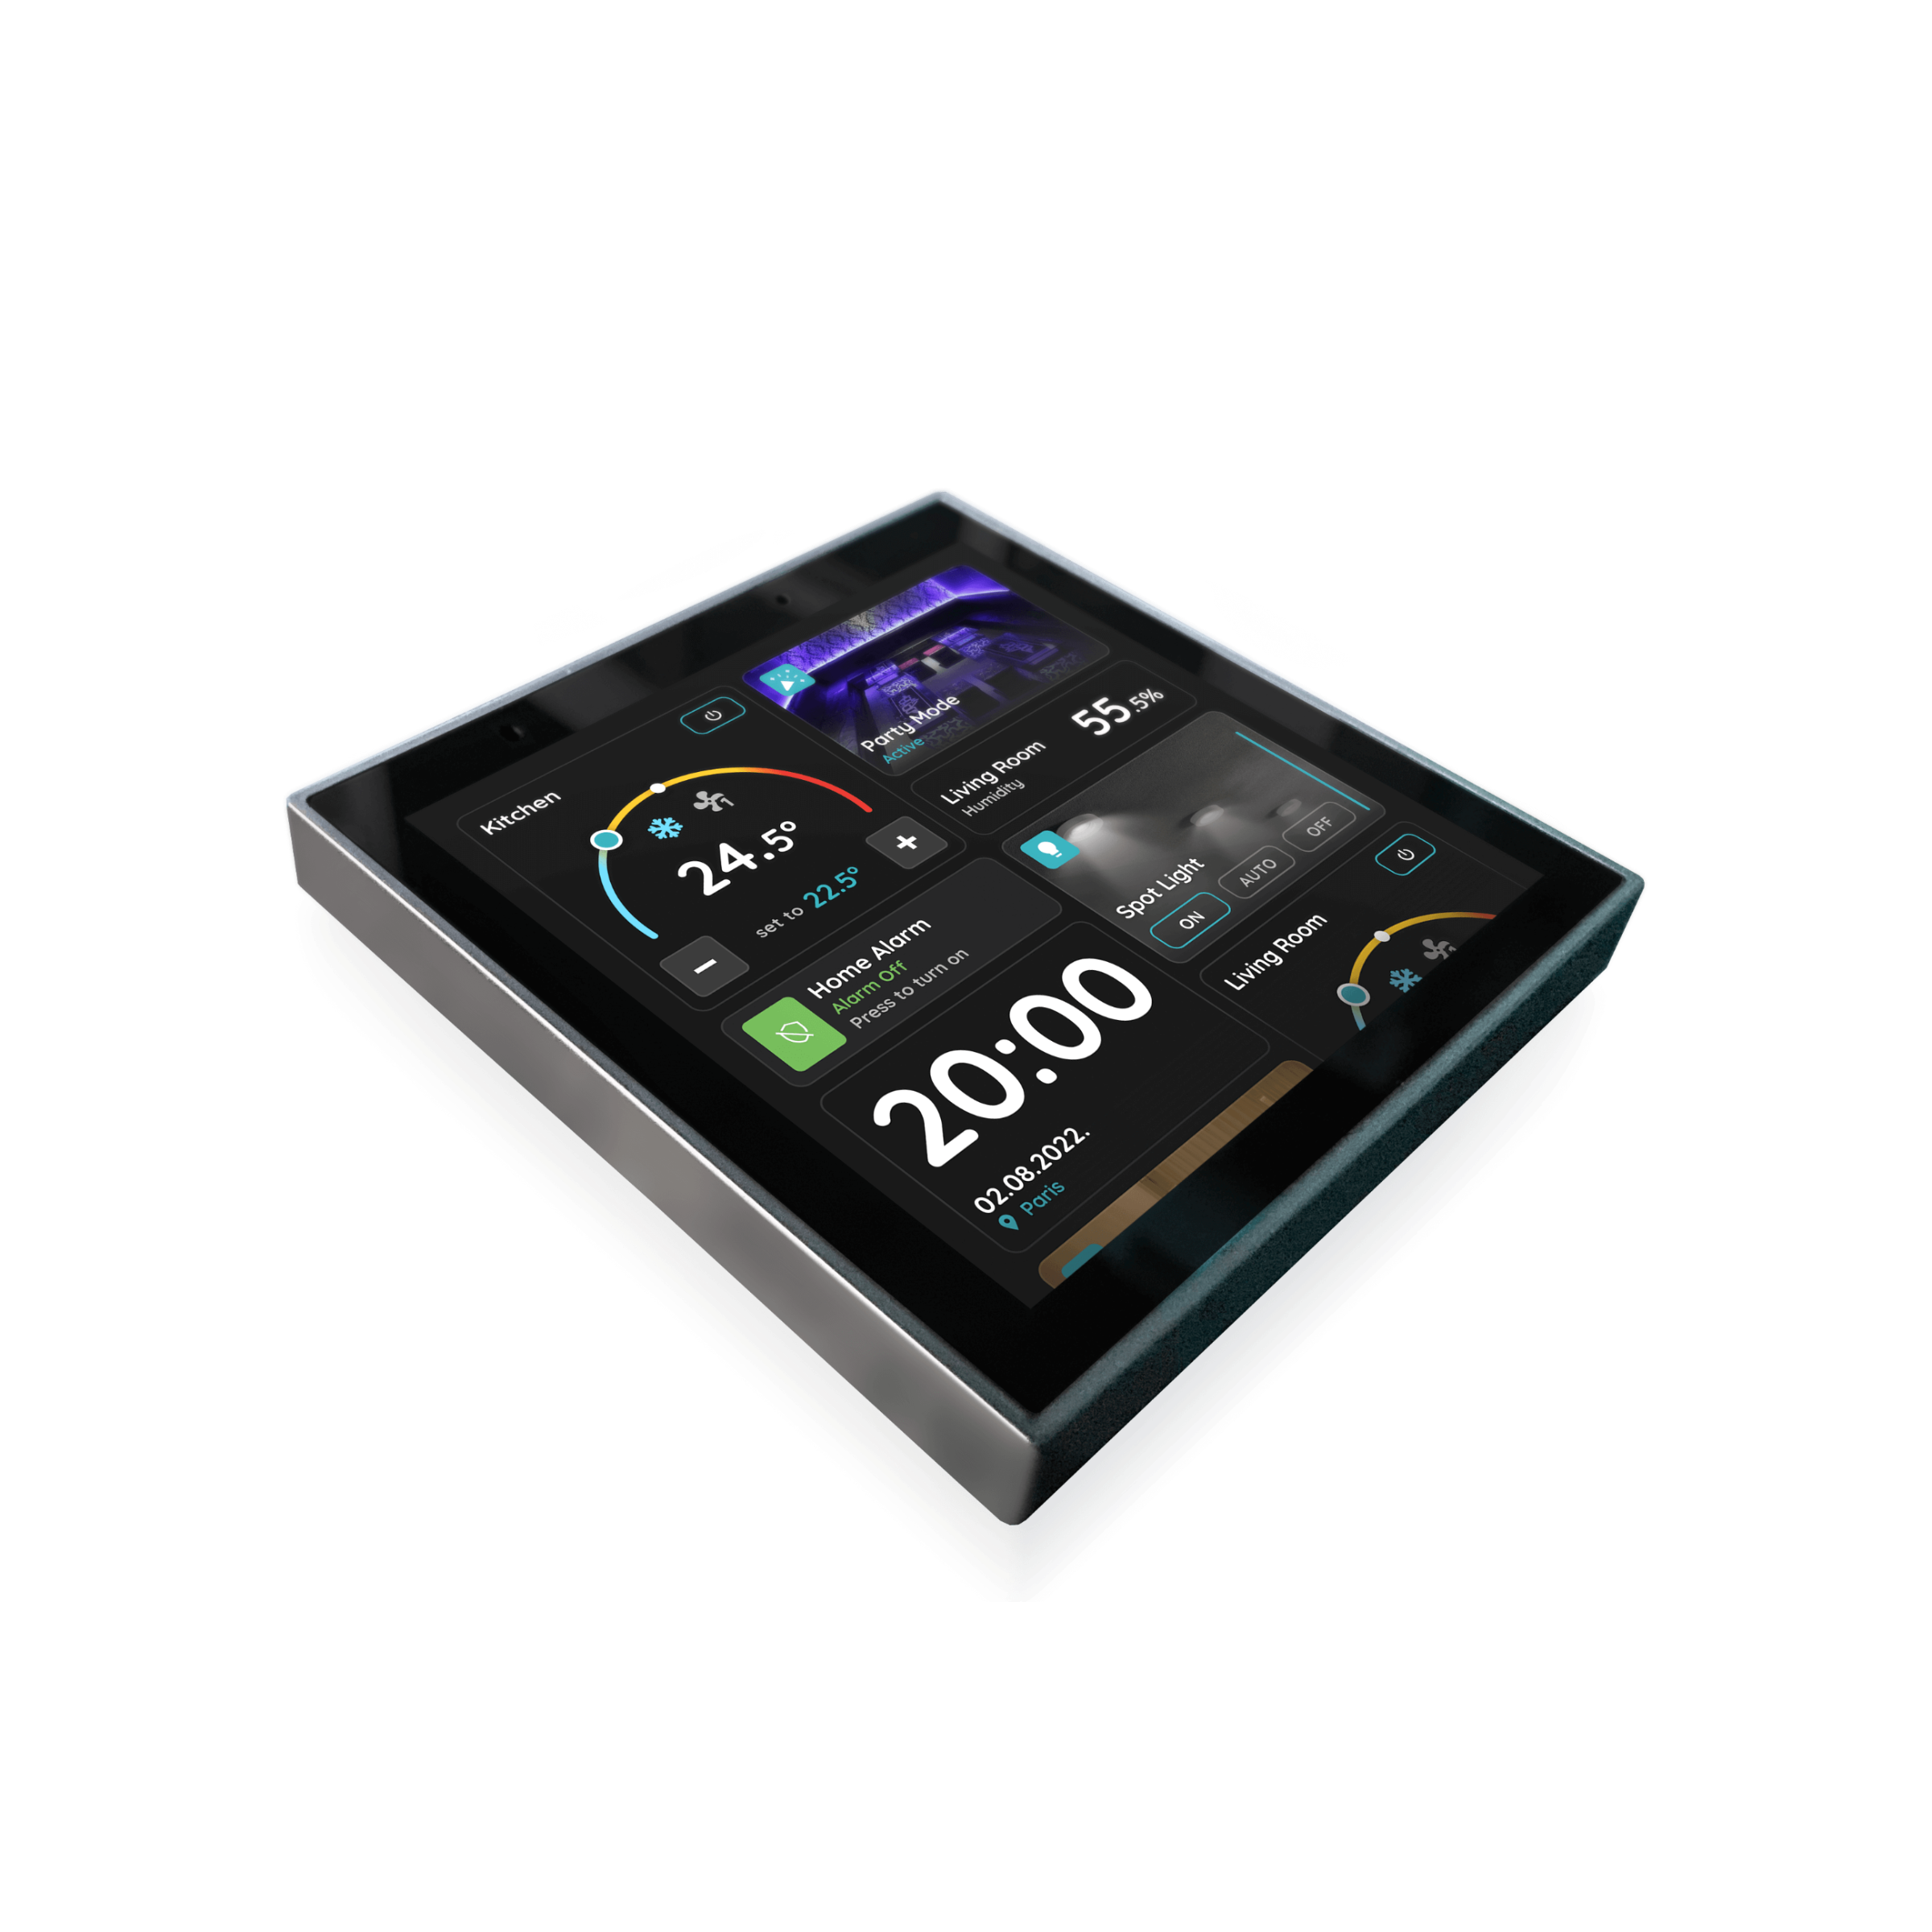
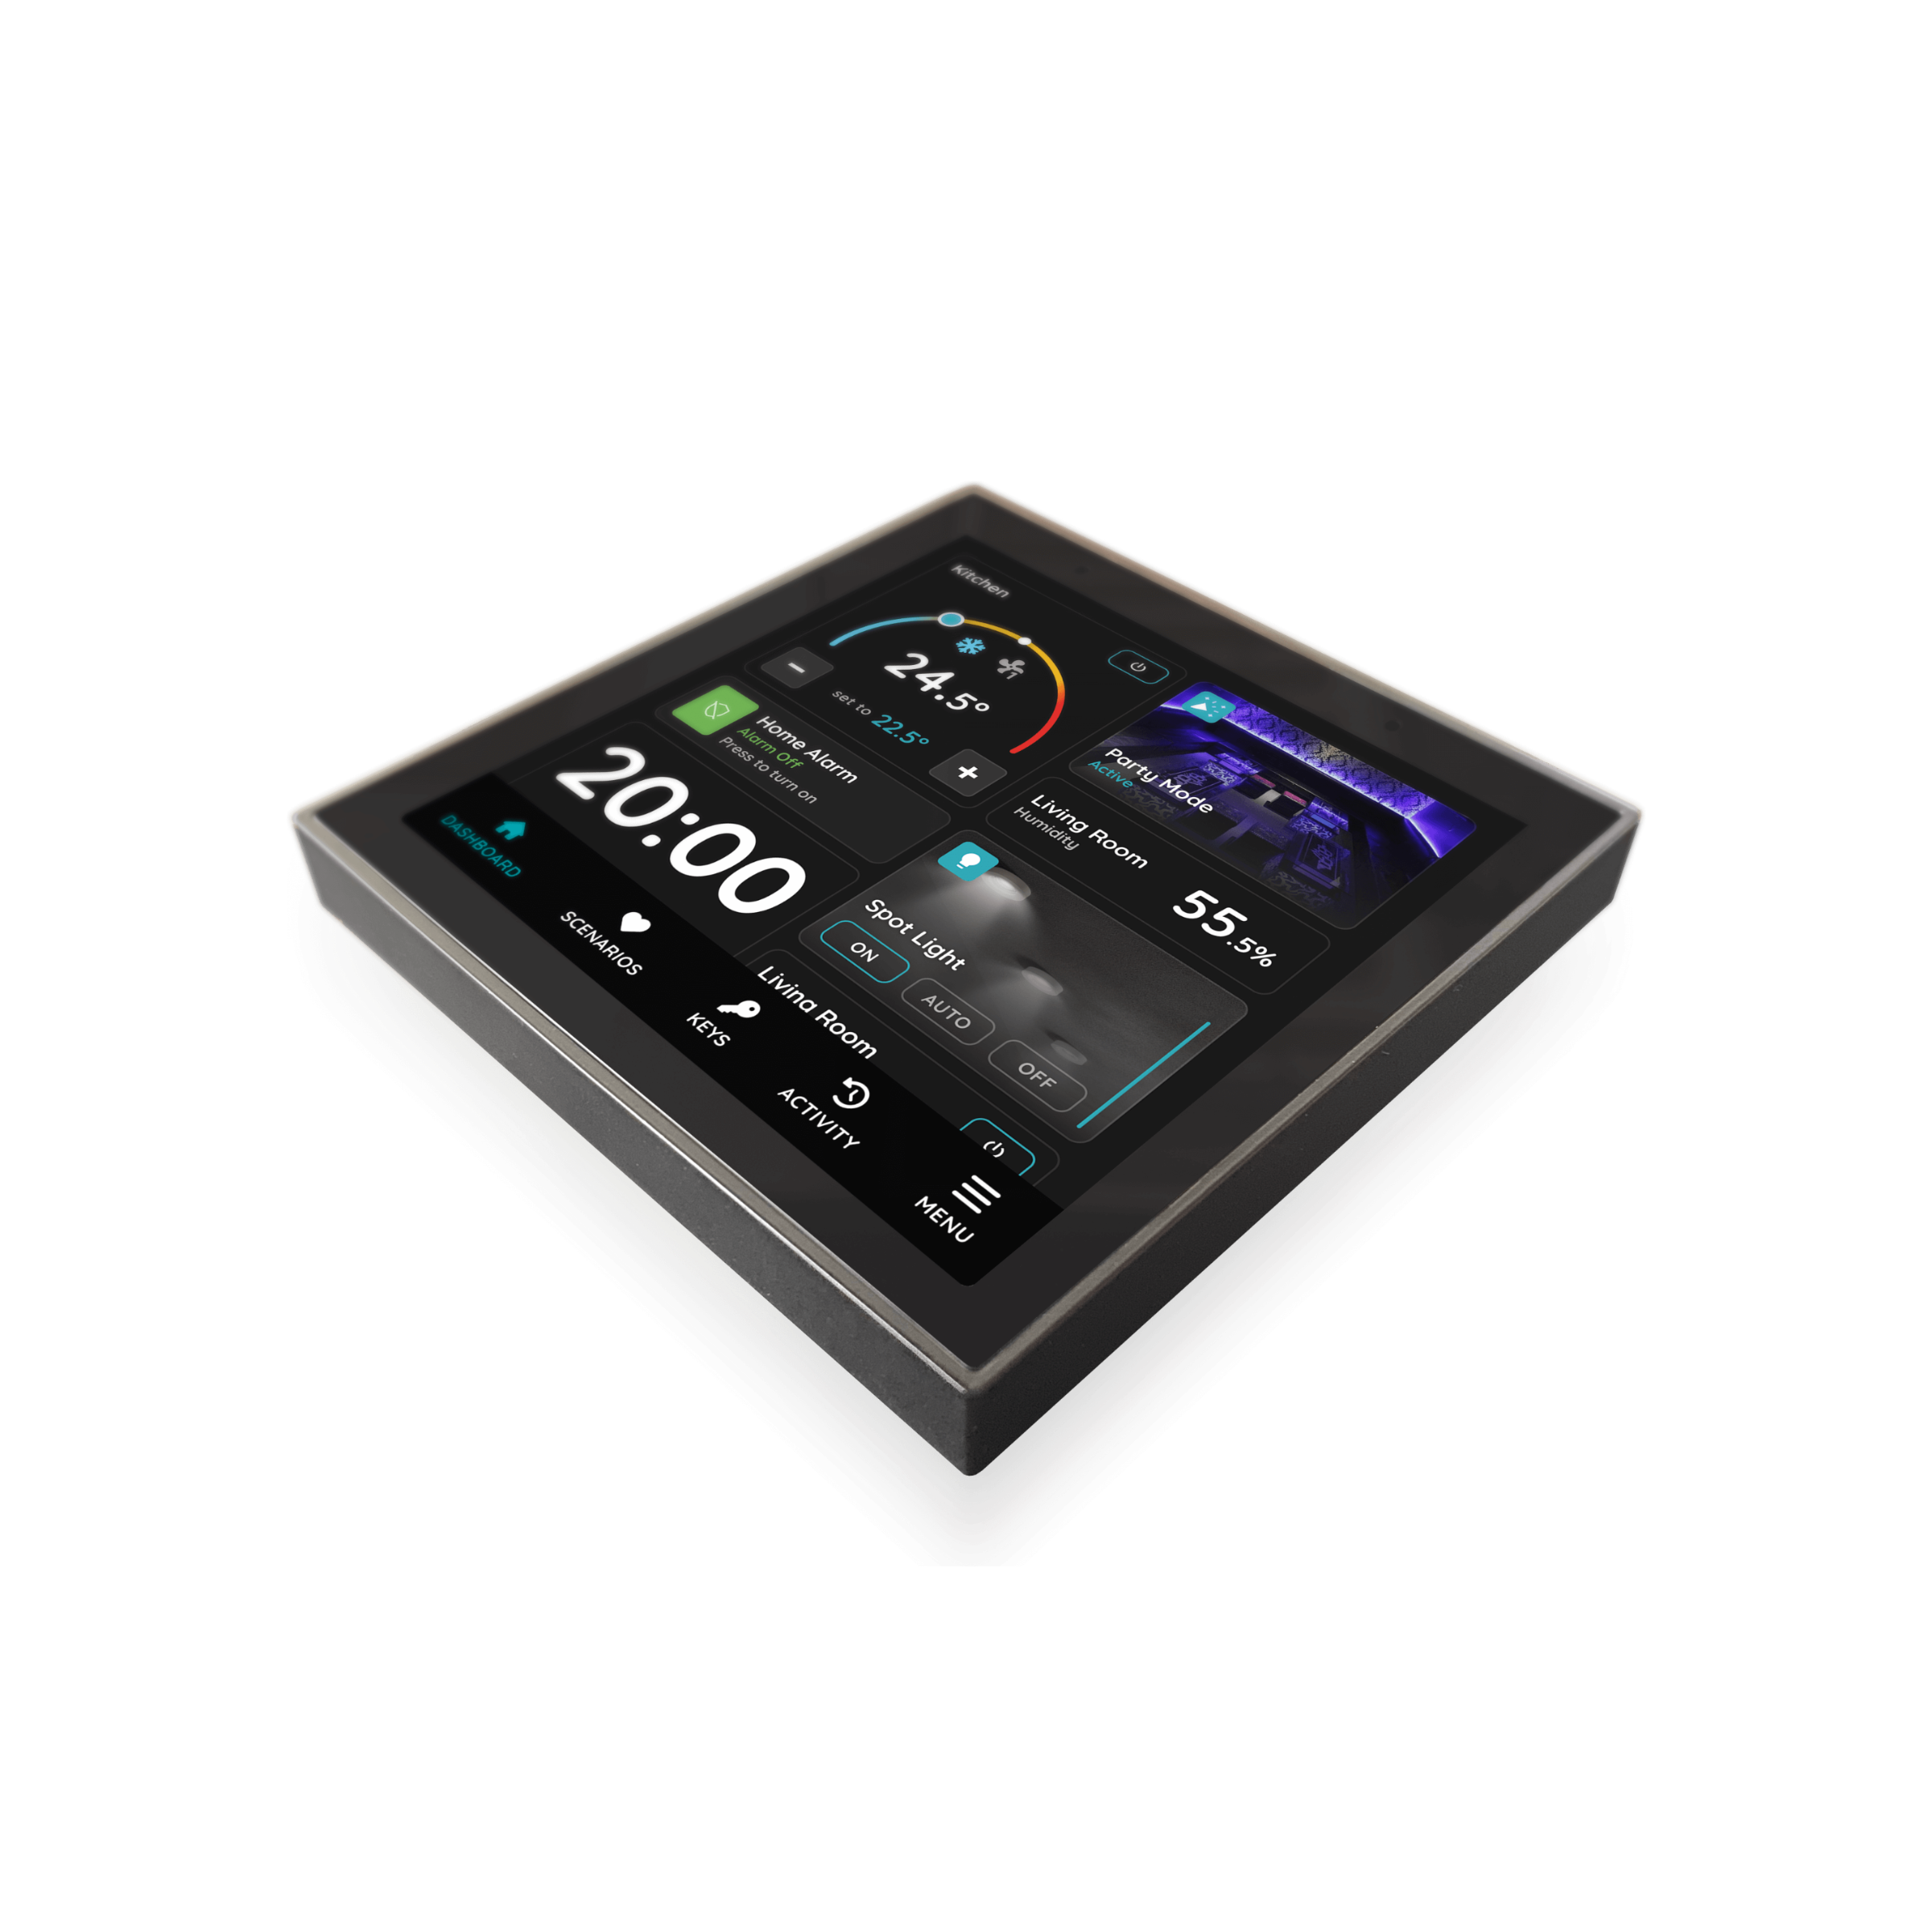
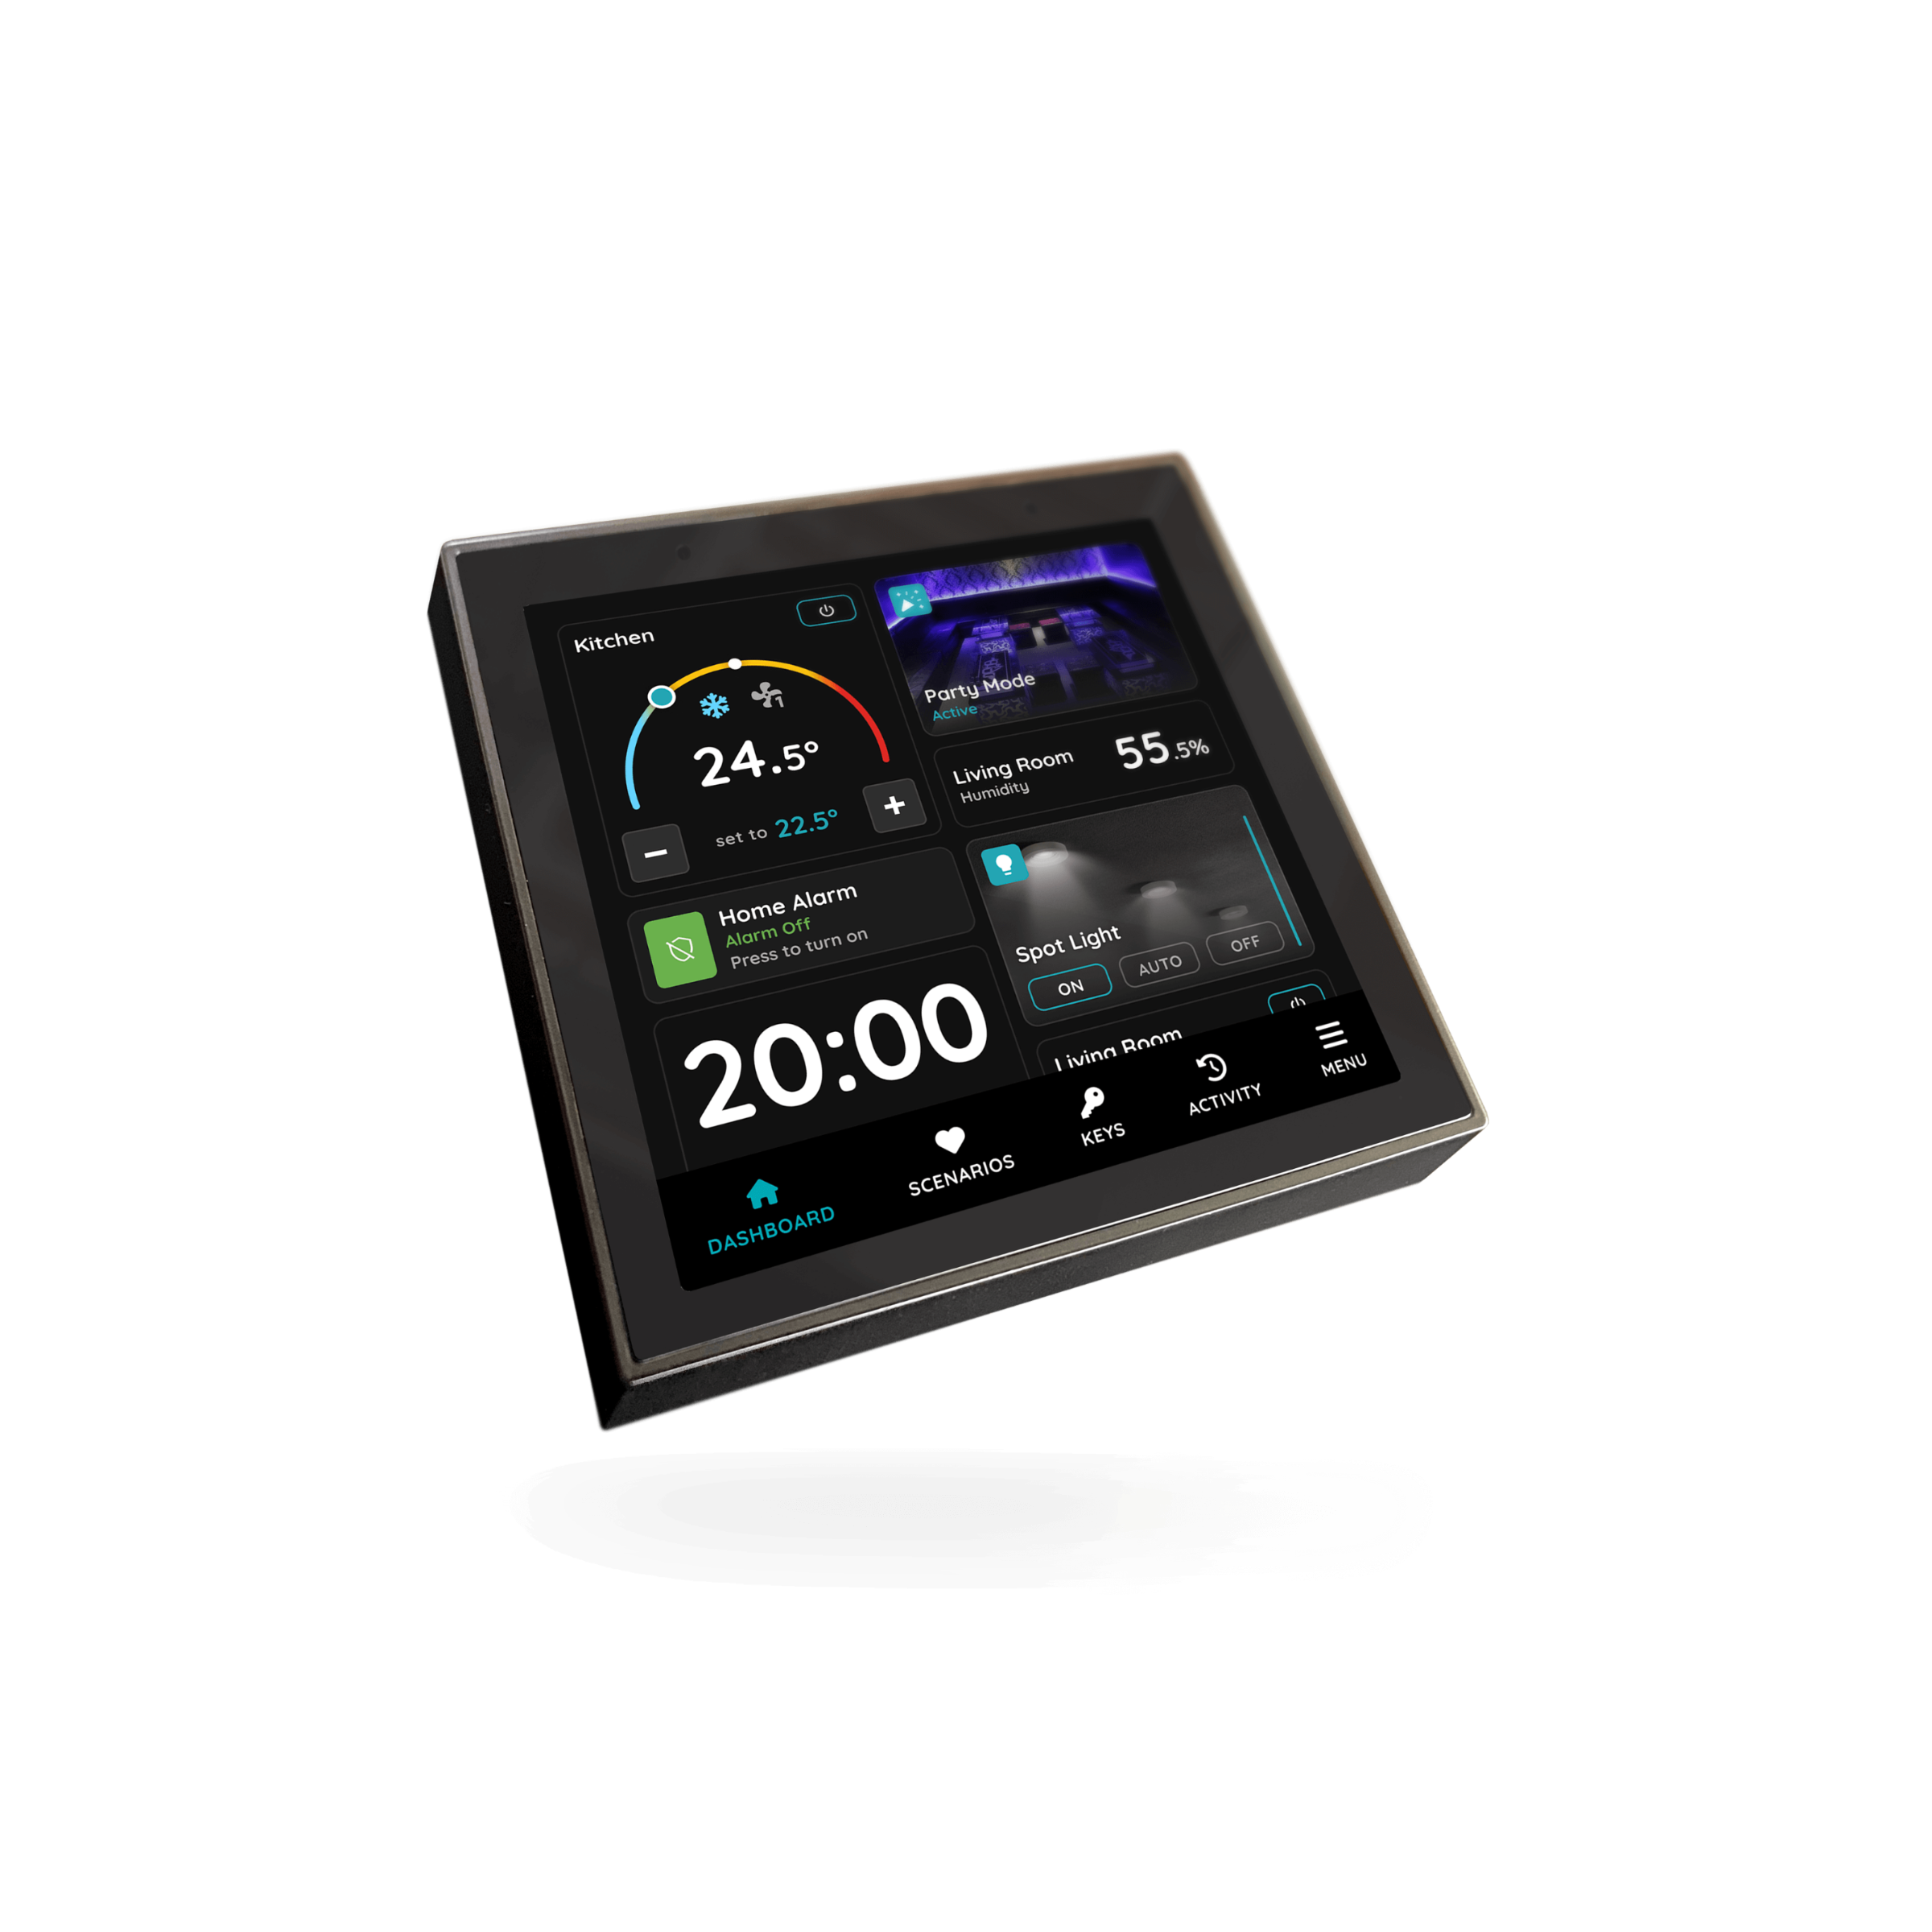
The Room Control Display Rio 4" is the compact panel in the PIERRE room-control range, sized for positions where a full-height display will not fit. It runs Android 11 on a PX30 quad-core Cortex-A35 with 2 GB RAM and 8 GB storage, behind a 4-inch 480x480 touch screen.
The two built-in relays provide an option for direct ON/OFF control. Two relay circuits rated 200 W each are built in, so the panel can switch the room’s own lighting rather than only issuing commands to other devices.
The Modbus port allows the display to control fan coils, heat pumps, and other plant equipment directly, without requiring a separate gateway in the room.
A brightness sensor is built in. It dims the panel to suit the room, and reports a lux reading back to the system that can drive daylight-linked lighting elsewhere.
It takes an 86x86x50 mm back box with 60 mm fixing centres, is rated IP20, and runs from 0 °C to +40 °C at 5–90% RH non-condensing.
Key features
- 4-inch touch screen
- PX30 quad-core Cortex-A35, 2 GB RAM, 8 GB ROM
- Ethernet and Wi-Fi
- Gateway for PIERRE Wave (Zigbee 3.0)
- RS485 for direct Modbus control
- Two built-in relay circuits, 200 W each
- Built-in brightness sensor
Technical specifications
| Electrical | |
|---|---|
| Power Supply | 100-230V AC 50-60Hz |
| Power Consumption | 8.0 W |
| Max Load | 10A |
| Current | 10.0 A |
| Input Power | 230V AC 50-60Hz 0.3A |
| Connectivity | |
| Connectivity | 10M/100M Ethernet RJ45, 2.4GHz Wi-Fi (802.11 b/g/n), Zigbee, RS485 |
| Physical | |
| Panel Material | PC material |
| Product Color | Grey |
| Mounting Type | 86x86x50mm |
| Bolt Hole Distance | 60 mm |
| Features | |
| LED Indicators | Yes |
| Environmental | |
| Operating Temperature (°C) | 0 - +40 |
| Operating Temperature | +32°F - +104°F |
| Operating Humidity | 5% - +90% RH, Non Condensing % RH |
| IP Rating | IP20 |
| Safety | |
| Safety Features | Overload, Short Circuit, Thermal Protection, Surge Protection |
| Hardware | |
| CPU | PX30 Quad core Cortex-A35 |
| Operating System | Android |
| OS Version | 11 |
| Memory (RAM) | 2 GB |
| Memory (ROM) | 8 GB |
| Display | |
| Touch Screen Dimension | 4 inch |
| Touch Screen Resolution | 480x480px pixels |
| Control | |
| Relay Type | 2-way relay 200W per circuit None |
| Sensors | |
| Built-in Sensors | Brightness |
Pin layout
| Pin | Label | Type | Position |
|---|---|---|---|
| 1 | L | power_line | bottom |
| 2 | N | power_neutral | bottom |
| 3 | ETH | ethernet_in | top |
| 4 | L1 | control_L_out | top |
| 5 | L2 | control_L_out | top |
Physical & packaging
| Dimensions (L × W × H) | 86 × 10 × 86 mm |
|---|---|
| Weight | 214 g |
| Box dimensions (L × W × H) | 109 × 76 × 109 mm |
| Box weight | 266 g |
User manual
- 1. Product Size
- 2. Interface and Ports
- 3. Product specifications
- 4. Installation instructions
- 5. Wiring
- 6. Add Display
- 7. Video
- 8. FAQ
1. Product Size
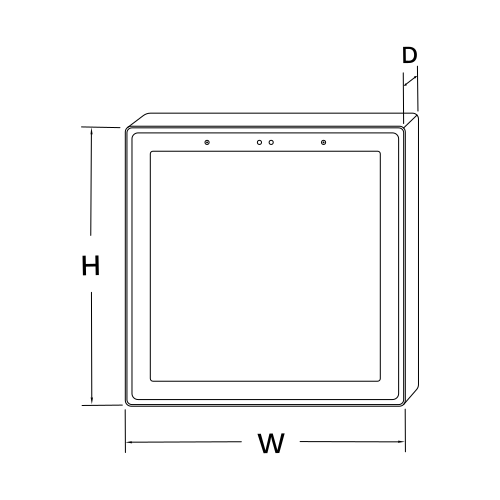
W: 8.6 cm
H: 8.6 cm
D: 1 cm
2. Interface and Ports
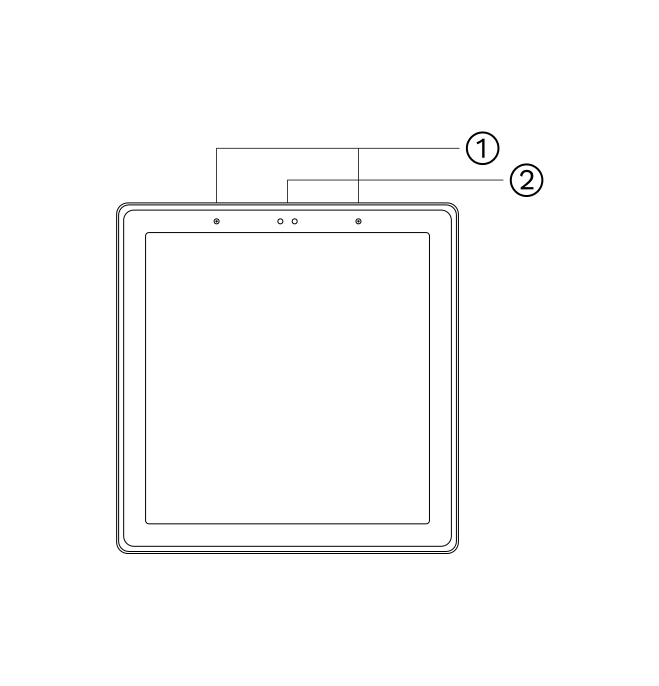
- Dual array microphone
- Light/distance sensor
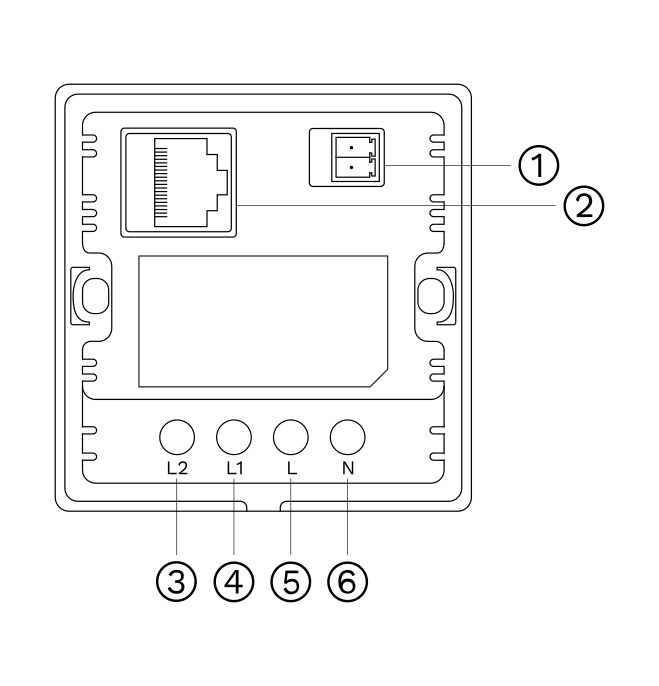
- RS485 port
- Ethernet RJ45 port
- Output live wire 2 (L2)
- Output live wire 1 (L1)
- Live wire (L)
- Neutral wire (N)
3. Product specifications
4. Installation instructions
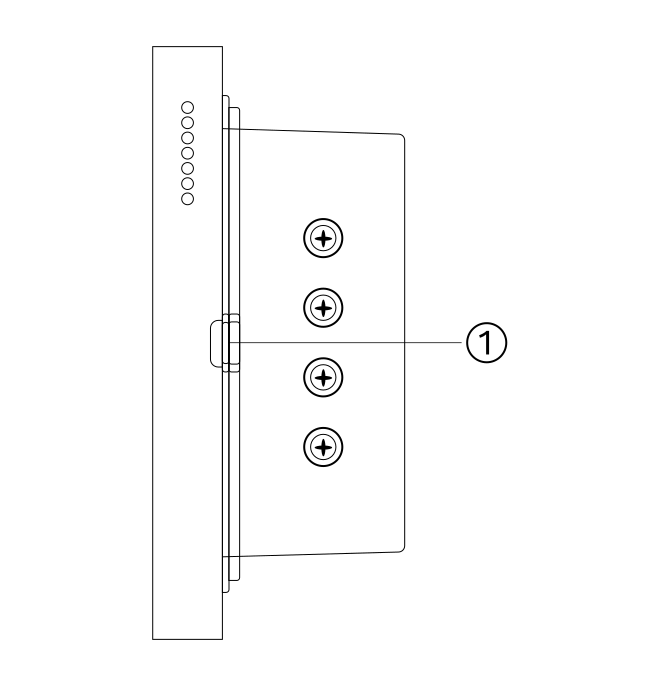
Turn off the main power in the electric box and make sure the live wire in the wall box is not live.
Remove the base of the display and install it in the wall box.
- Pry the base off with a flat screwdriver
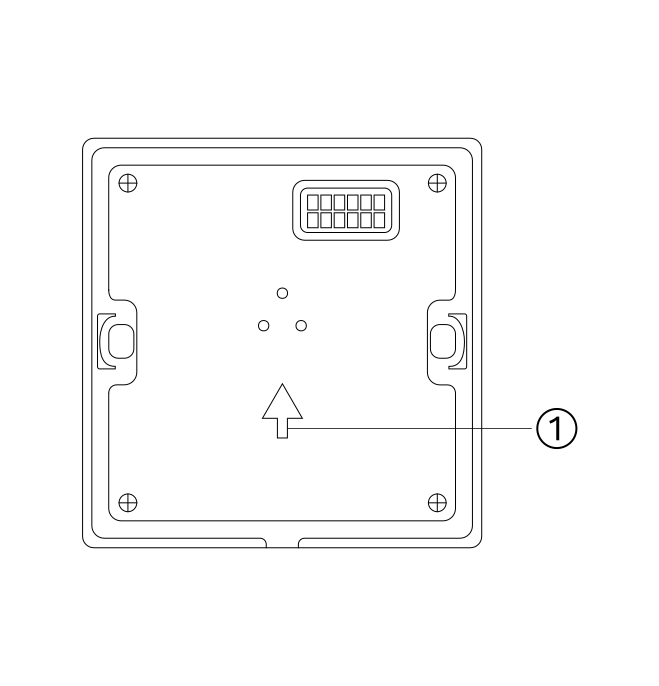
- Install upward as shown
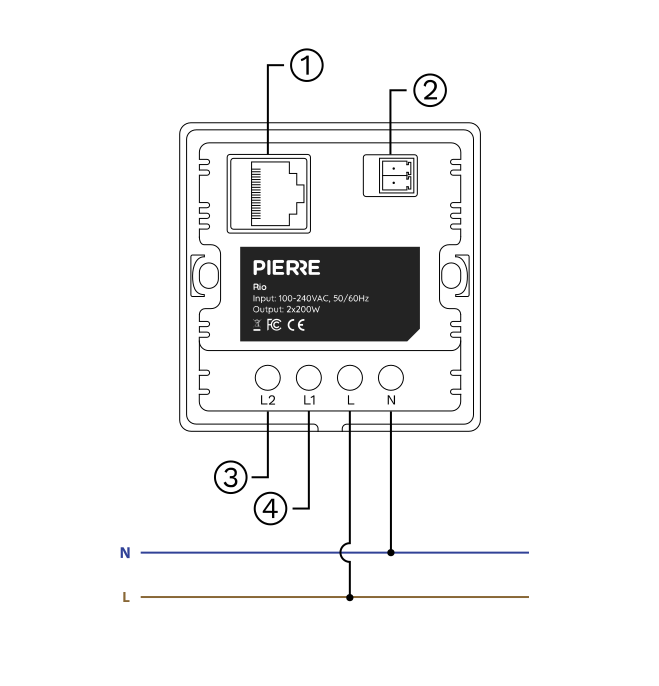
Wire connection instructions
- Ethernet port
- RS485
- Output live wire 2 – max 200 W
- Output live wire 1 – max 200 W
Note: Make sure the circuit power is cut off before the wires are connected.
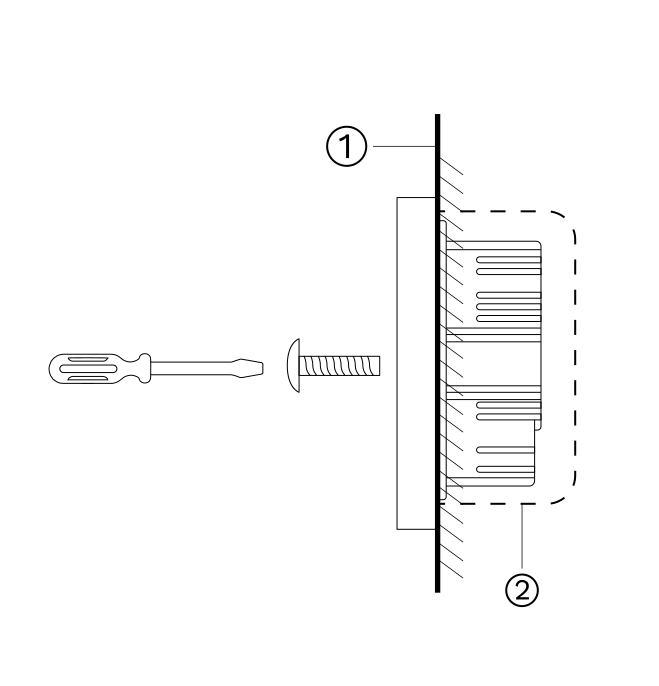
Fasten the base to the wall box with the mounting screws and fix the display back onto the base.
If the display is not flat after installation, do not press on the screen. Check the wall box and base installation first.
Do not overtighten the screws; this can deform or damage the screen and hardware.
- Wall
- Wall box
5. Wiring
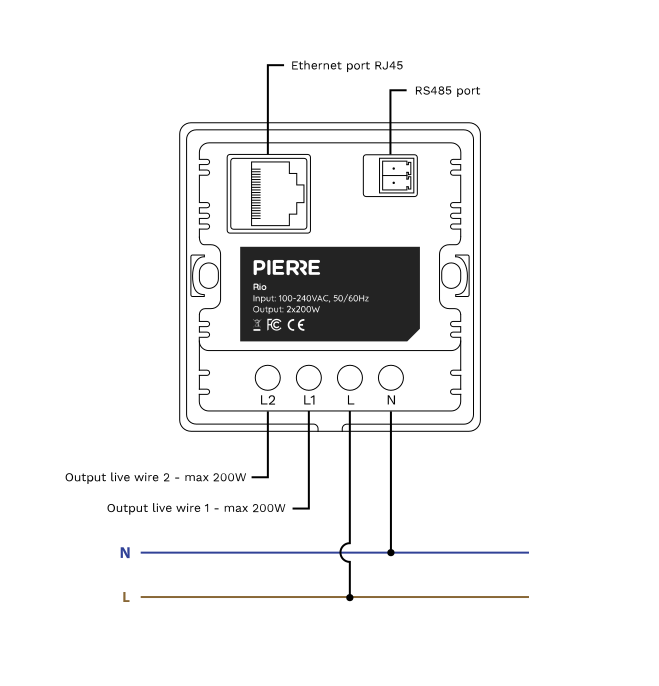
PIERRE Rio 4" display – wiring diagram
| Run | Wires | Cross-section | Cable type | Conductors |
|---|---|---|---|---|
| From PIERRE Display to Electric box (Required) | 2 | 1.5 mm² | NYM-O | L, N |
| From PIERRE Display to Consumer (Optional) | 3 | 1.5 mm² | NYM-O | L1, L2, N |
| From PIERRE Display to Network switch (Recommended) | 1 | - | Cat 5e U/UTP | - |
| From PIERRE Display to Modbus (Optional) | 2 | 0.5 mm² | Shielded twisted pair | A+, B- |
6. Add Display
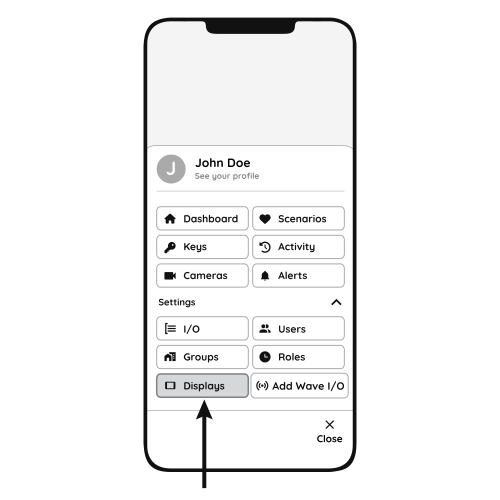
Follow the steps below to add the Helsinki display.
- Open Displays
- Open the Menu and, under Settings, tap Displays.
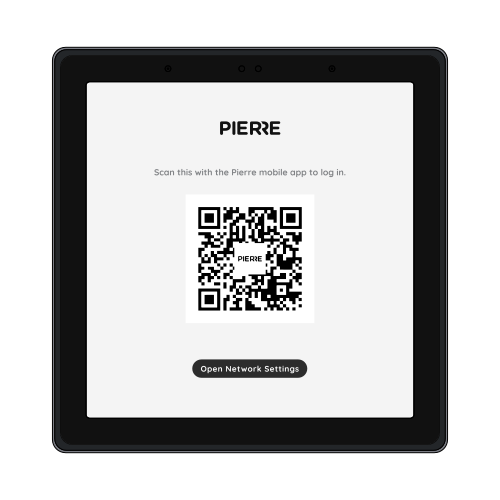
- QR code
- Scan the QR code shown on the display with your smartphone to add the Rio display, then follow the steps on the screen.
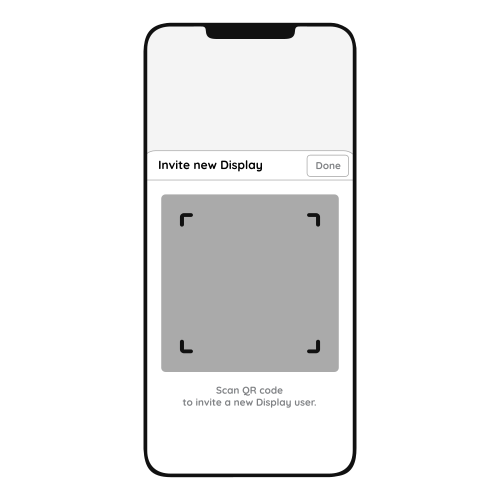
- Invite New Display
- Scanning the QR code invites the new Helsinki display to the system.
- Tap Done to confirm.
7. Video
PIERRE Academy - Full Display Integration & Automation Guide. https://www.youtube.com/watch?v=XPsZkIxCtJE
8. FAQ
Q1: What happens if the internet goes down?
The system continues to work locally without internet access, but remote access (for example controlling devices from a phone while away) is not possible.
Q2: Can the display’s sound be adjusted?
Yes. Swipe down from the top of the display to open the menu, where you find the sound settings.
Q3: Do displays need to be connected to a controller?
No. Displays connect to the system through the network, wired or wireless, and do not need a direct connection to the Controller.
Q4: Can the display size be upgraded?
Yes. A smaller display can be replaced with a larger one.
Q5: Does the Rio display have a temperature sensor? Can it work as a thermostat?
No, the Rio display has no built-in temperature sensor. It can still switch heating or cooling devices with its relays; the room temperature then comes from an external PIERRE temperature sensor.
Q6: Are the displays waterproof?
No. The displays are not waterproof and are not suitable for areas exposed to moisture or rain.
Q7: Is a thermostat required?
No. A temperature sensor integrated in the PIERRE system can monitor the room temperature and control the heating/cooling devices.
Q8: Does PIERRE have its own thermostat?
Yes. PIERRE offers its own smart thermostats; see the thermostat product category.
Q9: Can a display work as a thermostat?
The Helsinki and Berlin displays have a built-in temperature sensor and can control heating/cooling like a thermostat. All displays, including the Rio, have two relays that can switch heating/cooling devices on or off.
Q10: If I remove an old thermostat, can I replace it with a PIERRE display for heating control?
Yes. A display with a built-in temperature sensor (Helsinki or Berlin) can replace the old thermostat. With the Rio, add an external PIERRE temperature sensor.
Q11: Can the display relay control underfloor heating valves?
Yes. The display relays can control underfloor heating valves as well as other heating and cooling devices.
Q12: What is required for connecting displays?
A mains supply (2 × 1.5 mm², L and N) and a network connection through a UTP (Cat 5e) cable.
Q13: How can heat quantity measurement be solved with the PIERRE system?
With a PIERRE Pro Controller and an M-Bus to Modbus converter. The heat meters are connected to the M-Bus side of the converter.