
Smart Control Panel - Monaco 12.3"

| SKU | P-DSP-MON |
|---|---|
| Product line | PIERRE Pro, PIERRE Wave |
| Category | Displays |
| GTIN / EAN | 8606034722448 |
Overview
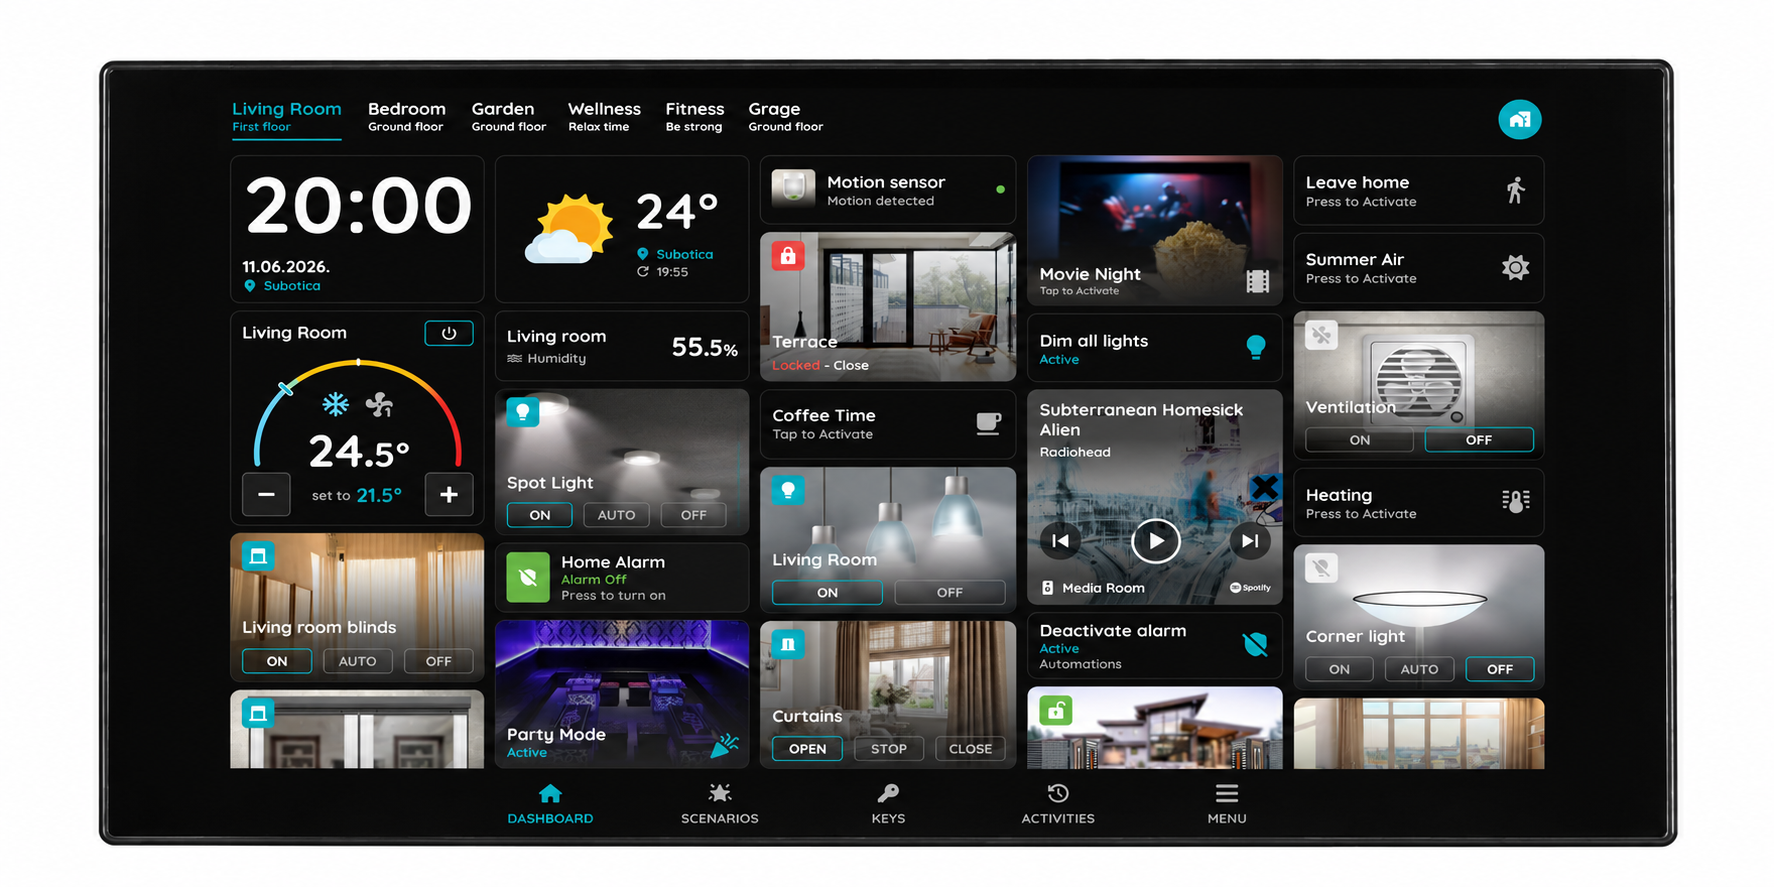
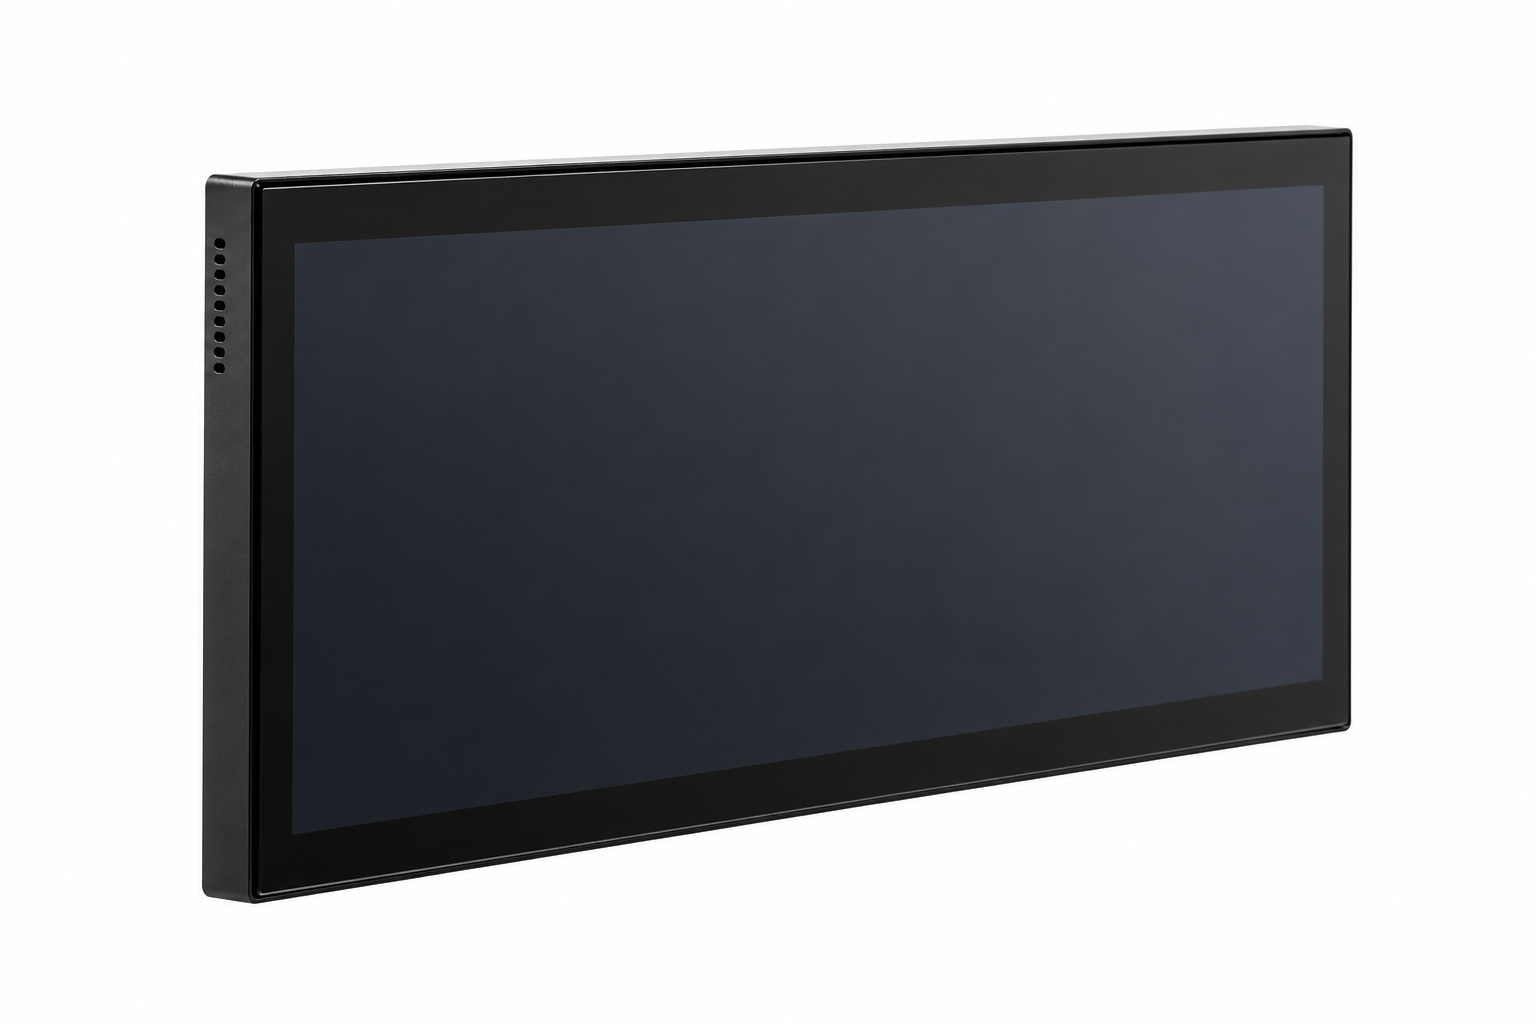
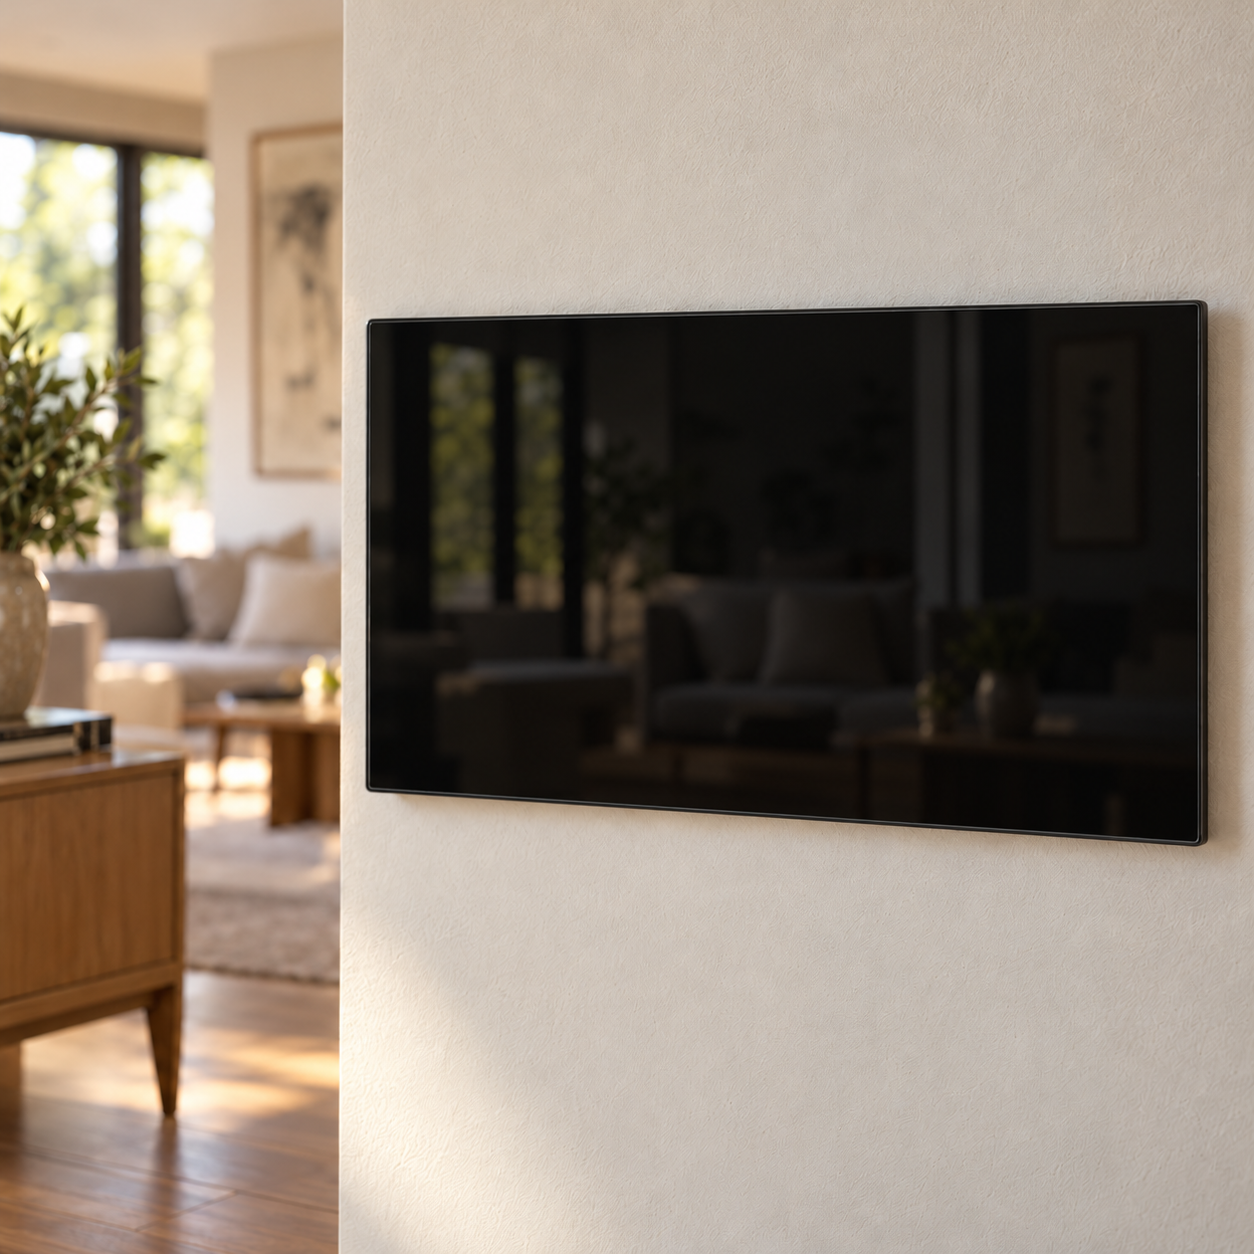
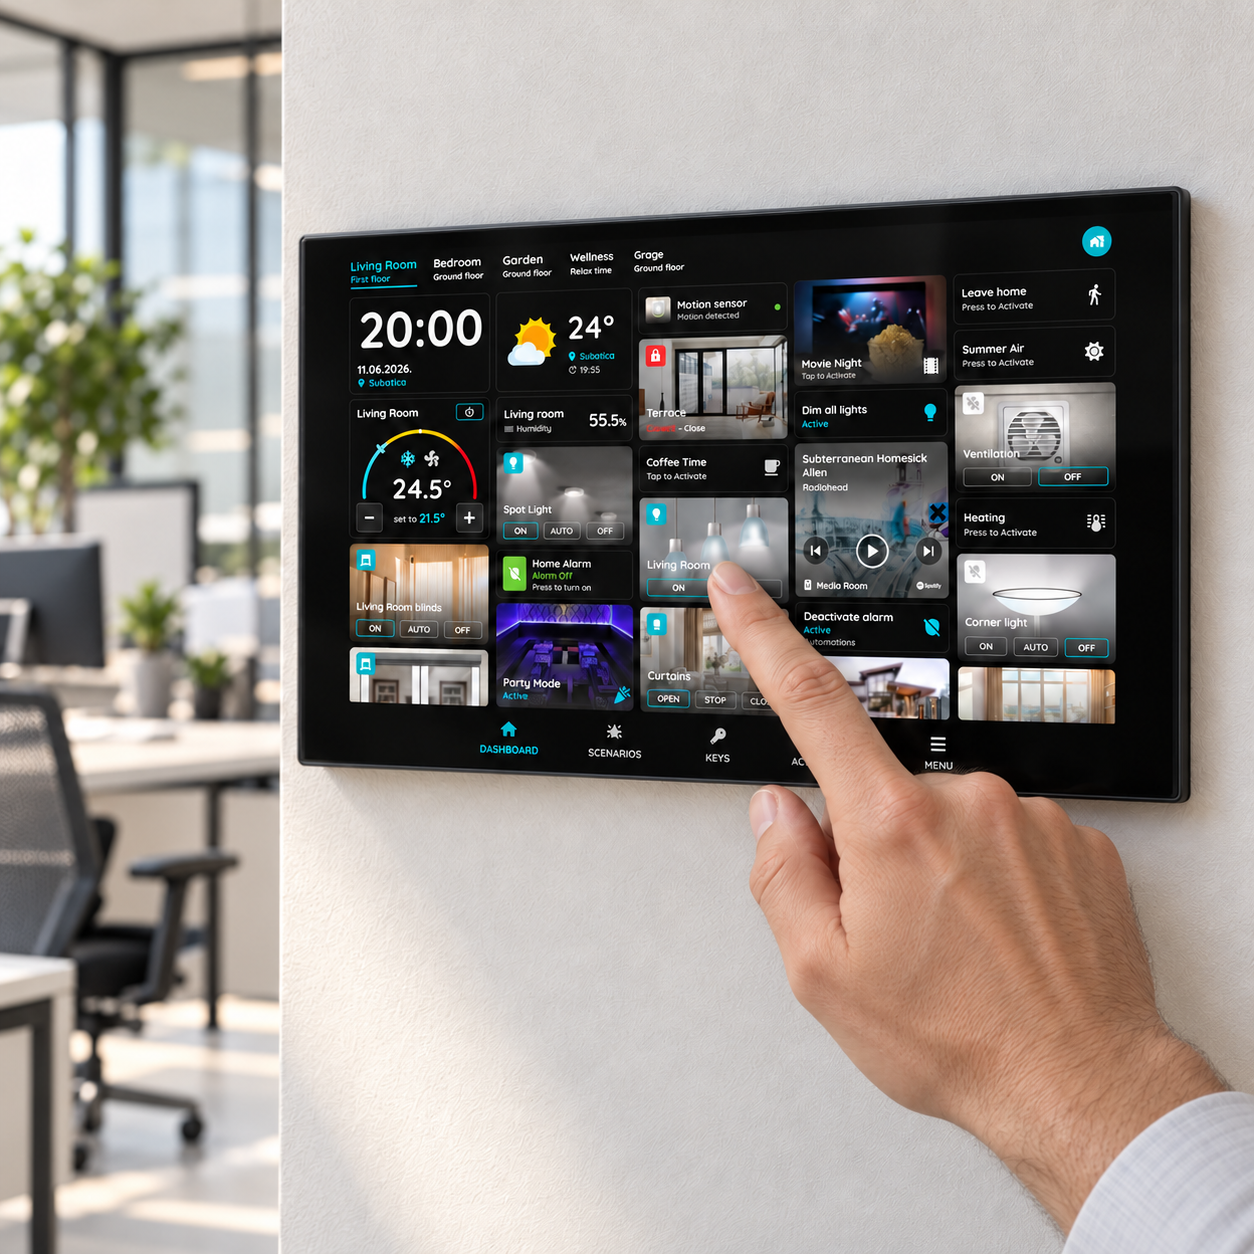
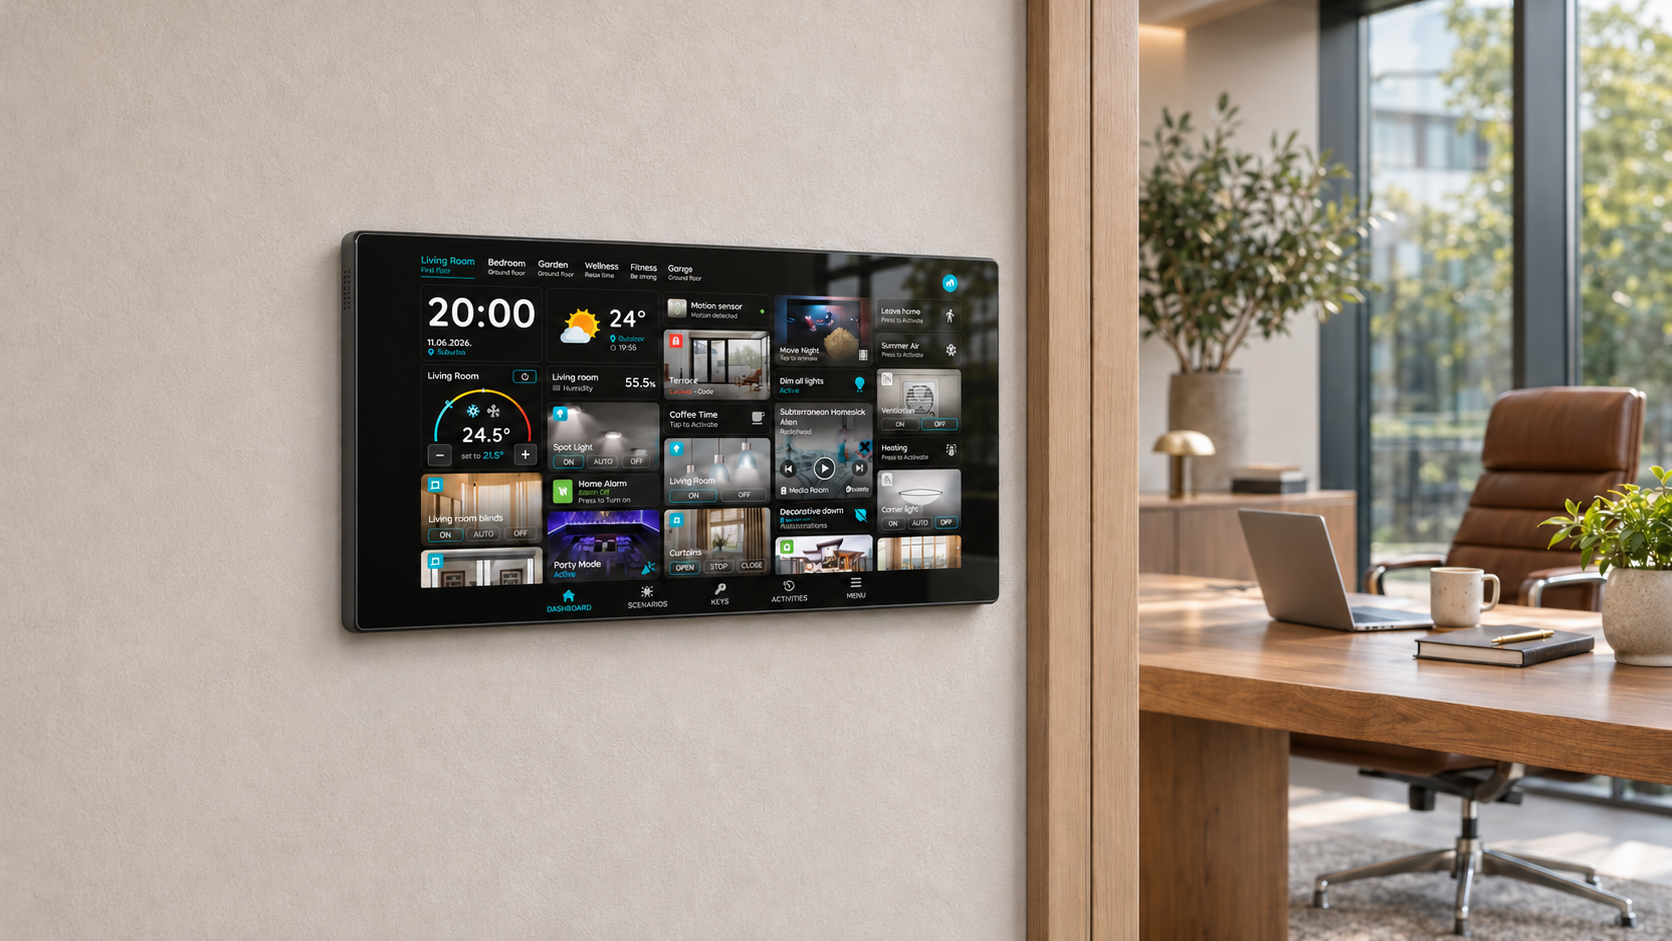
The PIERRE Smart Control Panel Monaco 12.3" is a wall-mounted touchscreen panel designed to provide a centralized interface for smart building and room control. Its 12.3-inch IPS display, with a resolution of 1920 × 720 pixels and 10-point capacitive touch, offers a wide-format interface for managing compatible lighting, climate control, and other available Smart PIERRE functions.
Powered by a quad-core Cortex-A55 processor running at 1.8 GHz, with 2 GB RAM and 16 GB storage, the panel runs Android 11 and provides a hardware platform for the Smart PIERRE application.
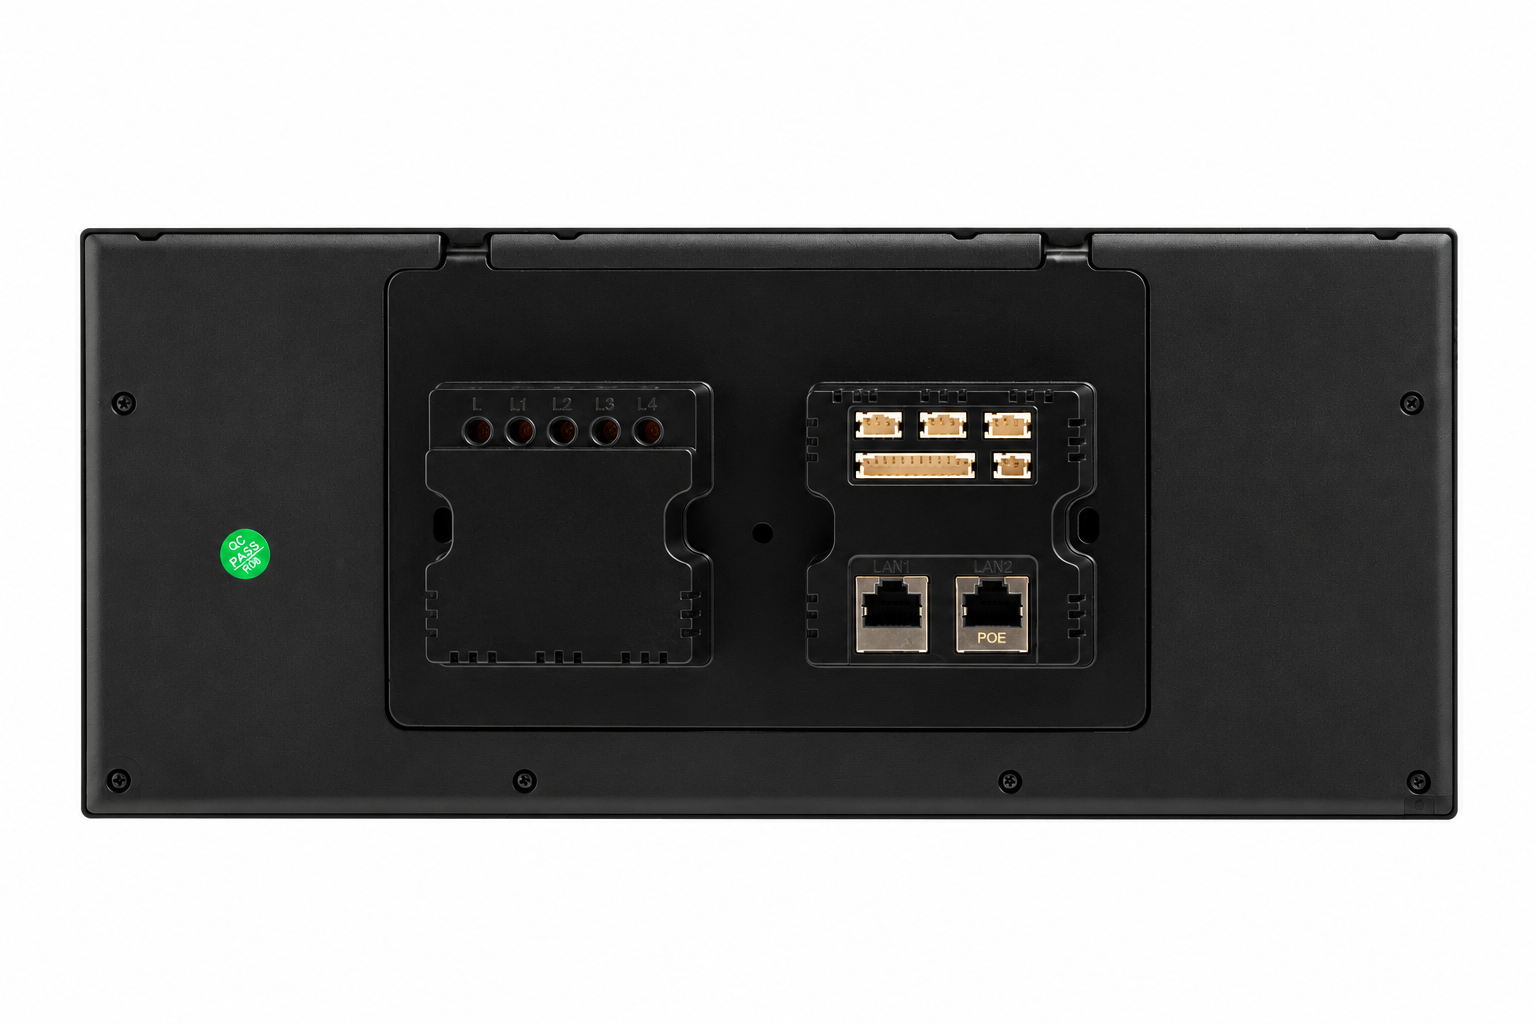
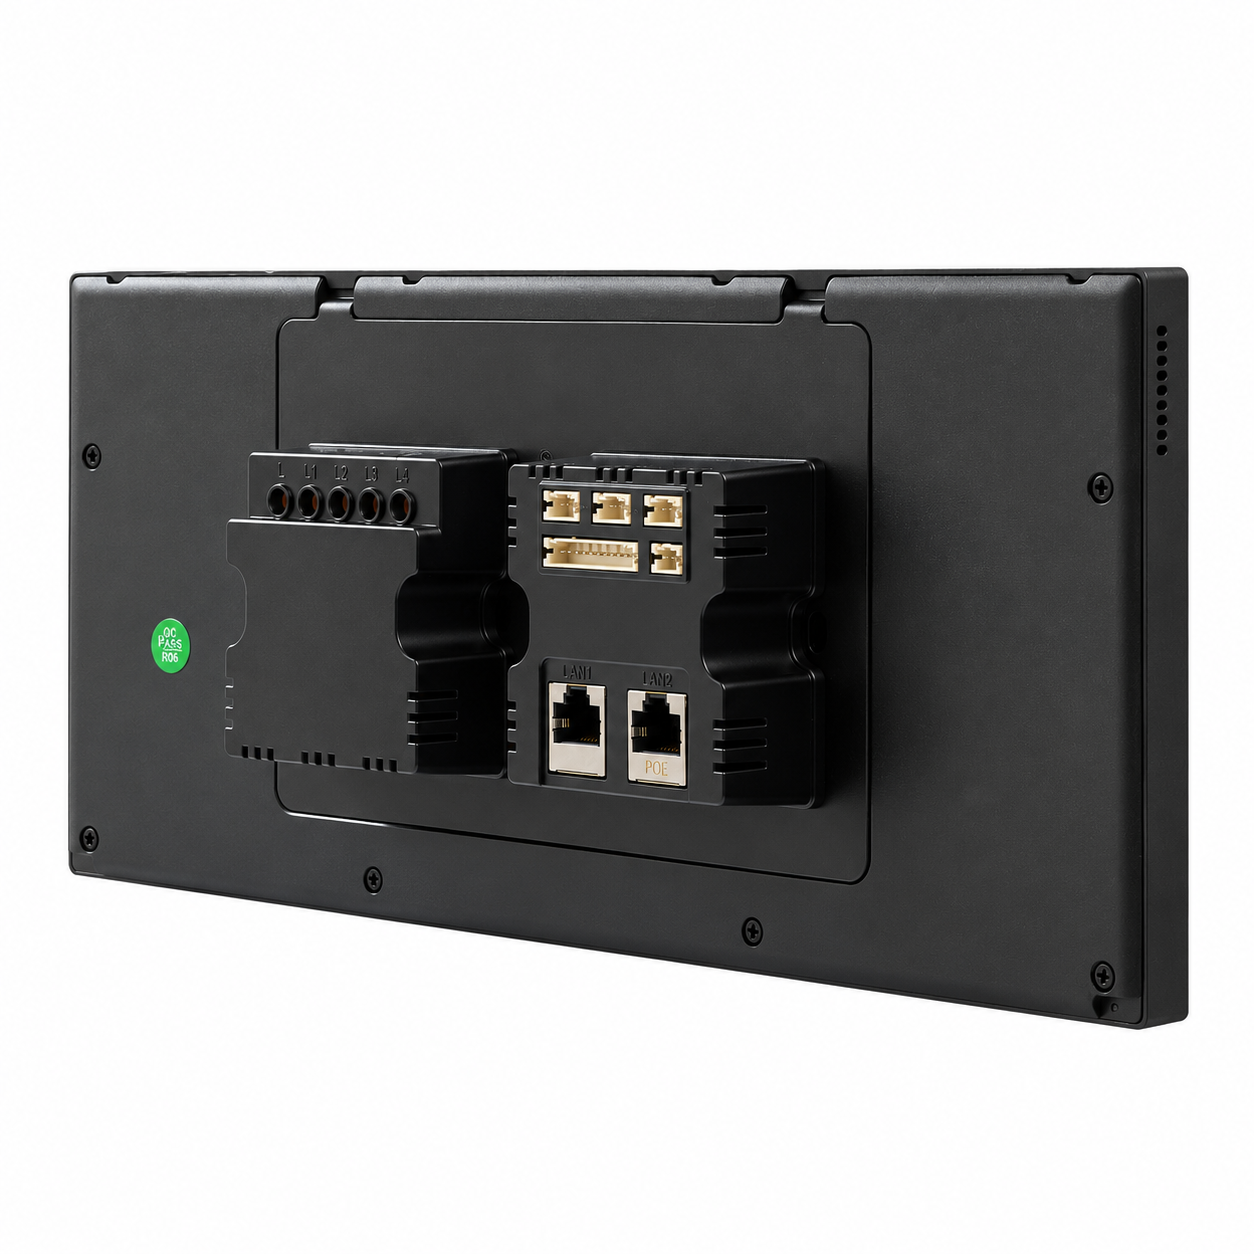
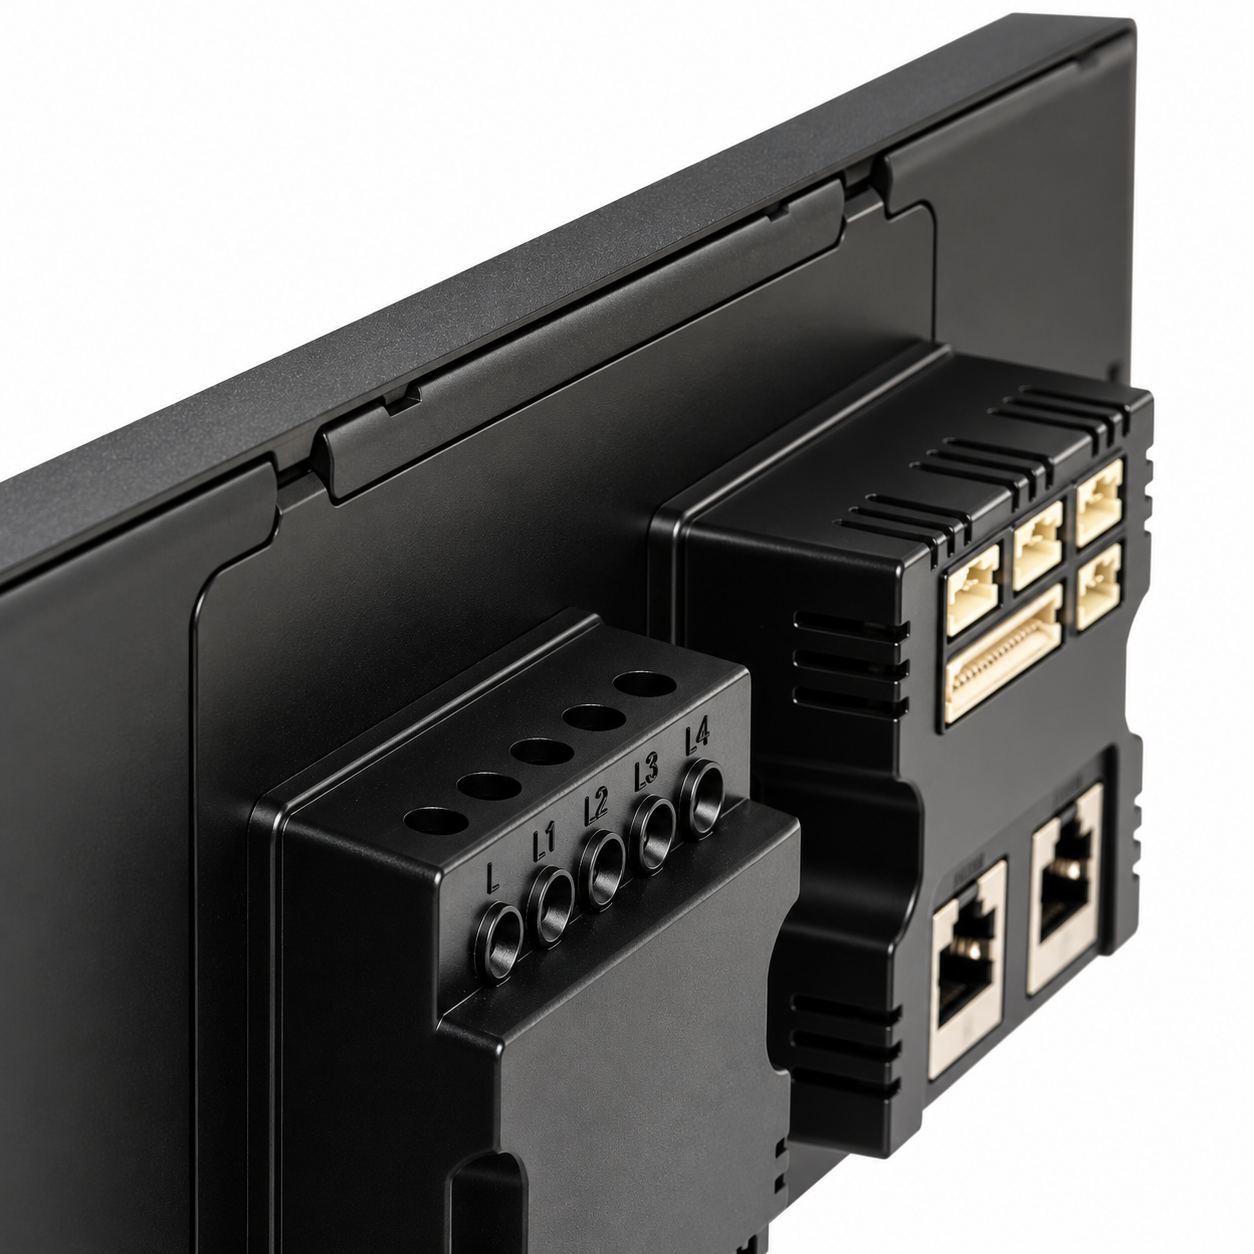
The panel features four integrated relay outputs for switching compatible electrical loads, as well as two RS-485 interfaces for supported external devices. Its proximity sensor can detect a nearby person and automatically activate the screen.
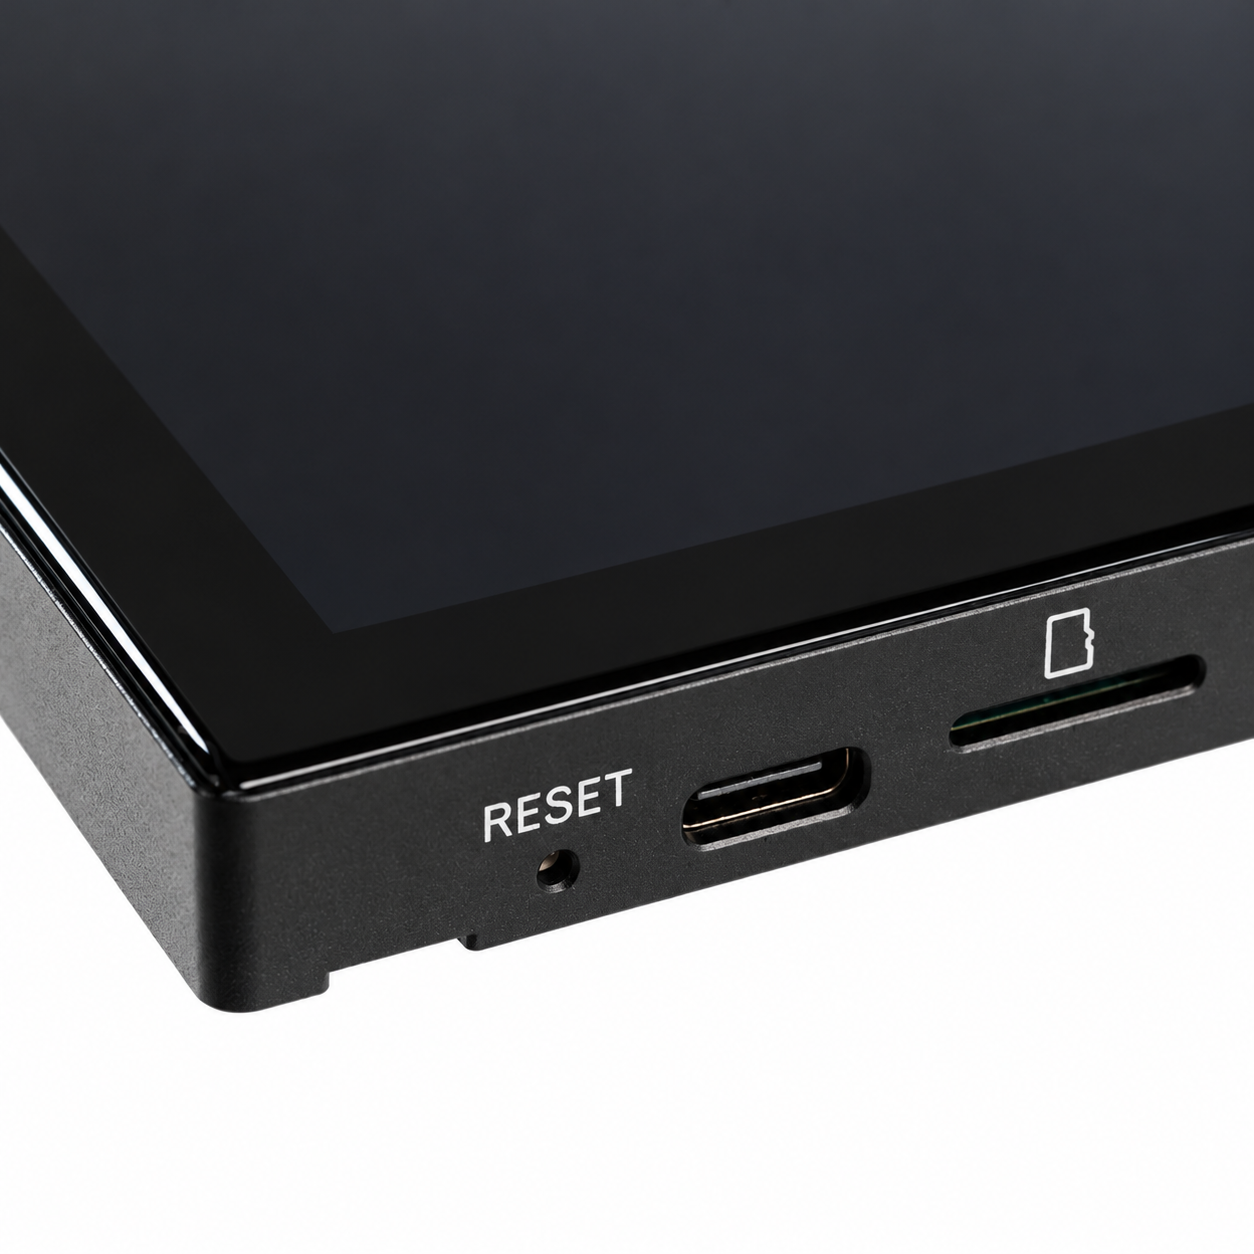
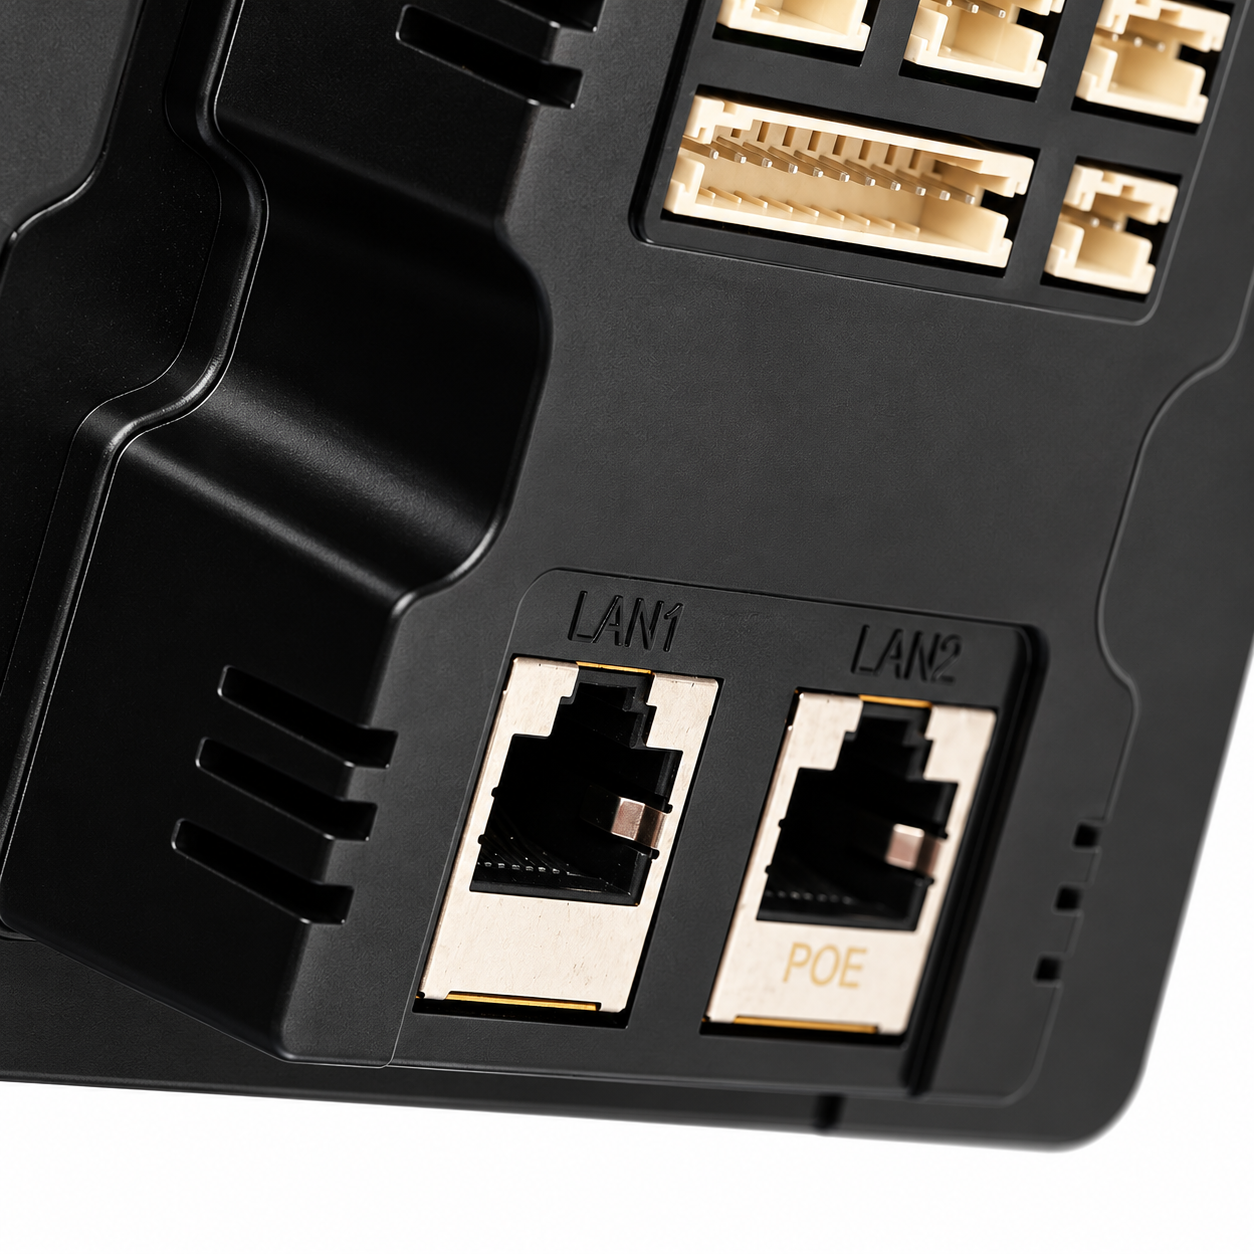
Built-in microphones and stereo speakers provide audio capabilities for compatible communication applications. The panel also supports Ethernet connectivity through two RJ45 ports, dual-band Wi-Fi, Bluetooth 5.0 or later, and Power over Ethernet (PoE).
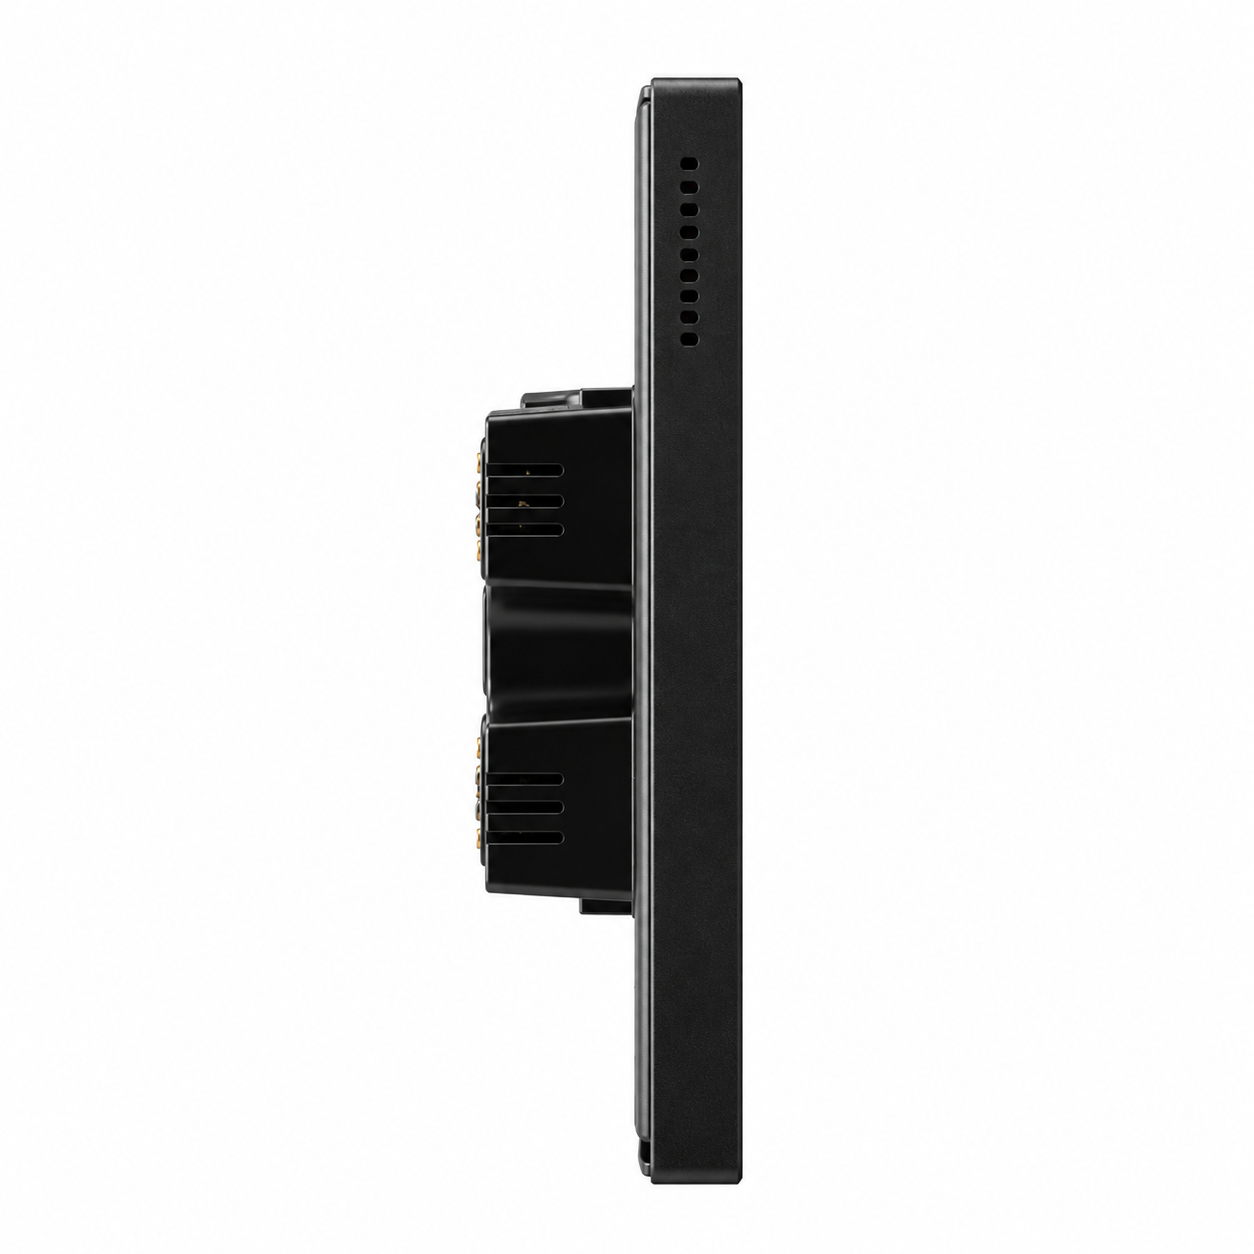
The device supports 12 V DC power or 48 V PoE and measures 311.9 × 166 mm, with a depth of 11 mm at the front and 34.5 mm at the thicker section. Its magnetic mounting system supports wall-mounted installation in residential buildings, apartments, and hospitality environments.
The panel operates at temperatures from −10 °C to +55 °C.
Key features
- 12.3-inch IPS touchscreen display
- Resolution: 1920 × 720 pixels
- 10-point capacitive touch
- Quad-core Cortex-A55 processor, 1.8 GHz
- 2 GB RAM and 16 GB storage
- Android 11 operating system
- Four integrated relay outputs
- Two RS-485 interfaces
- Dual Ethernet ports (RJ45, 10/100 Mbps)
- Dual-band Wi-Fi (2.4 GHz / 5 GHz)
- Bluetooth 5.0 or later
- PoE support (IEEE 802.3af/at)
- 12 V DC power supply option
- Built-in microphone and stereo speakers (2 × 3 W)
- Integrated proximity and ambient light sensing
- Magnetic wall mounting
Technical specifications
| Certification | |
|---|---|
| CE Marking | Yes |
| RoHS Compliant | Yes |
| Warranty | 2 years |
| Connectivity | |
| PoE Support | Yes |
| PoE Protocol | IEEE 802.3af/at 15.4W/30W |
| Connectivity | 10M/100M Ethernet RJ45, 2.4GHz Wi-Fi (802.11 b/g/n), Zigbee, Modbus |
| Control | |
| Relay Type | 4-way relay 250W per circuit None |
| Number of Channels | 4 channels |
| Display | |
| Touch Screen Dimension | 12.3 inch |
| Touch Screen Resolution | 1920x720px pixels |
| Electrical | |
| Power Supply | DC 12V 2A |
| Power Consumption | 5 W |
| Environmental | |
| Operating Temperature (°C) | -10°C - +55°C |
| Operating Humidity | 5% - 95% RH Non condensing % RH |
| IP Rating | IP20 |
| Hardware | |
| CPU | RK3566 Quad core Cortex-A55 |
| Operating System | Android |
| OS Version | 14 |
| Memory (RAM) | 2 GB |
| Memory (ROM) | 16 GB |
| Physical | |
| Width | 309.2 mm |
| Height | 129 mm |
| Depth | 9.5 mm |
| Panel Material | ABS+PC material |
| Product Color | Black |
| Sensors | |
| Built-in Sensors | Temperature, Humidity, Brightness |
Dimension drawings

Physical & packaging
| Dimensions (L × W × H) | 9.5 × 129 × 309.2 mm |
|---|
User manual
- 1. Dimensions
- 2. Interface and Ports
- 3. Product specifications
- 4. Installation instructions
- 5. Wiring instructions
- 6. Add Display
- 7. FAQ
1. Dimensions
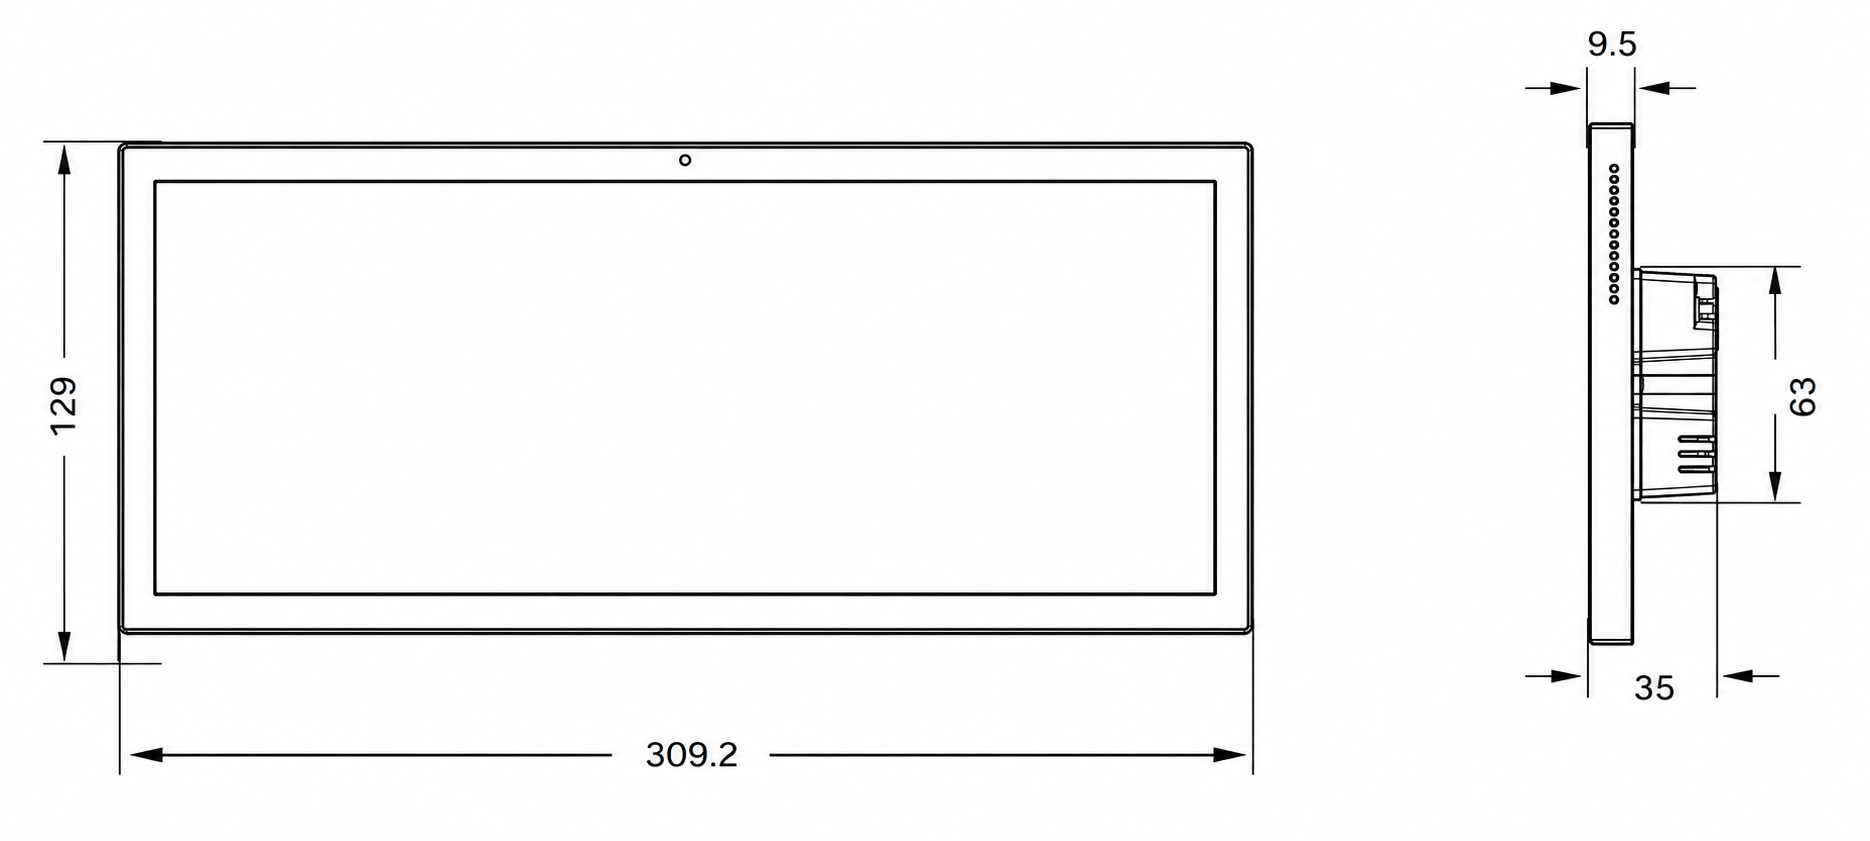
- W: 30.92 cm
- H: 12.9 cm
- D: 0.95 cm
2. Interface and Ports
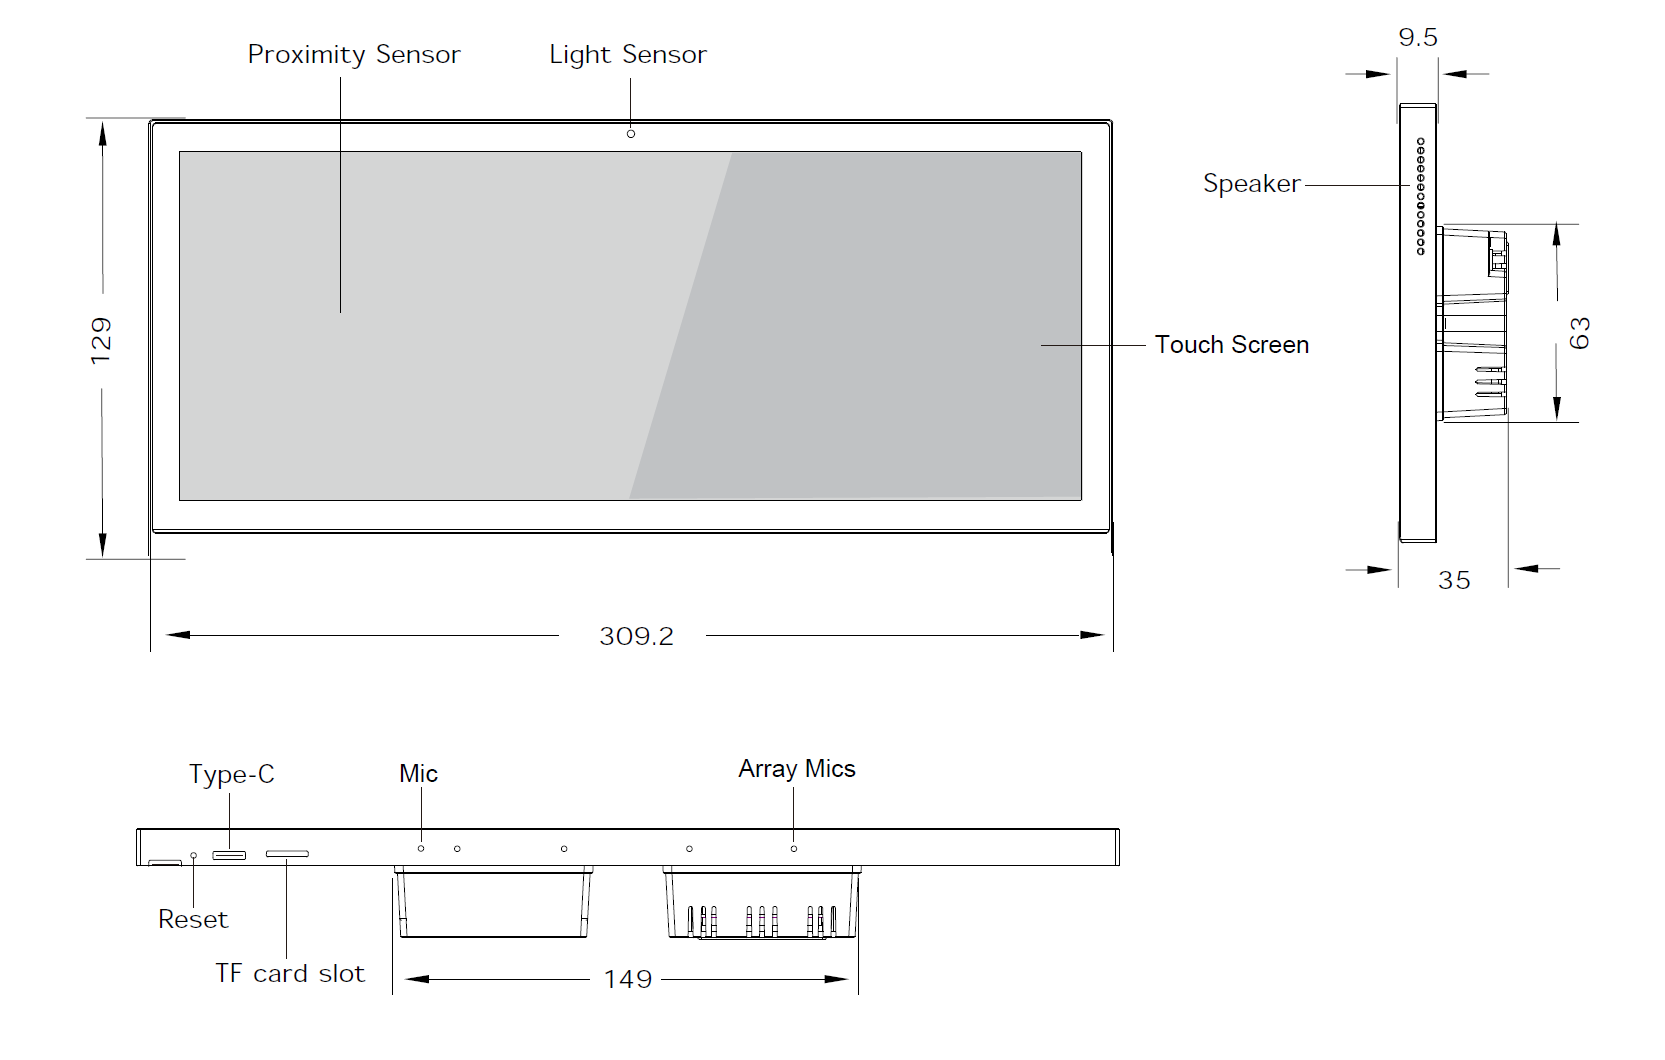
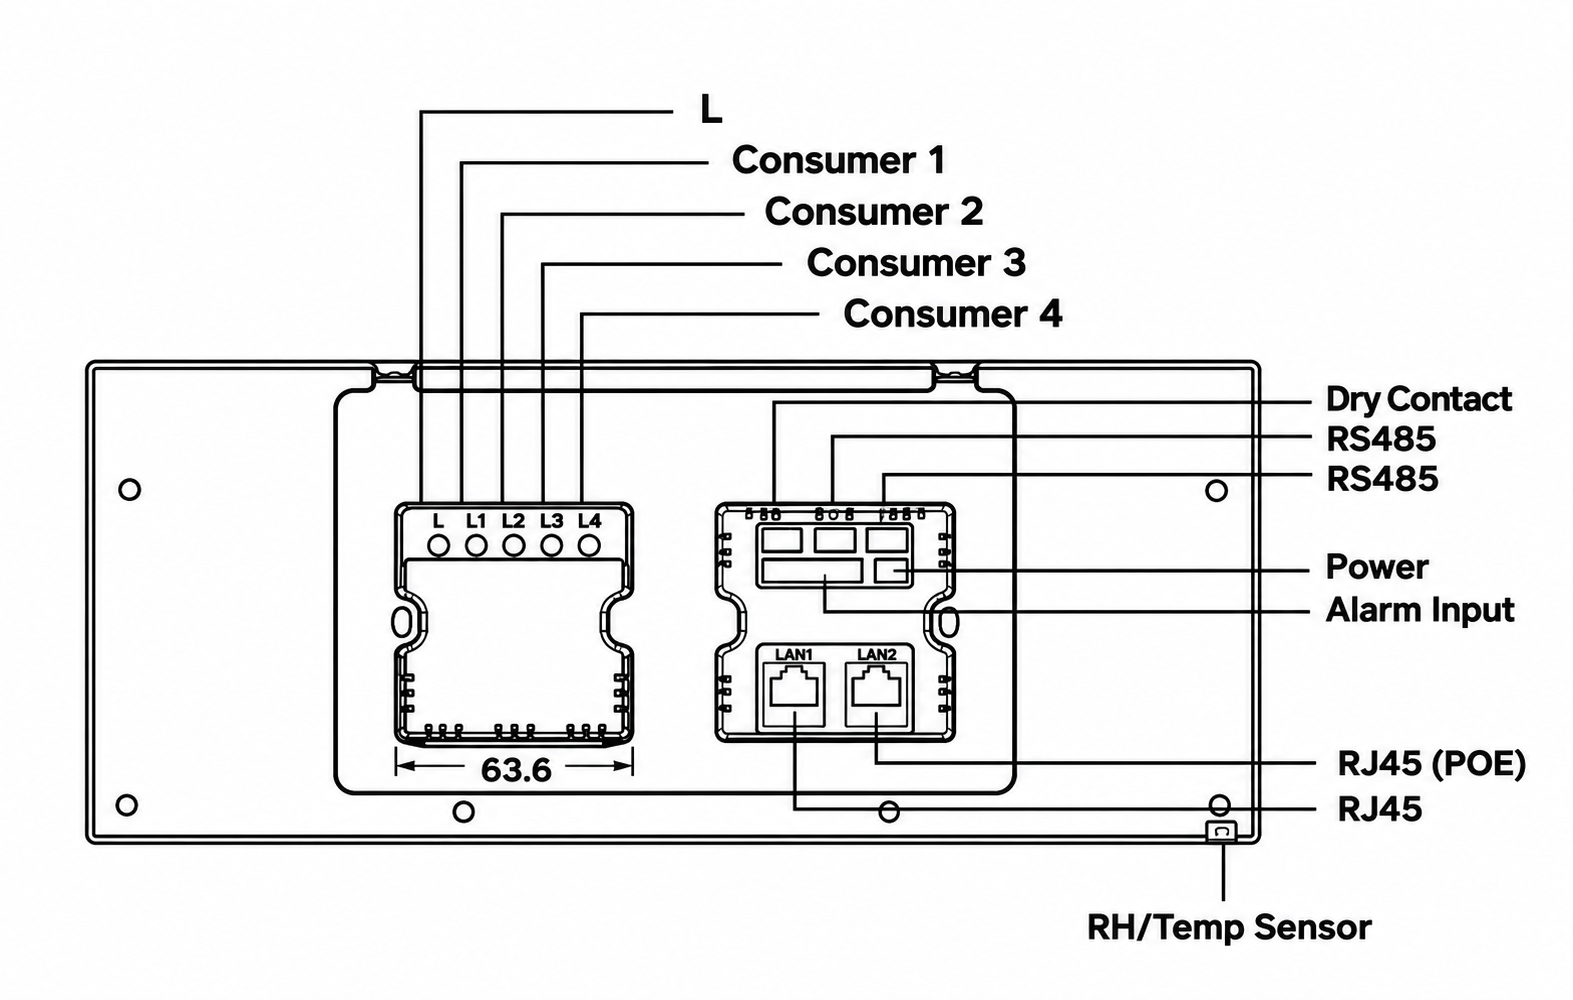
3. Product specifications
4. Installation instructions
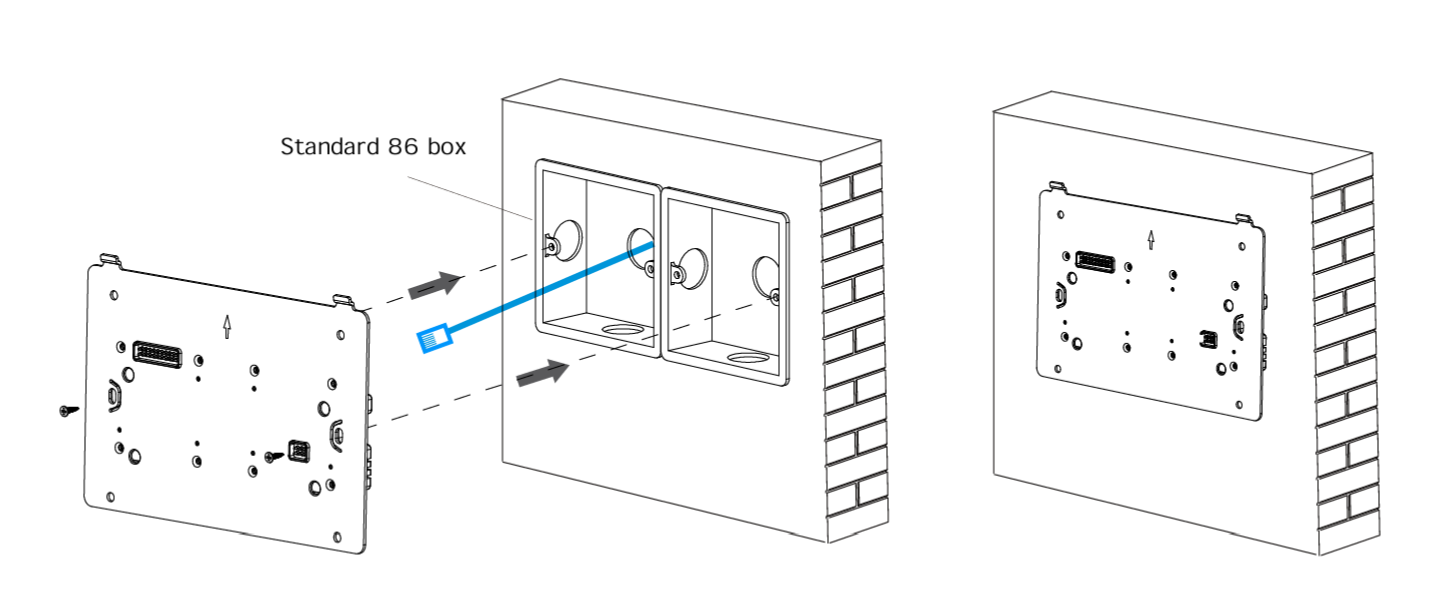
Pre-install 2x86 boxes in the wall, connect the cables to the corresponding ports on the mounting box (please refer to the device wiring section).
Fasten the mounting bracket to box by using screws.
Note: Please make sure the hooks are facing up and outward.
After that the mounting bracket installation is done.
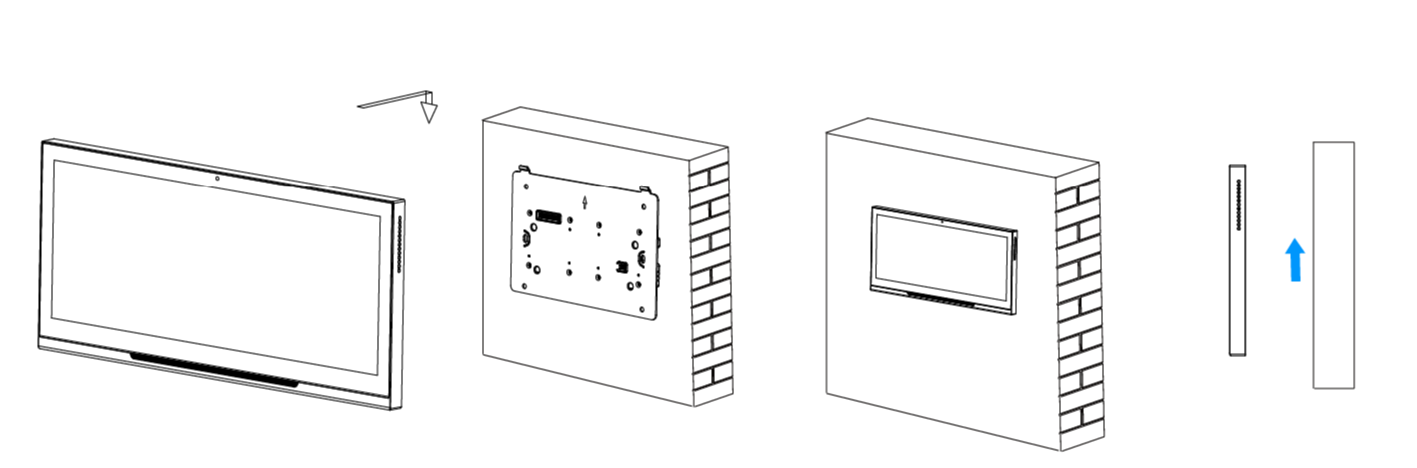
Align the holes on the back of the device with hooks of the mounding box and clip in.
The device installation is done.
Pull from the bottom and push up to remove the device.
5. Wiring instructions
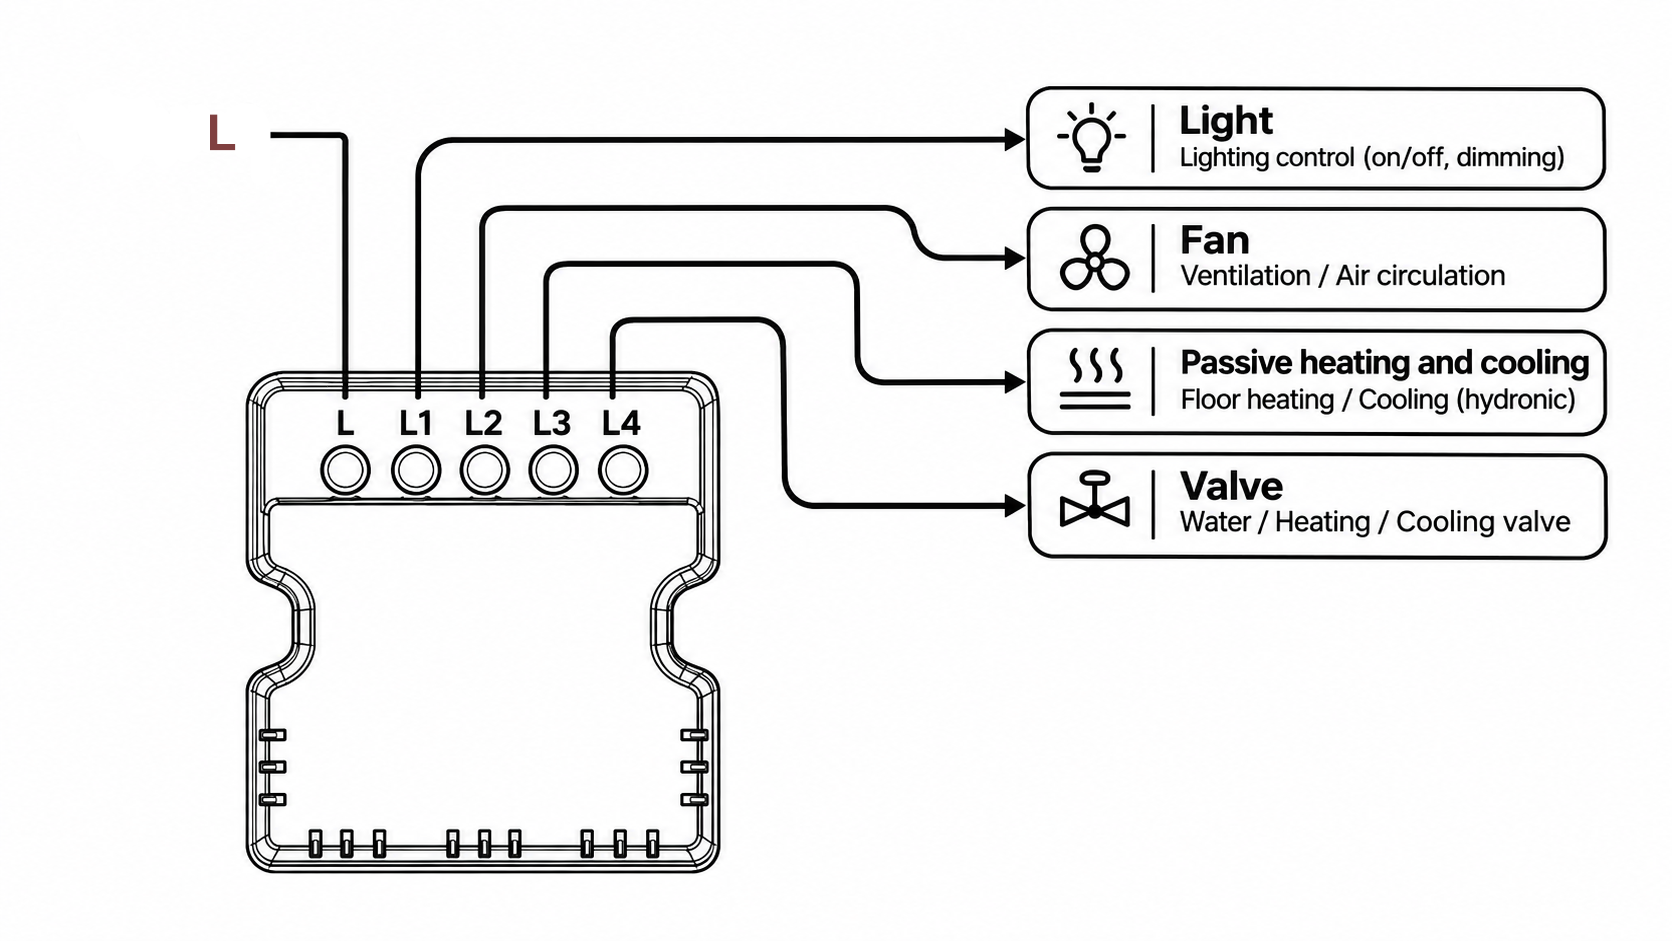
PIERRE Monaco wiring
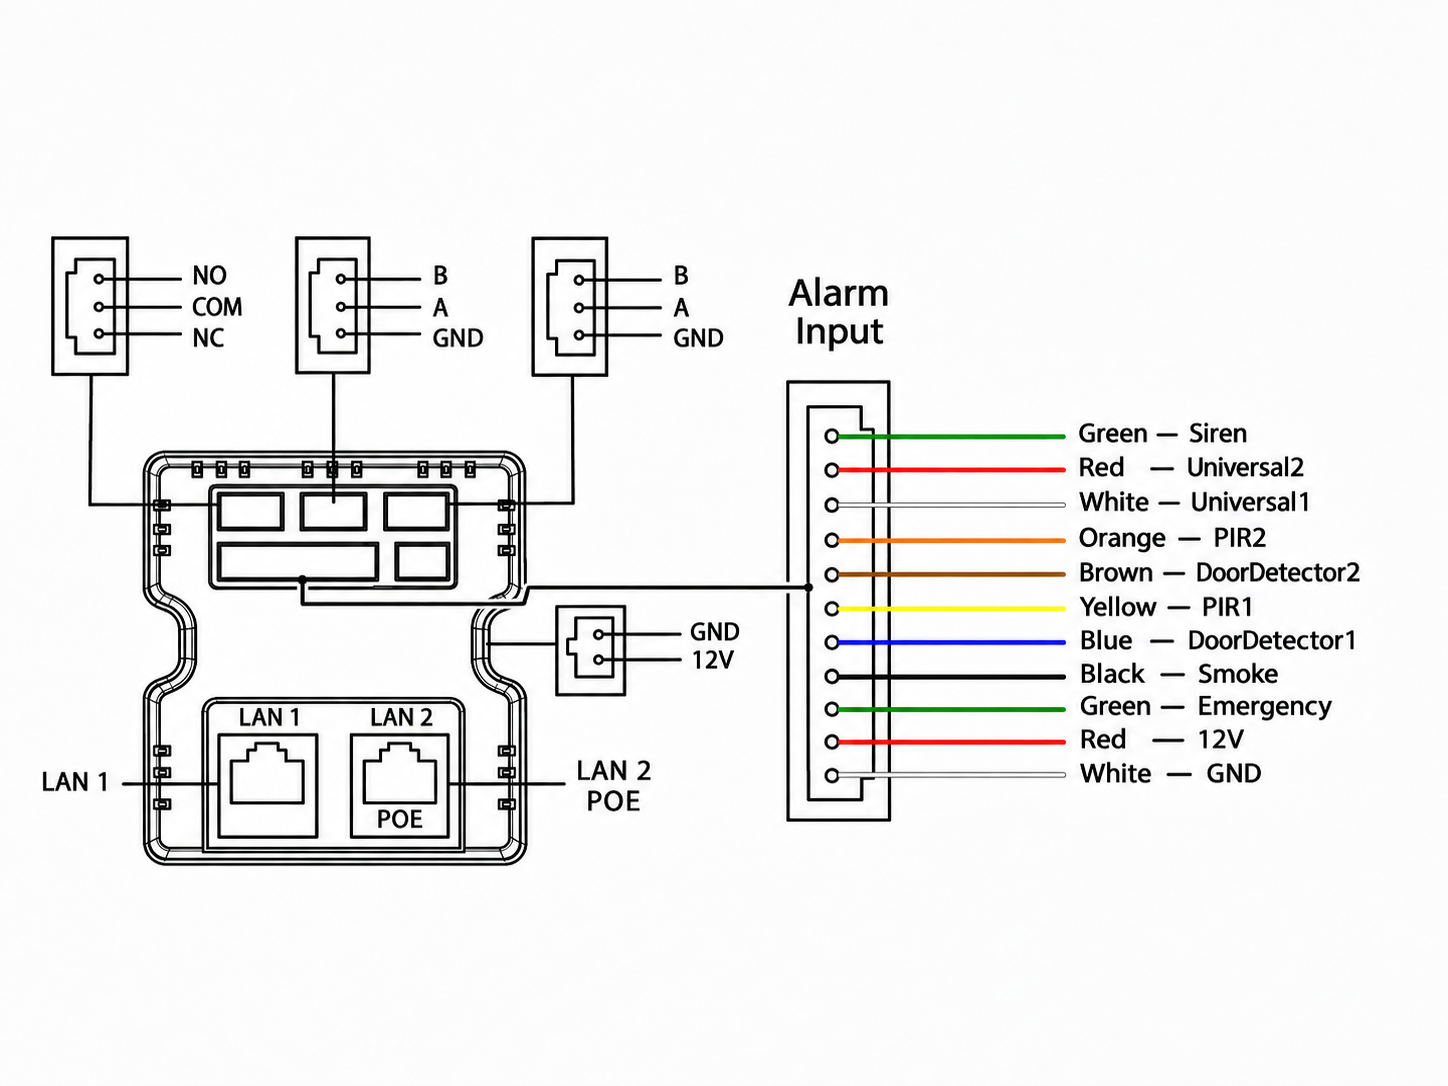
PIERRE Monaco wiring
6. Add Display
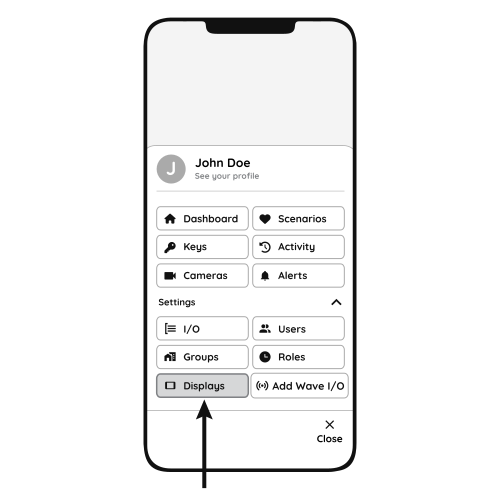
Follow the steps below to add the Helsinki display.
- Open Displays
- Open the Menu and, under Settings, tap Displays.
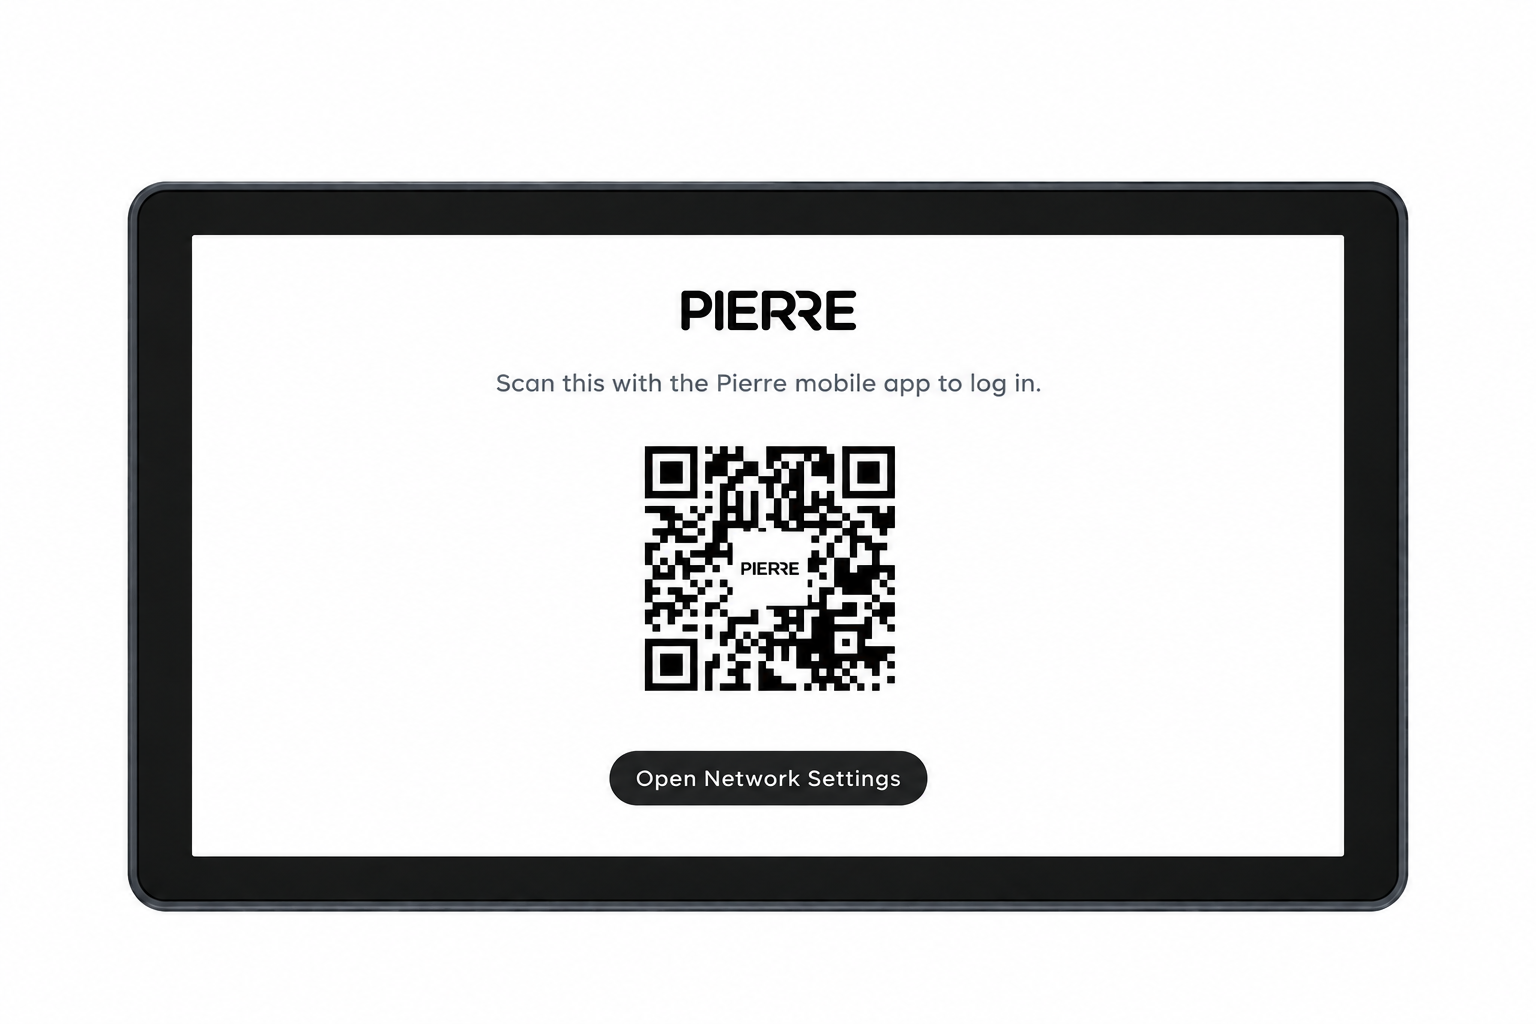
- QR code
- Scan the QR code shown on the display with your smartphone to add the Berlin display, then follow the steps on the screen.
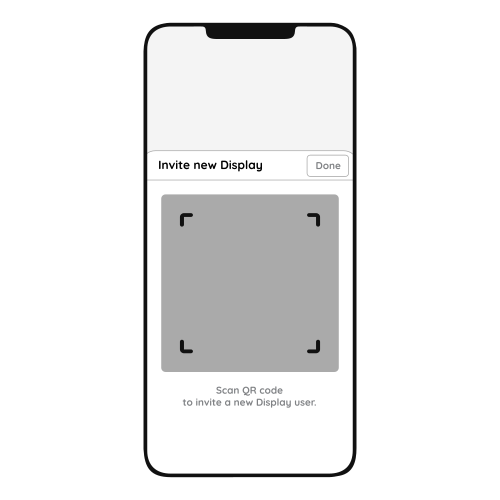
- Invite New Display
- Scanning the QR code invites the new Helsinki display to the system.
- Tap Done to confirm.
7. FAQ
Q1: Can the display’s sound be adjusted?
Yes. Swipe down from the top of the display to open the menu, where you find the sound settings.
Q2: Do displays need to be connected to a controller?
No. Displays connect to the system through the network, wired or wireless, and do not need a direct connection to the Controller.
Q3: Can the display size be upgraded?
Yes. A smaller display can be replaced with a larger one.
Q4: Are the displays waterproof?
No. The displays are not waterproof and are not suitable for areas exposed to moisture or rain.
Q5: Is a thermostat required?
No. A temperature sensor integrated in the PIERRE system can monitor the room temperature and control the heating/cooling devices.
Q6: Does PIERRE have its own thermostat?
Yes. PIERRE offers its own smart thermostats; see the thermostat product category.
Q7: Can the Berlin display work as a thermostat?
Yes. The Helsinki display has a built-in temperature and humidity sensor and two relays, so it can control heating/cooling devices like a thermostat.
Q8: If I remove an old thermostat, can I replace it with a PIERRE display for heating control?
Yes. The Helsinki display has a built-in temperature sensor and can replace an old thermostat.
Q9: Can the display relay control underfloor heating valves?
Yes. The display relays can control underfloor heating valves as well as other heating and cooling devices.
Q10: How accurate is the temperature sensor?
PIERRE temperature sensors are available in wired and wireless versions; see the product specifications for the accuracy of each sensor.
Q11: How many temperature sensors do I need?
At least one sensor for basic heating/cooling control. Install a sensor in every heating/cooling zone or room where you want individual temperature control.
Q12: What is required for connecting displays?
A mains supply (2 × 1.5 mm², L and N) and a network connection through a UTP (Cat 5e) cable.
Q13: How can heat quantity measurement be solved with the PIERRE system?
With a PIERRE Pro Controller and an M-Bus to Modbus converter. The heat meters are connected to the M-Bus side of the converter.
Q14: Can I adjust different temperatures in different rooms?
Yes. The temperature can be controlled room by room.
Q15: Is it necessary to calibrate the temperature sensor?
Not always, but it is often useful.
Not necessary if: the sensor is factory-calibrated (±0.5 °C or better); the application does not need high precision (comfort heating/cooling in a home); the installation location is good (away from direct sun, drafts and heat sources).
Useful if: the displayed temperature does not match a reliable reference thermometer; the device is installed where it is affected by heat from electronics, sunlight or poor airflow; the system needs precise control (HVAC, energy optimisation).
In the Smart PIERRE app, calibration is optional. You can add or subtract an offset to fine-tune the reading.