
Radiator Valve (TRV)
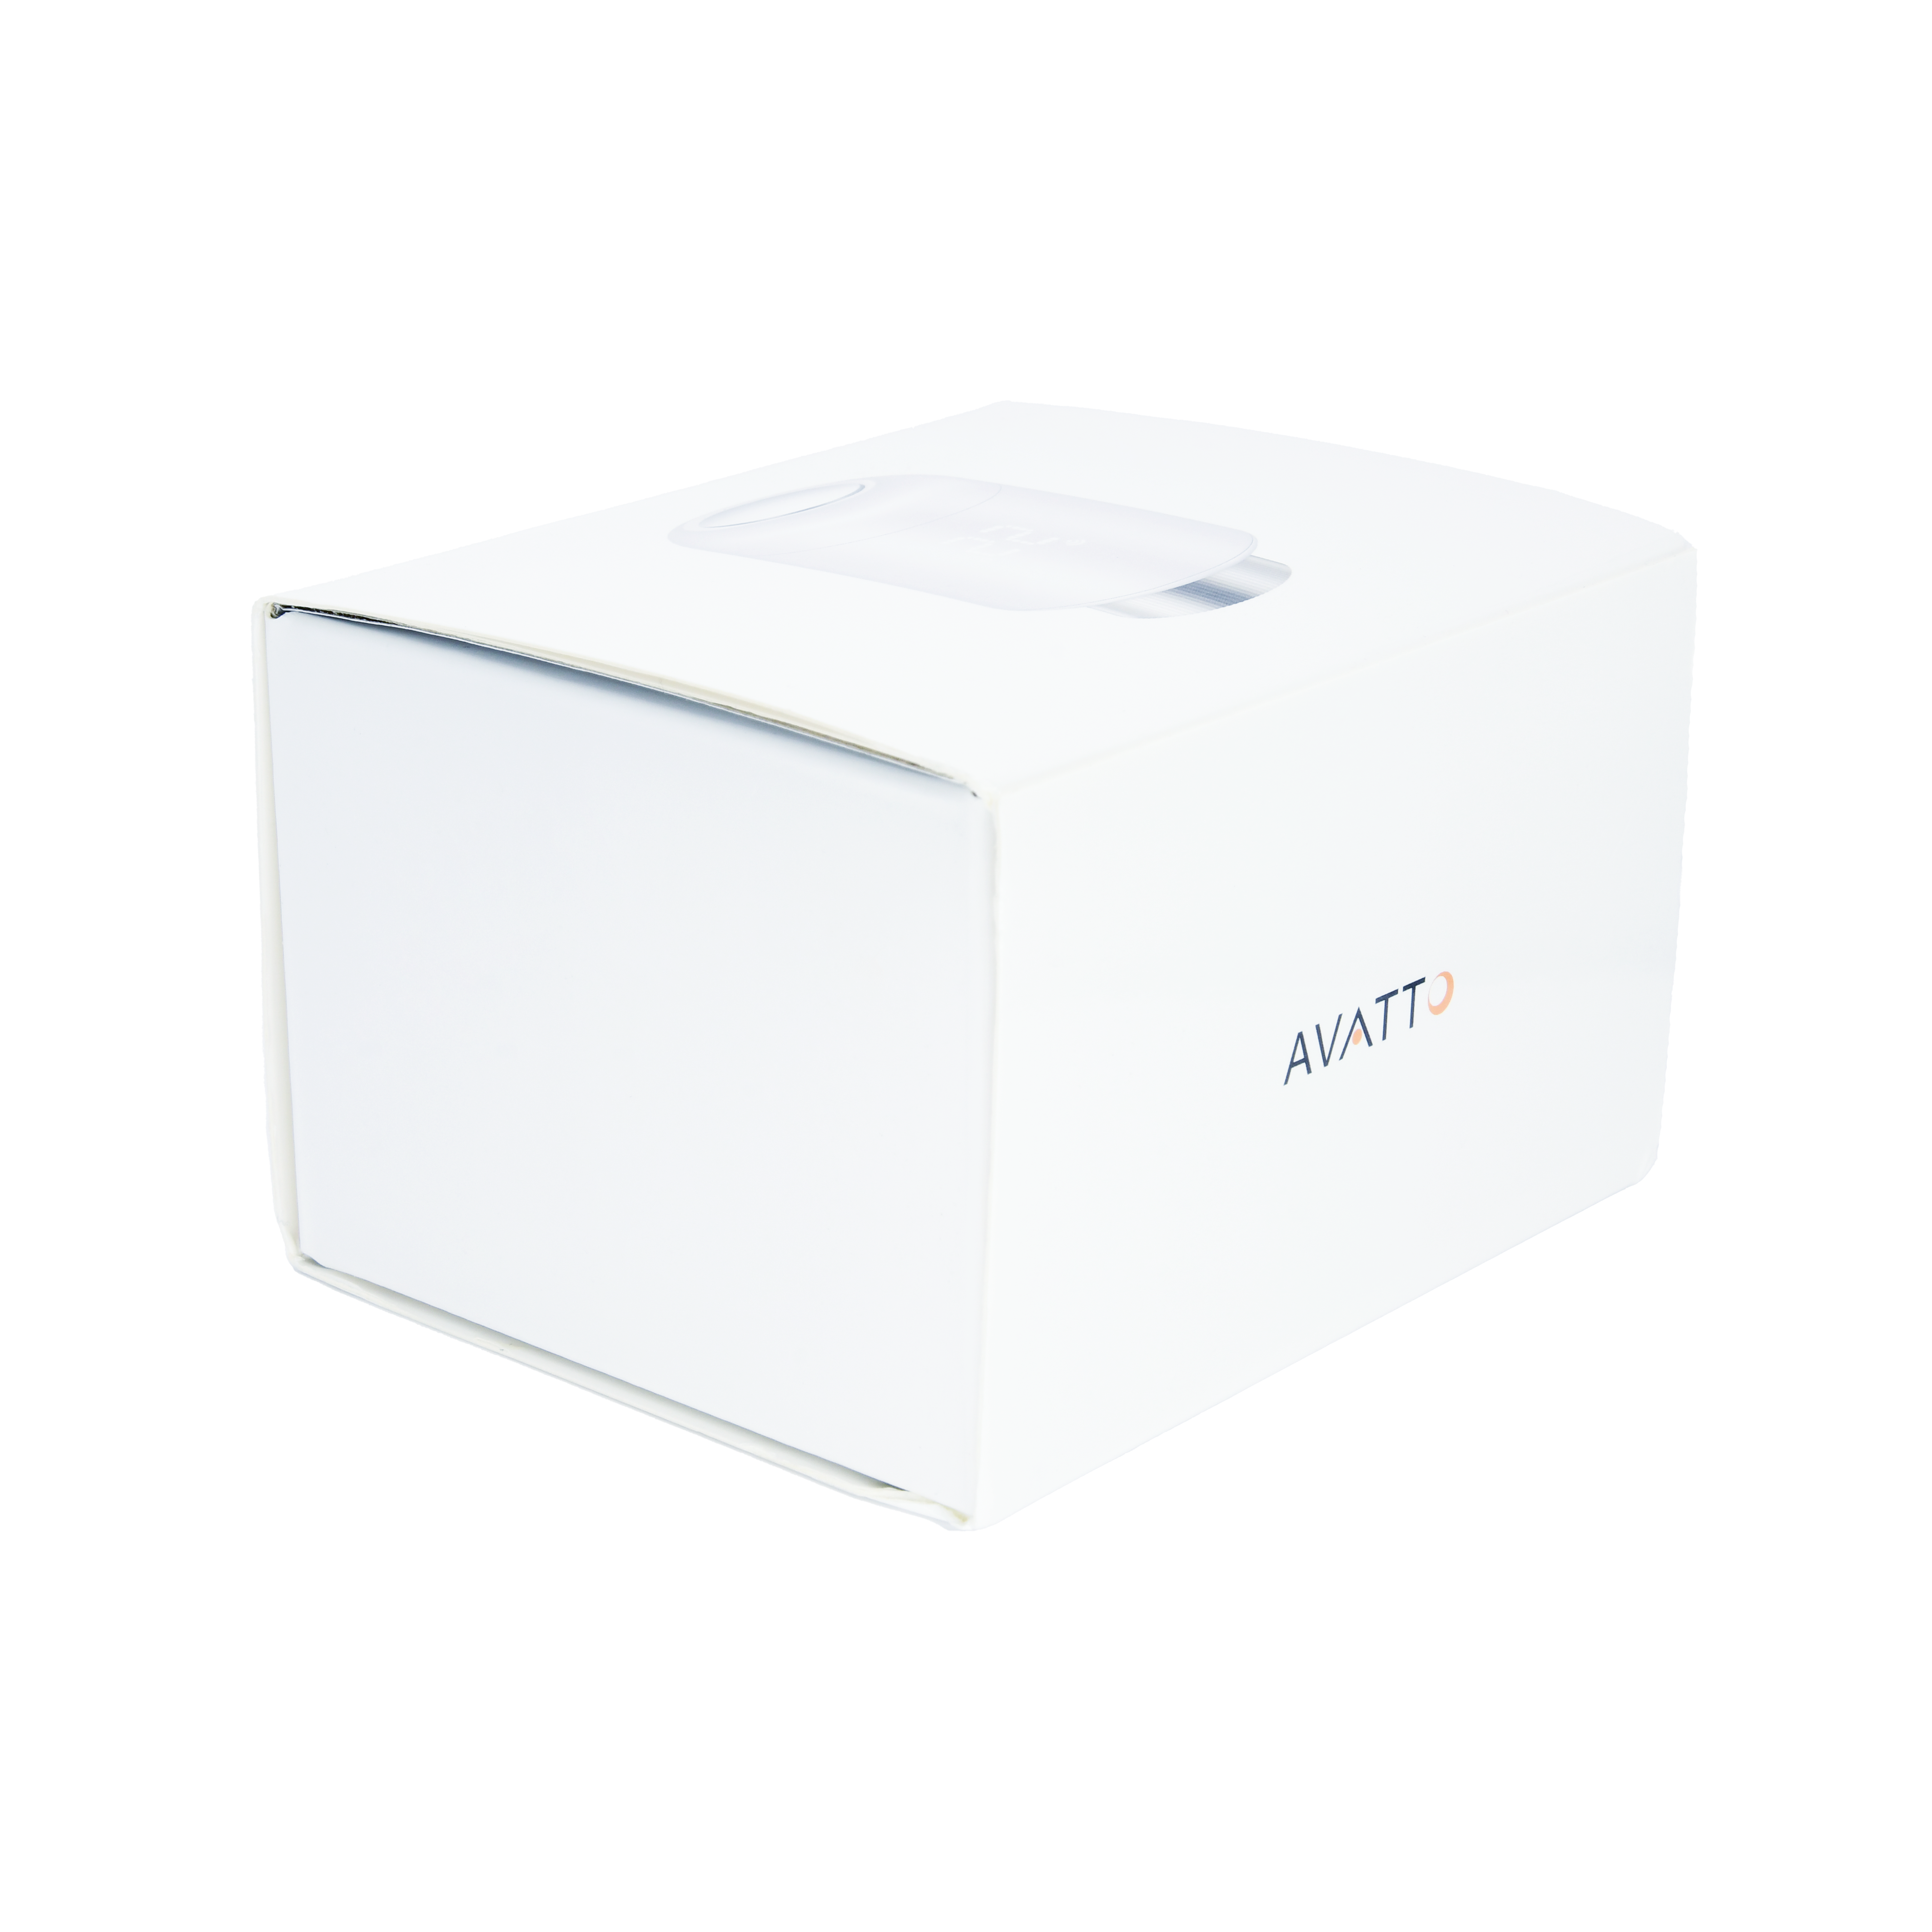
| SKU | PW-ACT-TRV |
|---|---|
| Product line | PIERRE Wave |
| Category | Thermostats |
| Manufacturer | Avatto |
| Manufacturer SKU | TRV16 |
| GTIN / EAN | 8606034720864 |
| HS code | 8481803100 |
Overview
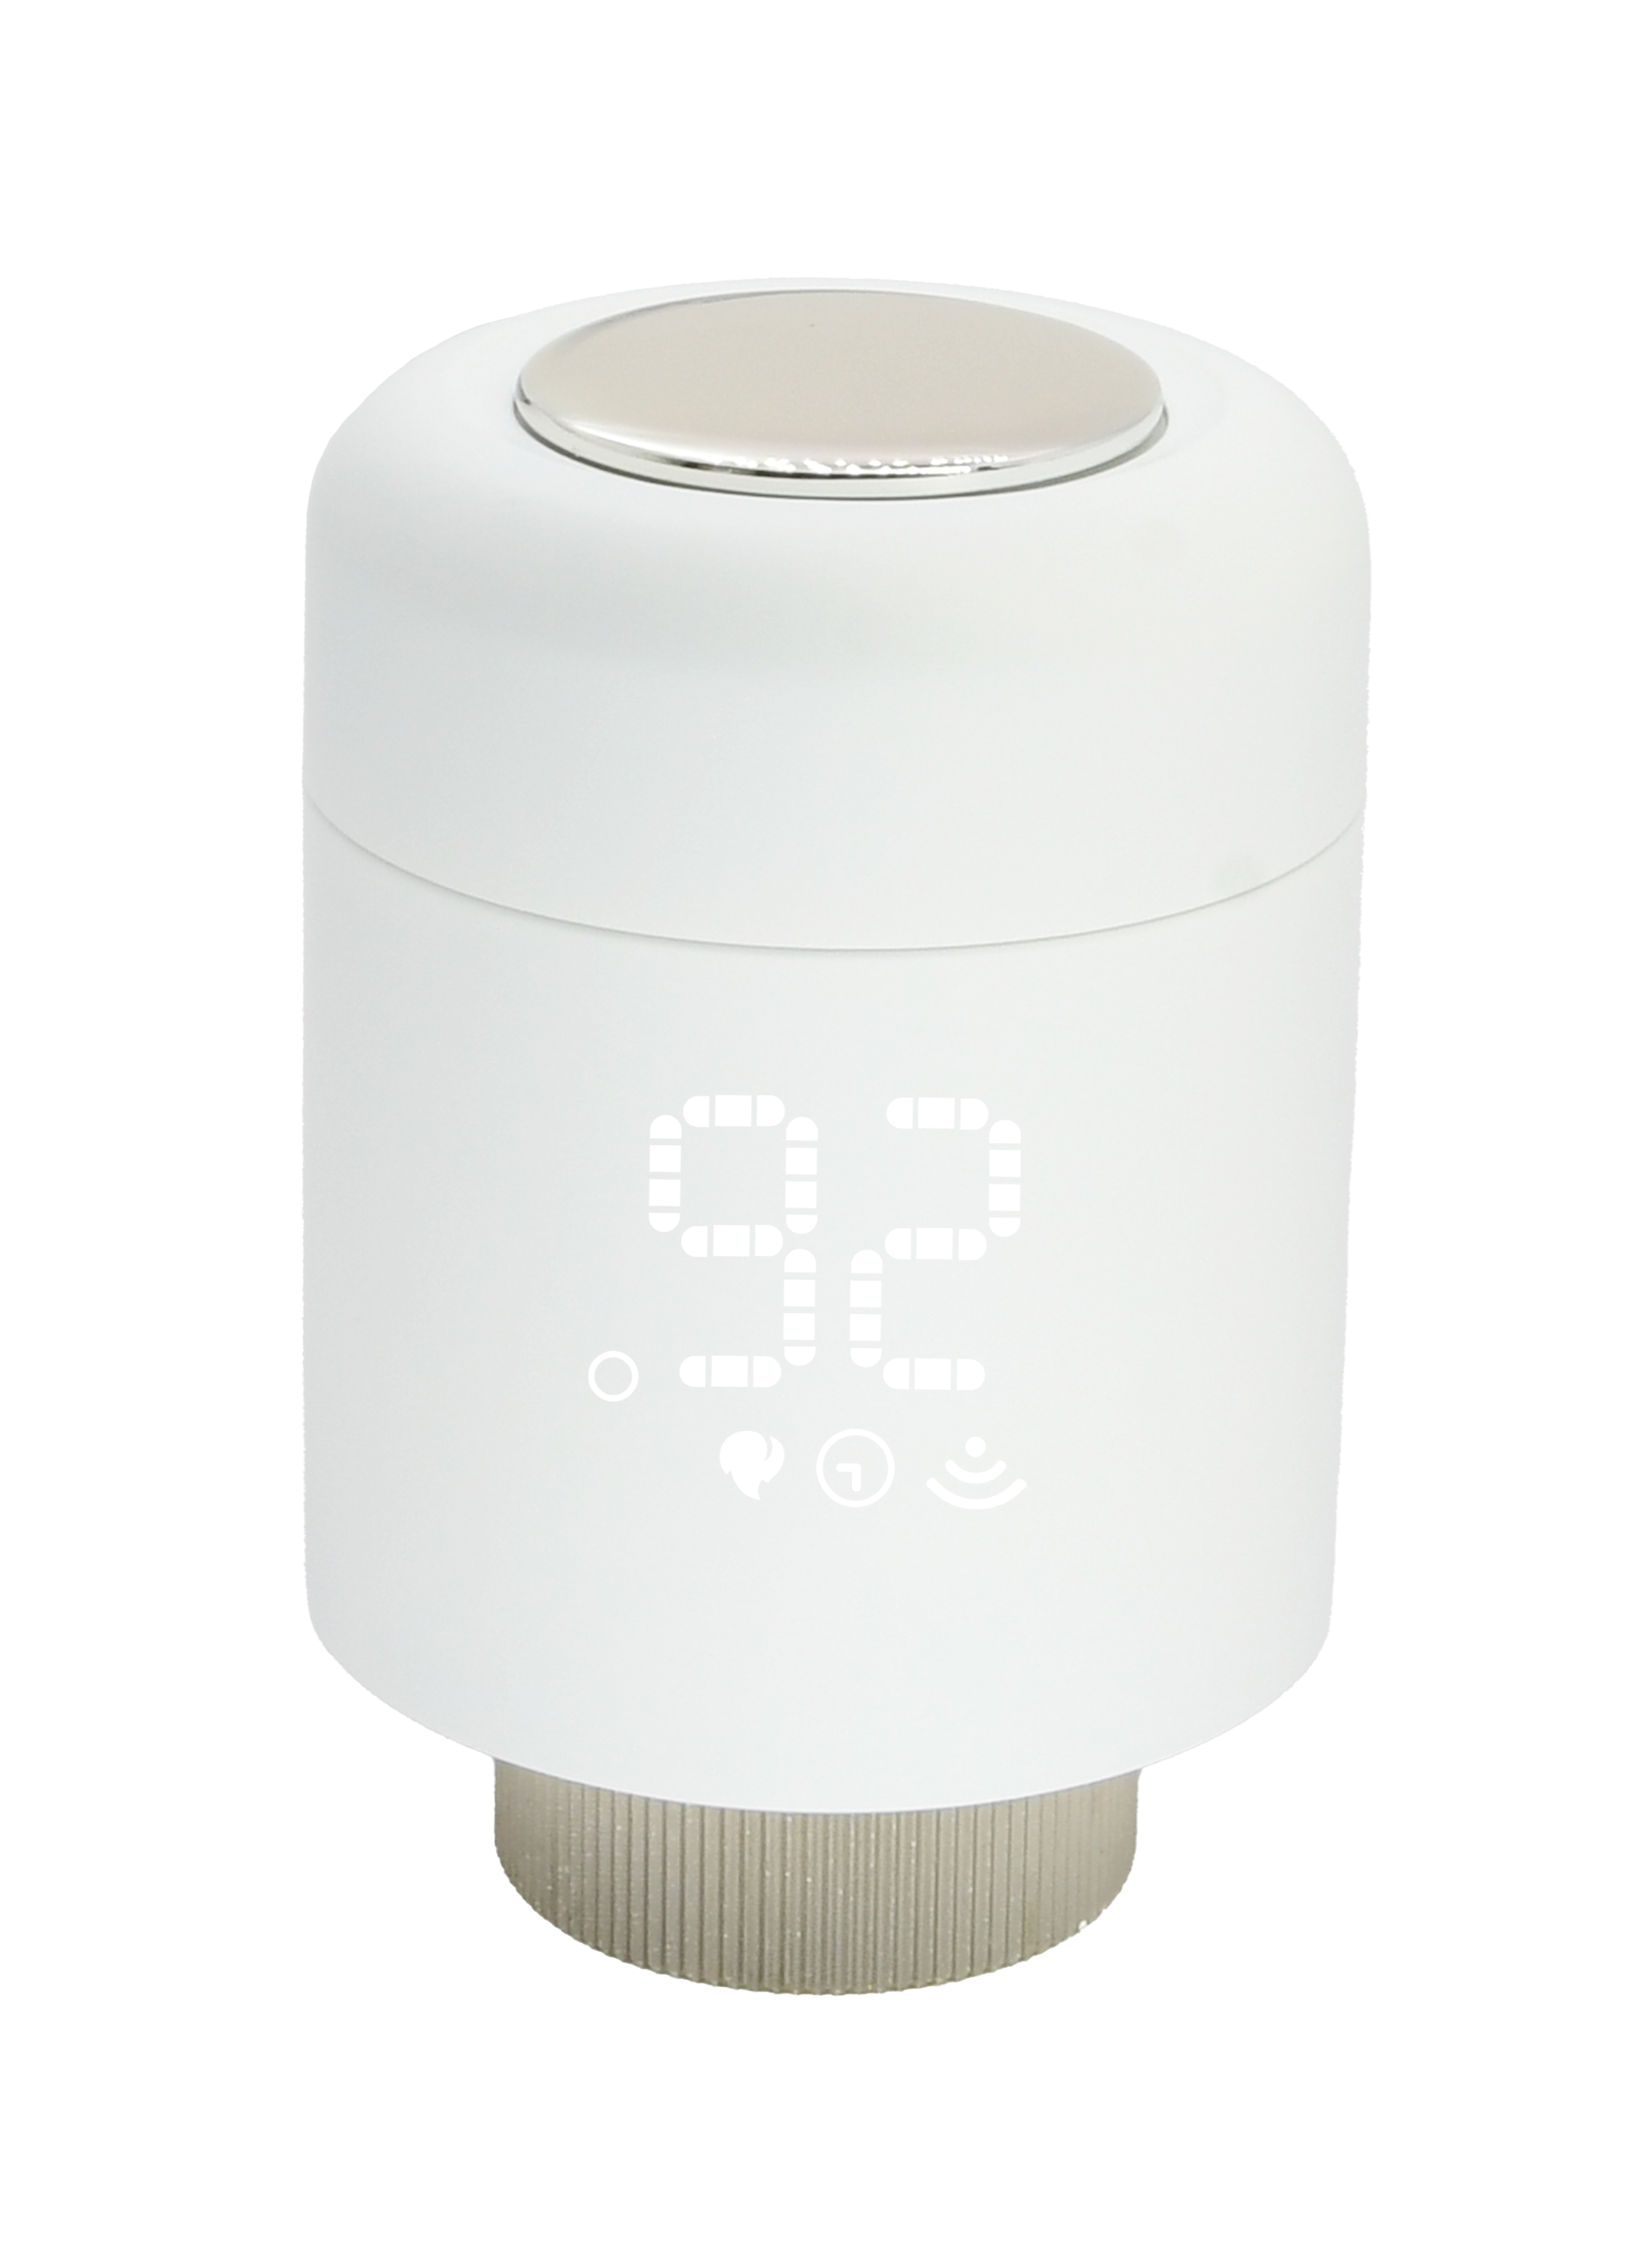
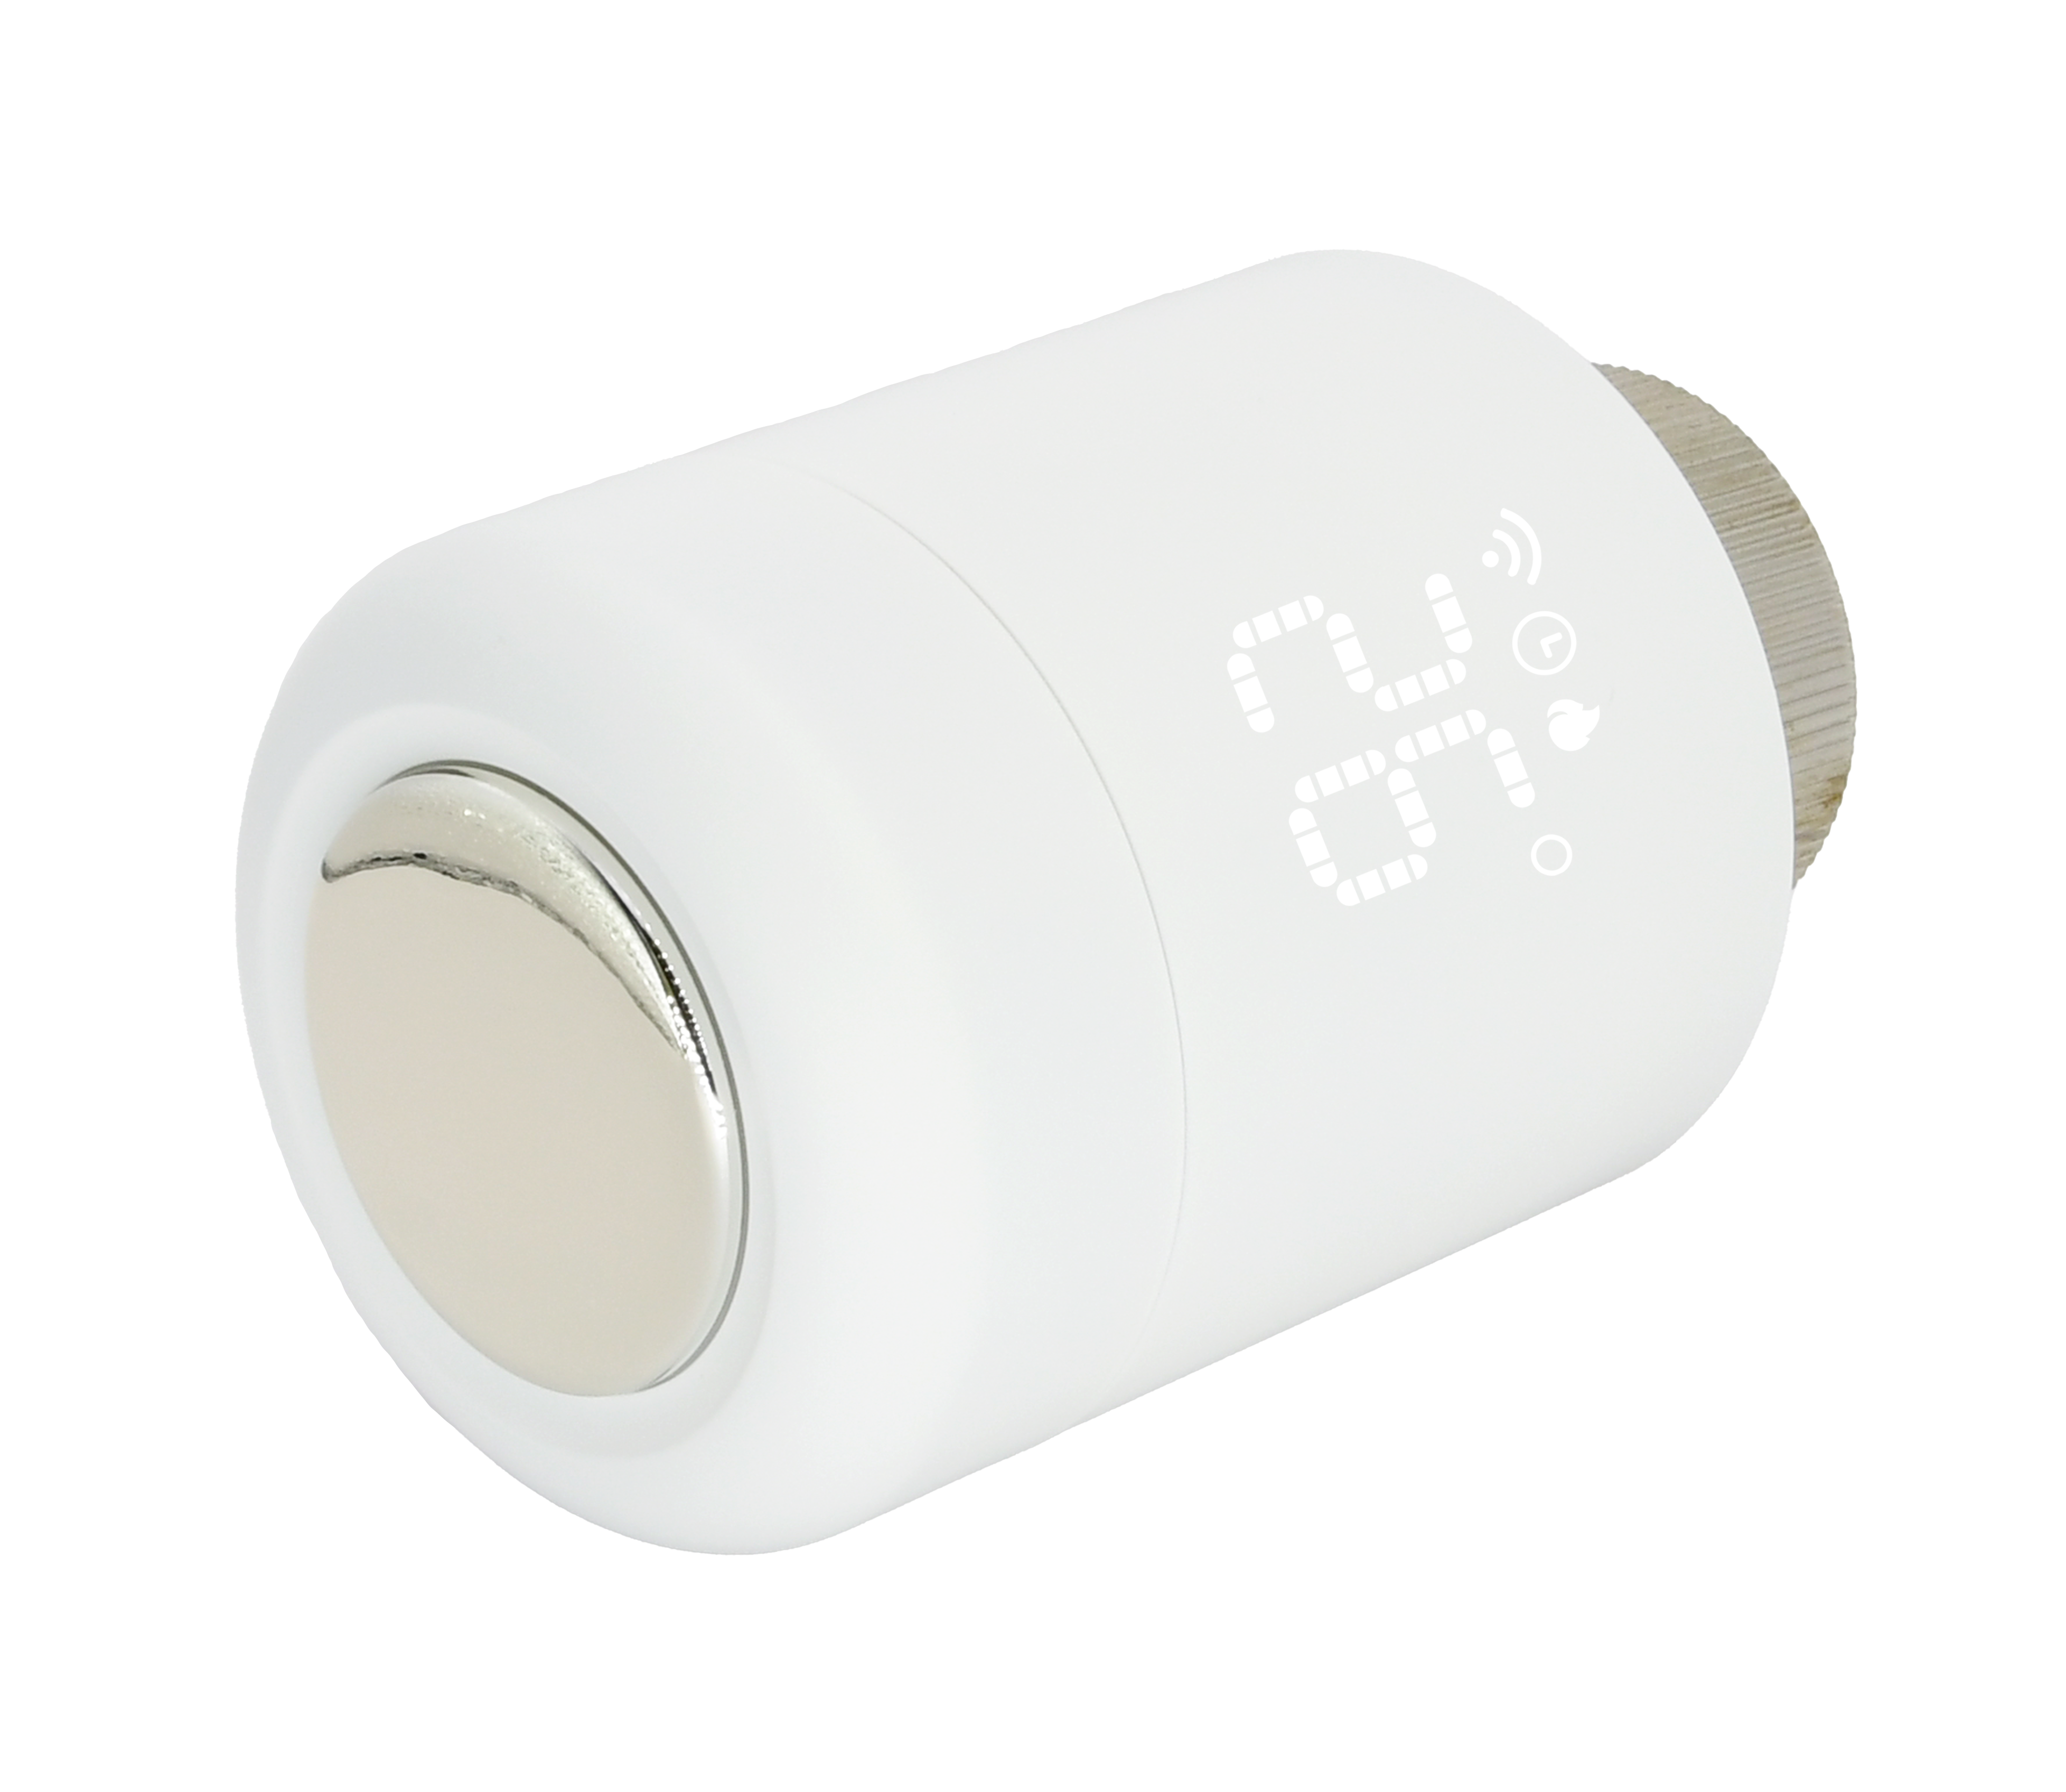
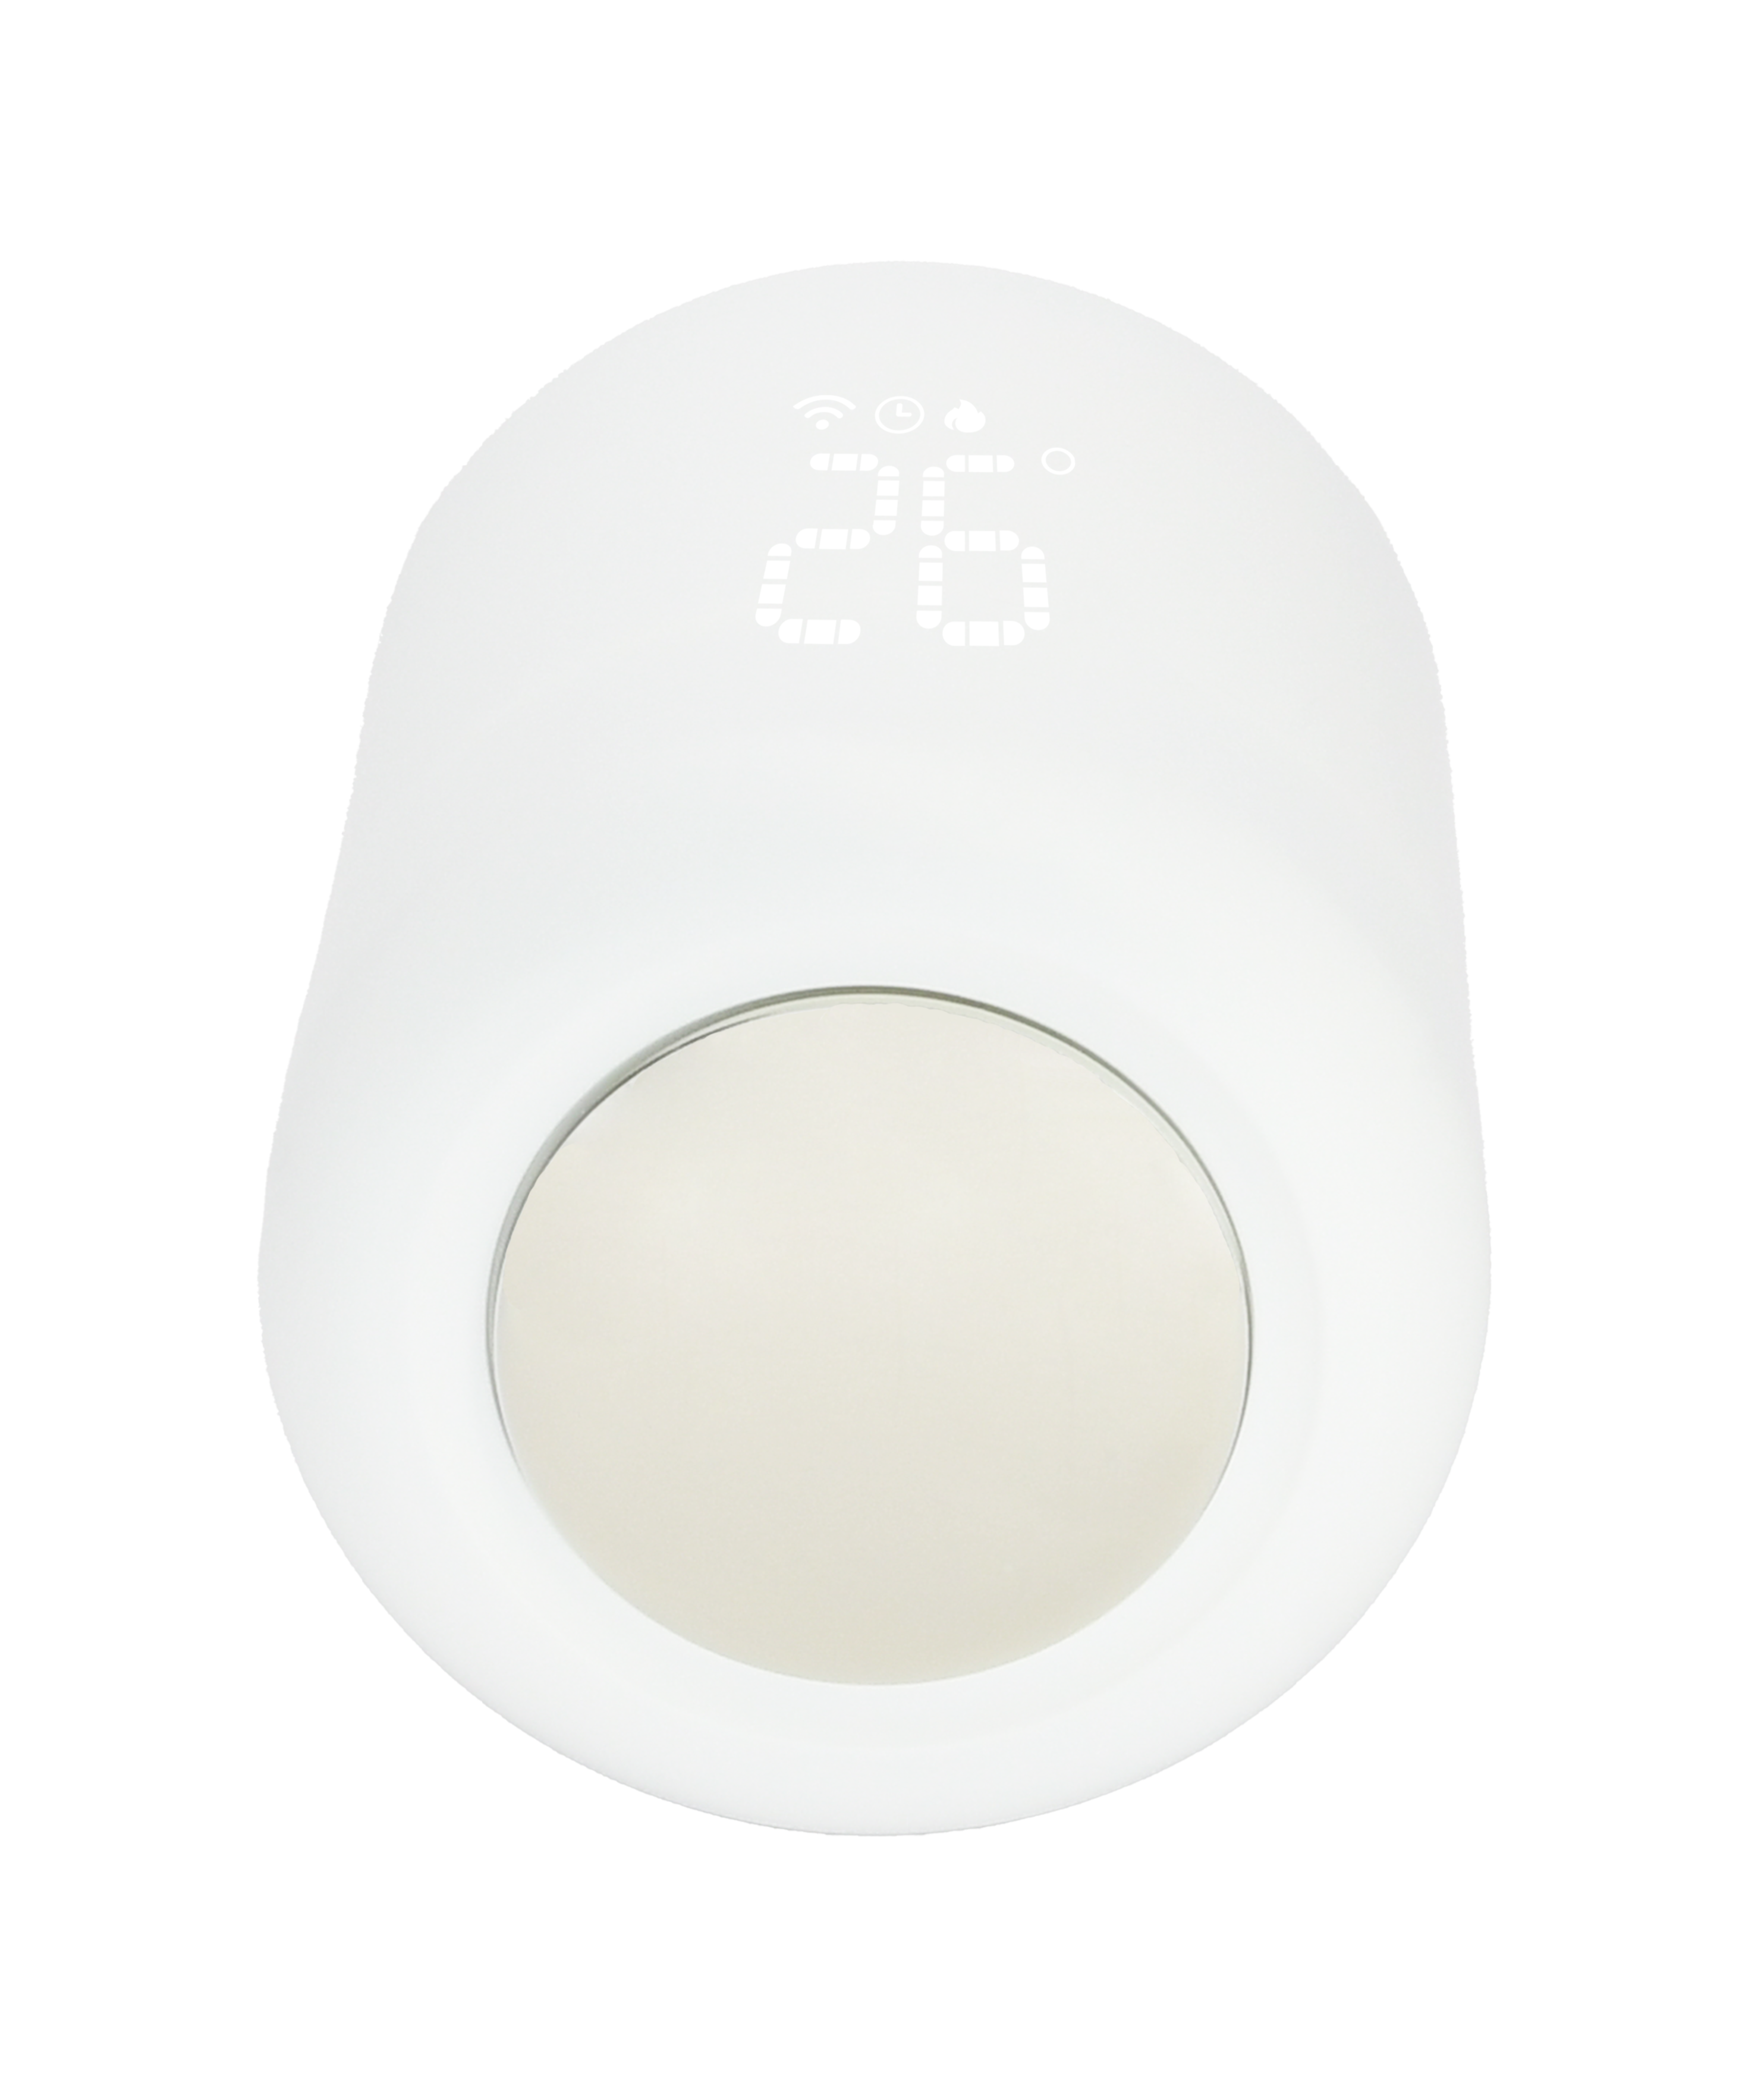
The PIERRE Wave - Radiator Valve (TRV) fits in place of the manual head on a radiator valve and drives the pin under system control, so each room can hold its own setpoint and follow its own schedule without additional wiring.
It holds temperature to ±1 °C using a built-in sensor, and self-calibrates on installation to find the pin travel of the valve it is fitted to.
It runs from two AA cells and reports low battery. Anti-frost and anti-limescale routines run automatically — the first holds a minimum temperature, the second exercises the pin periodically so it does not seize over summer. A child lock disables the local dial.
It communicates over PIERRE Wave (Zigbee 3.0, 2.4 GHz) and operates from -10 °C to +40 °C.
Key features
- Motorised radiator valve head, per-room control
- Temperature accuracy ±1 °C
- Two AA batteries, low-battery reporting
- Auto-calibration on installation
- Anti-frost, anti-limescale and child lock
- PIERRE Wave (Zigbee 3.0, 2.4 GHz)
Technical specifications
| Electrical | |
|---|---|
| Power Supply | 2x 1.5V AA battery |
| Frequency | 2.4GHz |
| Connectivity | |
| Connectivity | Zigbee |
| Physical | |
| Product Color | White |
| Features | |
| LED Indicators | Yes |
| Low Battery Indication | Yes |
| Environmental | |
| Operating Temperature (°C) | -10 ~ +40 |
| Operating Temperature | +14°F - +104°F |
| Safety | |
| Safety Features | Anti-frost protection, Anti-limescale protection, Child lock, Auto calibration |
| Sensors | |
| Built-in Sensors | Temperature |
| Temperature Accuracy | ±1.00°C |
Physical & packaging
| Dimensions (L × W × H) | 55 × 85 × 55 mm |
|---|---|
| Weight | 228 g |
| Box dimensions (L × W × H) | 99 × 84 × 63 mm |
| Box weight | 228 g |
User manual
- 1. Product Description
- 2. System Requirements
- 3. Product Size
- 4. Operating Instructions
- 5. Accessories Selection and Installation
- 6. Inserting the battery
- 7. Installation Steps
- 8. Instruction for Use
- 9. Turning on the heating
- 10. Turning off the built-in timer
- 11. Child lock
- 12. App-to-Device Pairing
- 13. Troubleshoot
1. Product Description
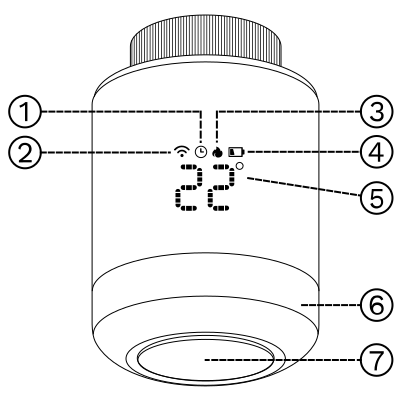
- Programming mode
- Wireless icon
- Heat icon
- Low battery alarm
- Indoor/set temperature
- Adjustable knob
- Keystroke
2. System Requirements
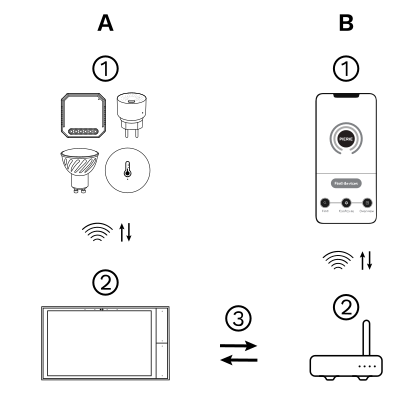
The PIERRE Wave (Zigbee 3.0, 2.4 GHz) system consists of the following components.
Required
- PIERRE Wave products: switches, modules, sensors, thermostats and other devices. They connect wirelessly to the gateway.
- Gateway: a PIERRE display and/or gateway. It links all PIERRE Wave devices and handles the communication with the app.
Optional
- Smart PIERRE app: control and monitoring from a smartphone or tablet. Not required for basic operation.
- Router: gives the gateway internet access for remote control.
Operation: the gateway connects to the router by Wi-Fi or LAN. PIERRE Wave products communicate wirelessly with the gateway in both directions: commands are sent and status updates are received through the Smart PIERRE app.
What you need
Zigbee gateway. The valve joins the Zigbee network through a PIERRE display acting as gateway or through The One gateway. One of those must already be commissioned before the valve can be added. Requires 2x 1.5V AA batteries.
3. Product Size
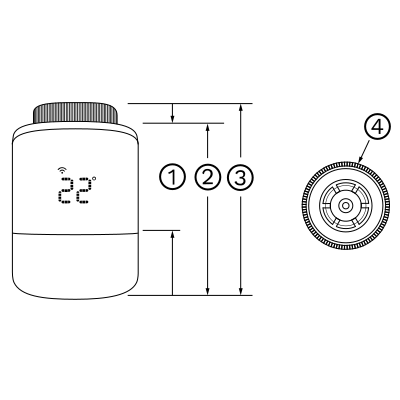
- 43.33 mm
- 60.13 mm
- 78.00 mm
- Ø 51.5 mm
4. Operating Instructions
- Power ON/OFF - turn the knob to switch the valve on or off. To turn it on, turn the knob to the temperature display. To turn it off, turn the knob until the screen shows "OFF".
- Keystroke - press and hold this button to activate or deactivate the child lock. A short press shows the other icons.
- Adjustable knob - switches the power ON/OFF. When the power is on, the knob sets the target temperature.
- Programming mode - sets the room temperature according to a schedule.
- Wireless icon - indicates the wireless (Zigbee) connection.
- Indoor/set temperature - shows the indoor or the set temperature.
- Heat icon - indicates that the valve is heating.
- Low battery alarm - shown when the battery voltage is low, as a reminder to replace the battery.
5. Accessories Selection and Installation
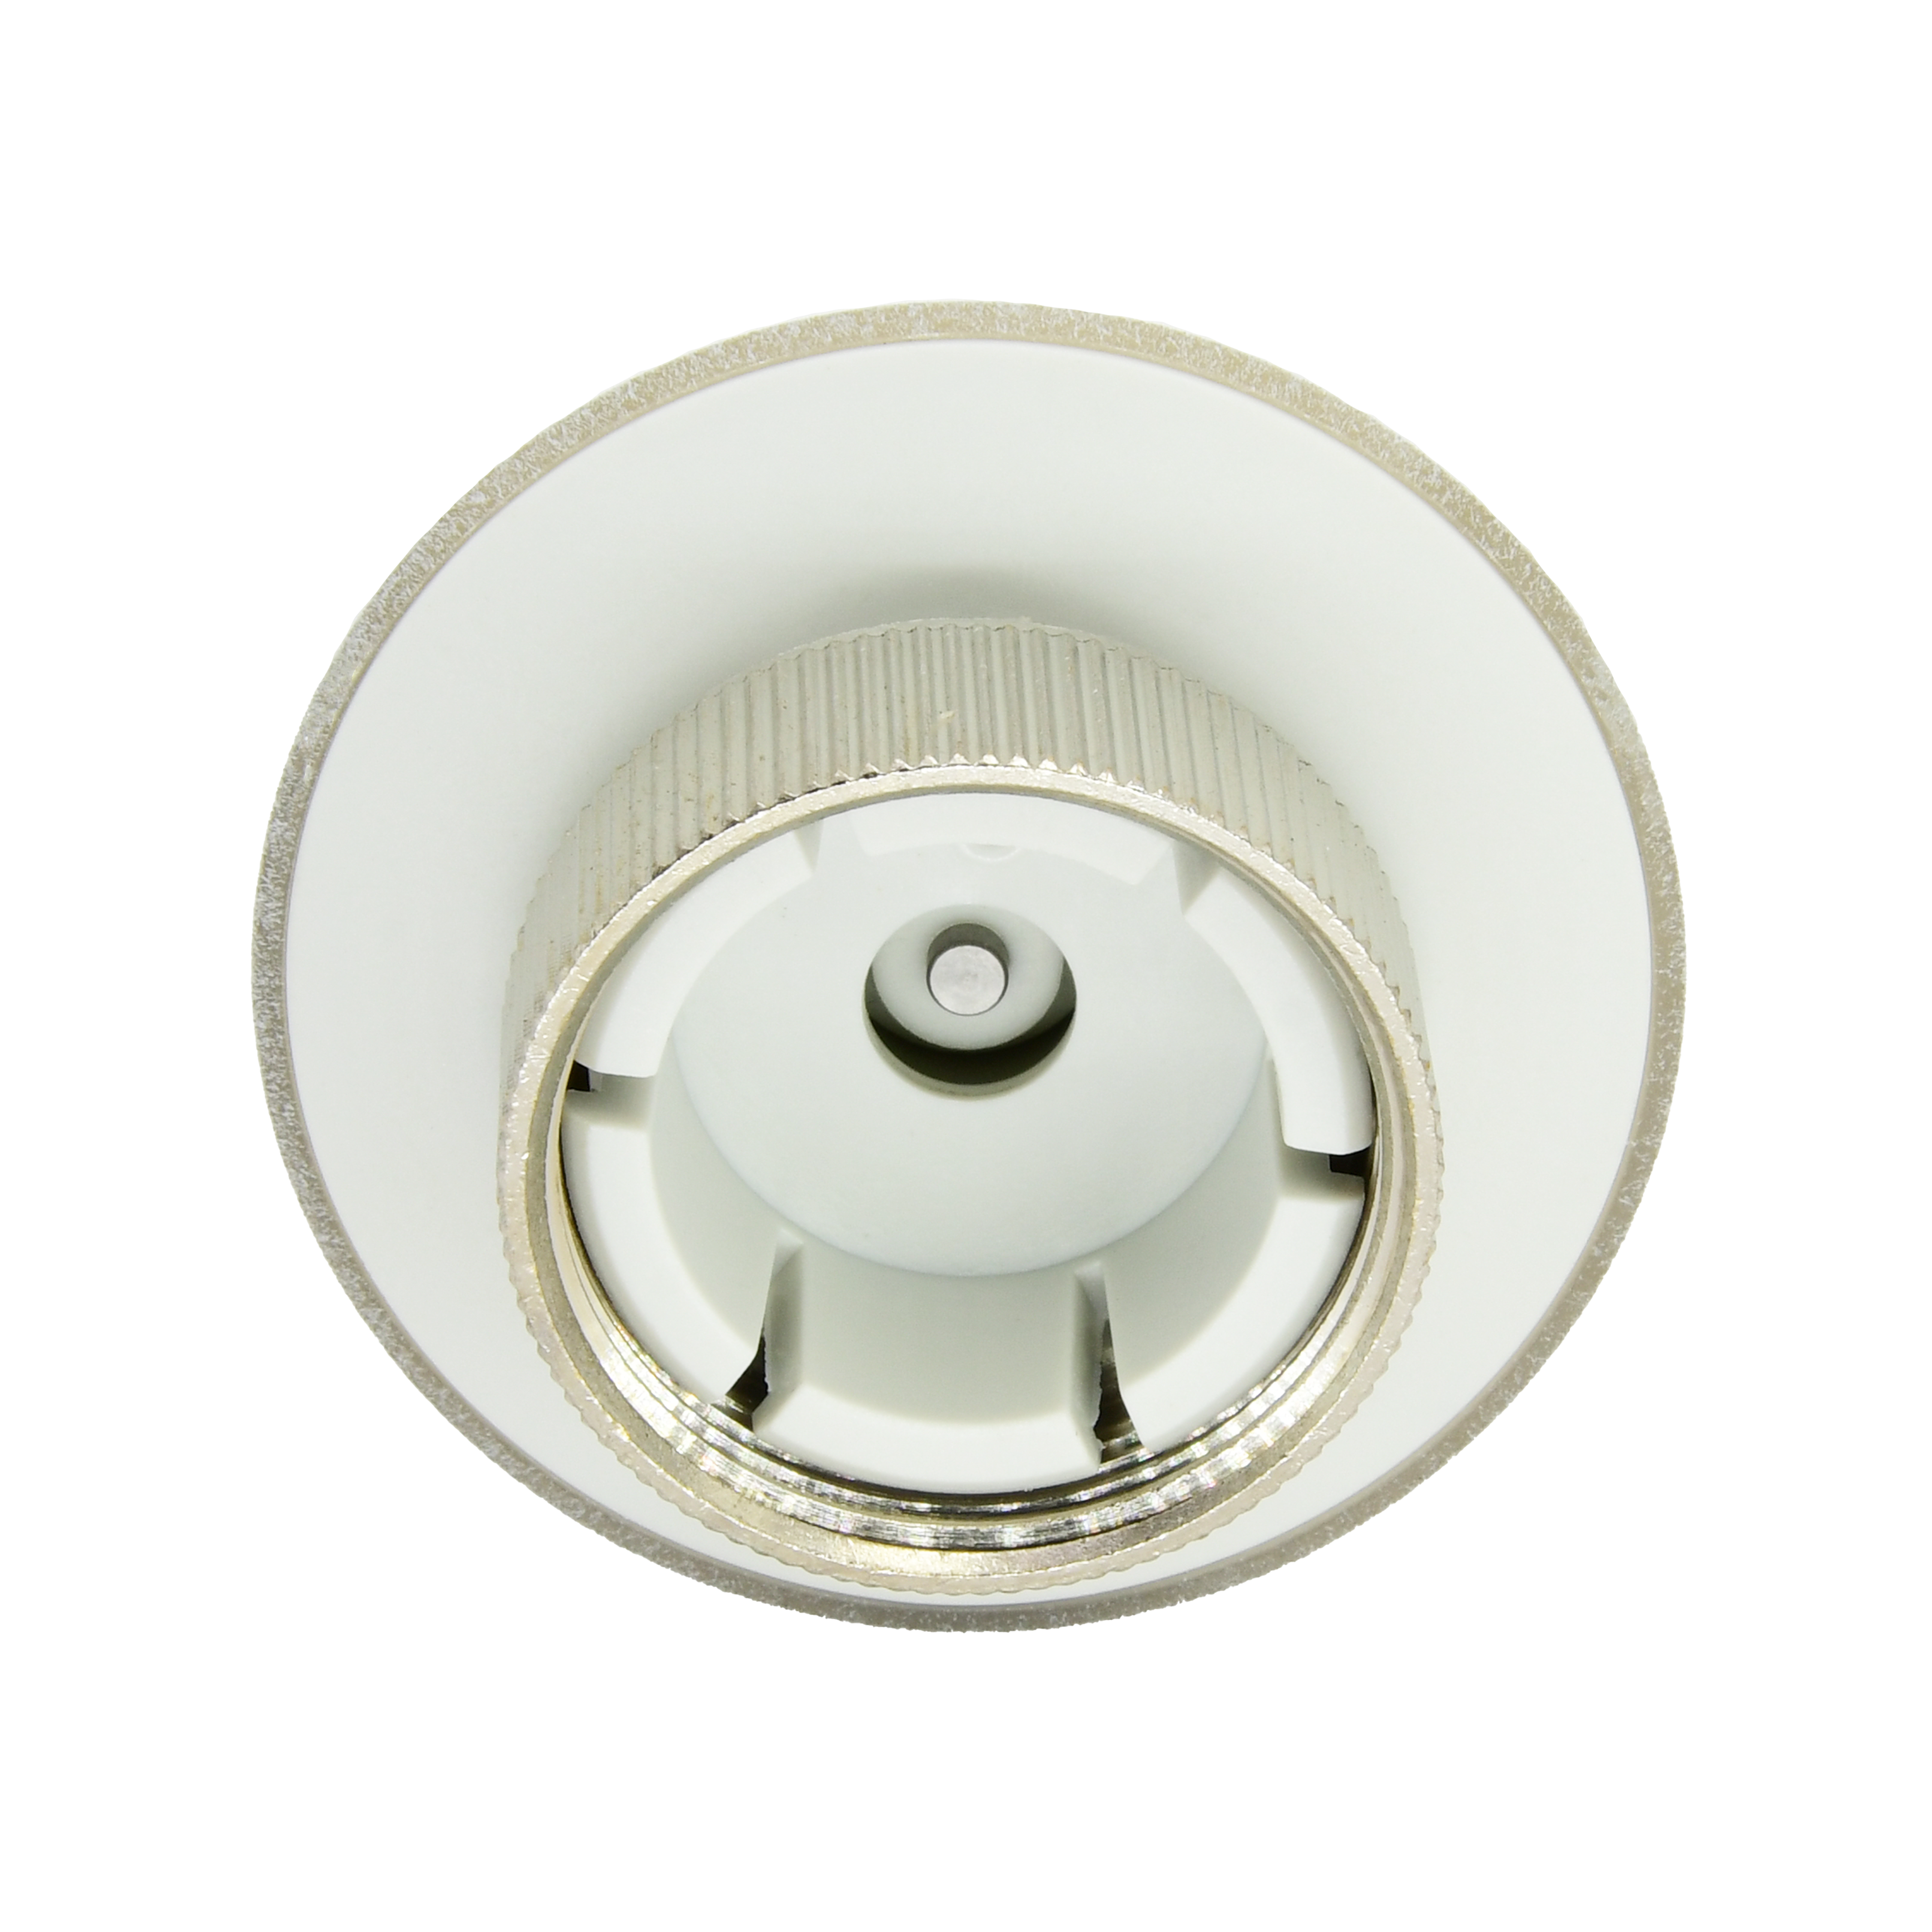
- Check the pipe diameter and the type of the valve body on the radiator.
- Install the matching adapter.
The following adapters are available for mounting the radiator valve (TRV):
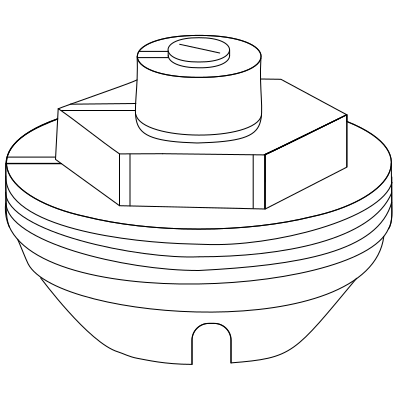
Danfoss RA Adapter
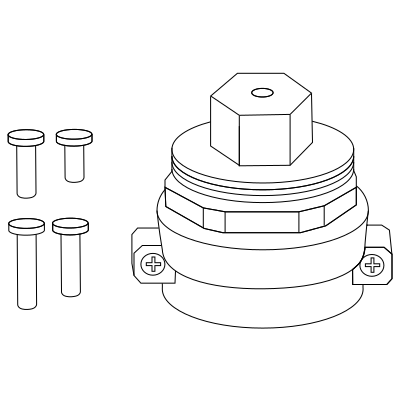
Danfoss RAVL Adapter
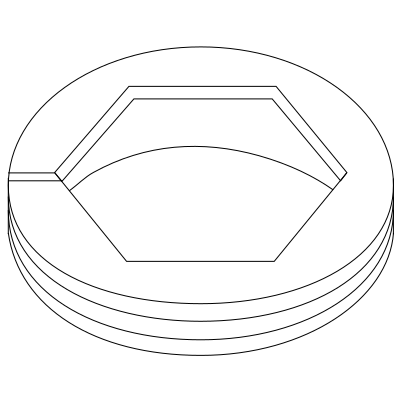
Danfoss RAV Adapter
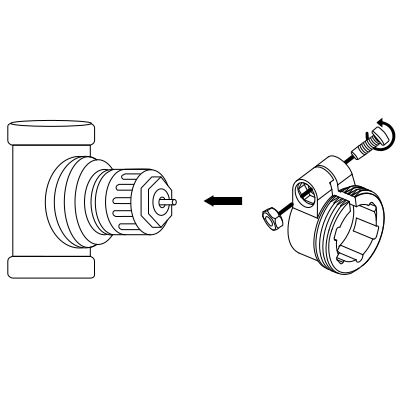
Giacomini Connector Adapter
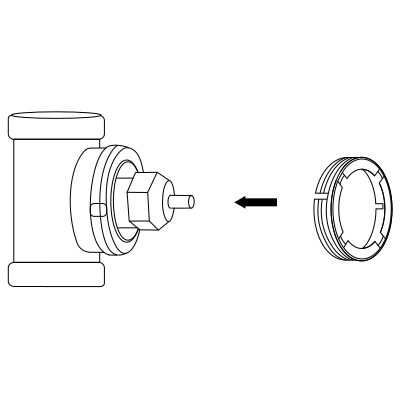
M28 × 1.5 Connector Adapter
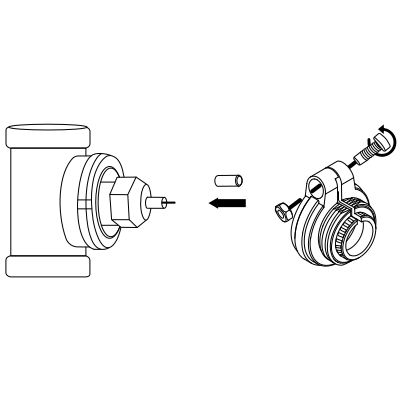
Caleffi Connector Adapter
6. Inserting the battery
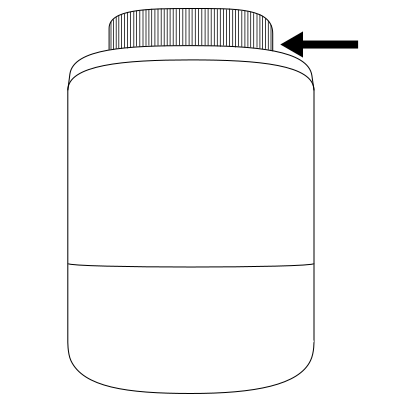
Press down on the bottom cover and unscrew it to the right.
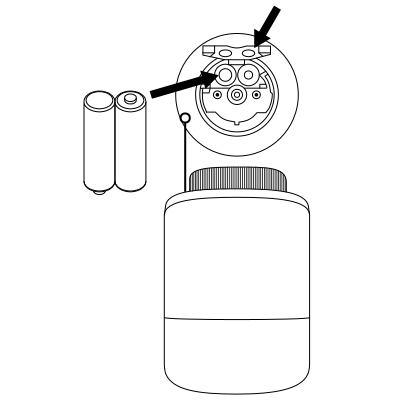
Press and hold the battery sheet and push it out, placing the battery in the compartment.
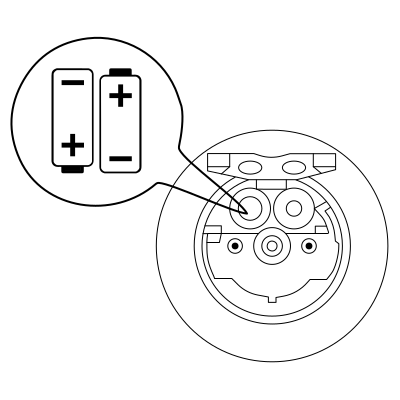
NOTE
Insert the battery according to the "+" and "-" marks in the battery compartment.
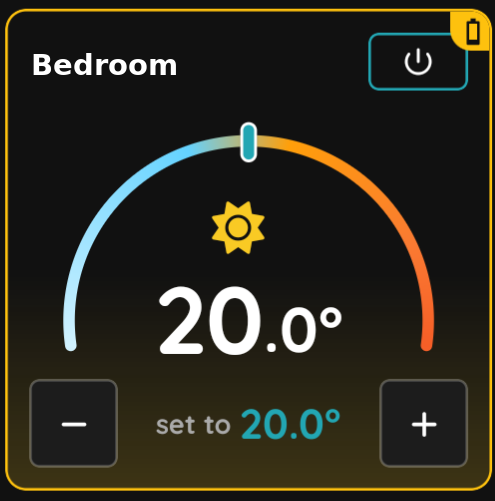
Low battery in the app
When the batteries are low, the Smart PIERRE app shows a yellow battery icon in the top right corner of the valve's tile.
7. Installation Steps
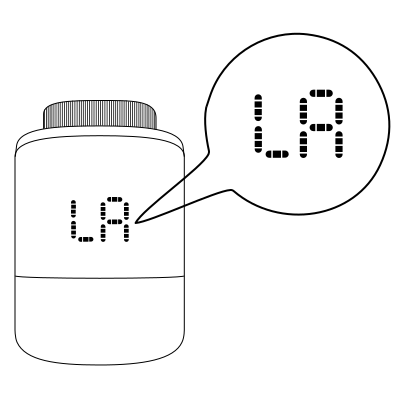
The screen shows "LA".
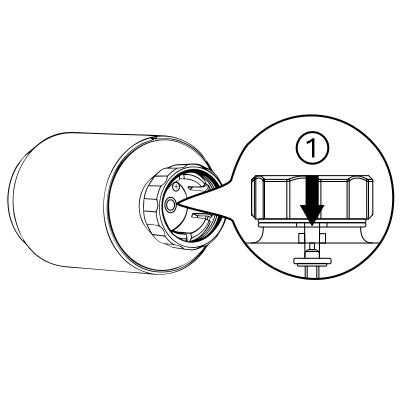
Set the temperature to the maximum of 35 °C (when the top bar is flush with the bottom).
- Valve head at fully open position
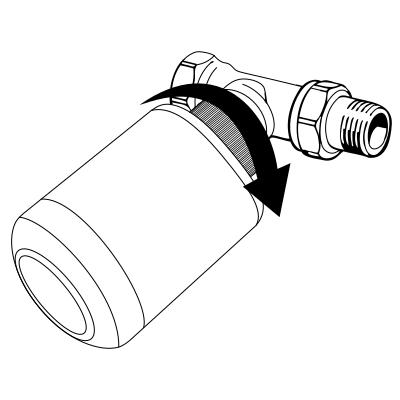
Rotate and tighten the copper ring of the valve head onto the thread of the radiator valve.
Note: if the valve connection does not match the valve head, install the matching adapter first (see Accessories).
8. Instruction for Use
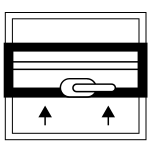
Open window function
If an open window causes the room temperature to drop by more than 6 °C within 4 minutes, the screen shows "OP" and the valve closes. The state is cleared when the room temperature rises by 3 °C, automatically after 48 minutes, or manually.
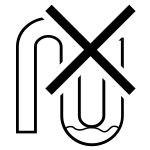
Anti-scale function
If the valve stays partially closed or unused for a long time, deposits can block it. To prevent this, the valve head fully opens the valve every two weeks for 30 seconds. During this cycle the screen briefly shows "Ad" and then returns to normal operation.
Child lock function
To prevent accidental adjustments by children, activate the child lock function by pressing and holding the button when the device is powered on. The screen will show "LC" to indicate activation. To unlock, simply repeat the activation process.

Anti-freezing
When the valve is switched off ("OFF" on the screen) the anti-freeze function is active: the valve opens when the room temperature drops below 5 °C and closes when it rises above 8 °C.

Low voltage warning function
When the battery voltage is too low, an alarm symbol will appear on the display to remind the user to replace the battery.
Temporary mode
When in programming mode, if you want to manually change the temperature of the current programming period, turn the knob to adjust the desired temperature, which will be maintained until the end of the current programming period.
9. Turning on the heating
Set a temperature higher than the current room temperature and the valve opens automatically.
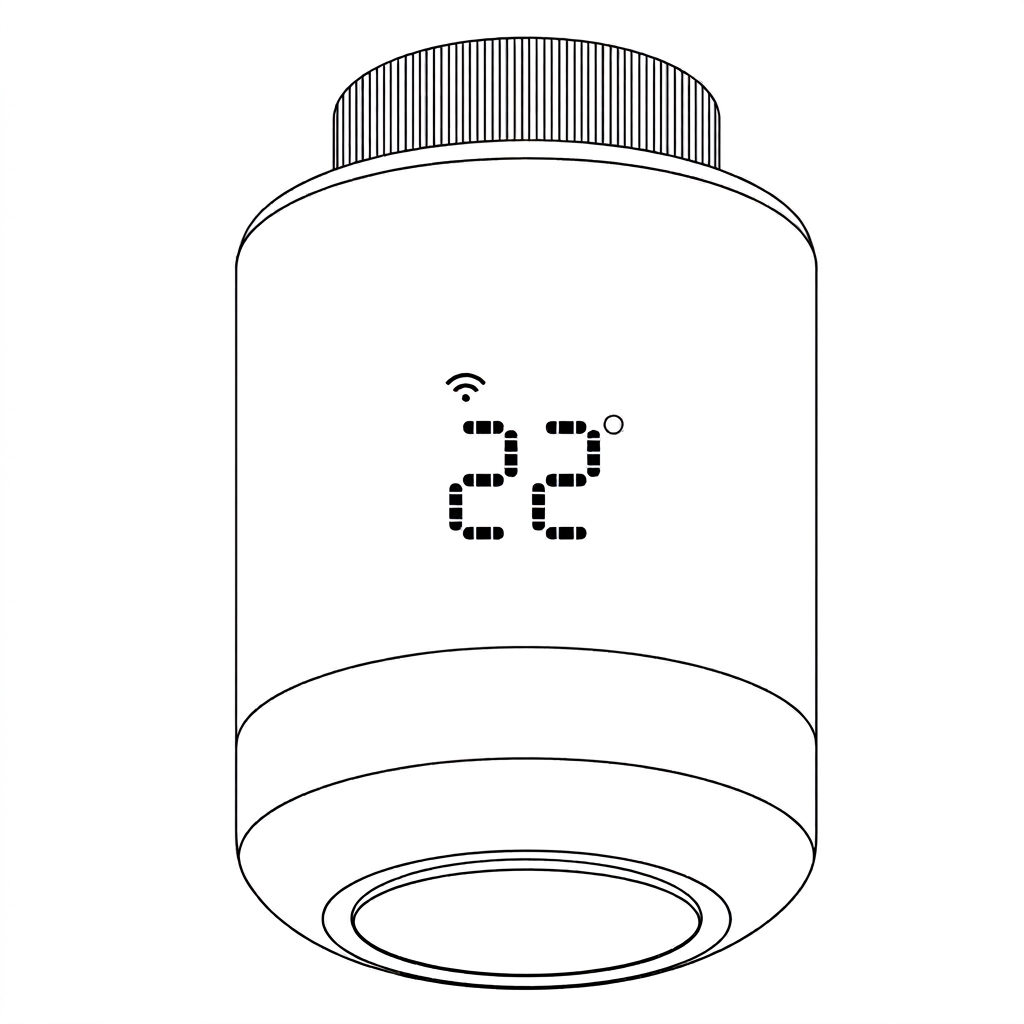
Check the display. The number on the screen is the current room temperature. When no heat icon is shown, the valve is closed and no hot water flows into the radiator.
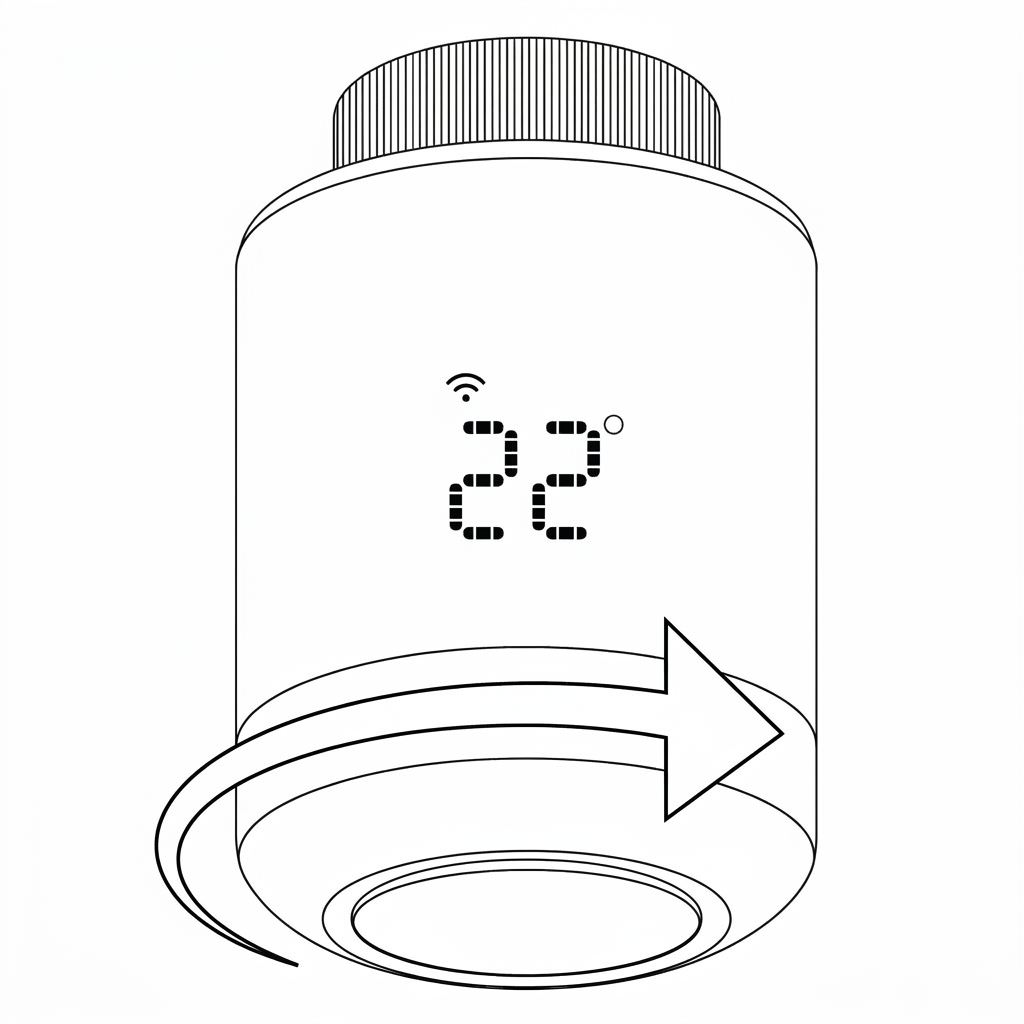
Turn the knob to raise the temperature. Rotate the knob to the right, in the direction of the arrow. To start heating, set a temperature higher than the current room temperature.
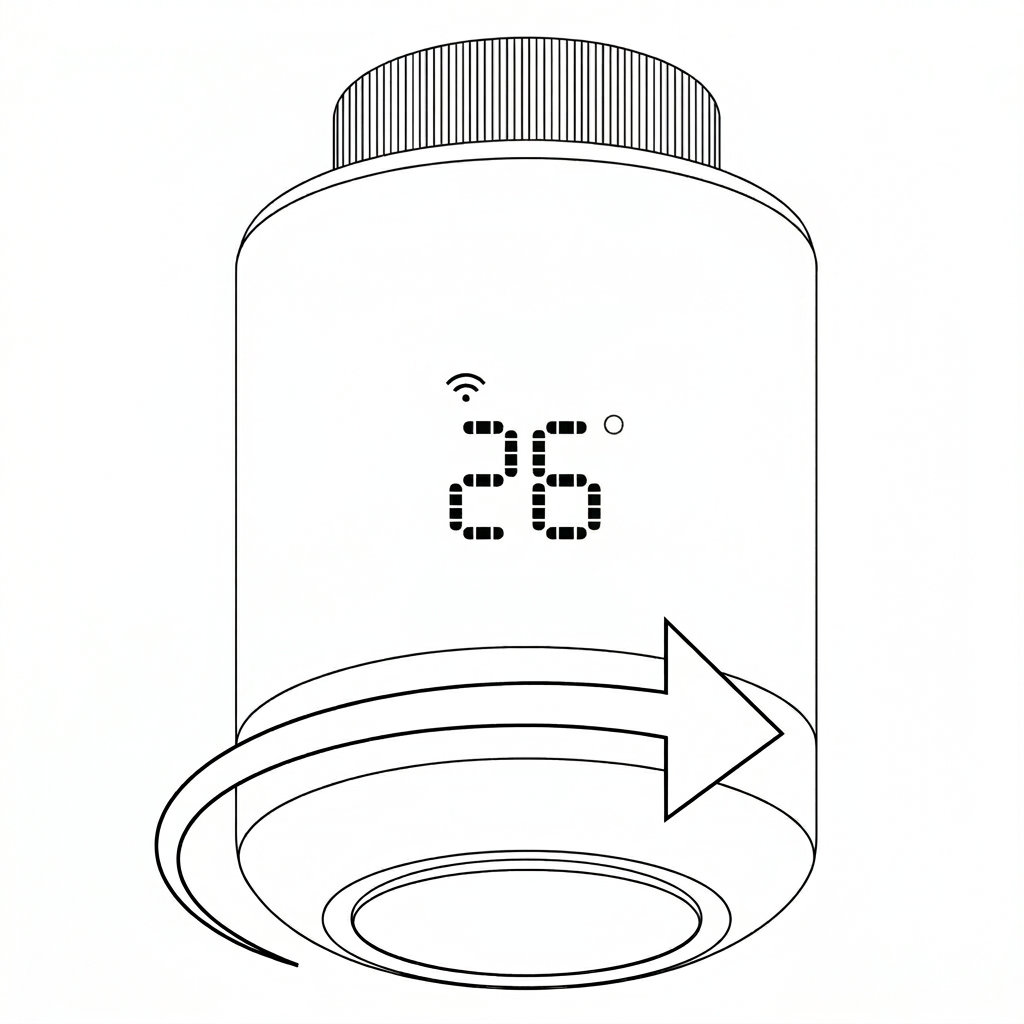
Set the target temperature. As you turn, the number on the display goes up. This is the temperature you want the room to reach.
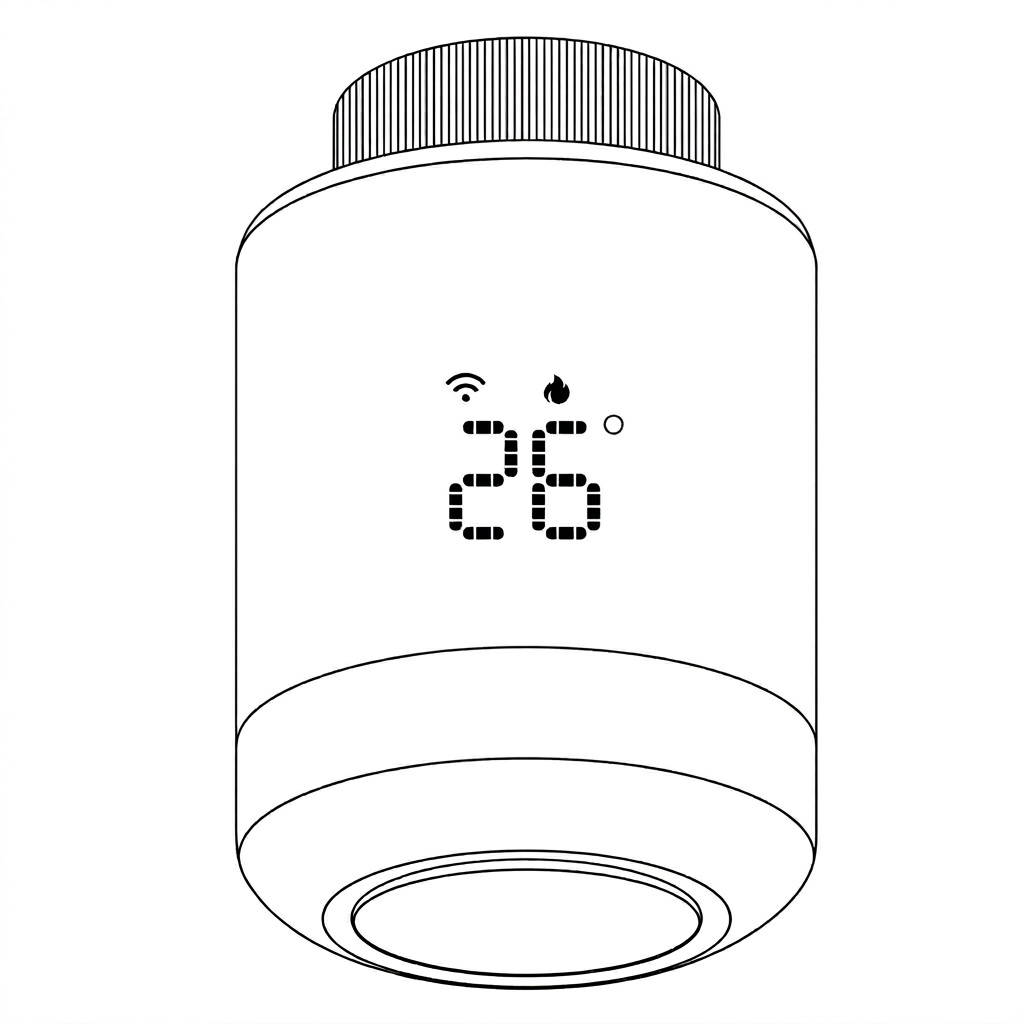
Heating starts. A moment after you stop turning, the heat icon appears. The valve has opened and the radiator is heating.
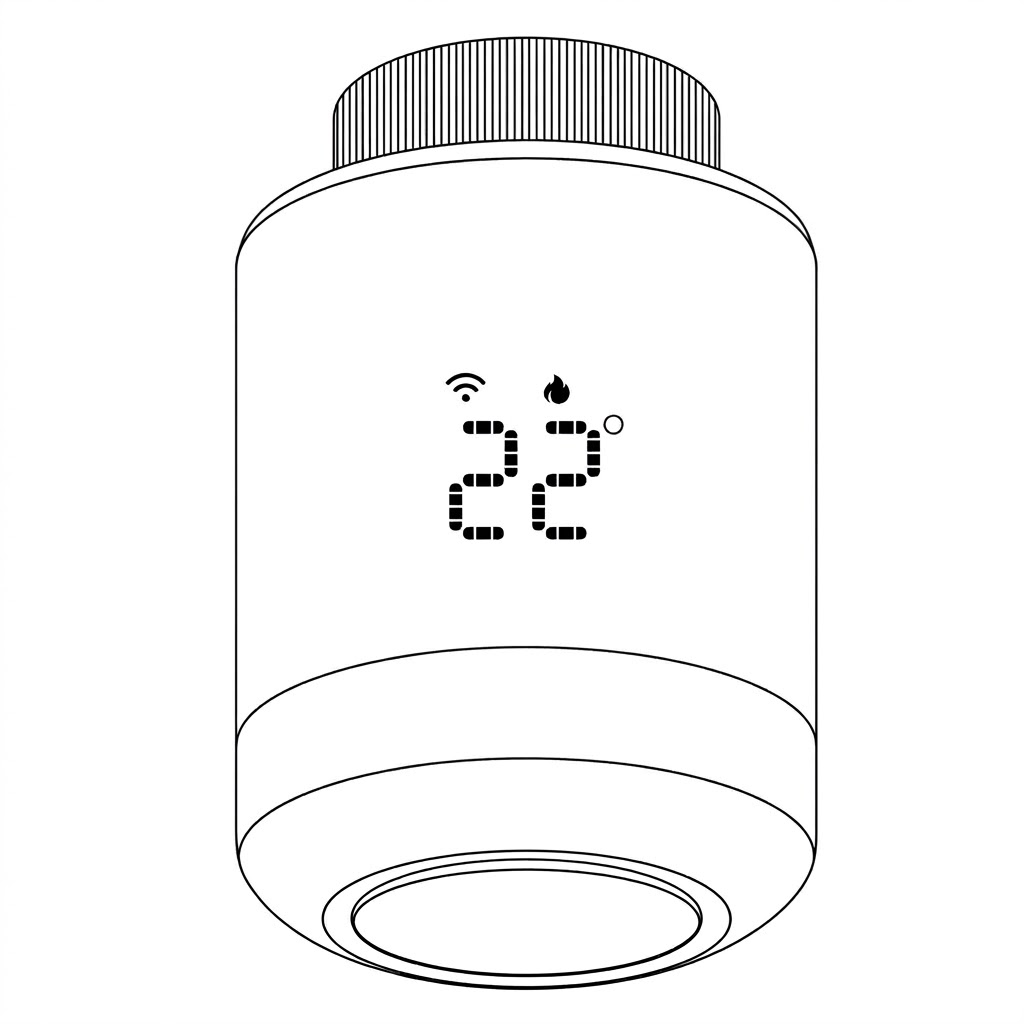
Normal operation. The display switches back to the current room temperature. The heat icon stays on while the radiator is heating.
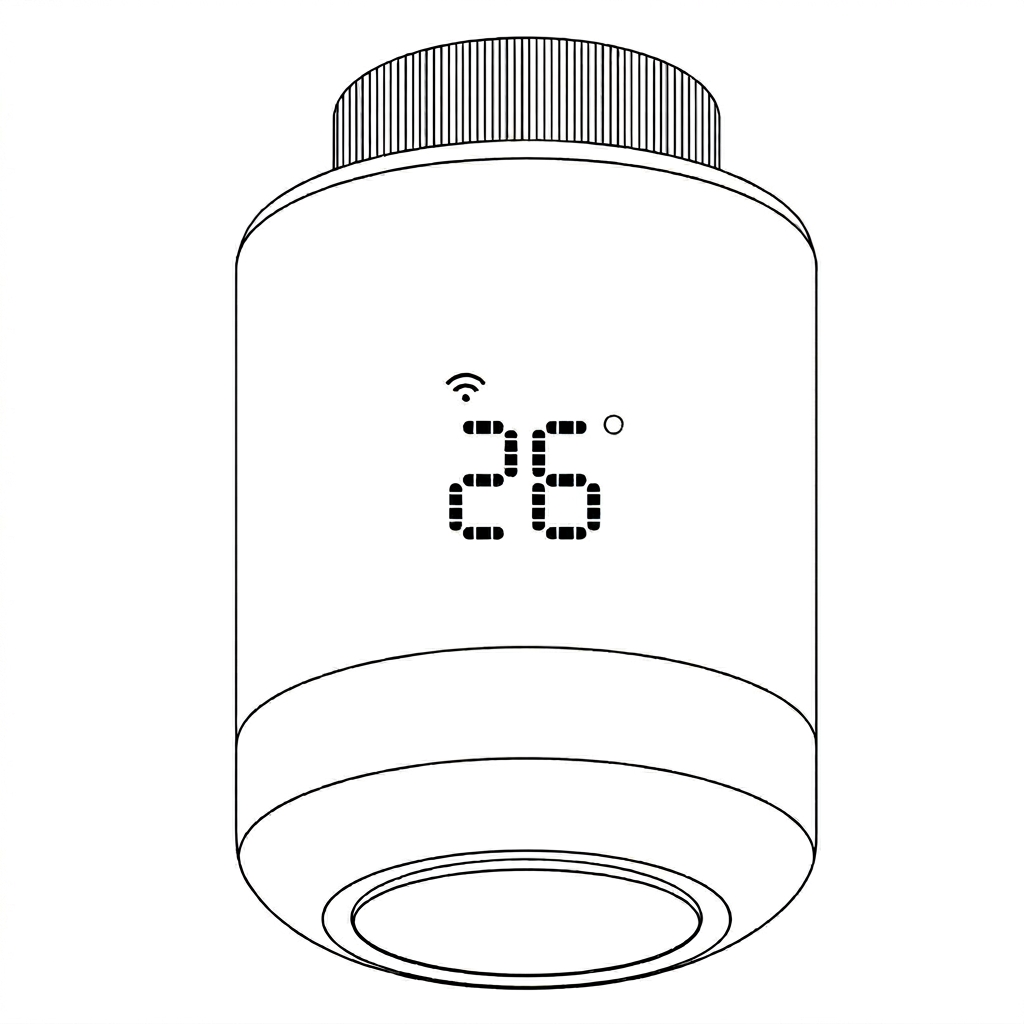
Target reached. When the room reaches the set temperature, the heat icon disappears and the valve closes. It reopens automatically if the room cools down.
10. Turning off the built-in timer
The valve has its own timer (programming mode). Turn it off so the valve can be controlled from the Smart PIERRE app.
Correct: timer is off, valve idle. There is no clock icon and no heat icon on the display.
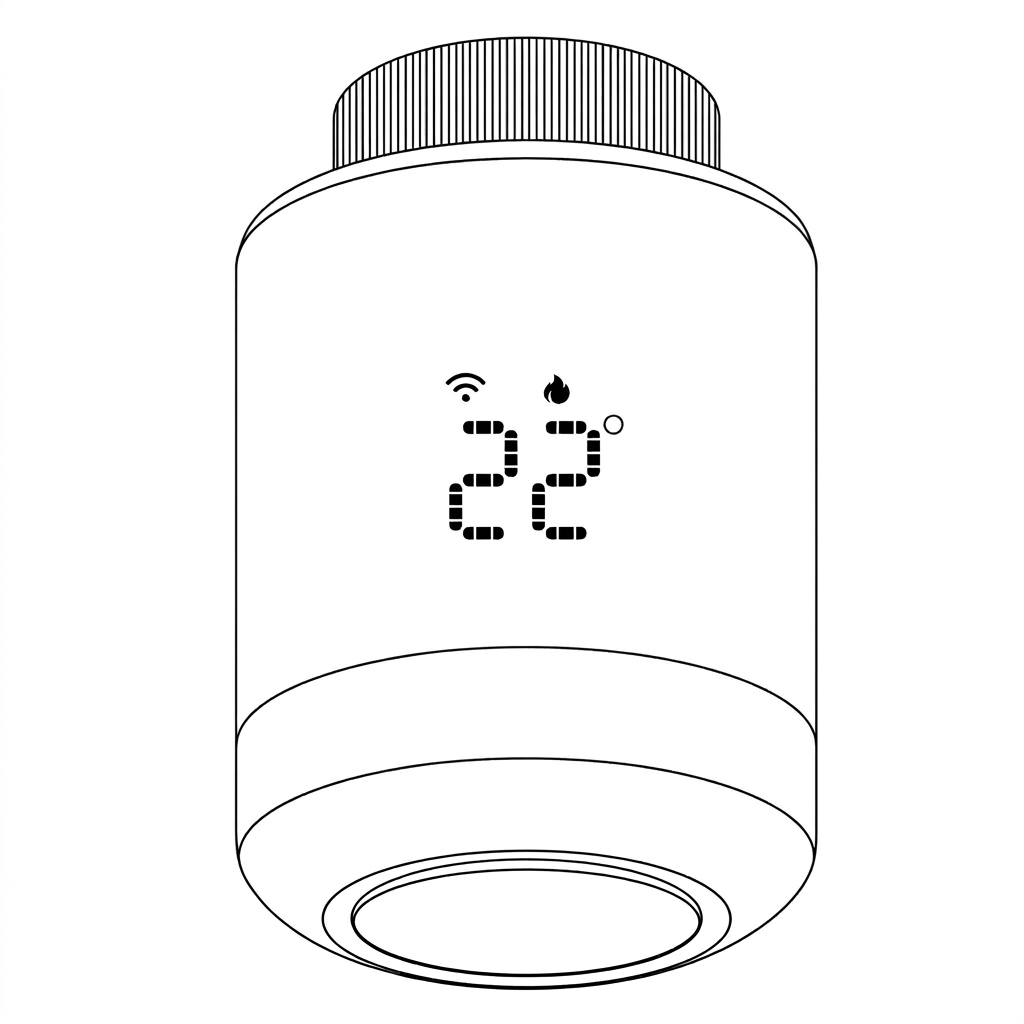
Correct: timer is off, valve heating. The heat icon is shown and there is no clock icon.
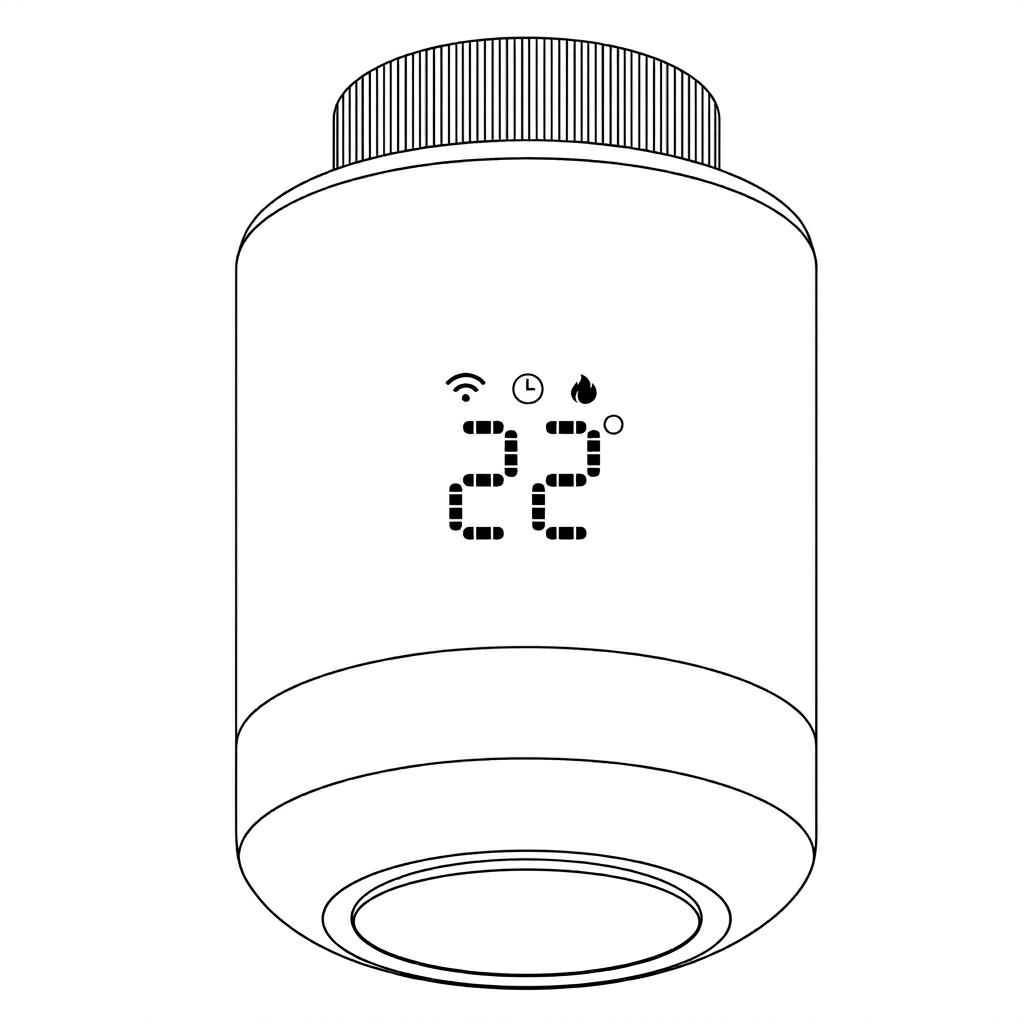
Incorrect: timer is on. A small clock icon appears at the top of the display.
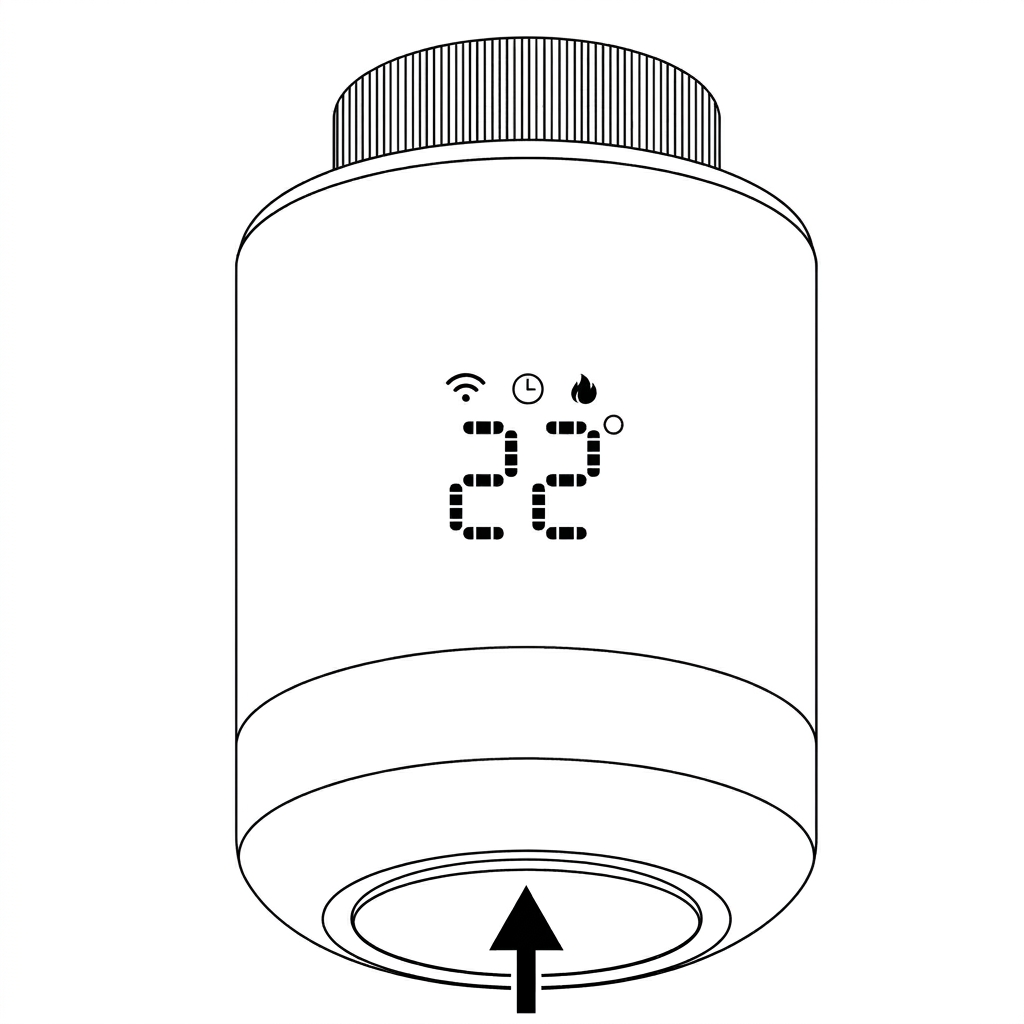
Turn the timer off. Give one short press on the button at the end of the valve head, as shown by the arrow. Do not hold the button: a long press activates the child lock and the screen shows "LC".
Check the display. The clock icon has disappeared.
11. Child lock
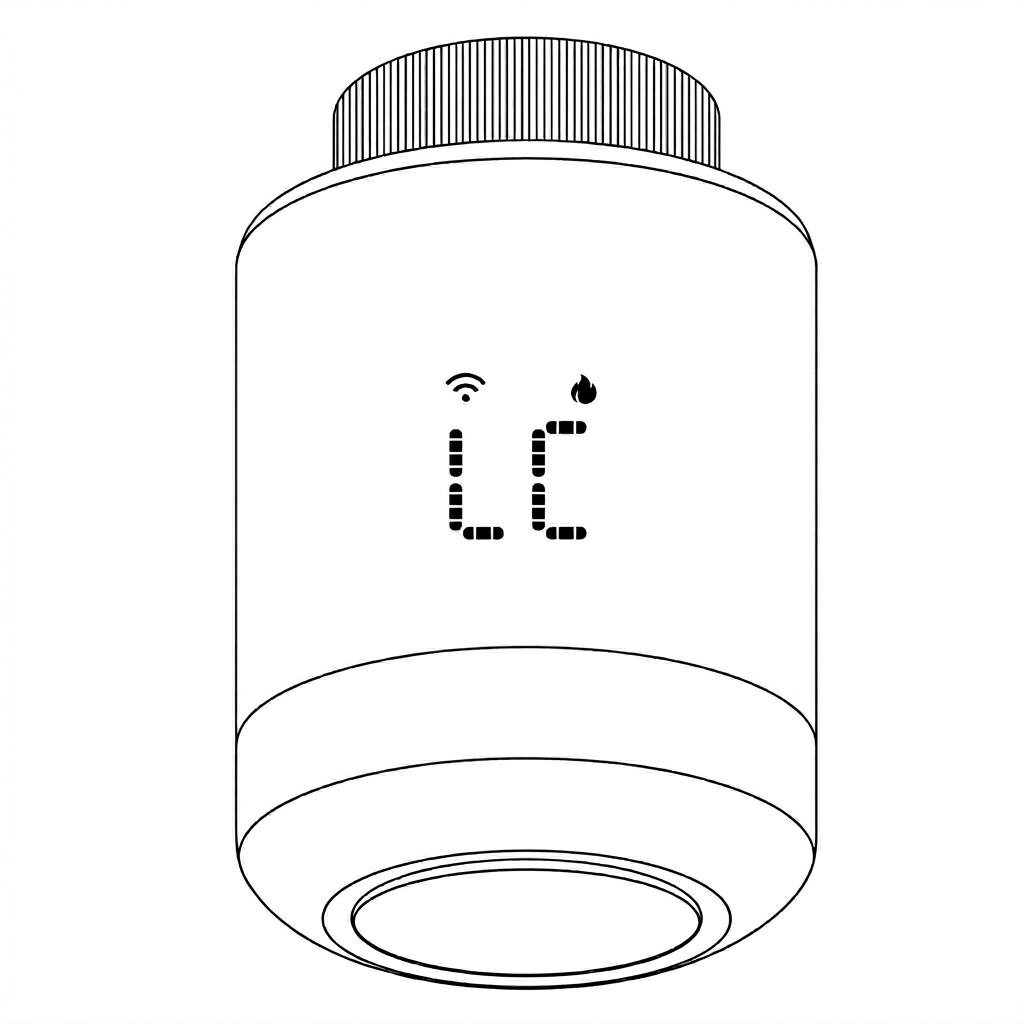
What it does. The child lock prevents accidental changes to the temperature with the knob. While it is on, the screen shows "LC".
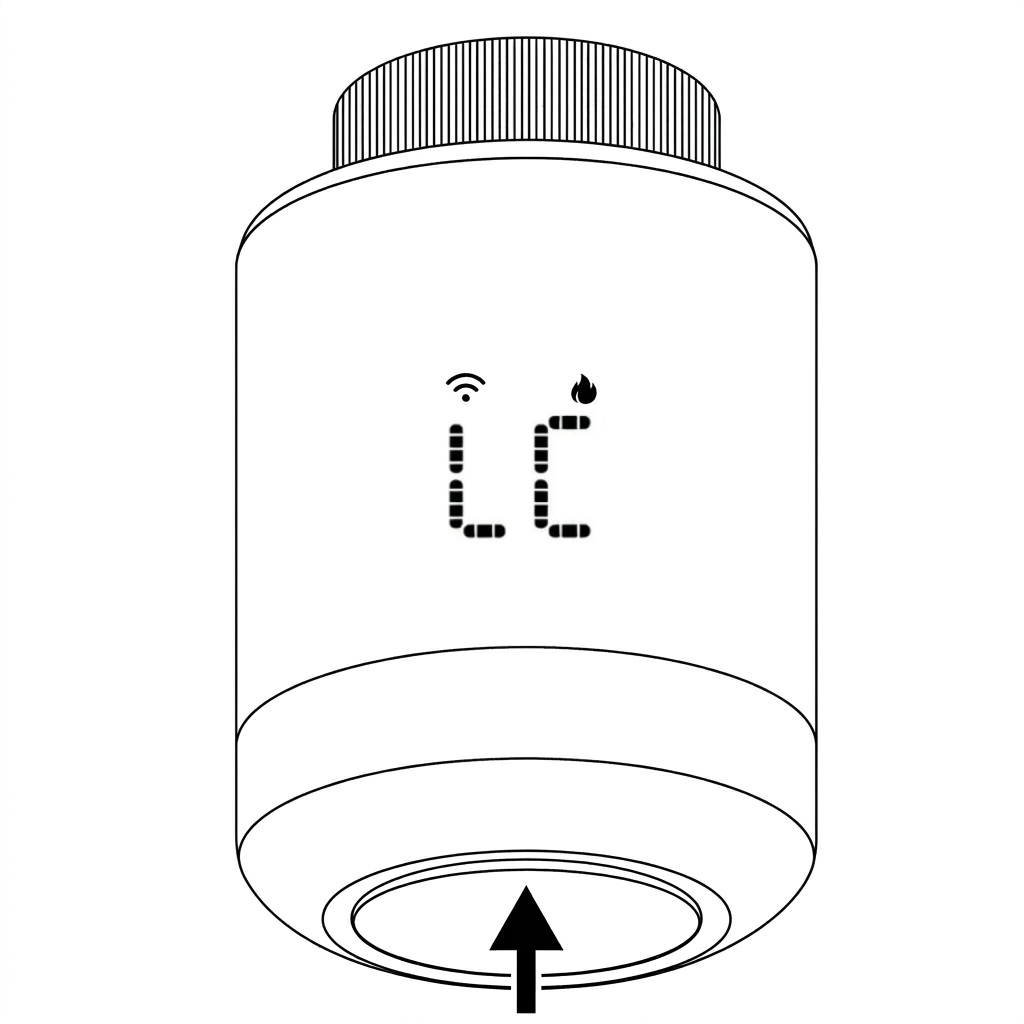
Turn the child lock on or off. Press and hold the button at the end of the valve head while the valve is powered on. The screen shows "LC" when the lock is on. To unlock, press and hold the button again.
12. App-to-Device Pairing
Please scan the QR code to download PIERRE application
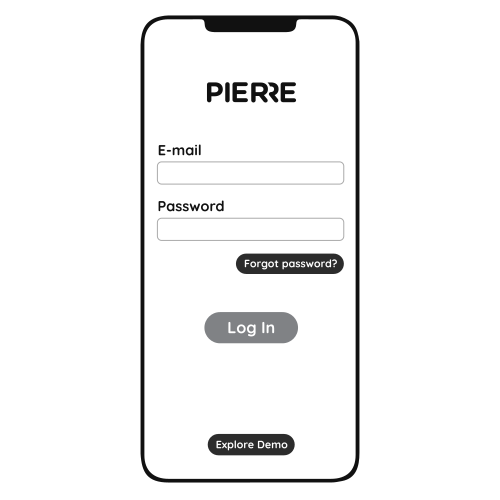
Log in with your Username and Password
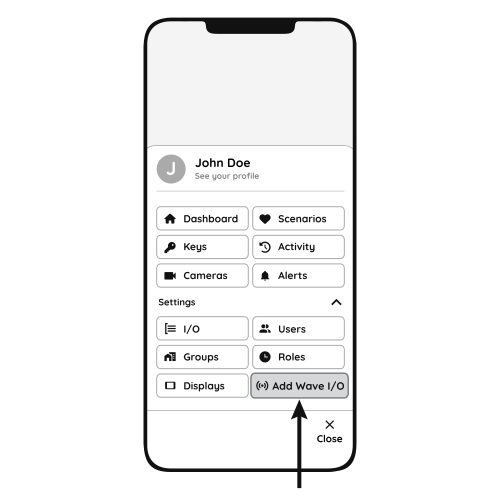
Open Settings and press "Add Wave I/O"
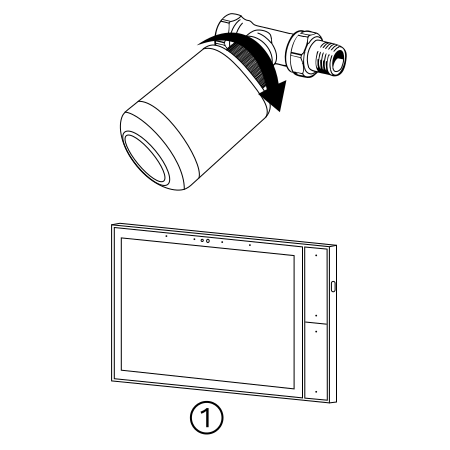
Turn the knob to the "OFF" state, press and hold the button for 5 seconds; the wireless icon on the screen will flash.
- PIERRE Wave Gateway
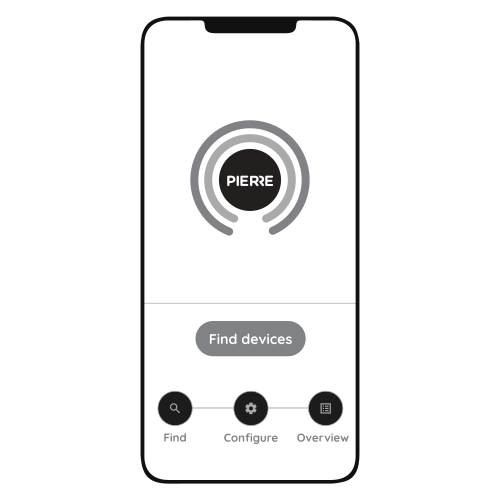
Press "Find Devices"
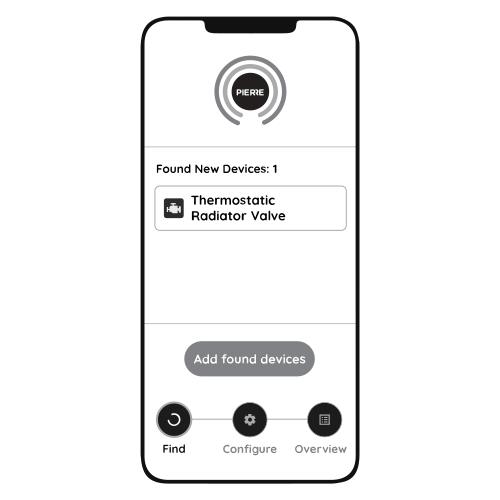
PIERRE application will show the list of available devices. Press "Add found devices"
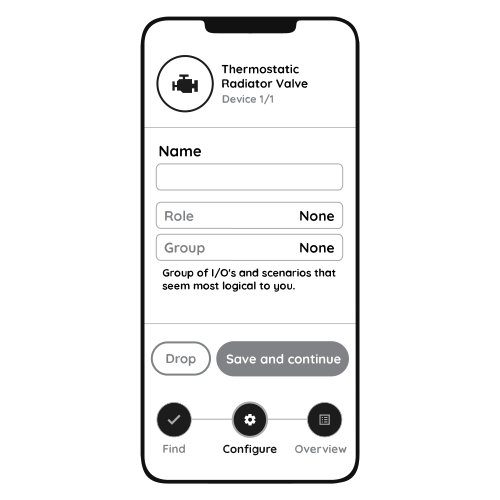
Enter Name, Role and Group settings and Save it
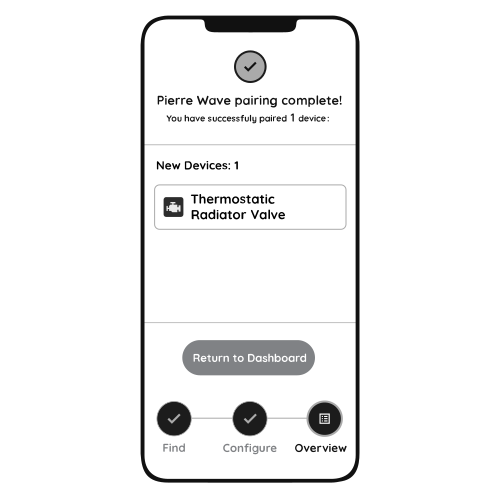
When the wireless icon stops flashing, the PIERRE Wave pairing process is finished.
13. Troubleshoot
Checking the Valve and Recalibrating the TRV Head
Follow these steps if the TRV device does not control the radiator correctly, does not close the valve, or does not respond properly to temperature settings in the app.
1. Remove the TRV head
Completely remove the TRV head from the valve. There is no need to change any settings in the app beforehand.
2. Check the valve pin
Press the valve pin with your finger. It should move approximately 2–3 mm and spring back automatically when released.
If the pin is stuck, gently tap the valve body to help release it.
For a normally open (NO) valve, an extended pin means that the valve is open. This is its normal resting position.
3. Check the adapter
Make sure the adapter ring is properly secured and does not move.
- M30 × 1.5 valve: Tighten the adapter by hand, then turn it an additional quarter turn. The adapter must not wobble.
- Danfoss RA valve: Use the correct Danfoss RA adapter, including the required valve pin extension.
4. Reset the TRV head
Remove the battery, wait 30 seconds, and reinstall it.
The motor should retract completely into its installation position. The display may show “InS” or a similar code.
Wait until the motor stops moving before proceeding.
5. Reinstall the TRV head
With the motor fully retracted, position the TRV head on the valve and gently turn it clockwise until you feel a slight click.
Do not use excessive force. If the head is difficult to turn or install, remove it and repeat Step 4.
6. Start the calibration process
Press the appropriate button on the TRV head to start calibration. The display may show “AdA” or a similar code.
The motor will extend and retract to detect the valve pin and determine the correct closing position. This process usually takes approximately one minute.
Do not touch or adjust the device during calibration. Wait until the process is complete.
7. Test the device using the app
After calibration, test the TRV through the app:
- Heating switched off: The radiator should gradually cool down.
- Temperature set to 30°C: The radiator should start heating, provided that the heating system is operating and hot water is available.
If the valve does not close properly, repeat the calibration process.
If the Problem Persists
If the TRV still does not operate correctly after completing these steps, check the following:
- The valve pin moves freely and returns to its original position.
- The adapter is compatible with the valve and securely installed.
- The TRV head is correctly mounted.
- The calibration process completes successfully.
- The heating system is active and supplying hot water.
If the problem persists, the valve, adapter, or TRV device may require further inspection.