PIERRE Partner - Humidity and Temperature Sensor (SHT30)
Description
The SHT30 is a combined humidity and temperature sensor connected over the I2C bus. It provides two measured values to the PIERRE system, which can be displayed and used as conditions in automation.
Configuration
To add an SHT30 sensor:
- Open the desired Controller.
- Navigate to the Configurable I/O tab.
- Select Add and choose Humidity and Temperature Sensor as the type.
- Configure: Name, Role, Identifier, SDA and SCL.
- Submit and save the configuration.
To edit a sensor, open the Controller, go to the Configurable I/O tab and select it from the list. The linked I/Os can also be changed here.
Fields
- Identifier — links the sensor to the electrical project documentation.
- SDA — the I2C data line, which carries the measured values.
- SCL — the I2C clock line, which keeps the devices on the bus synchronised.
Automation Applications
- Starting a fan coil or ventilation when humidity rises above a threshold.
- Feeding room temperature to a heating or cooling zone.
- Use as a condition in scenarios.
Wiring
Connect each sensor to its own inputs. Do not daisy-chain several sensors on one I2C bus. On a shared bus a single failed sensor stops the others from working, and finding which one failed is difficult. One sensor per bus keeps a fault local and diagnosable.
Technical Notes
- Connects over I2C — two signal lines plus supply and ground.
- Produces one humidity value and one temperature value.
- Keep the I2C cable short and away from mains wiring.
Add Humidity and Temperature sensor - SHT30
This sensor can be added in a few steps.
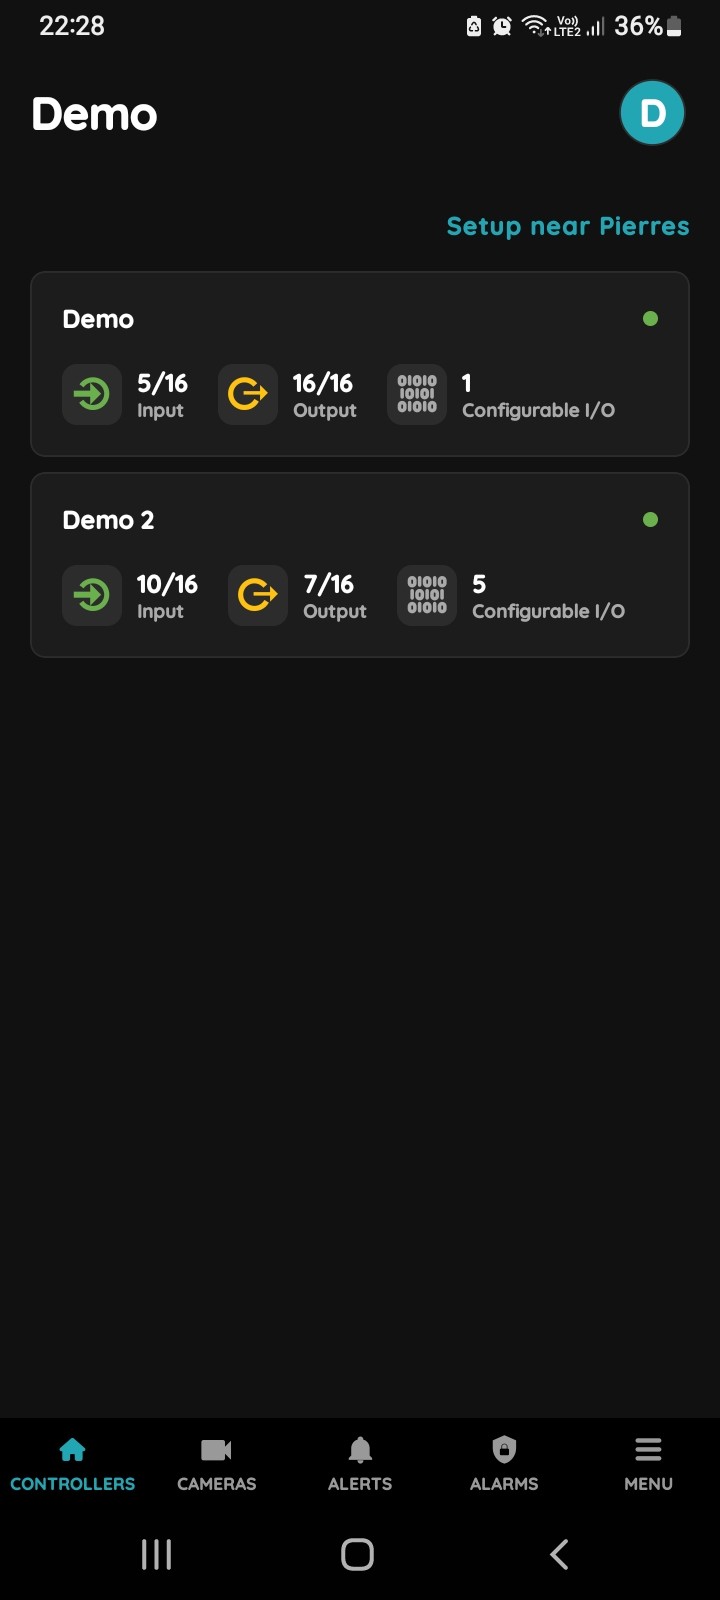
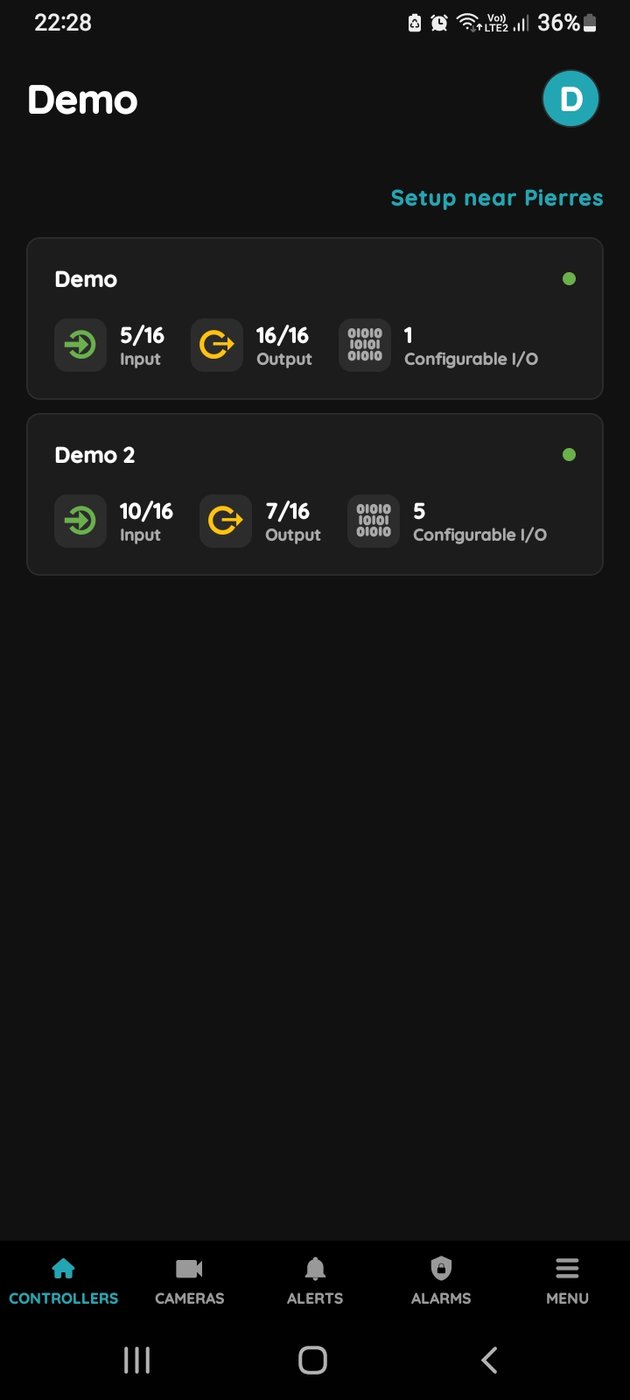
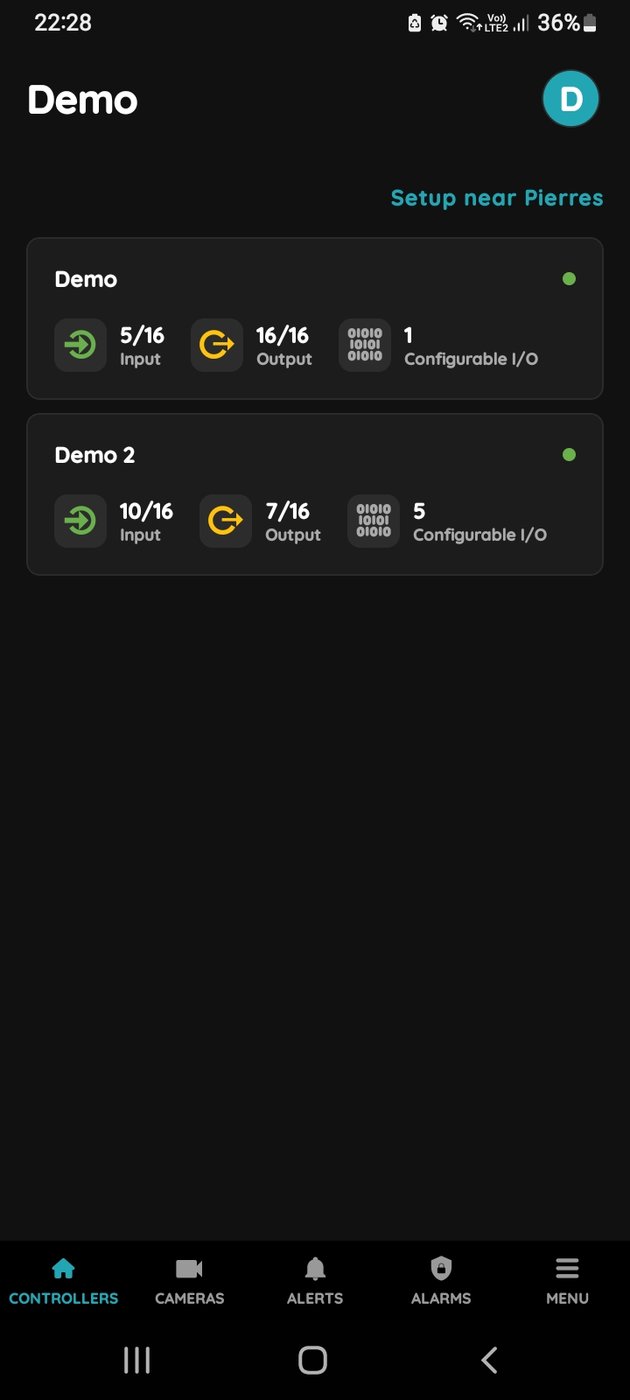
Choose Controller
Tap on the Controller that you would like to add new I/O to.
To edit the I/O, click on the Controller to which the I/O is added.
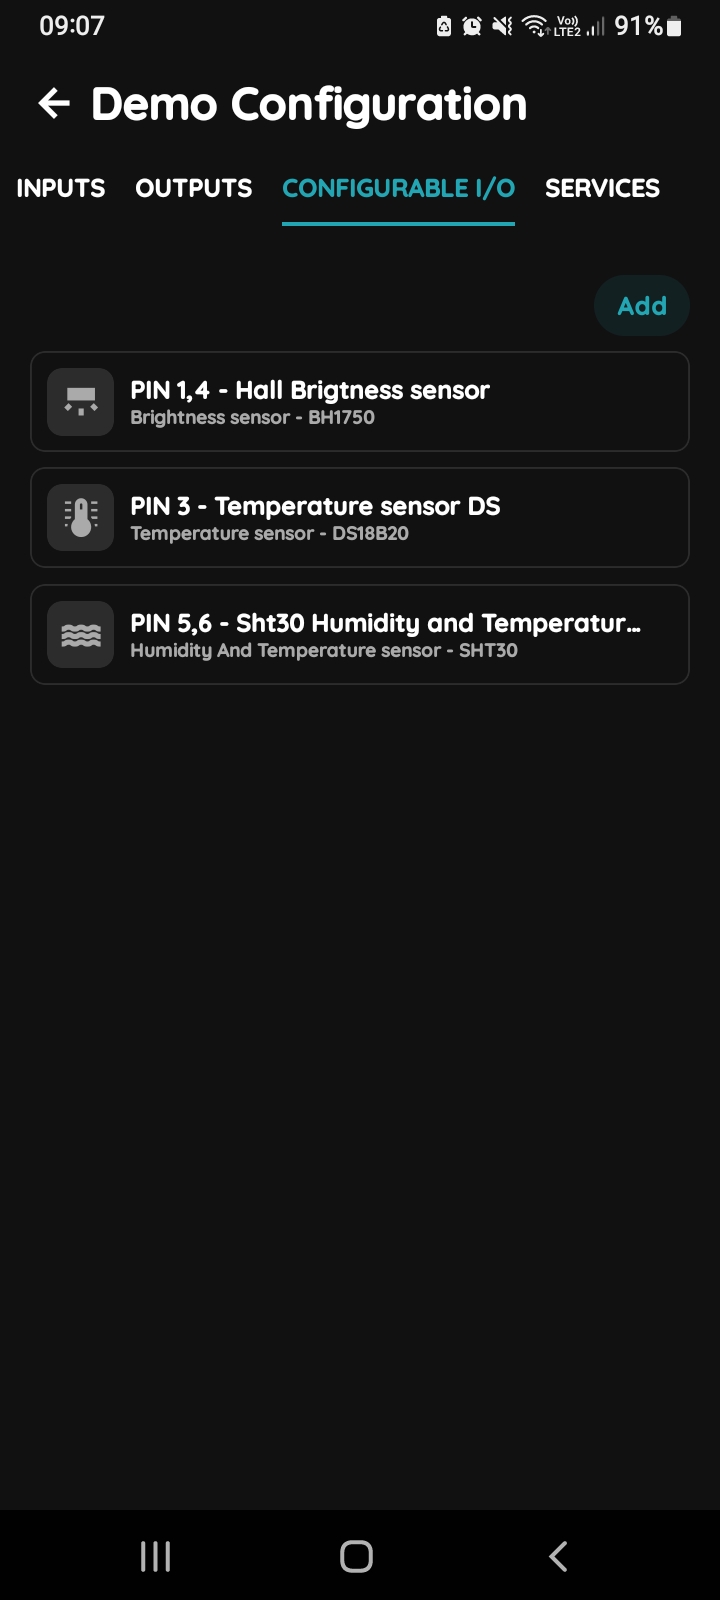
Configurable I/O - list
Tap on the Configurable I/O tab.
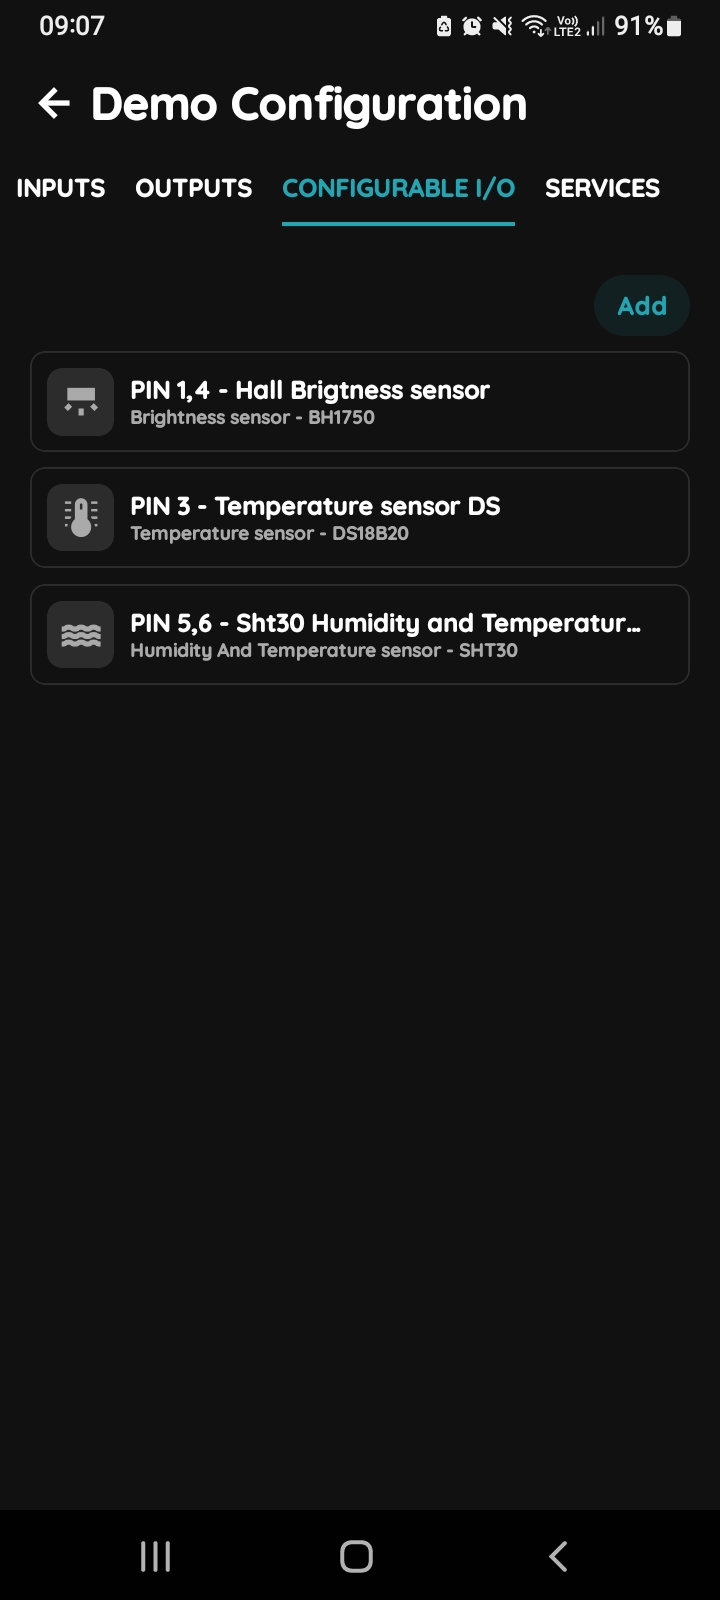
Add button - Configurable I/Os
Tap on the Add button.
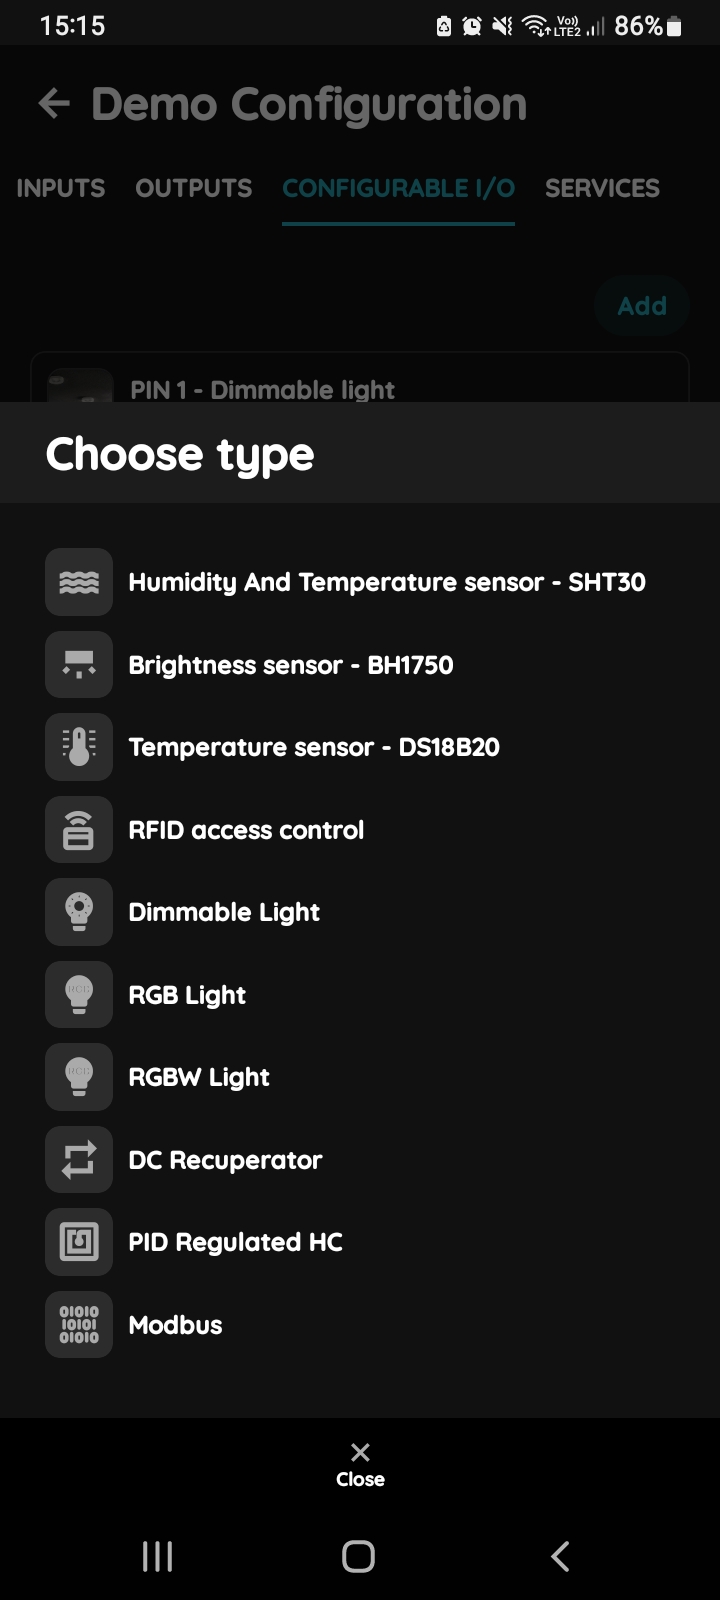
Choose type - Configurable I/O list
You should choose the type of the I/O from the list that you would like to add.
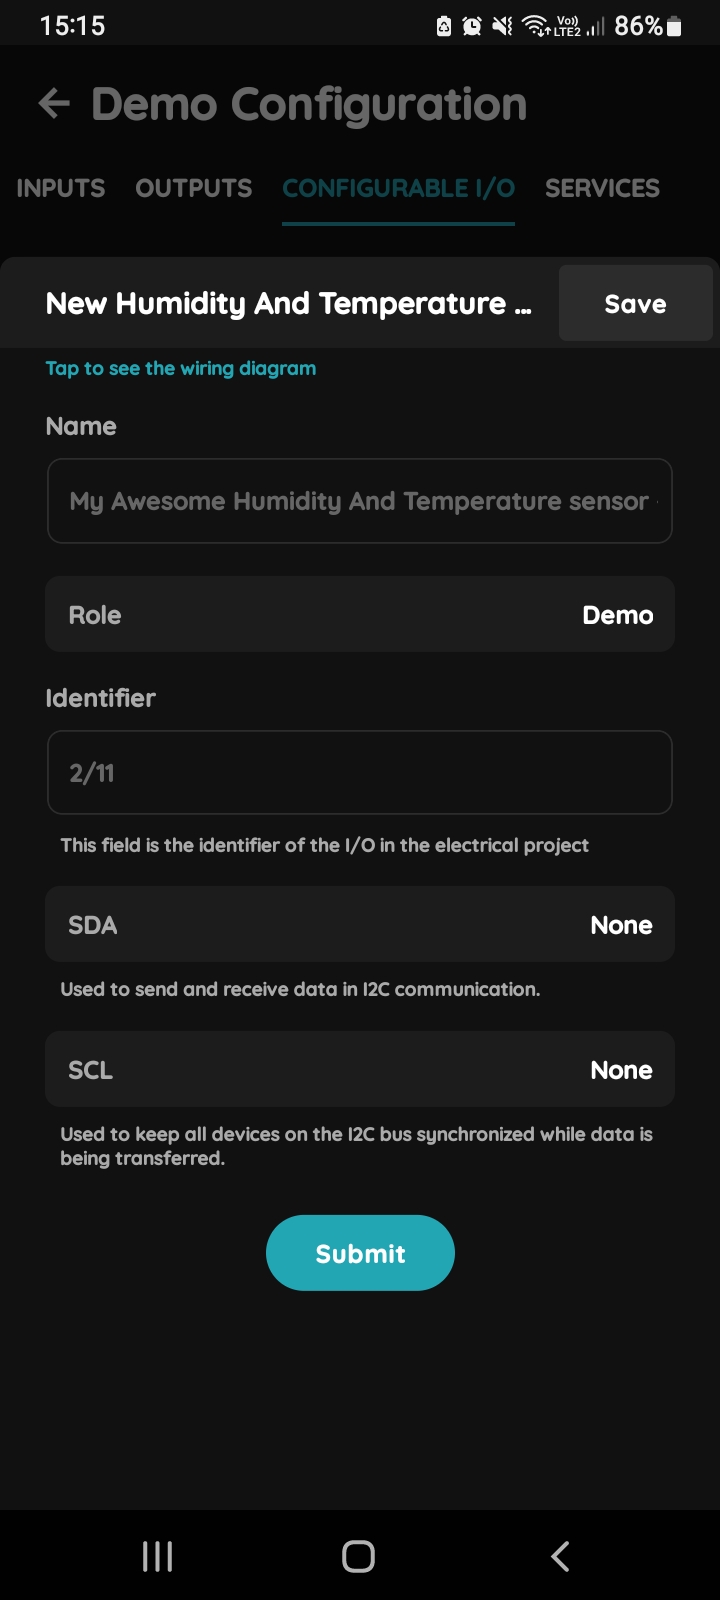
New Humidity and Temperature sensor
Fill the following form:
Name - Write name of the Humidity and Temperature sensor.
Role - Choose Role from this field.
Identifier - This field is the identifier of the I/O in the electrical project.
SDA - Used to send and receive data in 12C communication.
SCL - Used to keep all devices on the 12C gus synchronized while data is being transferred
For more details follow next steps.
To confirm your choice tap on Submit and Save.
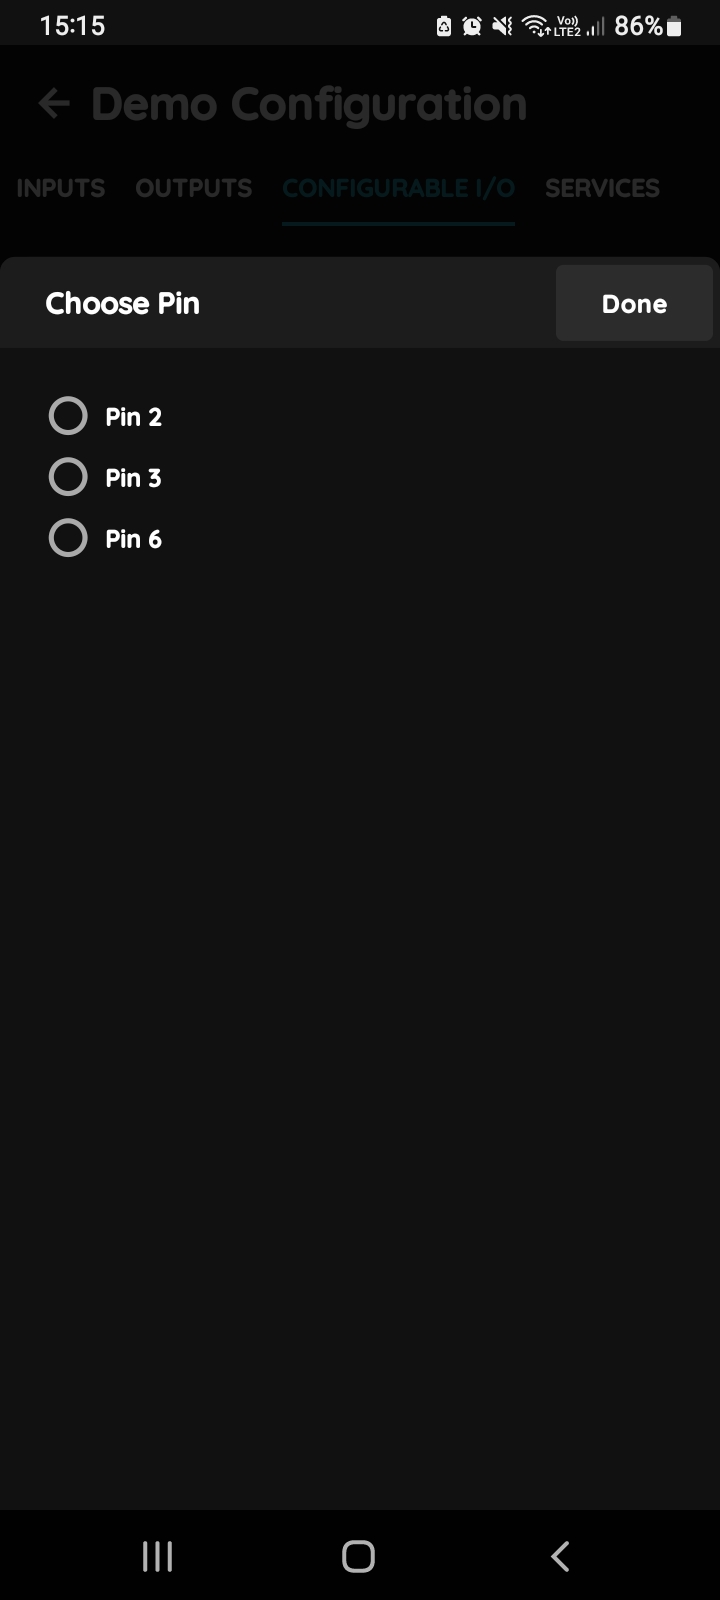
SDA
In this step you should choose Pin when you select radio button next to desired Pin.
When you want to confirm your choice tap on the button Done/Save.
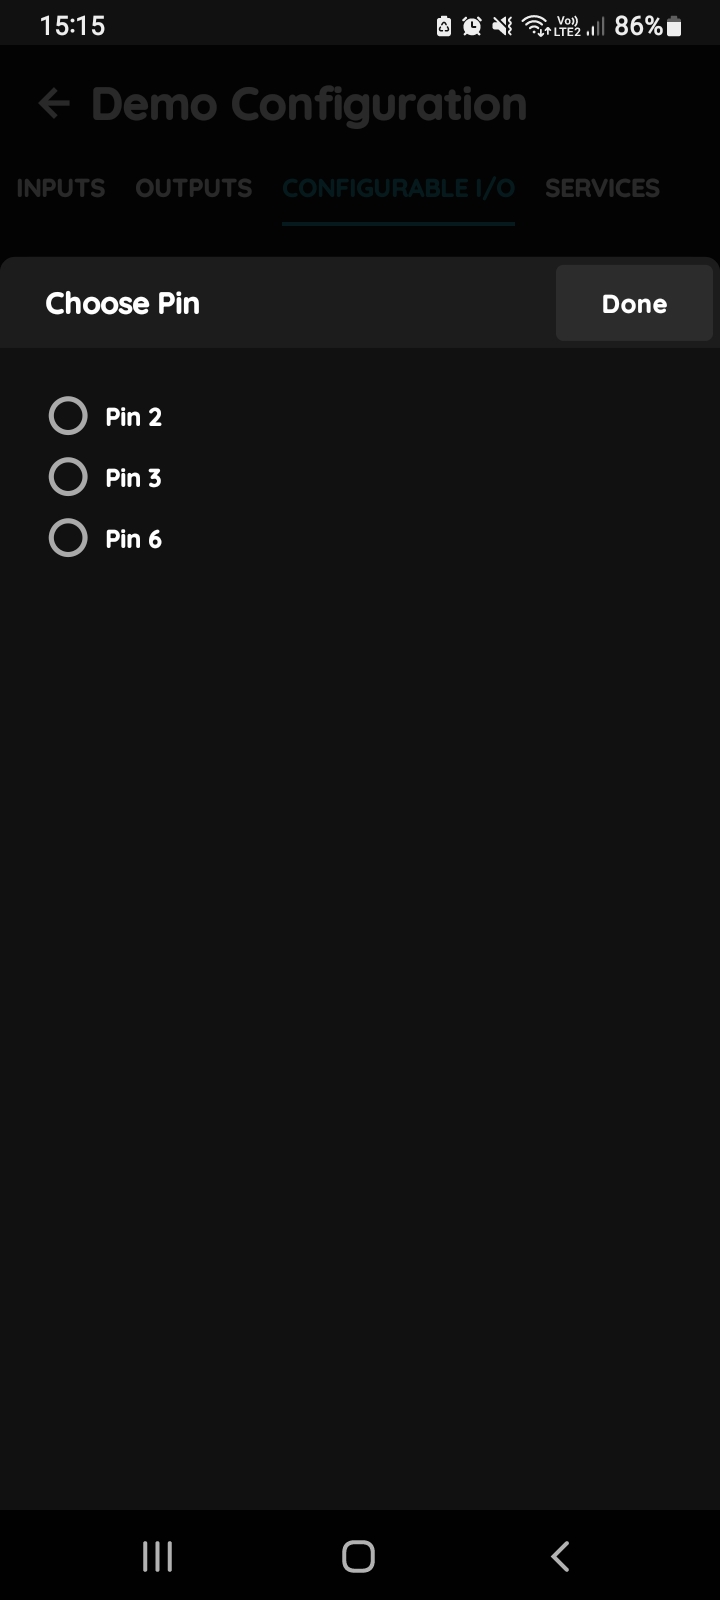
SCL
Click in the SCL field and select the radio button next to the Pin from the list.
When you want to confirm your choice tap on the button Done/Save.
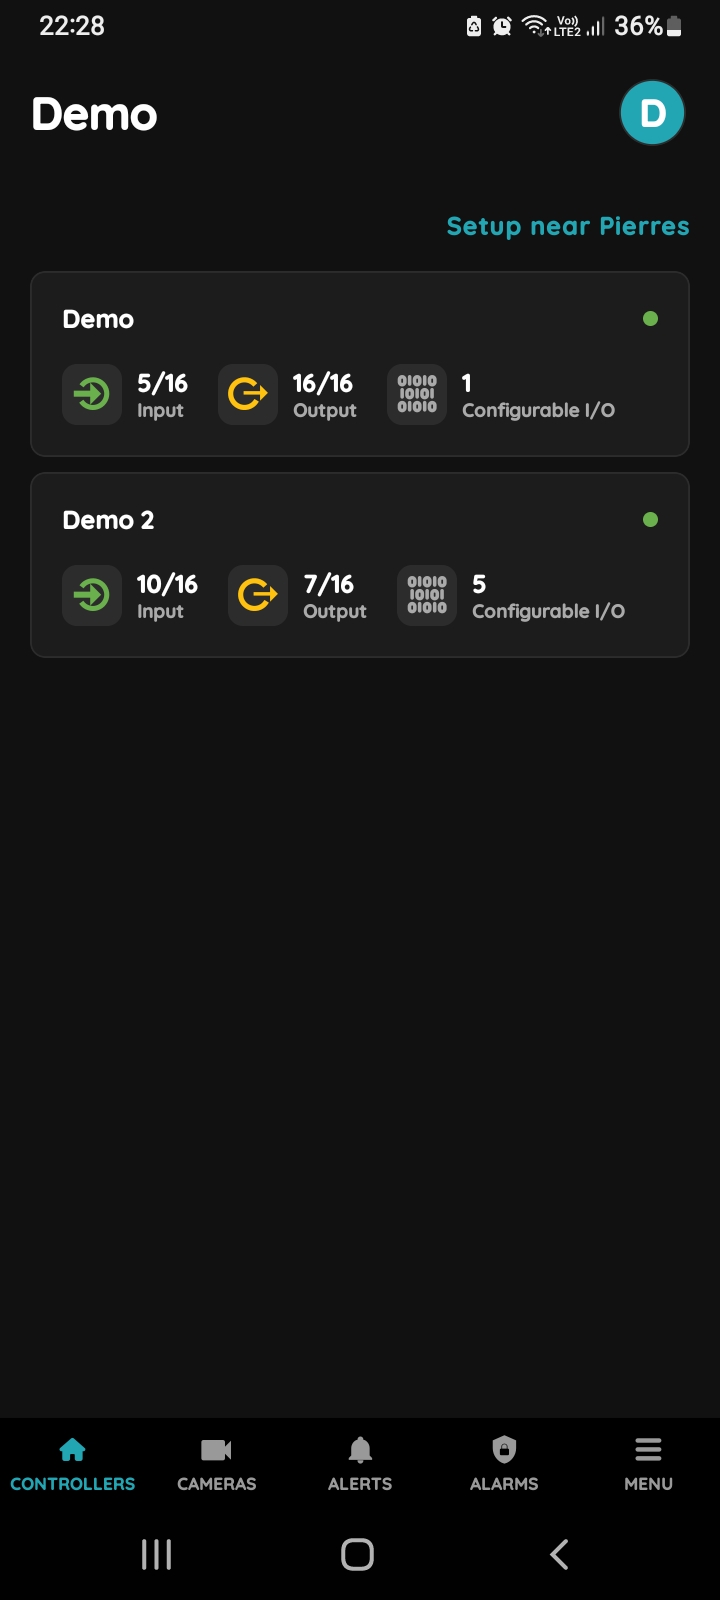
Choose Controller
This sensor can be edited in a few steps.
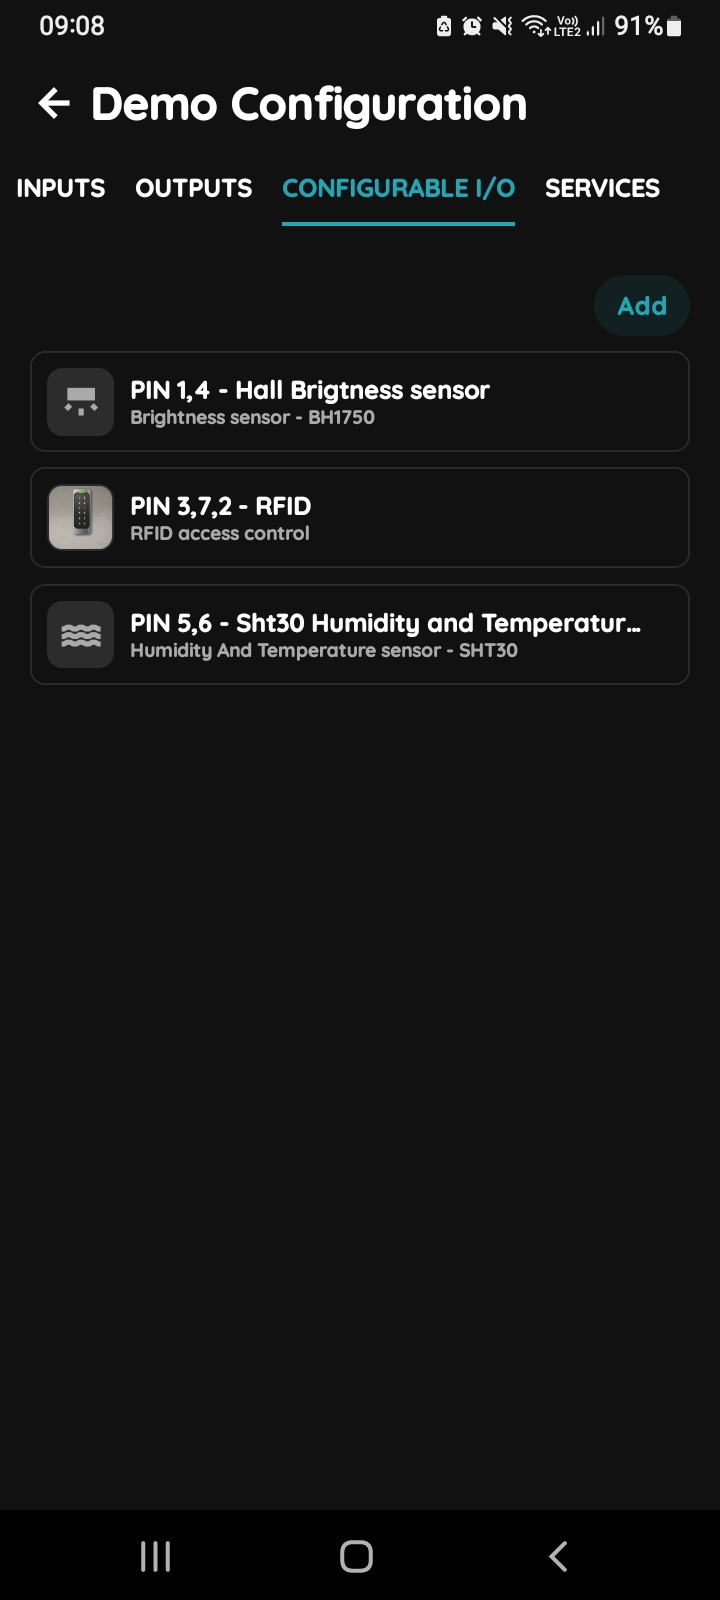
Choose Configurable I/O for editing
Scroll and select Configurable I/O for editing.
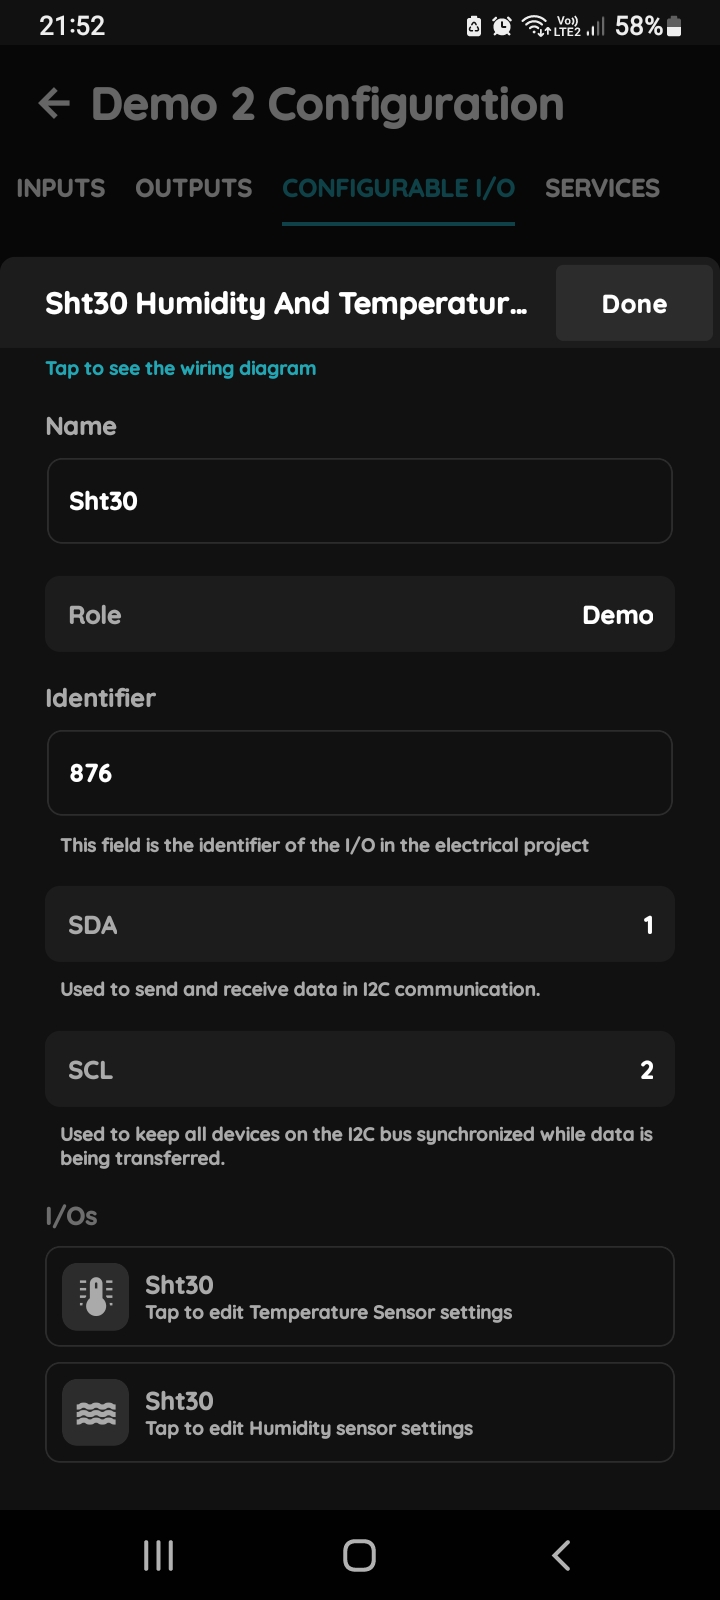
Edit SHT30 Humidity and Temperature sensor
Edit following fields:
Name - Write name of the Humidity and Temperature sensor.
Role - Choose Role from this field.
Identifier - This field is the identifier of the I/O in the electrical project.
SDA - Used to send and receive data in 12C communication.
SCL - Used to keep all devices on the 12C gus synchronized while data is being transferred
To confirm your choice tap on Submit and Done or to delete it tap on button Delete.
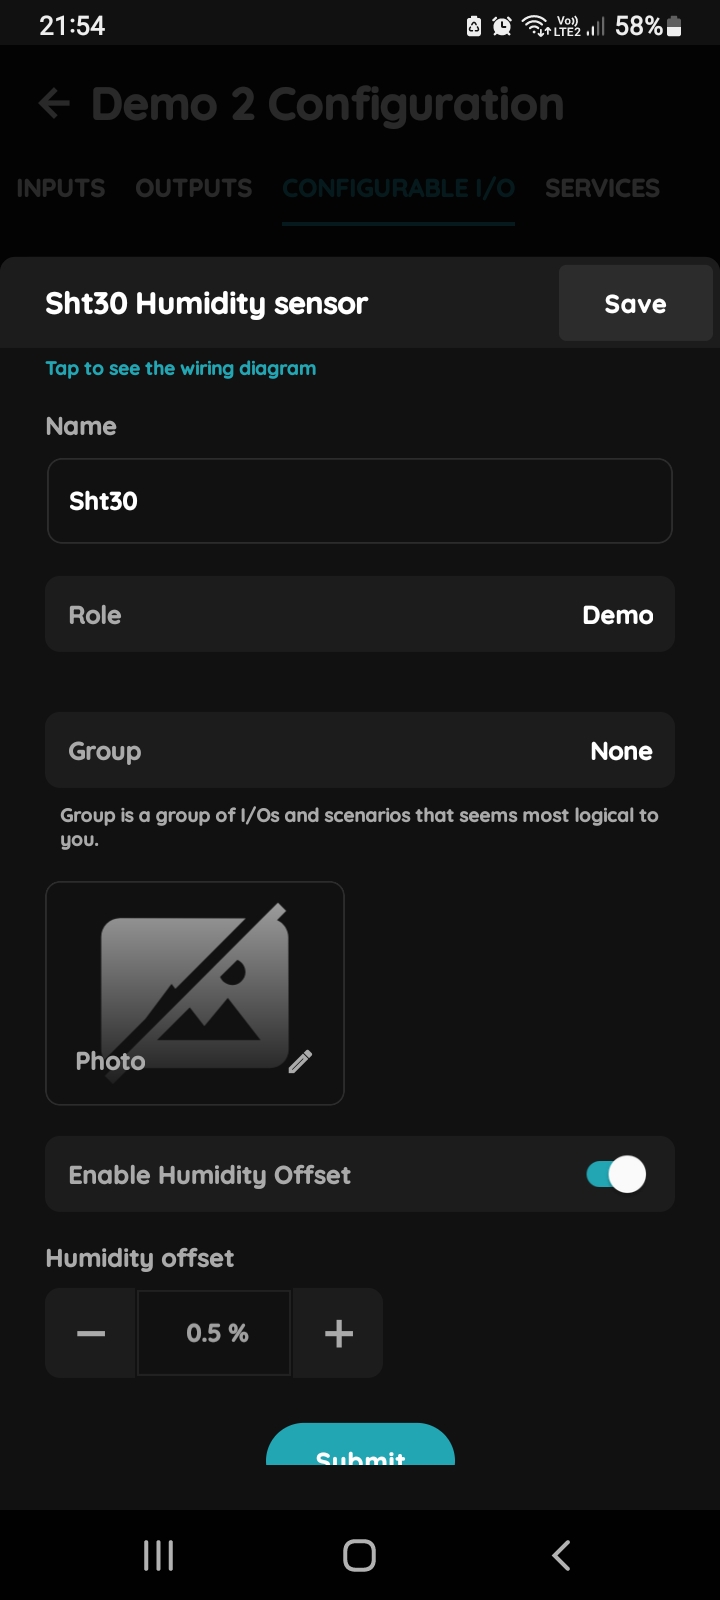
I/Os - Humidity sensor settings SHT 30
If you tapped on Humidity sensor edit following fields:
Name - Edit name of the Humidity sensor.
Role - Choose Role from the list.
Photo - Choose source of the photo.
Enable Humidity Offset - When it is enabled, set Humidity offset by -/+.
When you want to confirm your choice tap on Submit and Done.
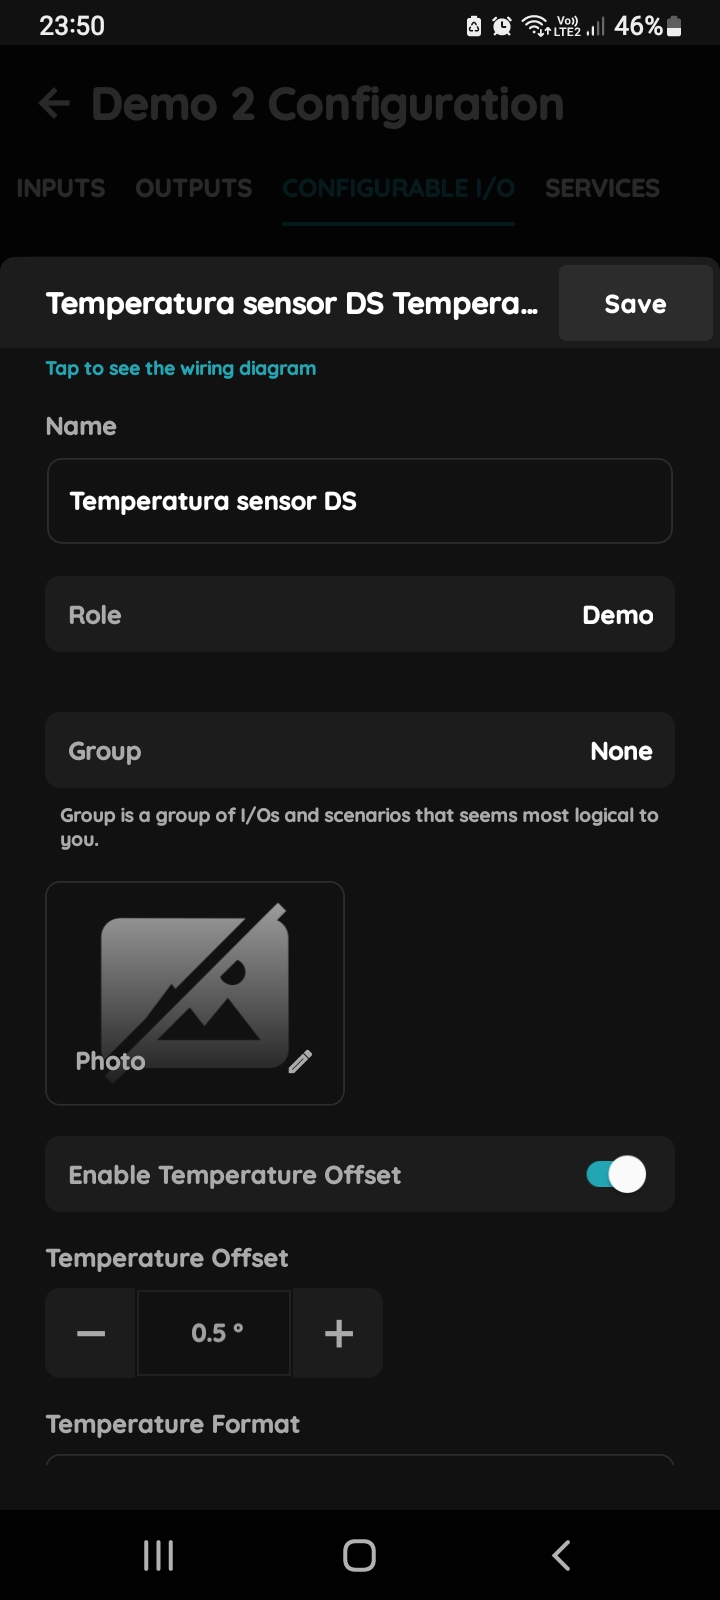
I/Os - Temperature sensor
If you tapped on Temperature sensor, edit the following fields:
Name - Edit name of the Humidity and Temperature sensor.
Role - Choose Role from this field.
Group - Choose Group.
Photo - Choose a source of the picture.
Enable Temperature offset - When it is enabled, set Temperature offset offset by -/+.
Temperature Format - Farenheit or Celsius - Select checkbox next to it.
To confirm your choice tap on Submit and Save.