PIERRE Partner - RFID Reader
Description
The RFID Reader is a wired access control input connected to a controller. It reads user credentials and passes them to the PIERRE system, where they are matched against the tokens assigned to users.
Configuration
To add an RFID reader:
- Open the desired Controller.
- Navigate to the Configurable I/O tab.
- Select RFID Access Control as the type.
- Configure: Name, Role, Identifier, D0, D1 and Feedback Pin.
- Submit and save the configuration.
To edit a reader, open the Controller, go to the Configurable I/O tab and select the reader from the list. The same fields are available.
Fields
- Identifier — links the I/O to the electrical project documentation.
- D0 and D1 — the two data lines that carry the credential from the reader to the controller.
- Feedback Pin — indicates whether the read was successful.
Credentials
RFID credentials are managed per user and are assigned in the Smart PIERRE app. Time-based access restrictions configured for a user apply to all of that user's credentials.
Automation Applications
- Unlocking a door or gate on a successful read.
- Triggering a scenario tied to the user who presented the credential.
- Logging access events for later review.
Technical Notes
- Wiegand 34 communication protocol.
- MIFARE cards and tags, 13.56 MHz.
- Requires D0, D1 and a feedback connection to the controller.
- Third-party readers can be used provided they meet these requirements.
Add New RFID reader
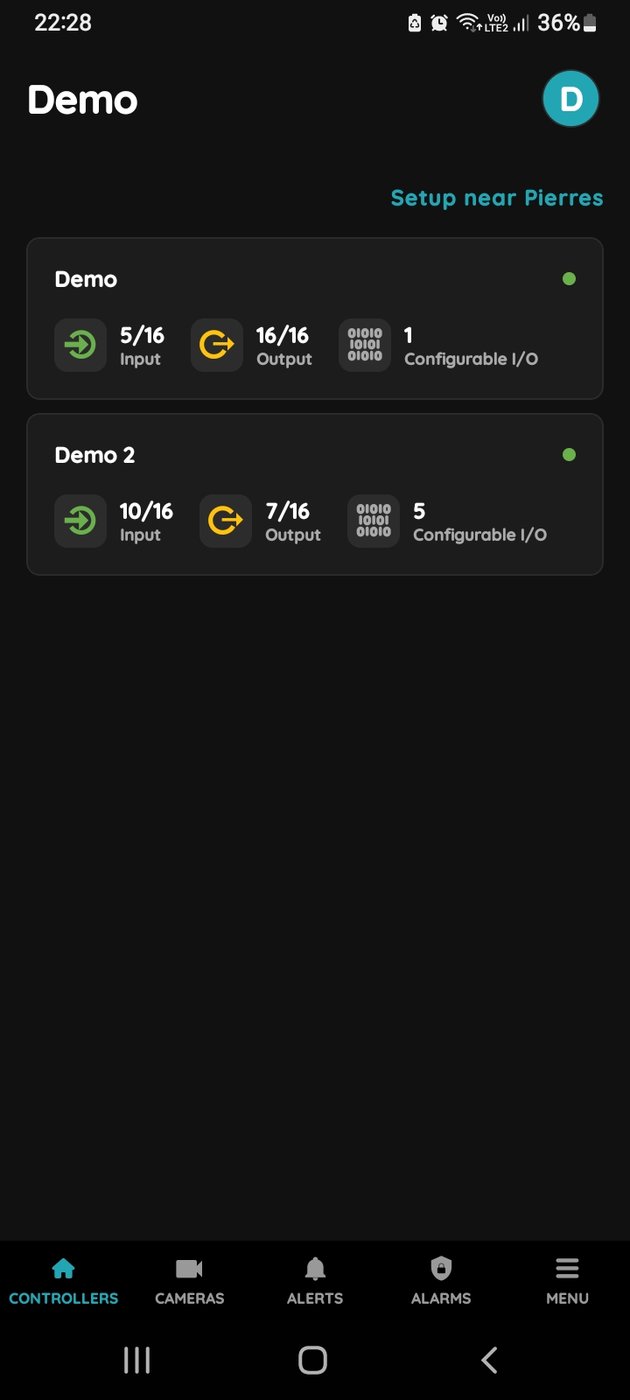
In order to add new RFID reader you should choose Controller first.
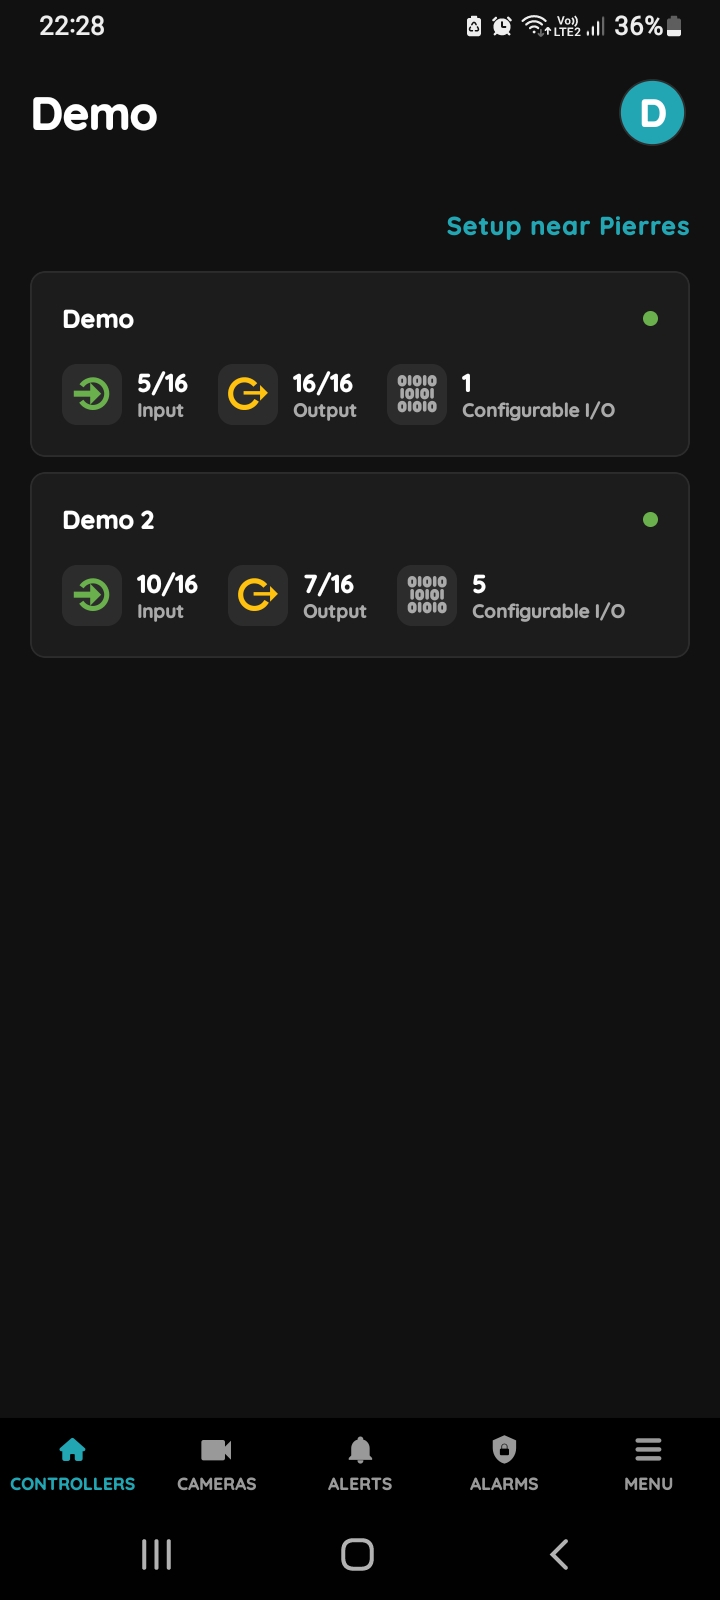
Choose Controller
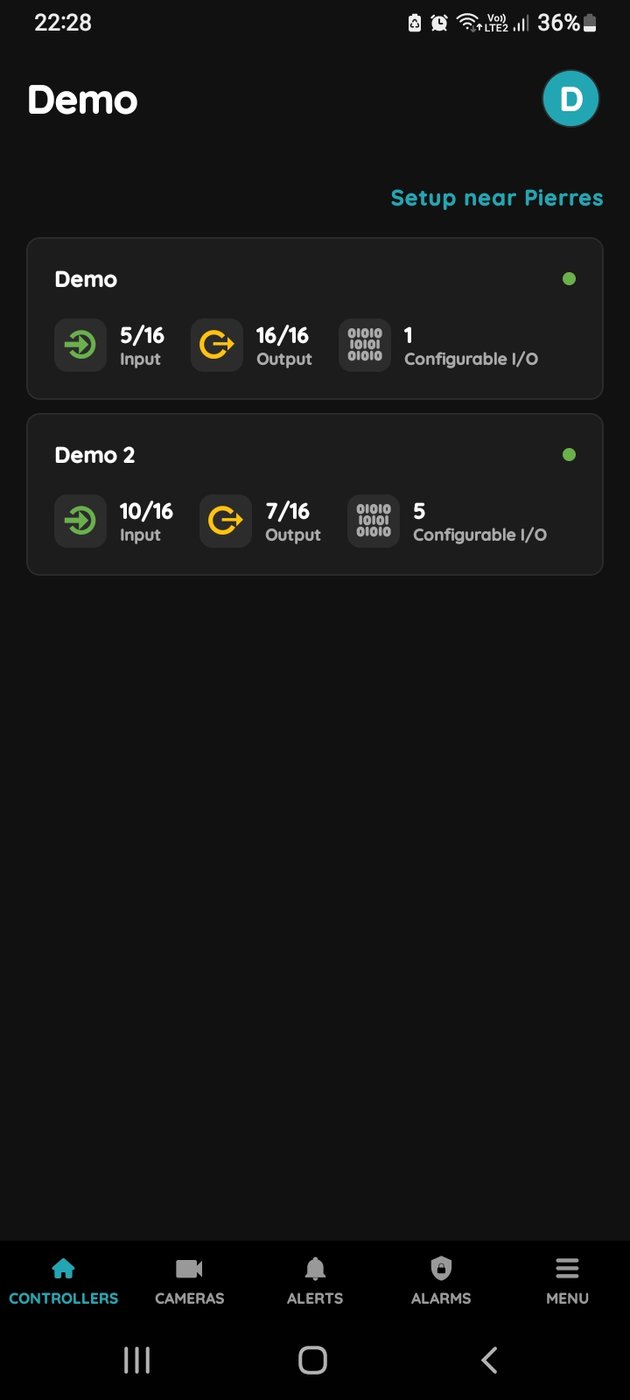
Tap on the Controller that you would like to add new I/O to.
To edit the I/O, click on the Controller to which the I/O is added.
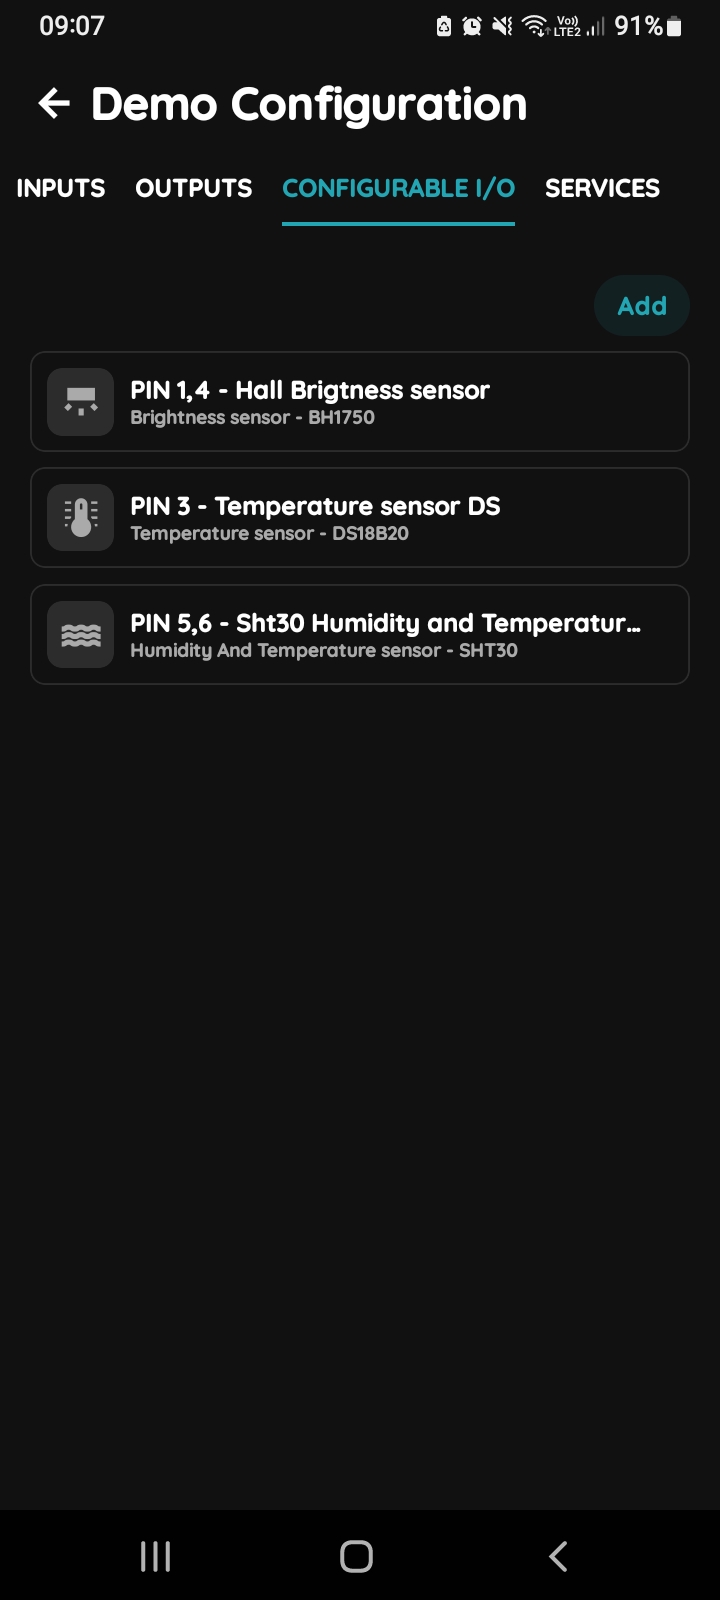
Configurable I/O - list
Tap on the Configurable I/O tab.
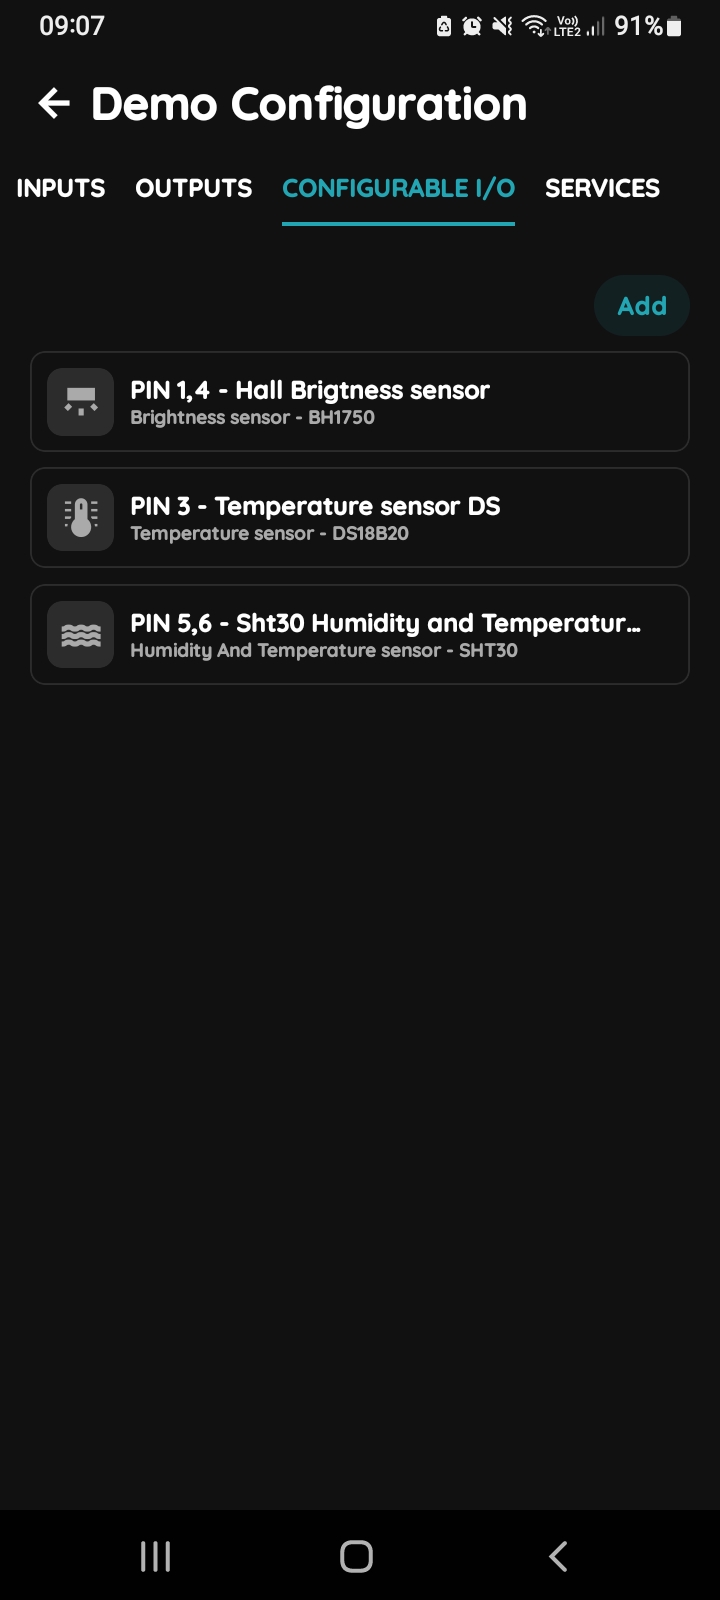
Add button - Configurable I/Os
Tap on the Add button.
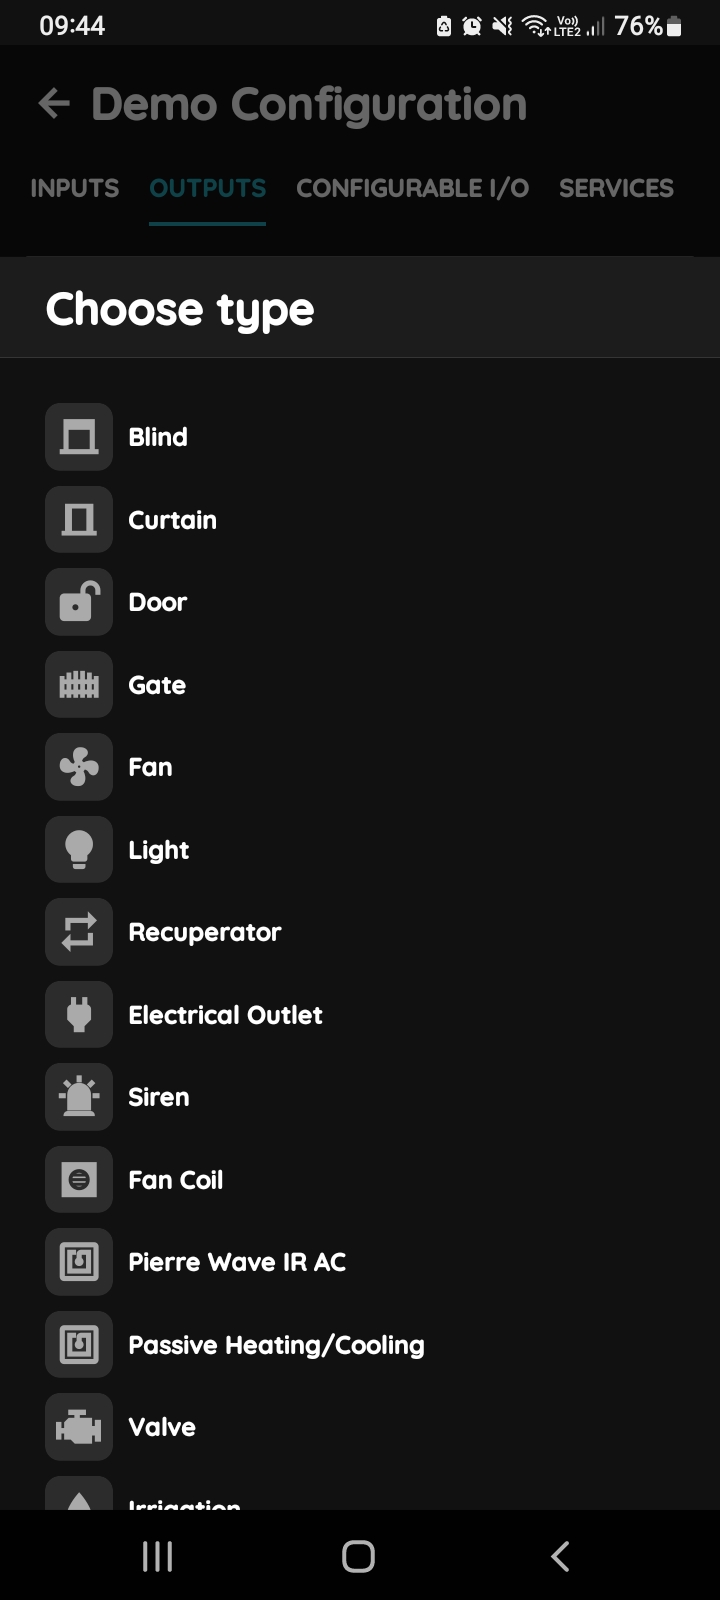
Choose type in Partner application
Choose type - From the list choose the device that you would like to add.
Scroll to the desired I/O from the list that you would like to add and tap on it.
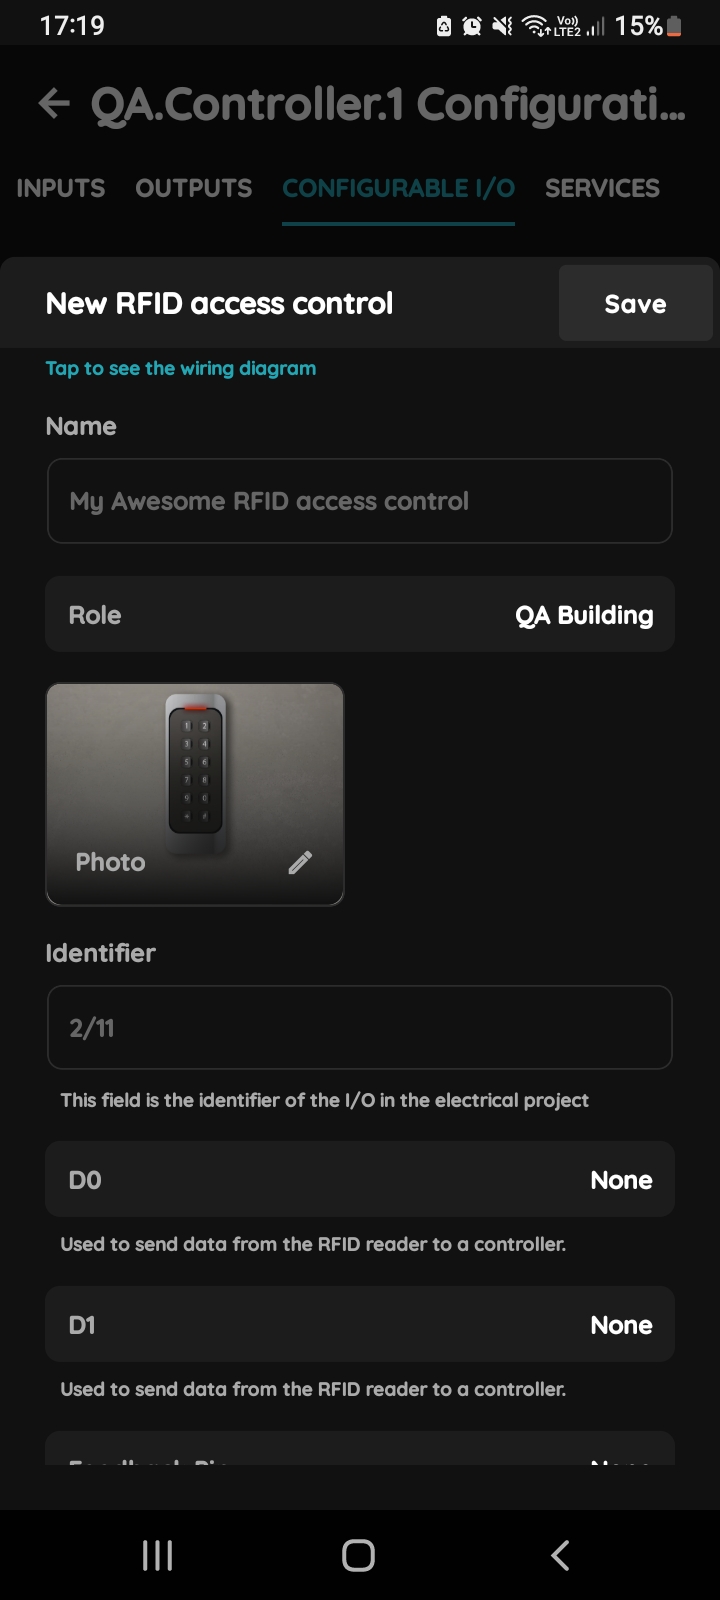
New RFID access control
Fill the following form in order to add New RFID reader:
- Name - Write the name of the RFID reader.
- Roles - Select the Role from the list.
- Change photo - Tap on the photo in order to change it.
- Identifier - Enter the identifier of the I/O in the electrical project in this field.
- D0 - It is used to send data from the RFID reader to a Controller.
- D1- It is used to send data from the RFID reader to a Controller.
- Feedback Pin - It is used to provide feedback on the success or failure at the RFID reading process.
To confirm tap Submit/Save.
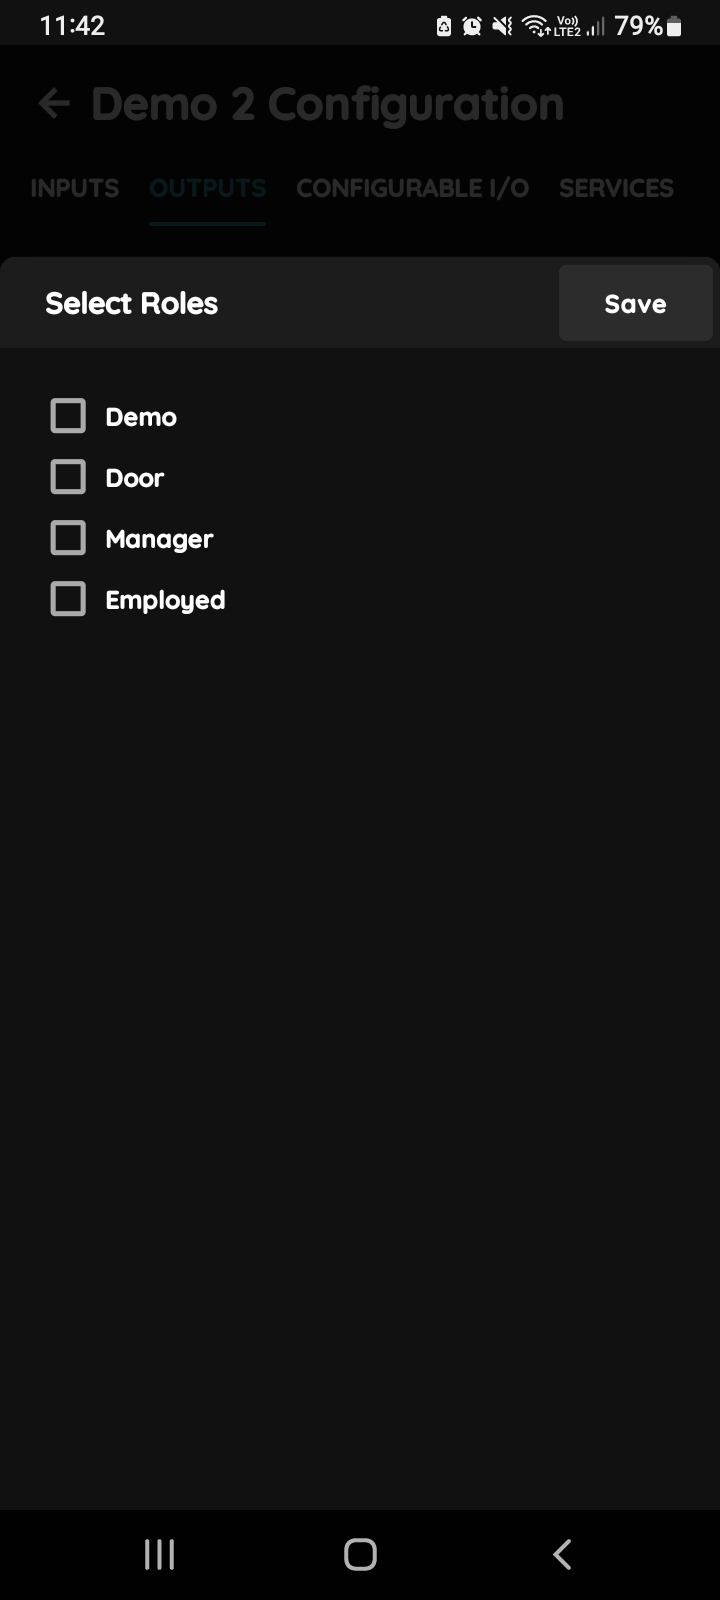
Select Roles
You can select desired Role or Roles - multiple choice if you tap on the checkboxes next to them.
Tap on Save/Done.
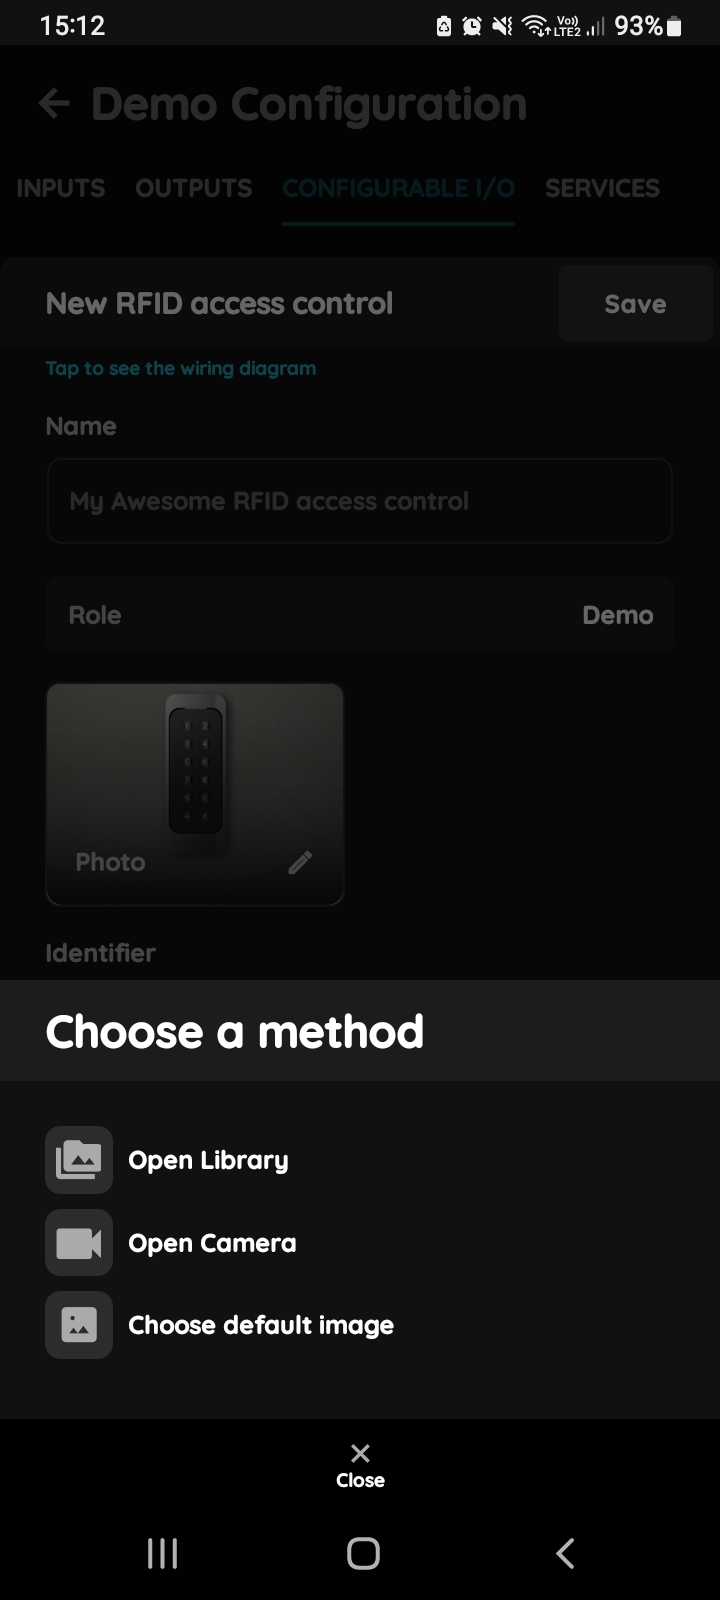
Change photo - RFID reader
Tap on the photo of the RFID reader.
You have tree options:
- Open Library - This opens the phone’s Library.
- Open Camera - Take a picture using your smartphone.
- Choose Default Image - Select from predefined images.
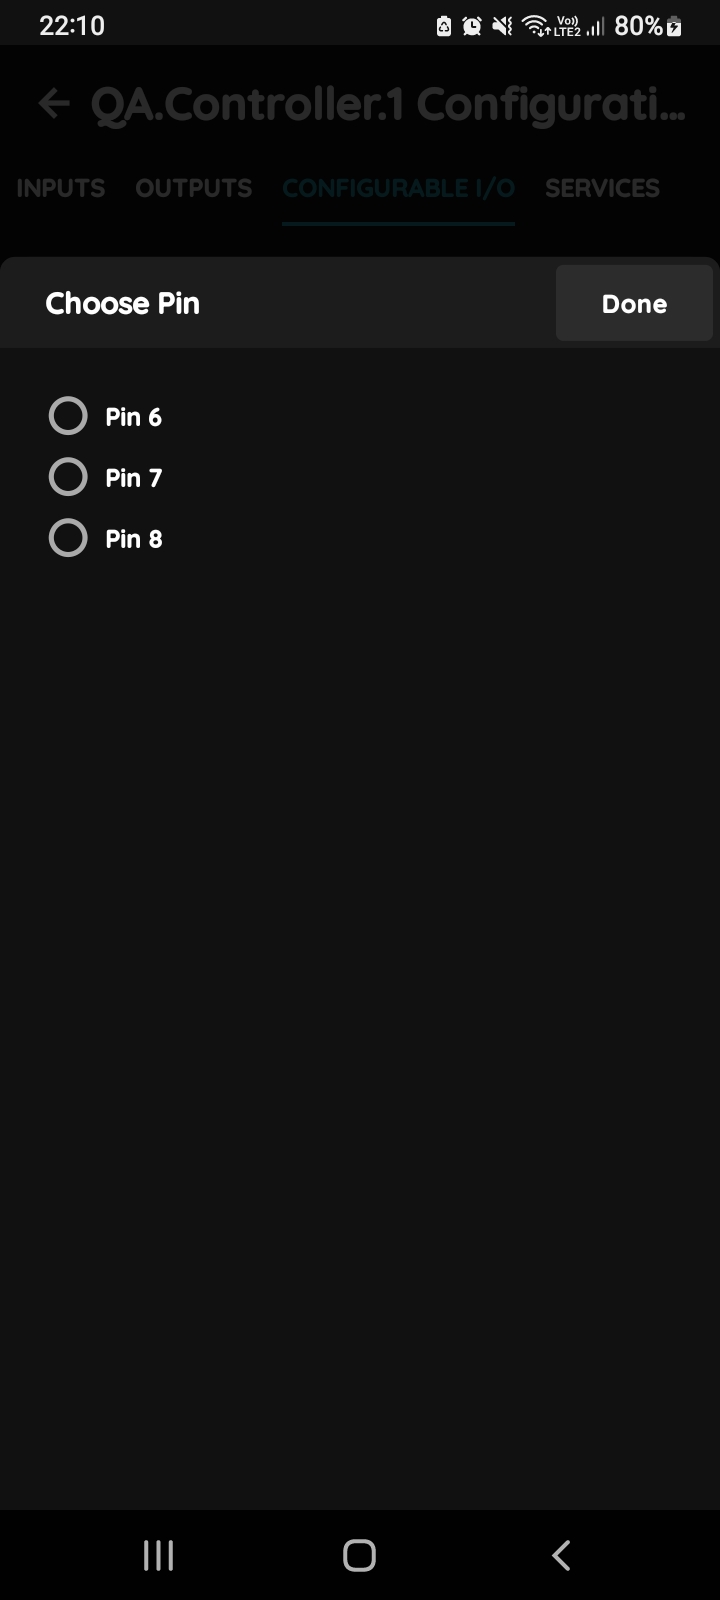
D0 field
D0 - Used to send data from the RFID reader to the PIERRE controller.
(Choose PIN when you click in the field D0 and click button Done at the end).
D0 is one of the basic communication pins for the Wiegand protocol.
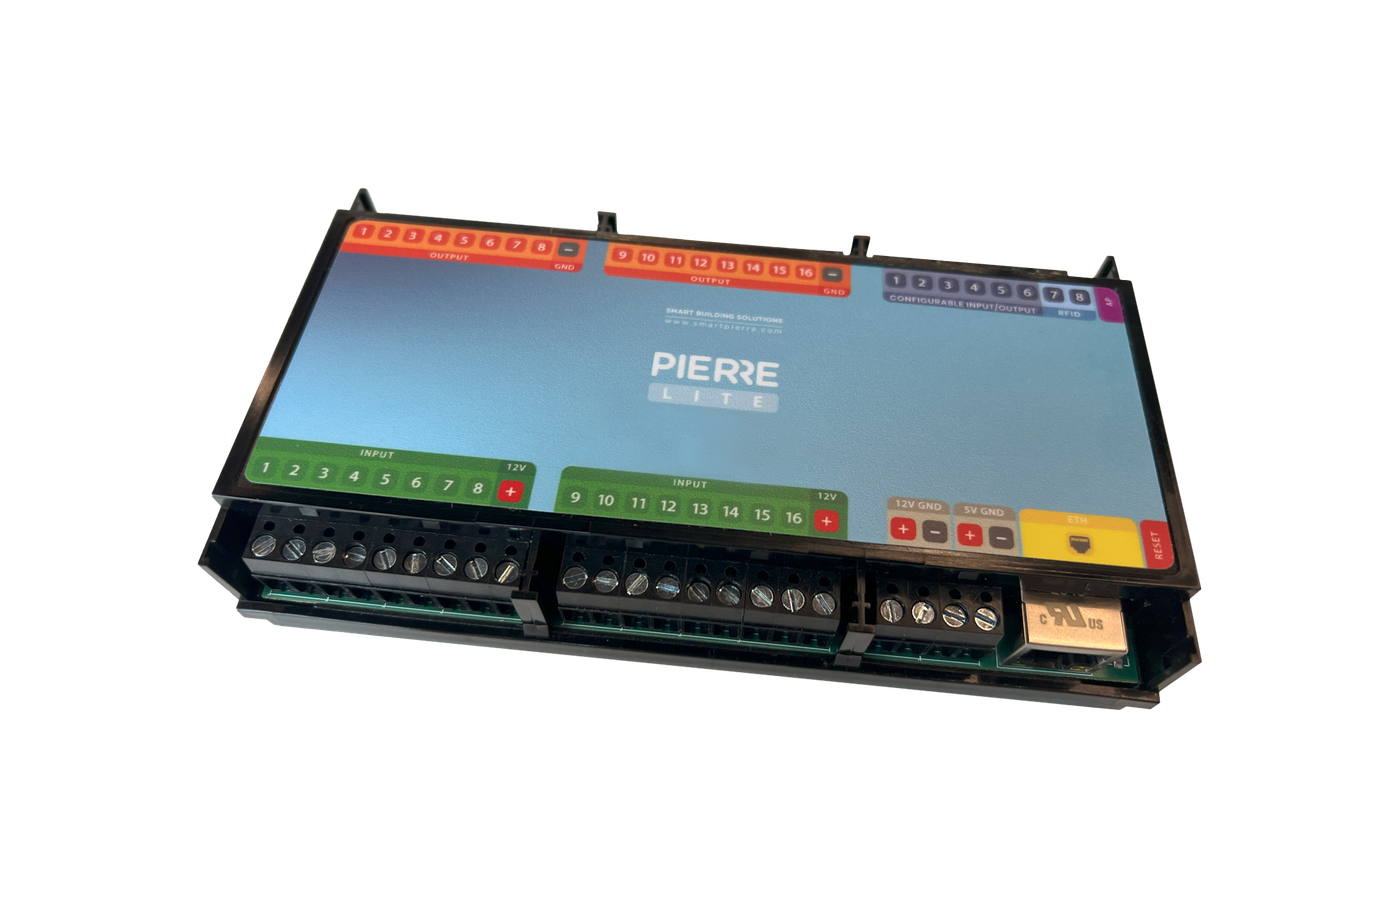
This is a read only communication, you can use PIN7 and PIN8 on the PIERRE controllers.
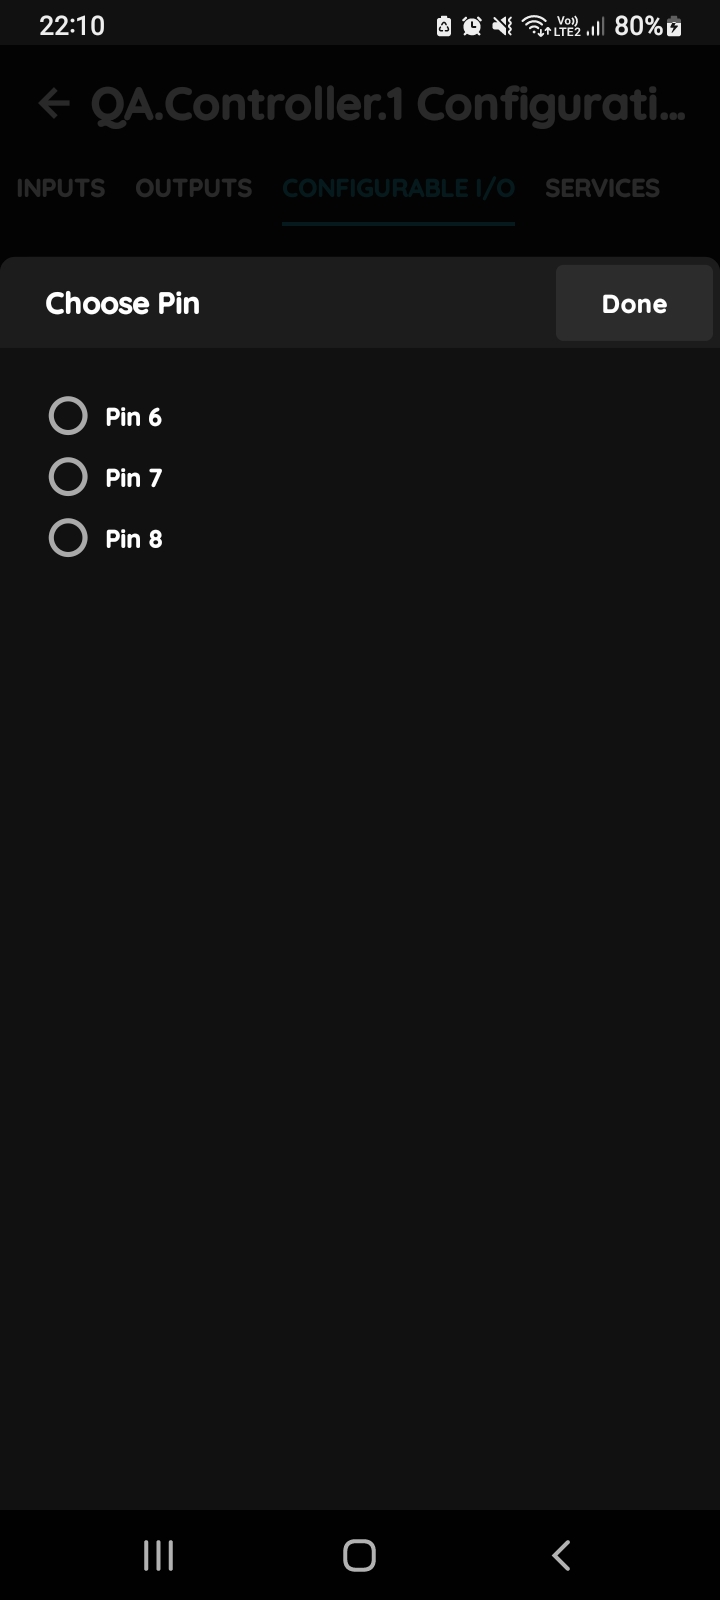
D1 field
D1 - Used to send data from the RFID reader to a controller.
(Choose PIN when you click in the field D1 and click button Done at the end).
D1 is one of the basic communication pins for the Wiegand protocol.
This is a read only communication, you can use PIN7 and PIN8 on the PIERRE controllers.
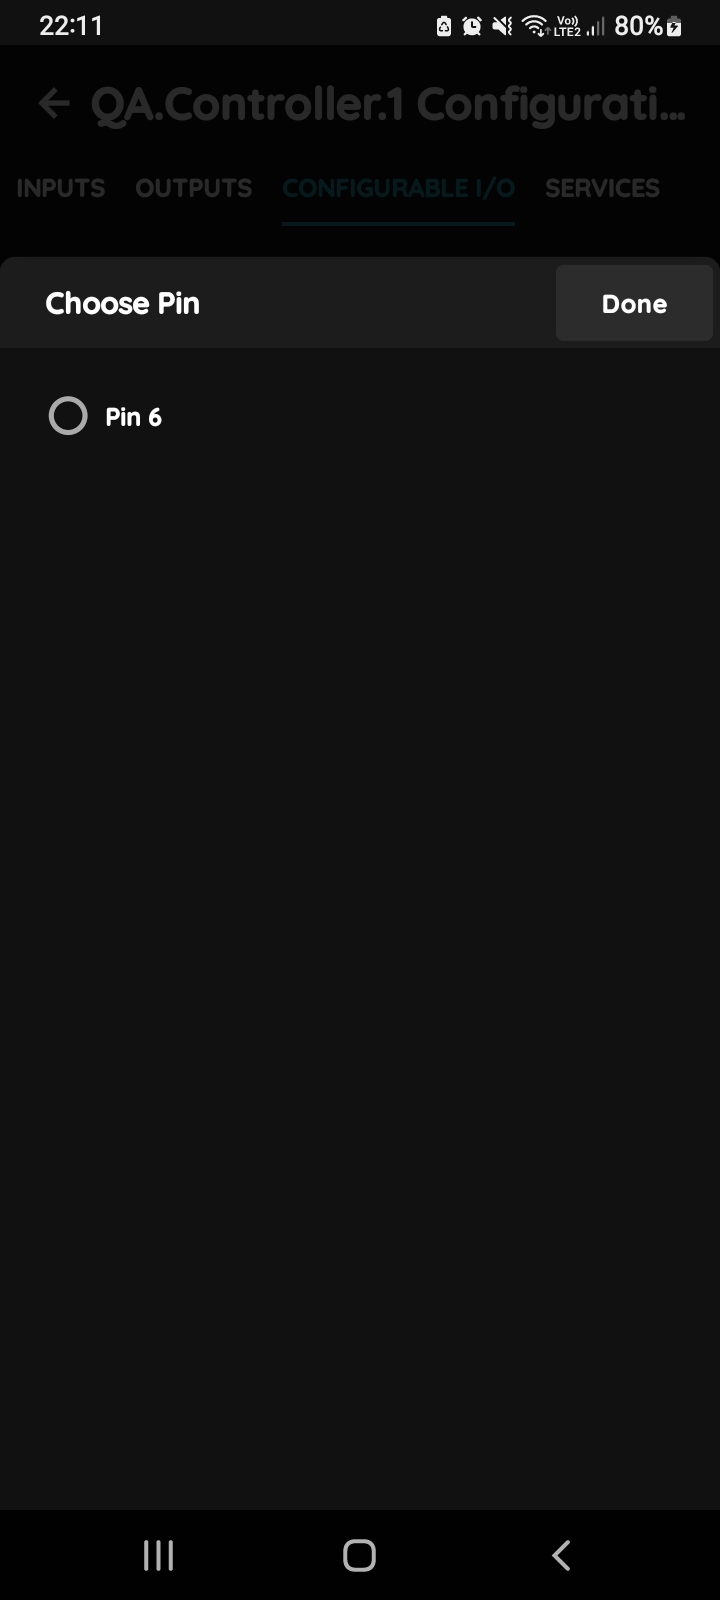
Choose PIN for Feedback
Feedback PIN - Used to provide feedback on the success or failure of the RFID reading process.
The devices has light that flashes red. When access is approved (in cases that RFID card or PIN is used) light flashes green.
Click in the field Feedback Pin and Choose Pin.
To confirm your choice tap the button Done.
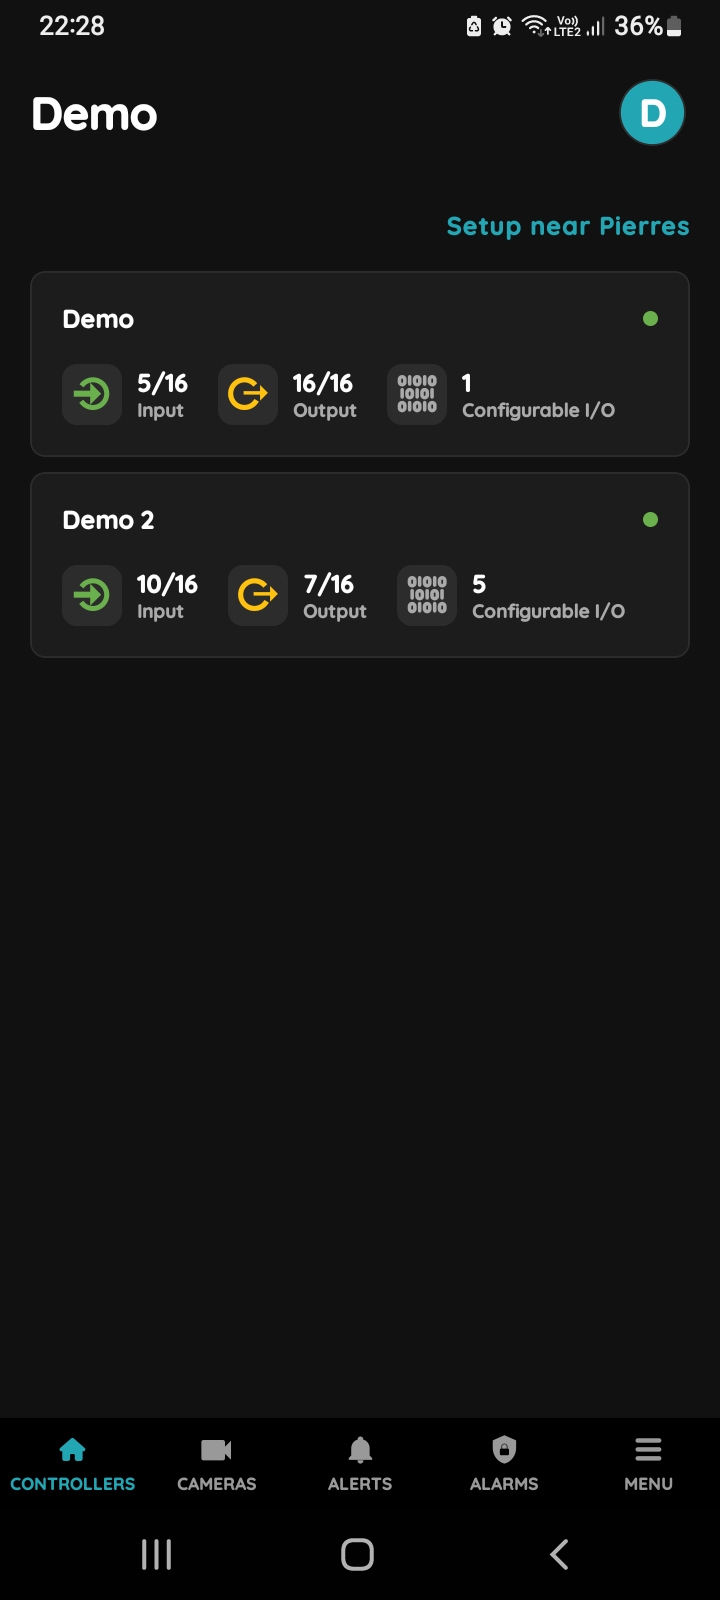
Choose Controller
RFID reader's settings can be edited in a few steps.
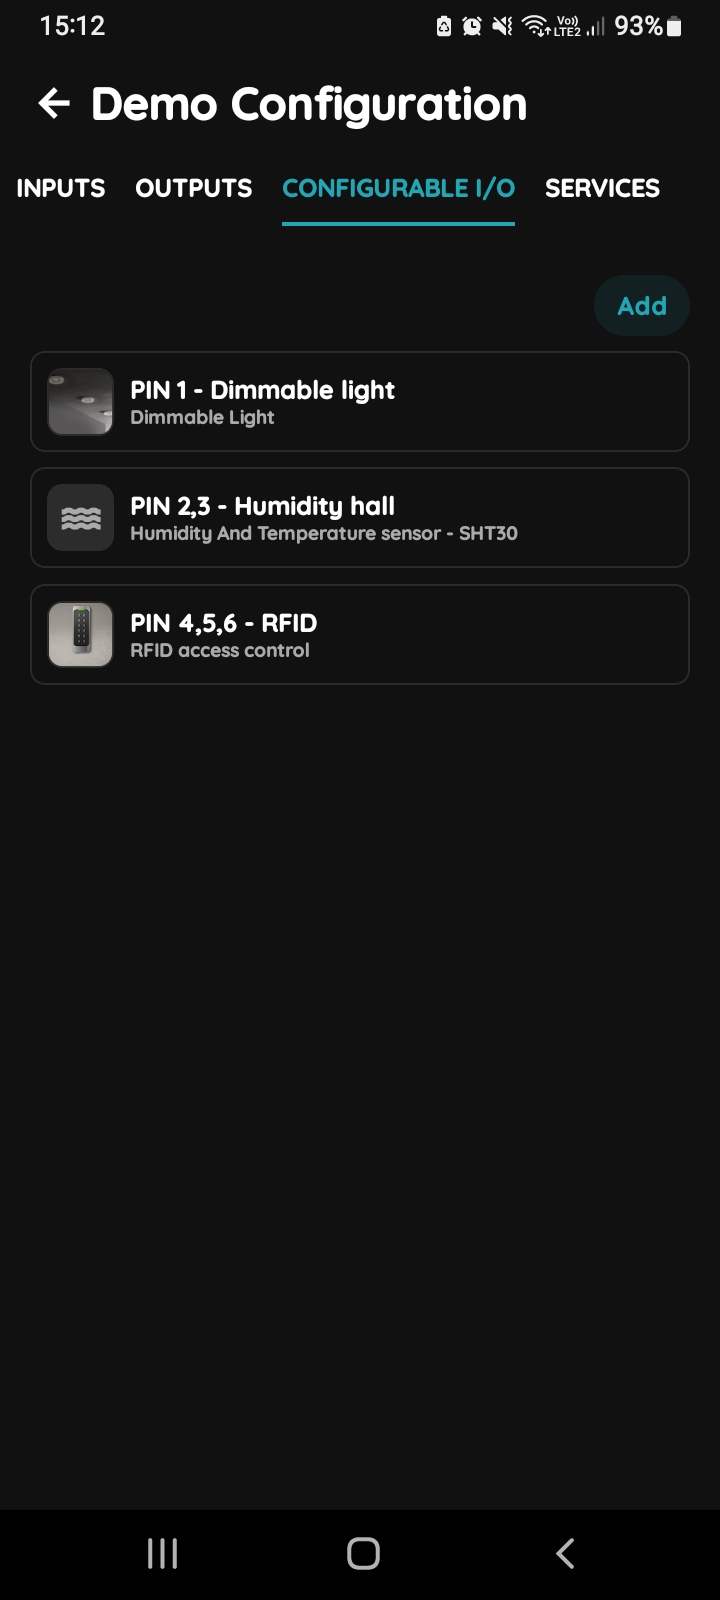
Configurable I/O list - RFID reader
Scroll through the list and tap on the I/O from the list that you would like to edit, in this case on the RFID reader.
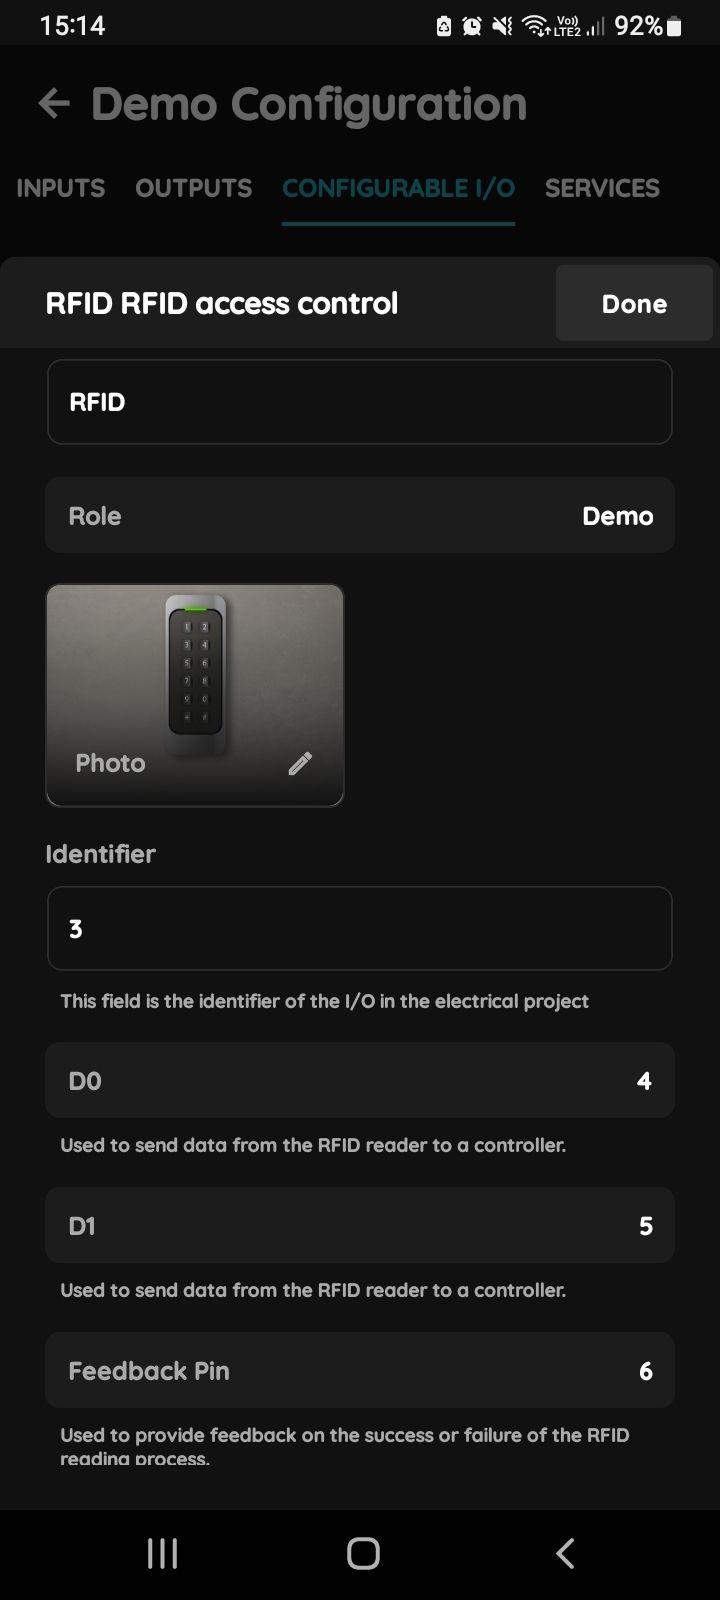
Edit RFID reader
Edit following form:
Edit the following form:
- Name - Edit the name of the RFID reader.
- Roles - Select the Role from the list.
- Change photo - Tap on the photo in order to change it.
- Identifier - Enter the identifier of the I/O in the electrical project in this field.
- D0 - It is used to send data from the RFID reader to a Controller.
- D1 - It is used to send data from the RFID reader to a Controller.
- Feedback Pin - It is used to provide feedback on the success or failure at the RFID reading process.
To confirm tap Submit/Save, or if you want to delete RFID reader tap the button Delete.