PIERRE Partner - Temperature Sensor DS18B20
Description
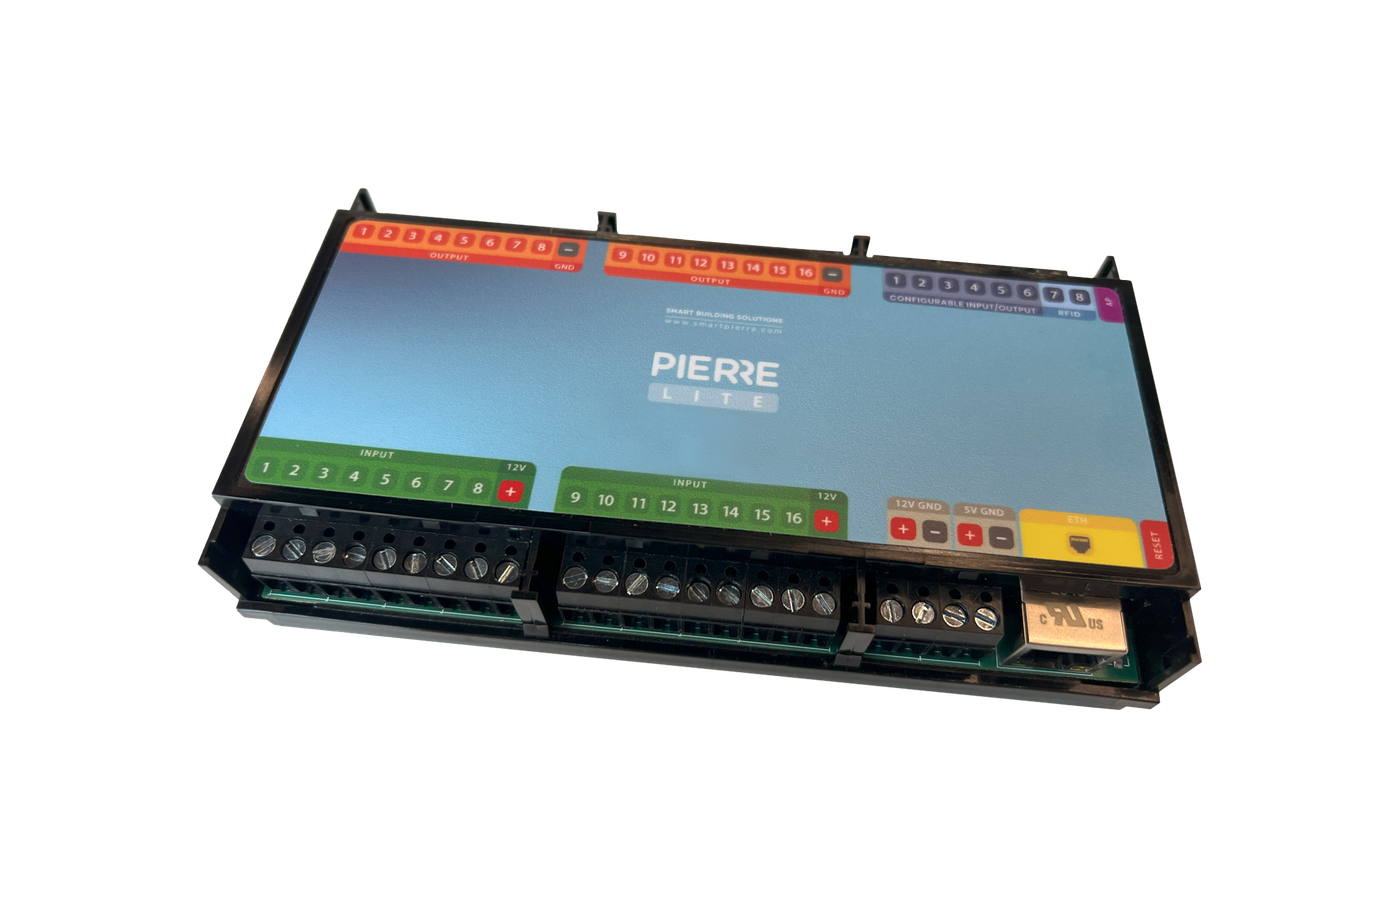
The PIERRE system supports integration of DS18B20 digital temperature sensors for temperature monitoring, HVAC control, and automation applications.
Configuration
To add a Temperature Sensor:
- Open the desired Controller.
- Navigate to Configurable I/O.
- Select Add I/O and choose Temperature Sensor.
- Configure:
- Name
- Role
- Pin
- Identifier
- Sensor Address
- Save the configuration.
Sensor Address
The Address parameter is used to identify multiple DS18B20 sensors connected to the same controller.
When a single sensor is installed, the Address should be set to 0.
For installations with multiple sensors on the same communication bus, each sensor must be assigned a unique Address value within the PIERRE configuration. This allows the controller to distinguish between individual sensors and associate measurements with the correct Temperature Sensor object.
Automation Applications
Temperature sensors can be used for:
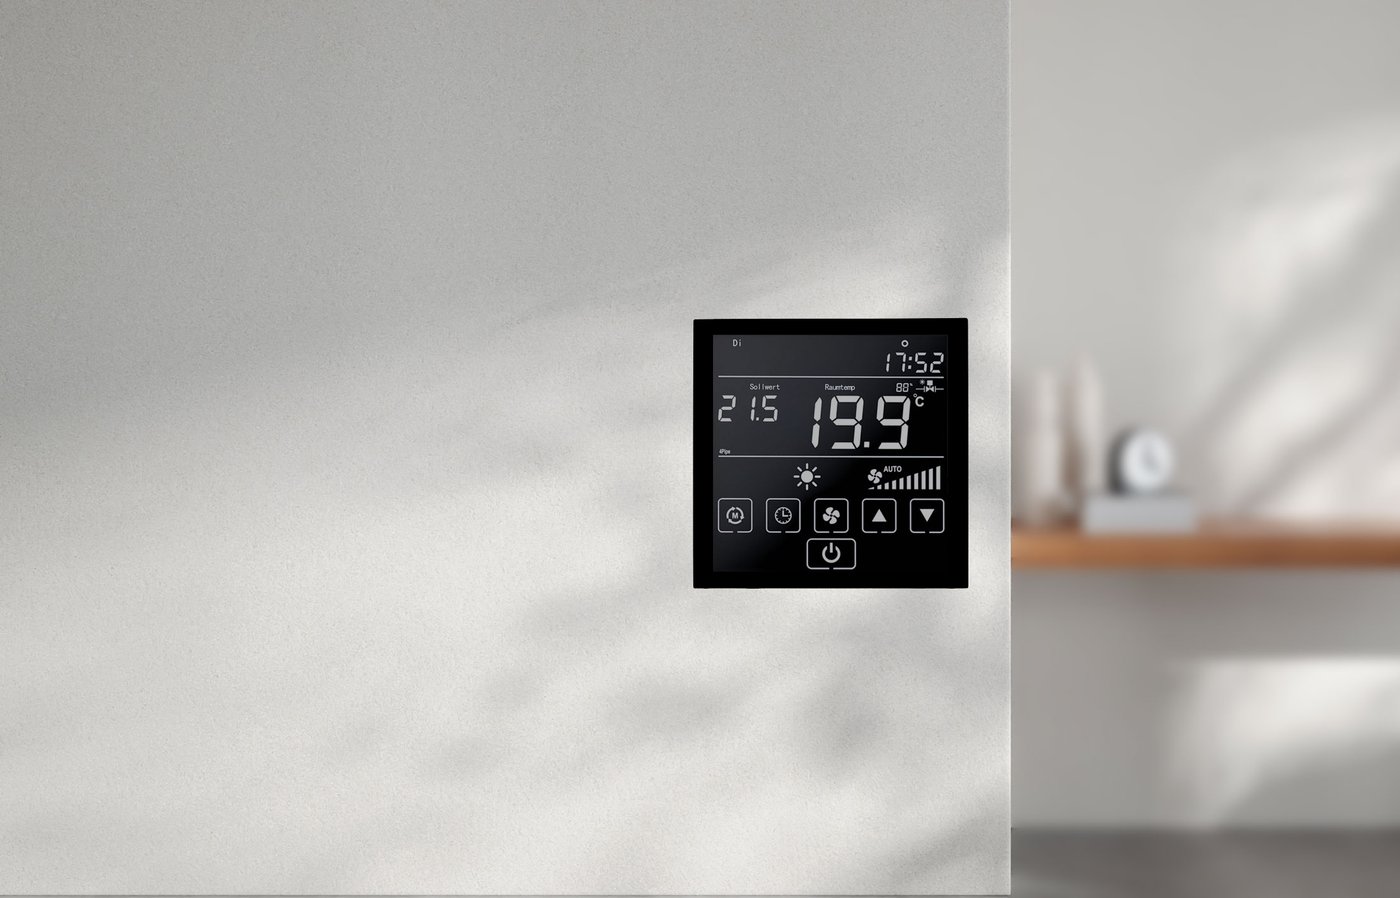
- Room temperature monitoring
- HVAC control
- Heating control
- Cooling control
- Energy management
- Automation logic
Example
When the measured temperature falls below a configured threshold, the heating system can be activated automatically. Similarly, cooling systems can be controlled based on temperature conditions.
Technical Notes
- Sensor type: DS18B20
- Communication protocol: 1-Wire
- Supports multiple sensors on a single bus
- Each sensor requires a unique address
- Temperature values can be used in dashboards, automation rules, and control logic
- Available functions depend on the controller configuration
Note: If multiple DS18B20 sensors are connected to the same bus and a communication fault occurs, temperature readings from all sensors may become unavailable. The PIERRE application does not indicate which sensor or connection is causing the issue, therefore each sensor and its wiring should be checked individually during troubleshooting.
Add Temperature sensor DS18B20
Temperature sensor DS18B20 can be added fast in a few steps.
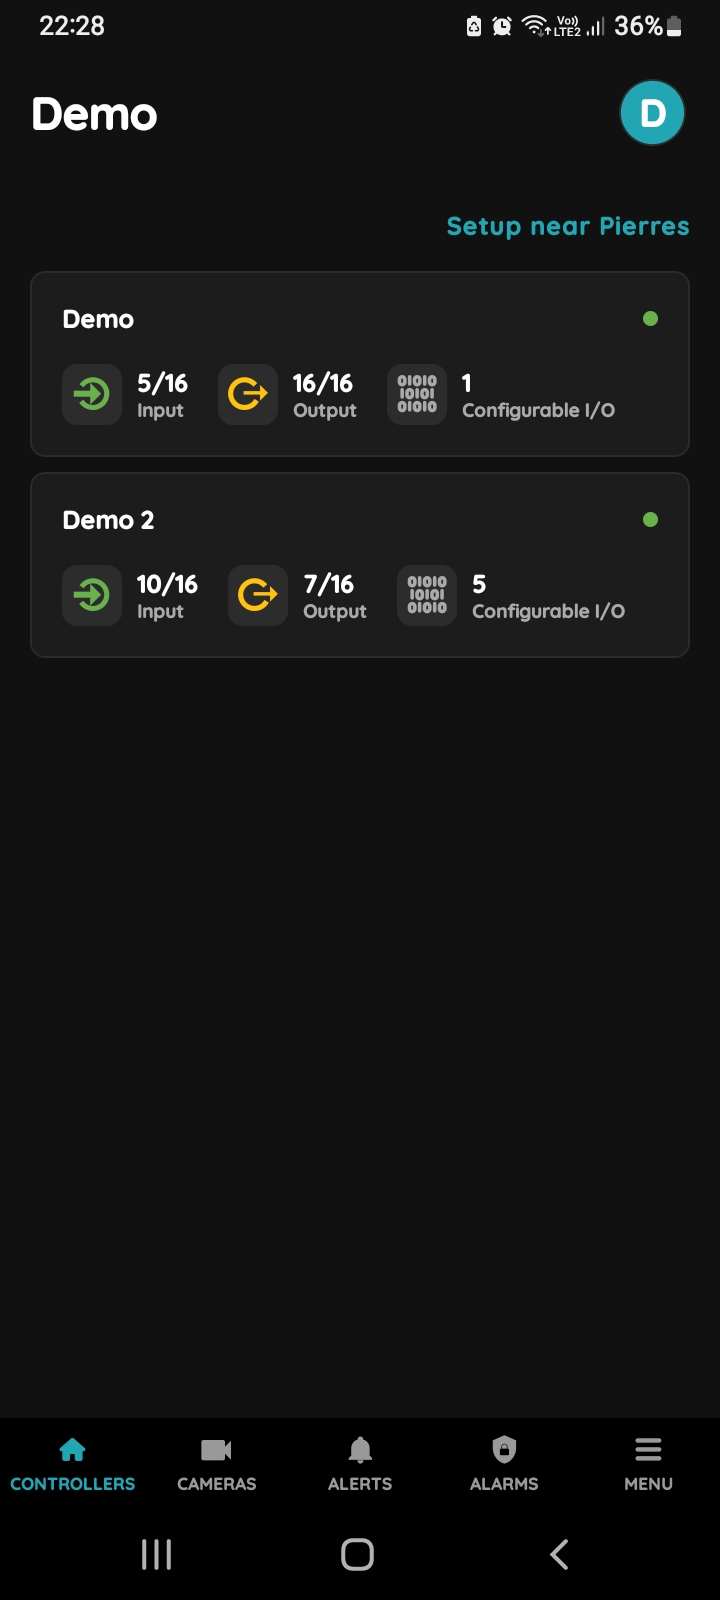
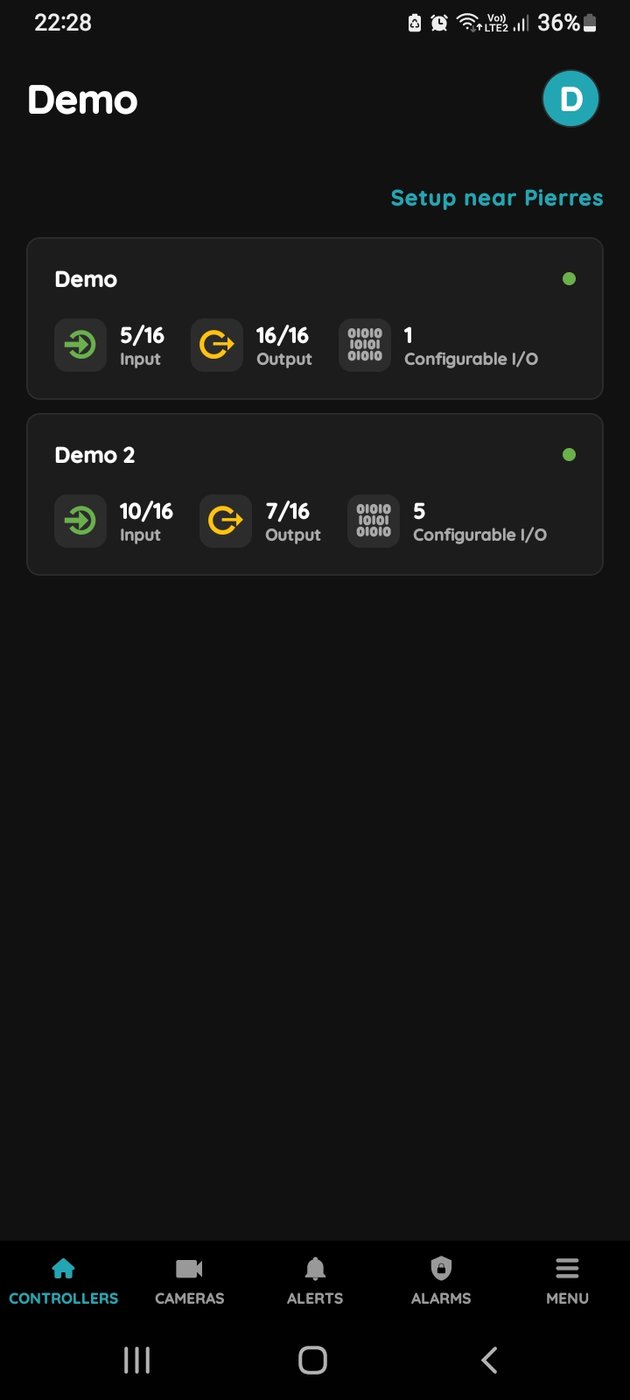
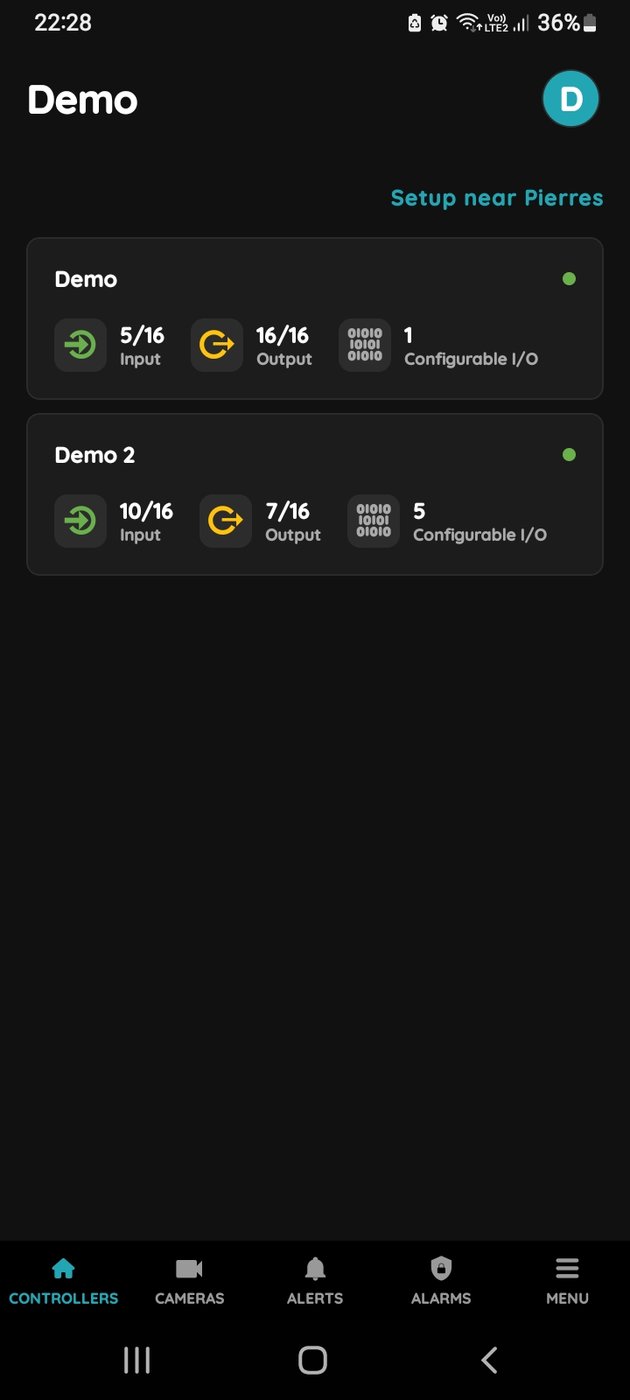
Choose Controller
Tap on the Controller that you would like to add new I/O to.
To edit the I/O, click on the Controller to which the I/O is added.
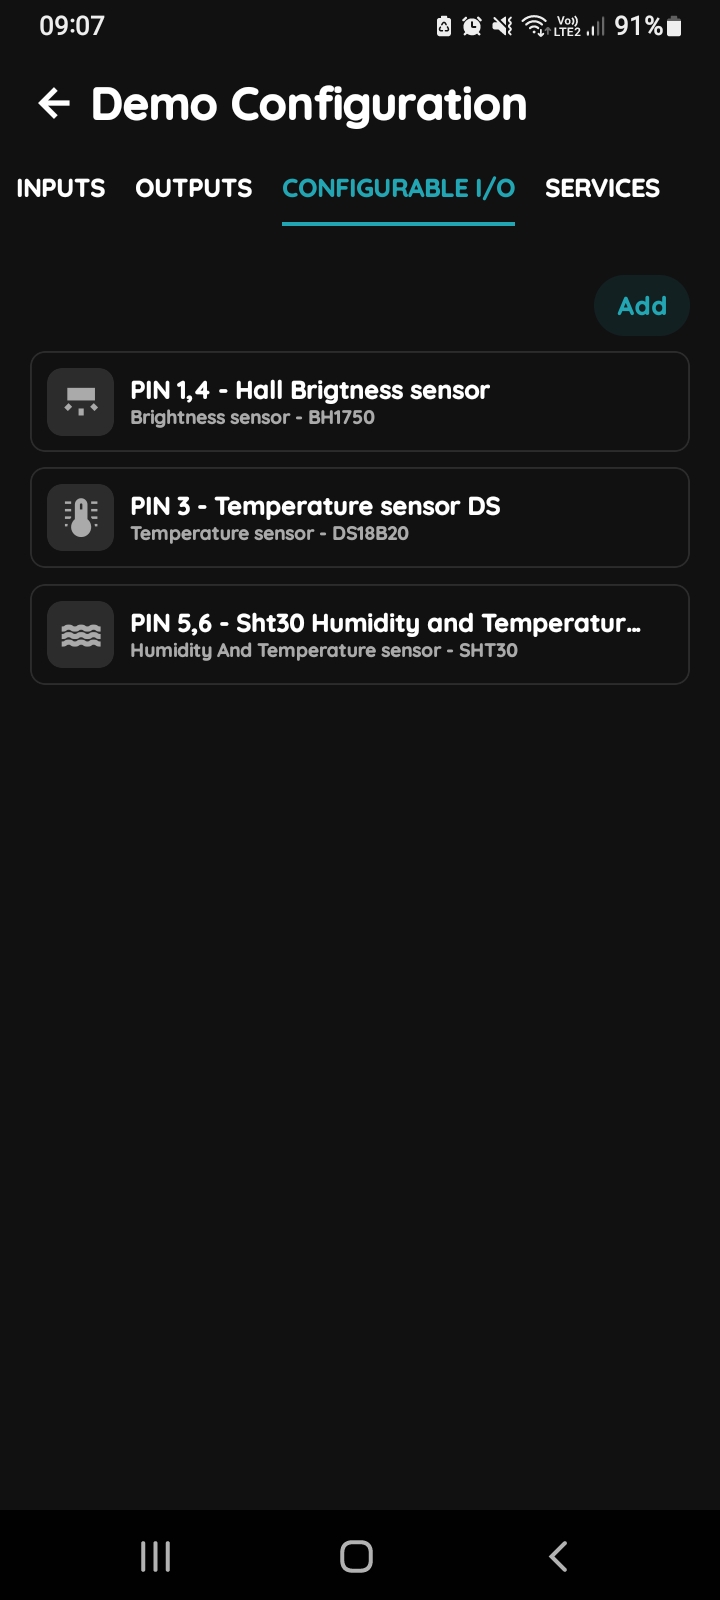
Configurable I/O - list
Tap on the Configurable I/O tab.
Tap on the Add button.
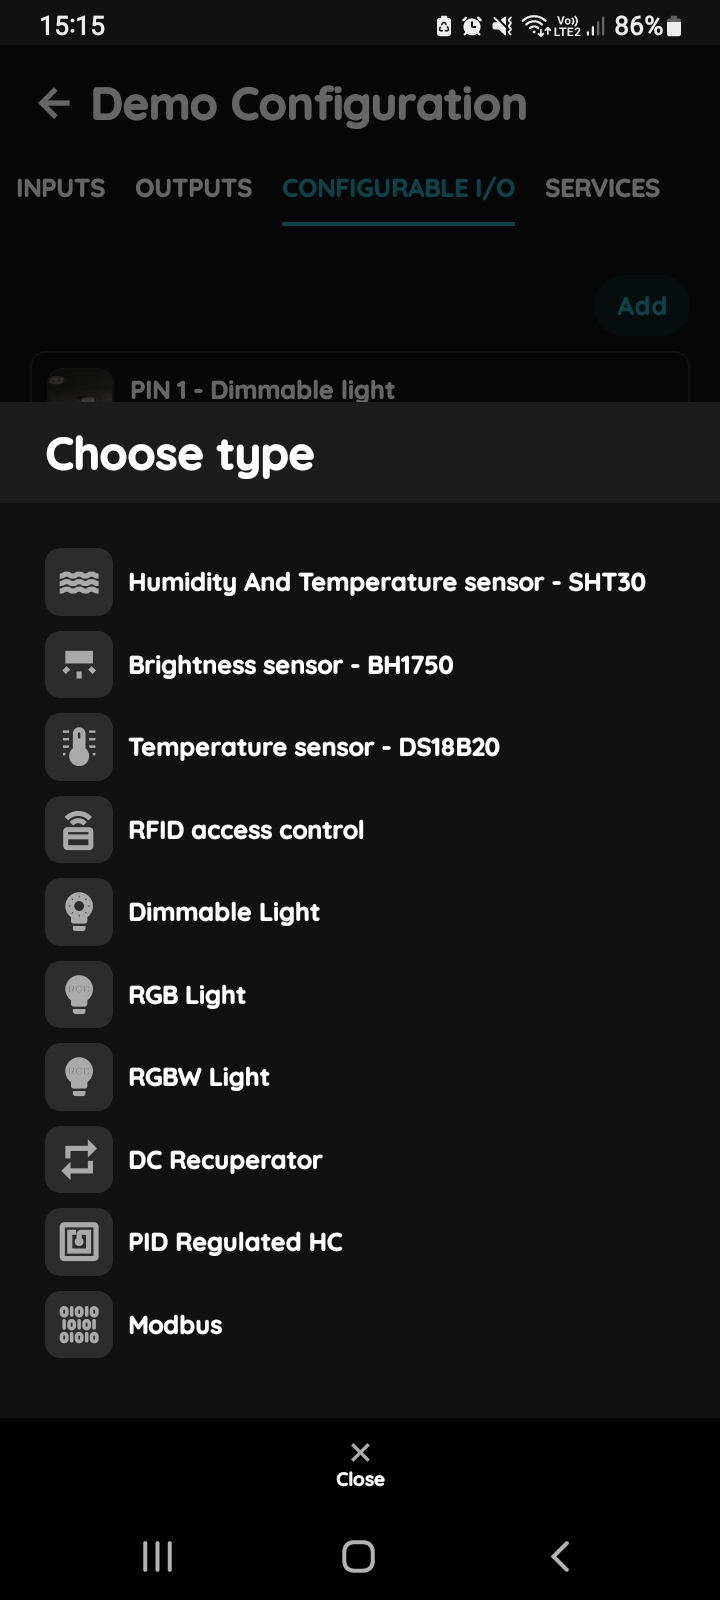
Choose type - Configurable I/O list
You should choose the type of the I/O from the list that you would like to add.
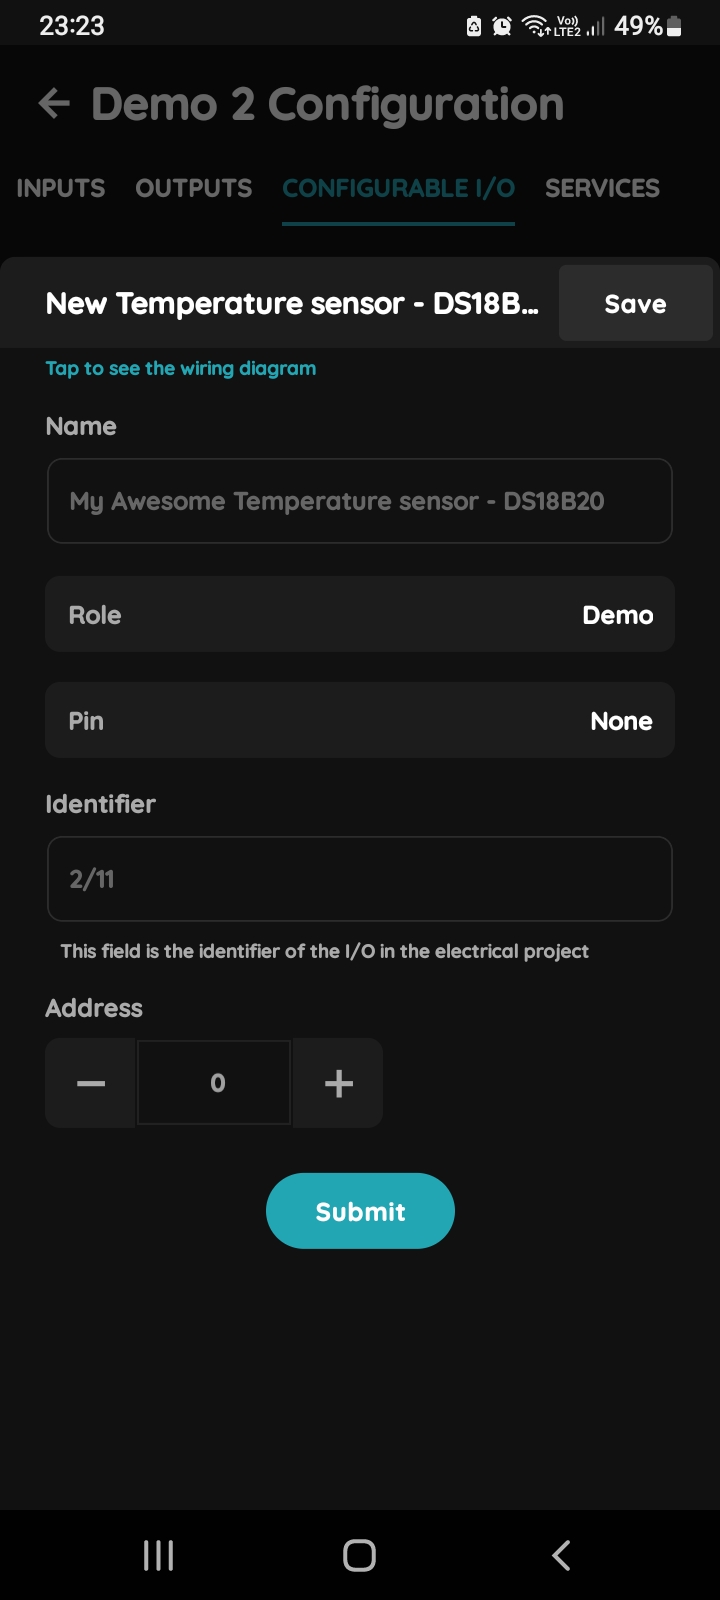
New Temperature sensor - DS18B20
Fill the following form:
Name - Write the name of the Temperature sensor.
Roles - Select the Role from the list.
Pin - Choose Pin. It is physical place on the Controller where I/O is connected to it.
Identifier - Enter the identifier of the I/O in the electrical project in this field.
- Address - Tap on +/-.
For more details follow next steps.
To confirm your choice tap Submit and Save.
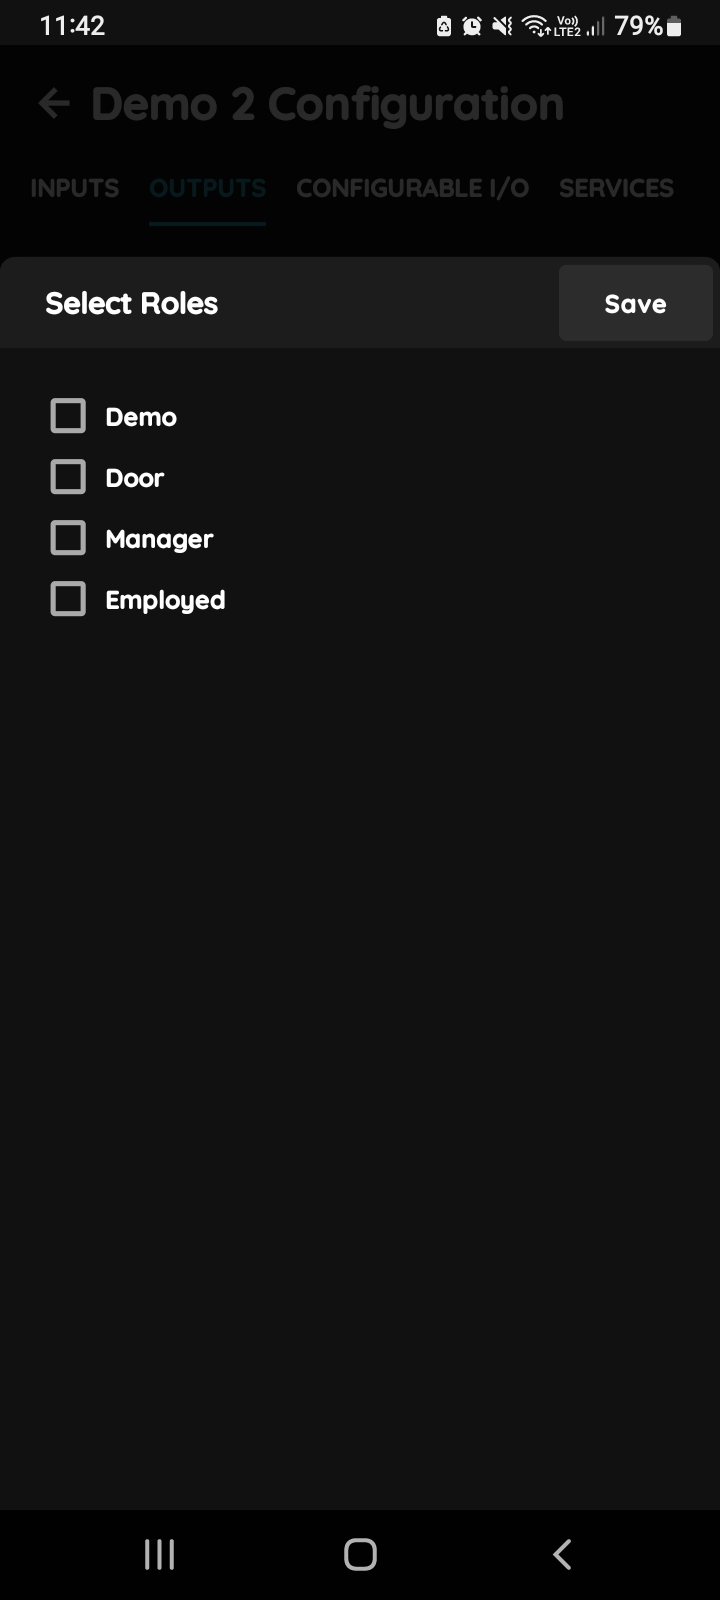
Select Roles
You can select desired Role or Roles - multiple choice if you tap on the checkboxes next to them.
Tap on Save/Done.
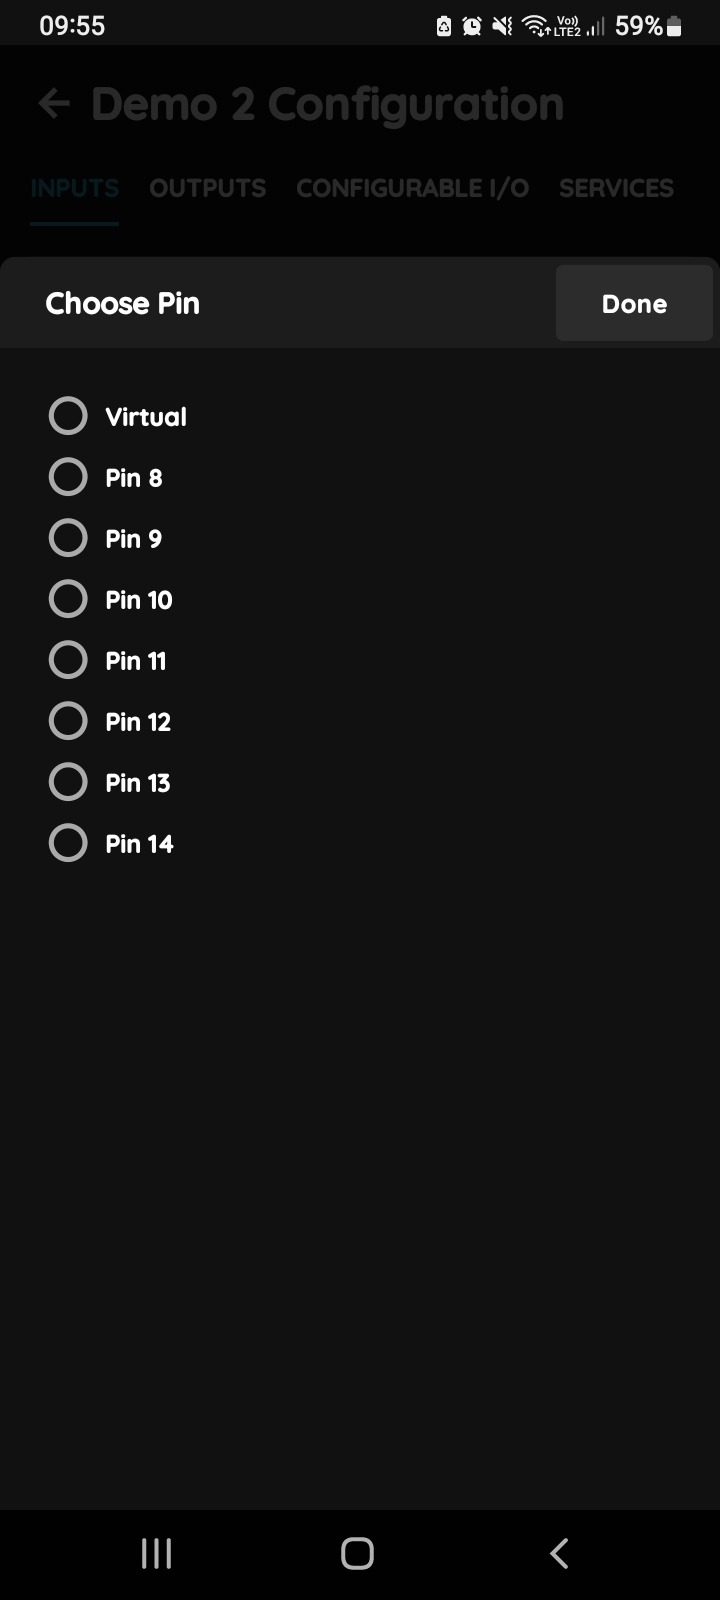
Choose PIn
Tap on the radio button next to the Pin that you would like to choose.
To confirm selection tap on Save/Done.
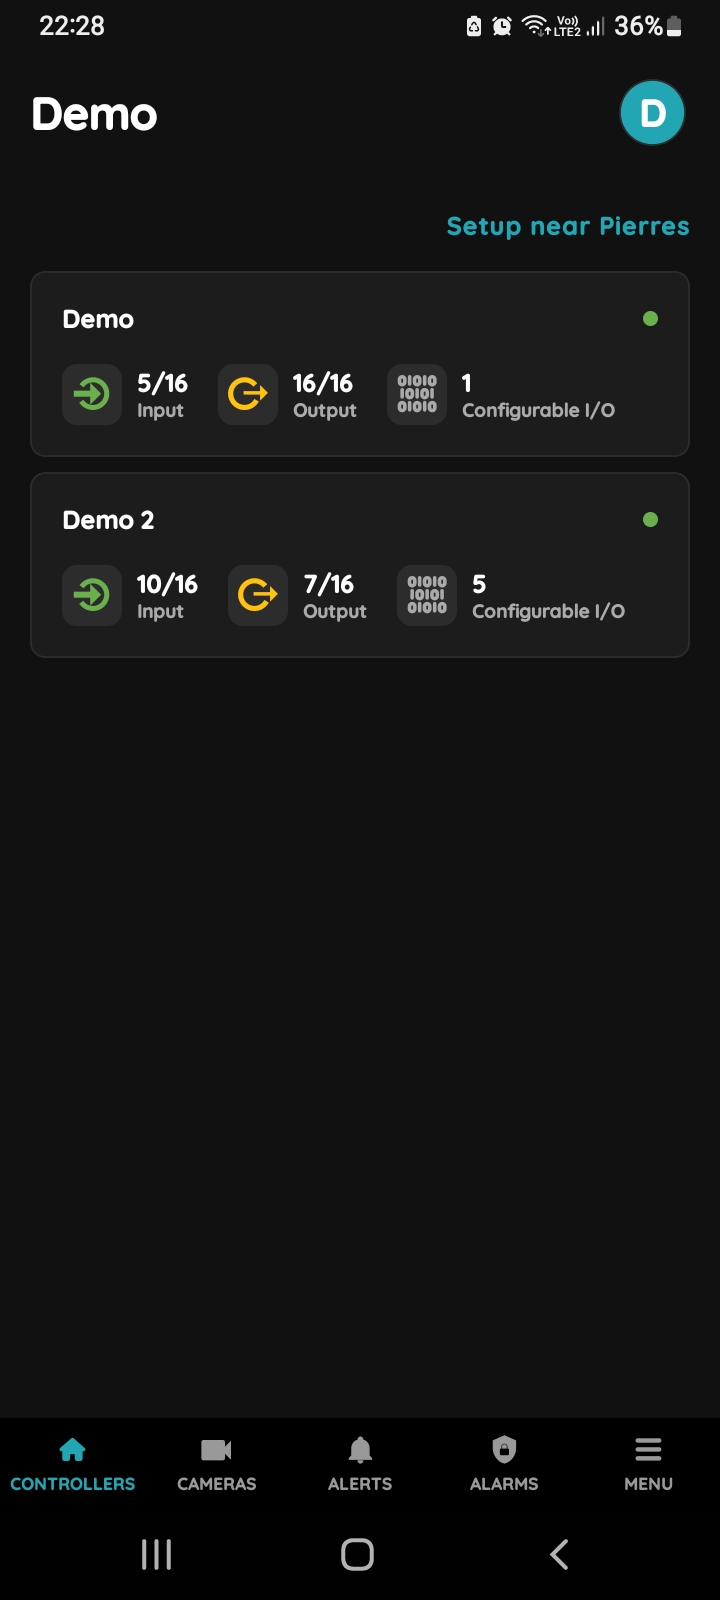
Choose Controller
Temperature sensor DS18B20 can be edited fast and easy.
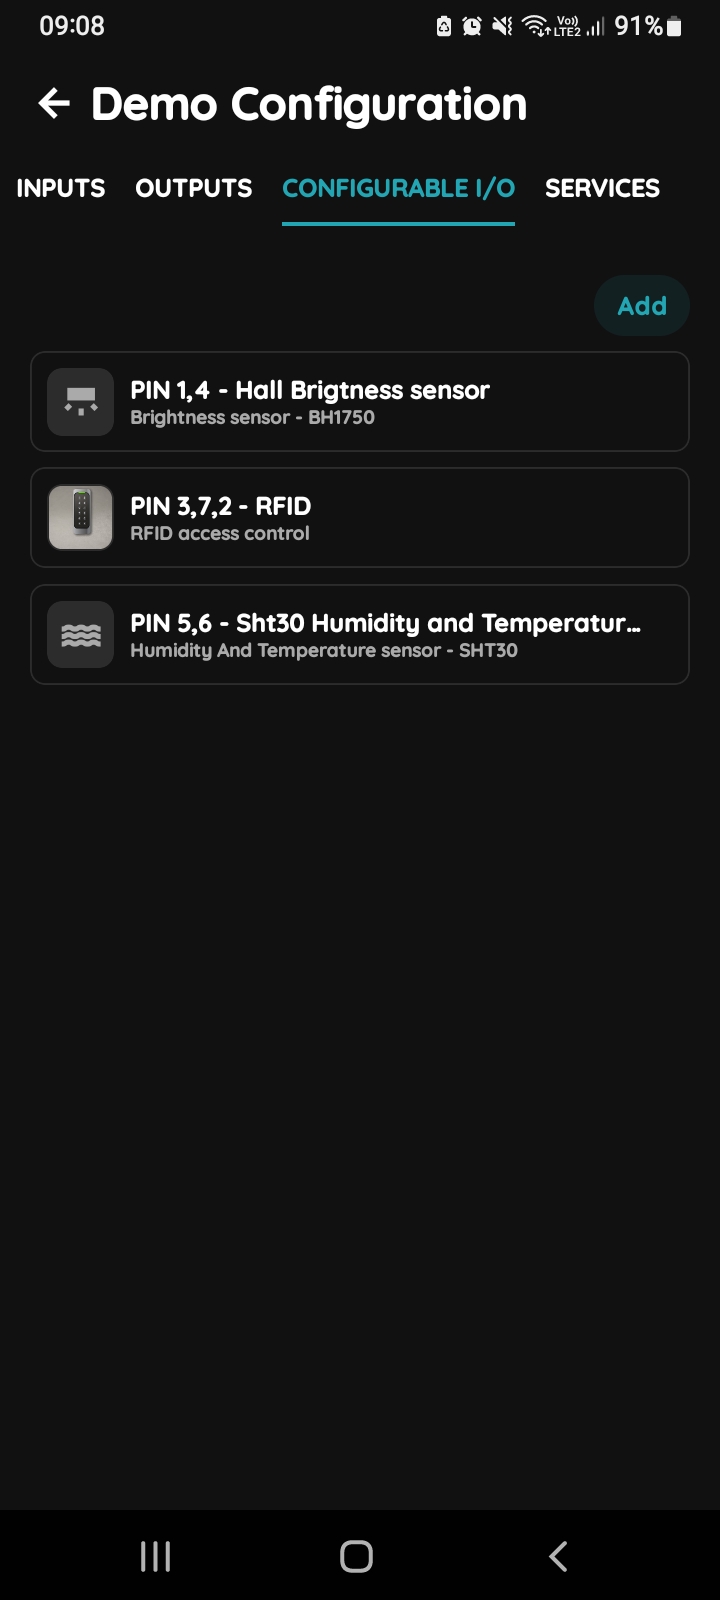
Choose Configurable I/O for editing
Scroll and select Configurable I/O for editing.
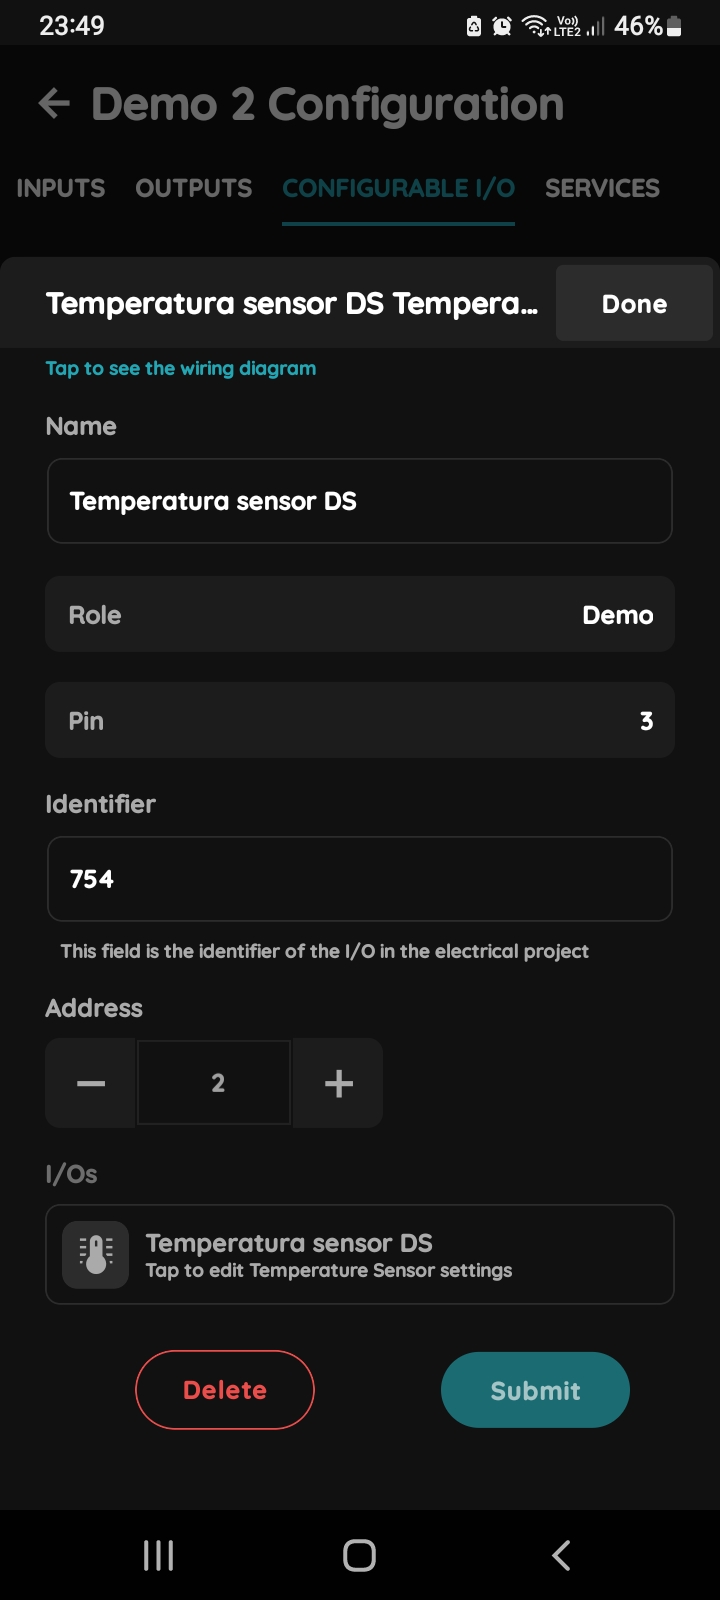
Edit Temperature sensor DS18B20
Edit following fields.
Name - Edit name of the Temperature sensor.
Photo - Choose a source of the picture for this sensor.
Enable Temperature Offset- Set it by click on +/-.
Temperature Format-Select radio button next to Farenheit or Celsius.
I/Os - Temperature sensor - Tap to edit Temperature Sensor Settings.
To confirm your choice tap on Submit and Done.