PIERRE Partner - Contact Sensor
Description
The Contact Sensor is used to detect the open or closed state of doors, windows, gates, and other movable elements. The sensor provides status information that can be used for monitoring, notifications, and automation functions.
Configuration
To add a Contact Sensor:
- Open the desired Controller.
- Navigate to Inputs.
- Select Add Input and choose Contact Sensor.
- Configure:
- Name
- Dashboard
- Role
- Identifier
- Advanced - Signal Type
- Save the configuration.
Advanced Options
The following trigger modes are available in the Advanced section:
| Function | Description |
|---|---|
| Rising | Triggered when the contact changes from inactive to active state. |
| Falling | Triggered when the contact changes from active to inactive state. |
| Change | Triggered whenever the contact state changes. |
| Change Inverted | Triggered whenever the contact state changes, with inverted output logic. |
Use Change when the input represents a continuous state that should be monitored, such as a door/window contact sensor, flood sensor, smoke detector, or gas sensor.
The I/O follows the current state of the physical input. When the input reaches the configured active level, the I/O becomes active and remains active as long as the input remains in that state.
For normally closed (NC) sensors or contacts, use Change inverted to reverse the input logic.
This is particularly important for sensors and contact sensors because the current input state is evaluated when the controller starts. For example, if a door is already open when the controller restarts, the I/O will immediately reflect the open state.
These functions can be used as event triggers for automation rules, notifications, and logic functions.
The default settings for most common cases: Change Inverted, Timeout set to 00s.
Automation Applications
Contact Sensors can be used for:
- Door monitoring
- Window monitoring
- Gate status monitoring
- Security system integration
- HVAC control
- Notification and alarm functions
Example
When a window is opened, the HVAC system can automatically stop heating or cooling to reduce energy consumption.
Technical Notes
- Supports dry-contact inputs.
- Detects open and closed states.
- Supports Rising, Falling, Change, and Change Inverted trigger modes.
- Can trigger automation rules, notifications, and alarms.
- Available functions depend on the controller configuration.
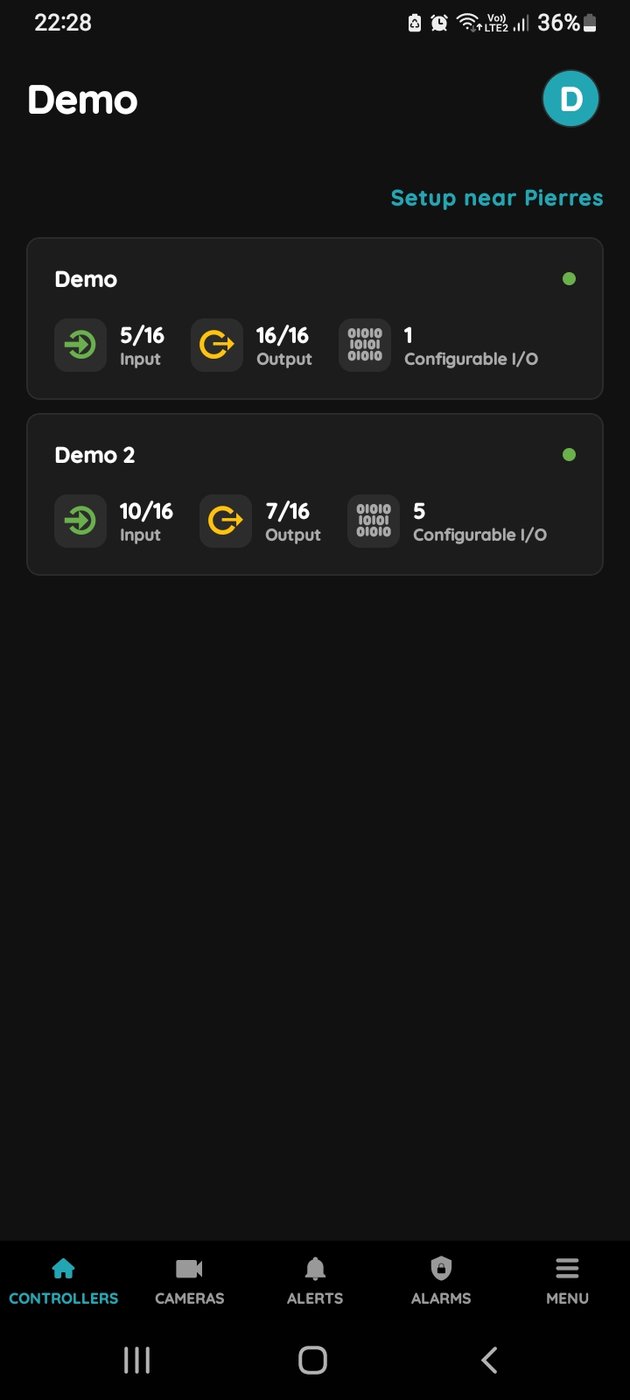
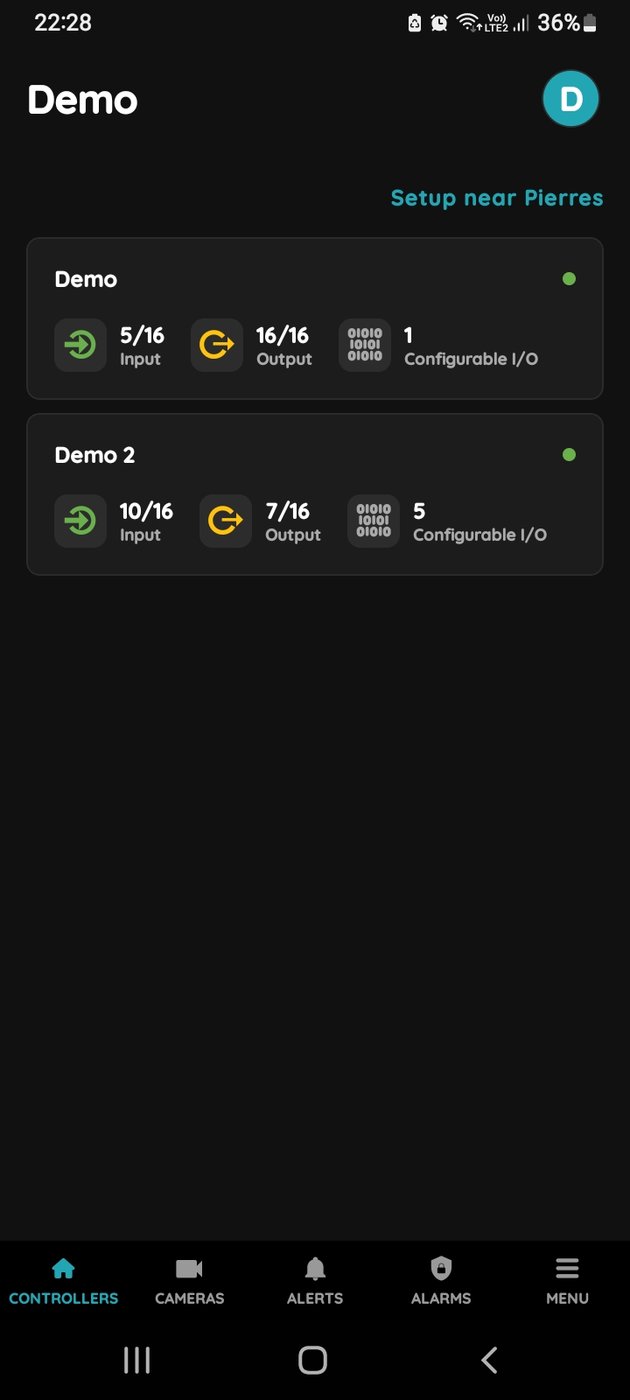
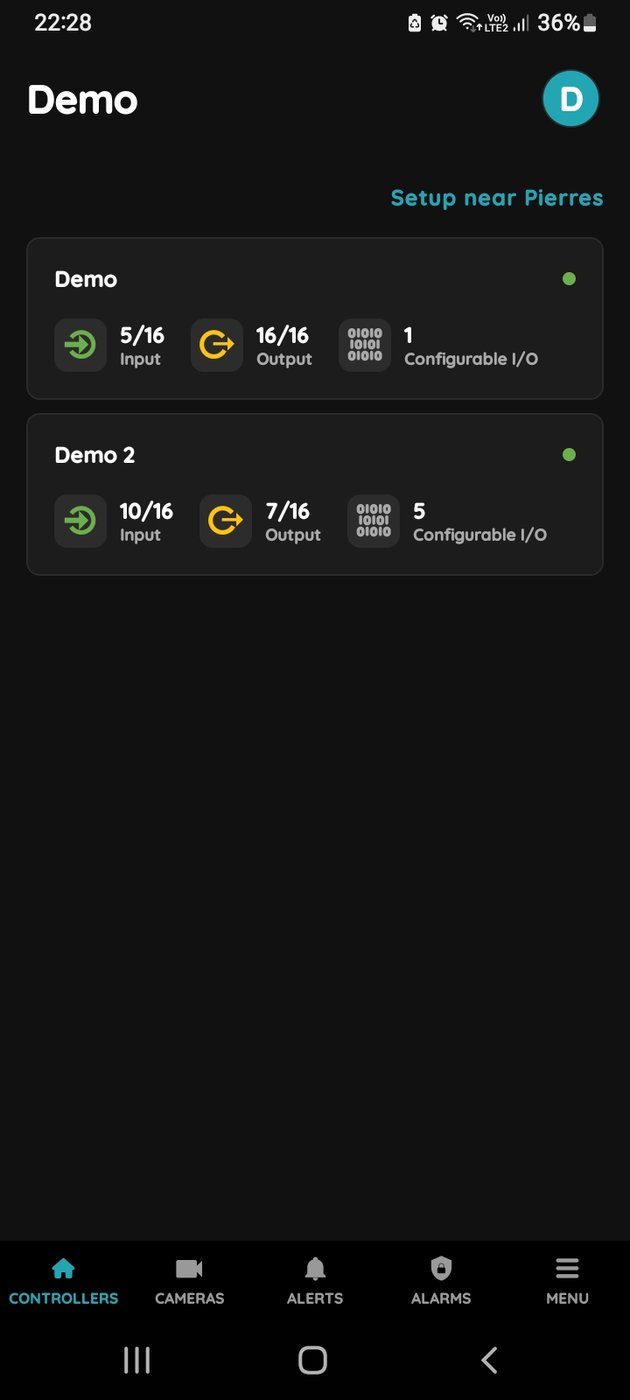
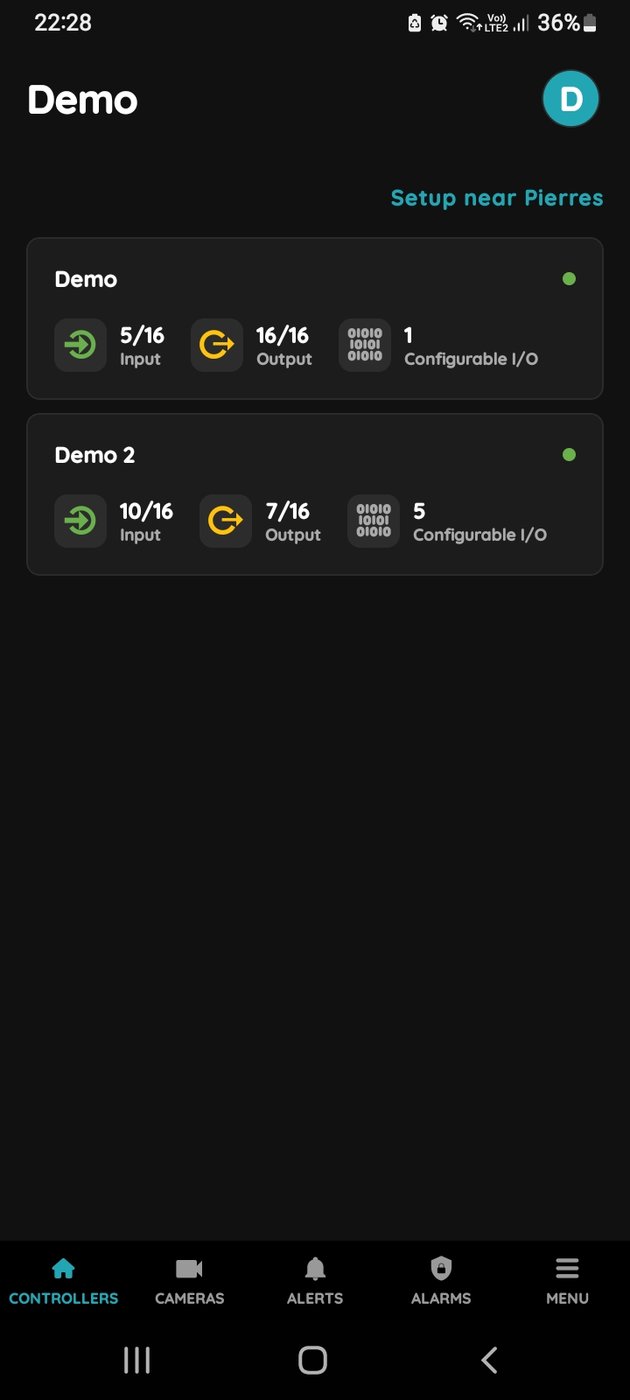
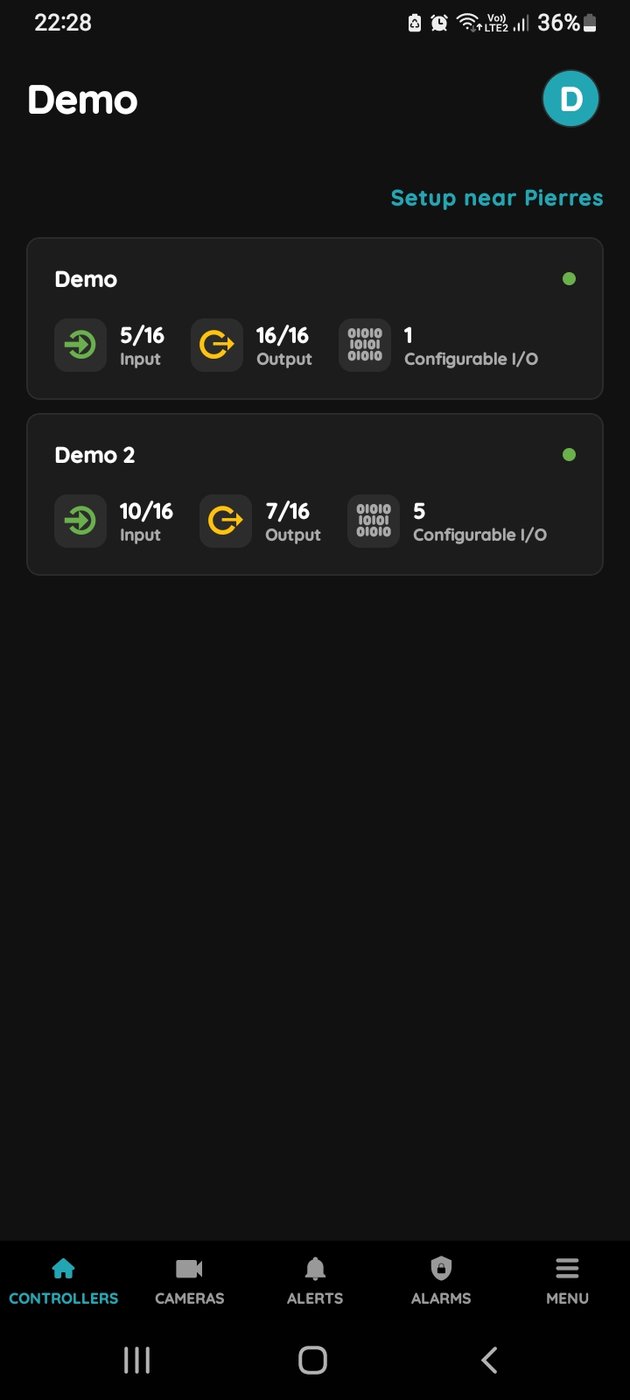
Add Contact sensor from Controllers
You can add Magnet Contact sensor from the Controllers.
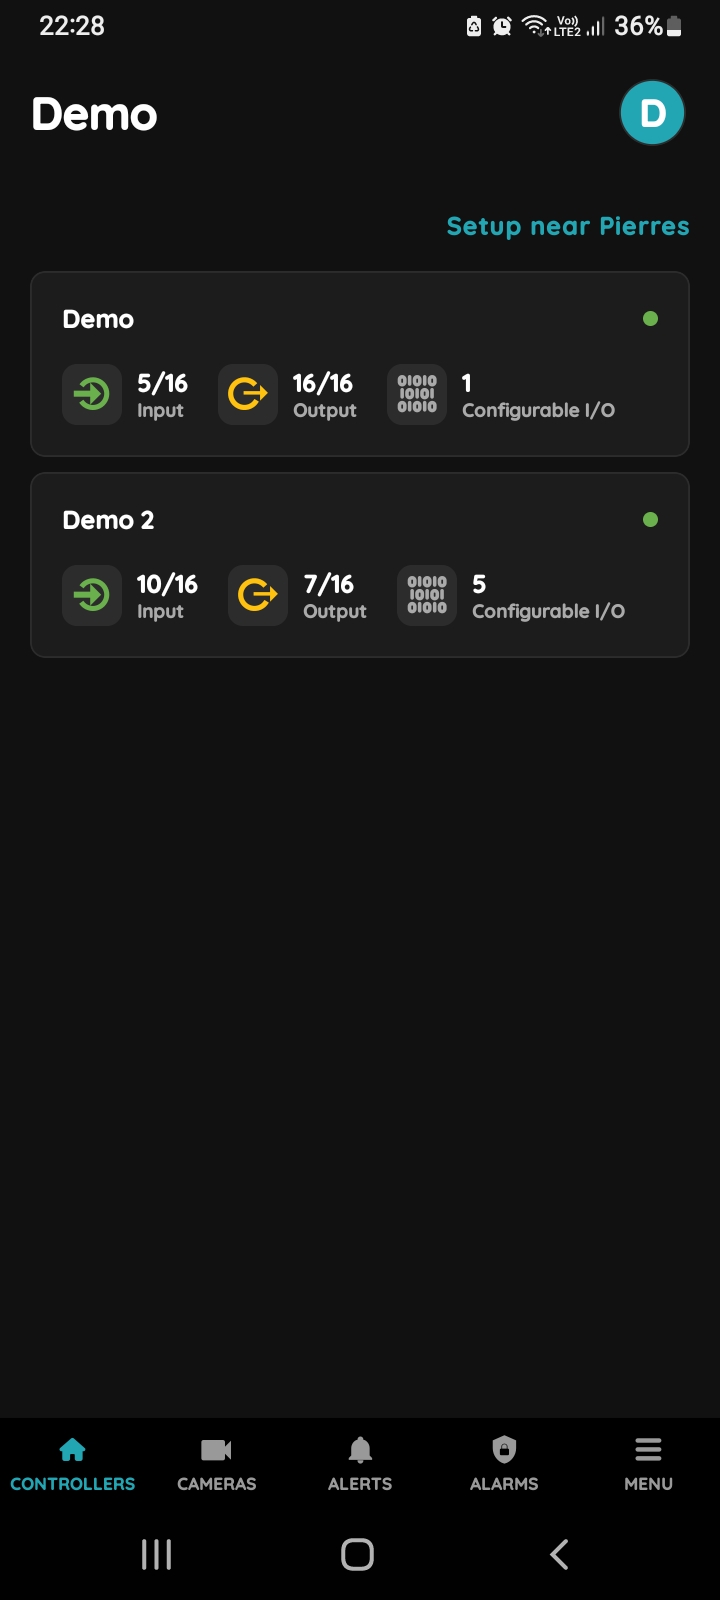
Choose Controller
Tap on the Controller that you would like to add new I/O to.
To edit the I/O, click on the Controller to which the I/O is added.
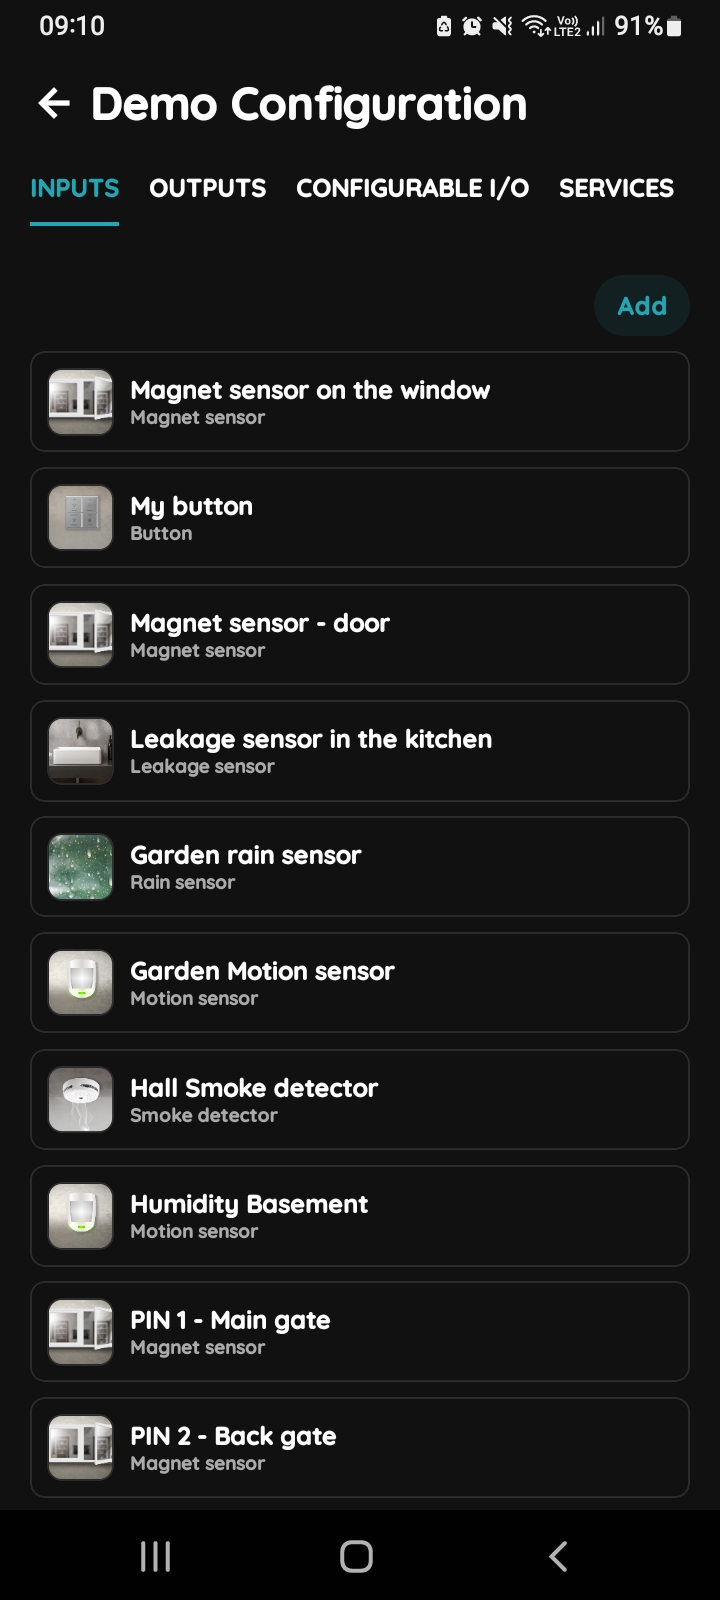
Add button for Inputs
Inputs tab is selected.
List of Inputs is shown.
In order to add new Input tap on the Add button.
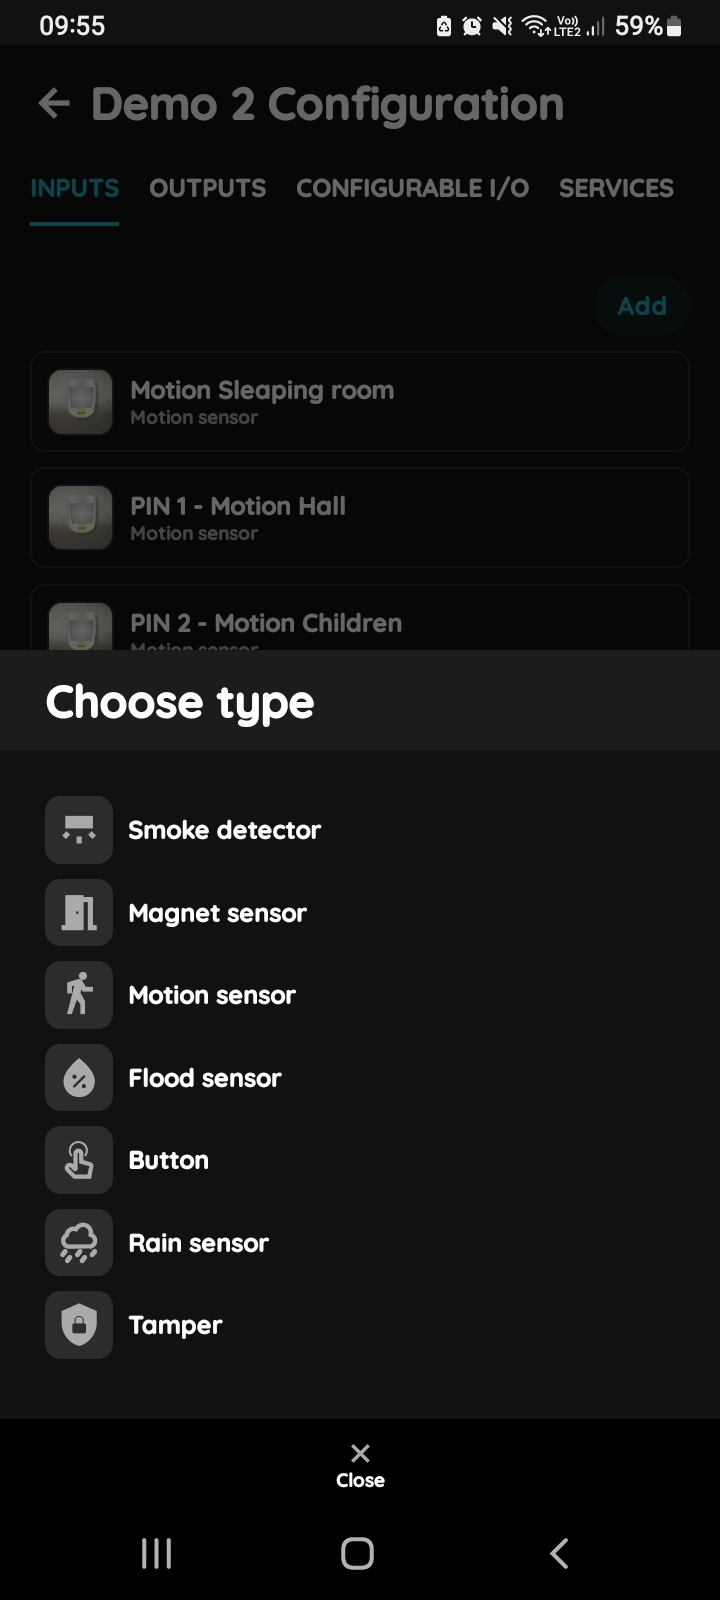
Choose type - Inputs
From the list that is shown tap on the desired I/O that you would like to add.
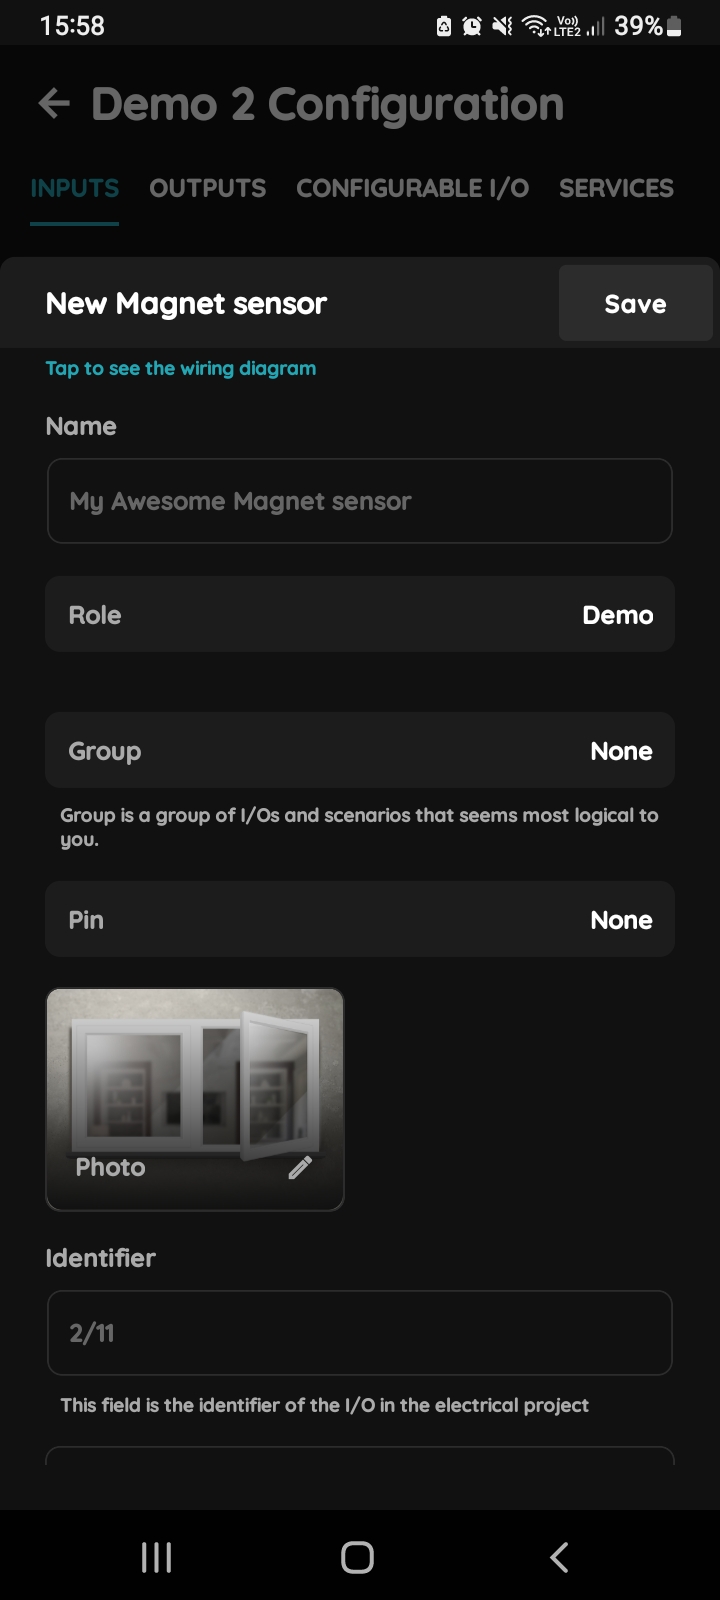
New Magnet Contact sensor
Fill the following form:
- Name - Write the name of the Magnet sensor.
- Role - Choose Role from the list.
- Dashboards - Choose Dashboards from the list. Dashboards are group of I/O and scenarios that seems most logical to you.
- Pin - Choose Pin from the list. Pin is physical place on the Controller where I/O is connected to it.
- Photo - Choose photo for the Magnet sensor.
- Identifier - This field is the identifier of the I/O in the electrical project.
- Advanced - You can choose type of the signal that activates or tiggers the Magnet sensor: rising, falling, change, change inverted.
- Timeout - It is the duration for which the Magnet Contact sensor will remain Open in auto mode.
For more details follow next steps.
When you want to confirm your choice tap Save and Submit.
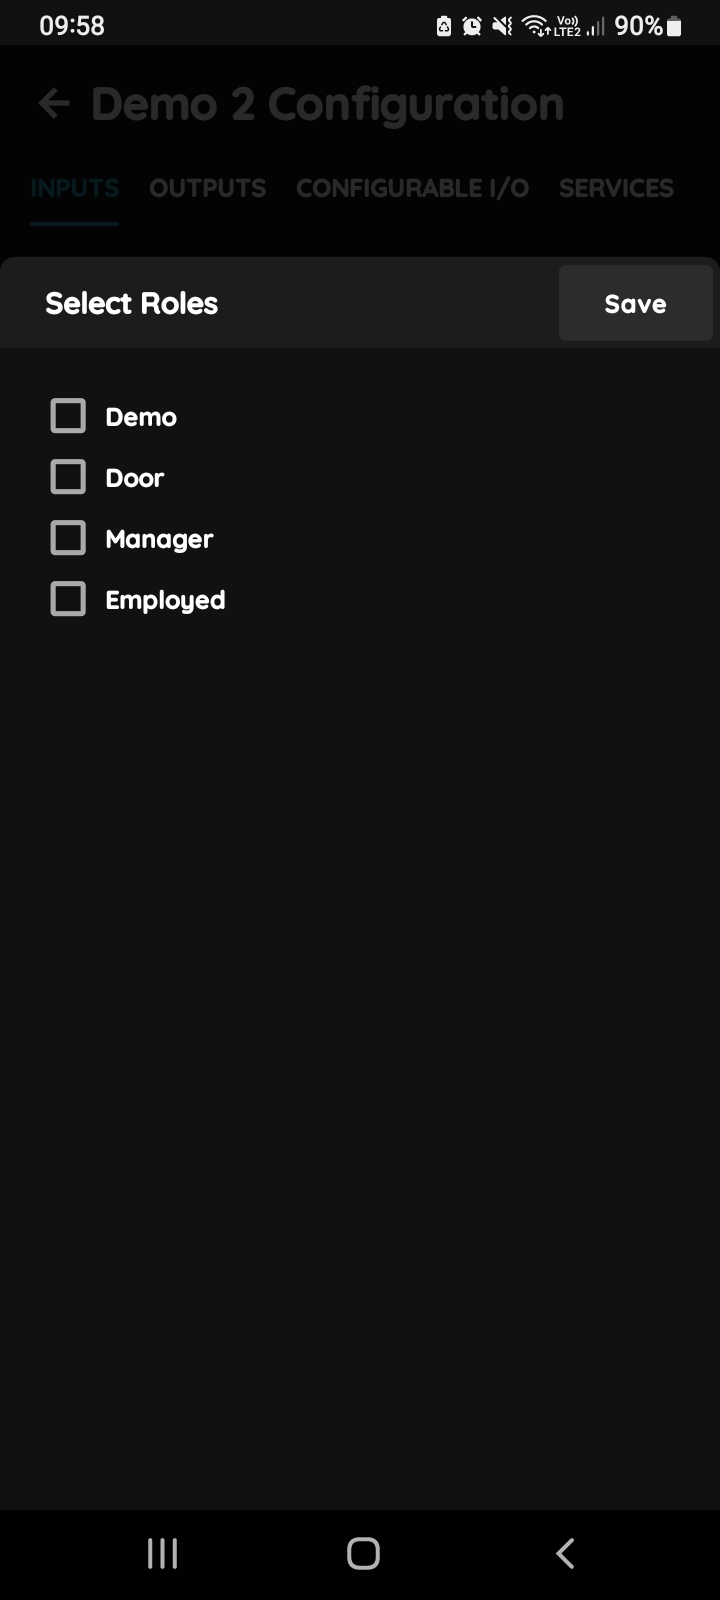
Select Roles - Inputs
Tap in the field Roles.
Select checkbox/checkboxes (for multiple choice) next to the Role/Roles that you would like to choose.
To confirm selection tap the button Save/Done.
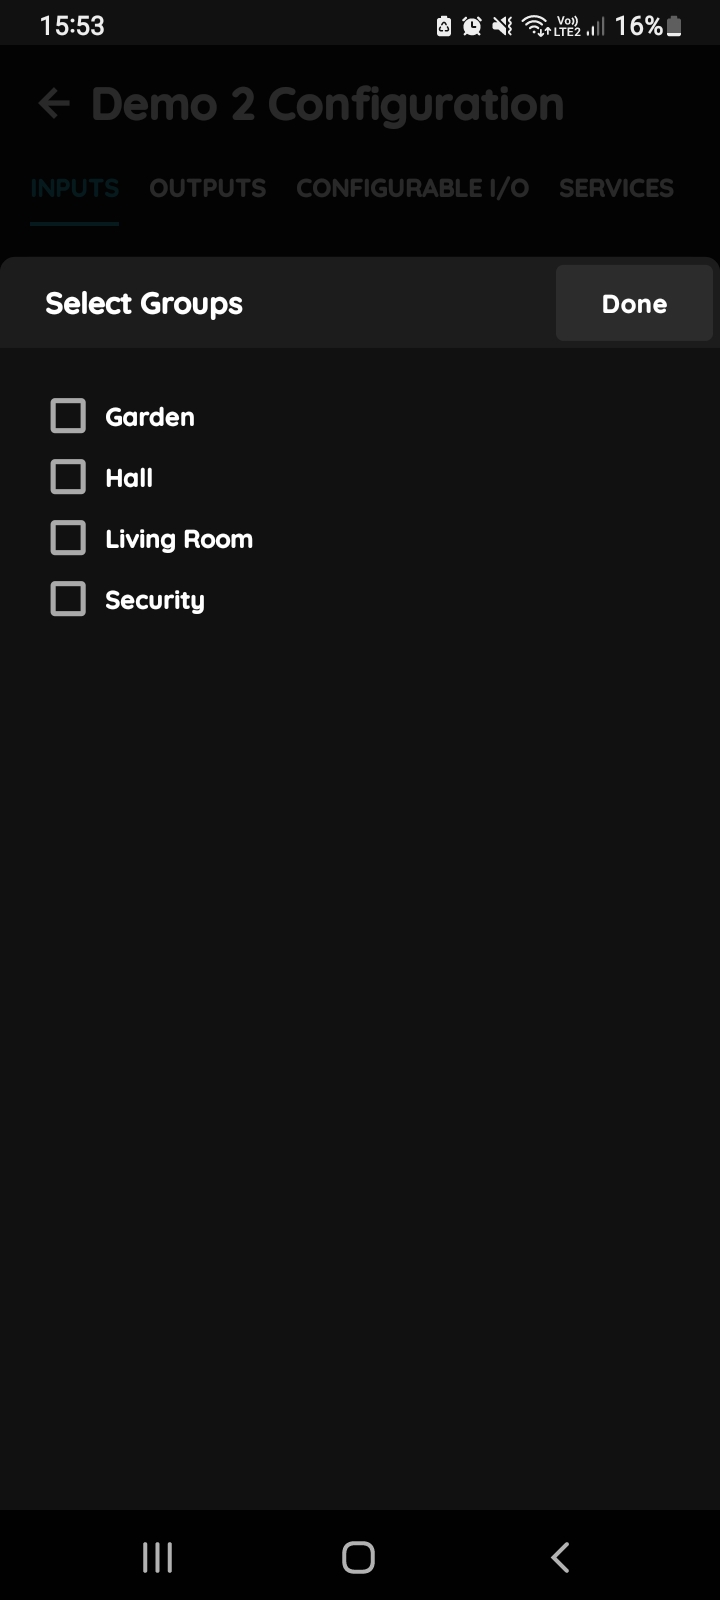
Select Dashboards - Inputs
In this step you should select Dashboards.
Select check box/check boxes next to the desired Dashboards from the list.
When you want to confirm your choice tap button Done/Save.
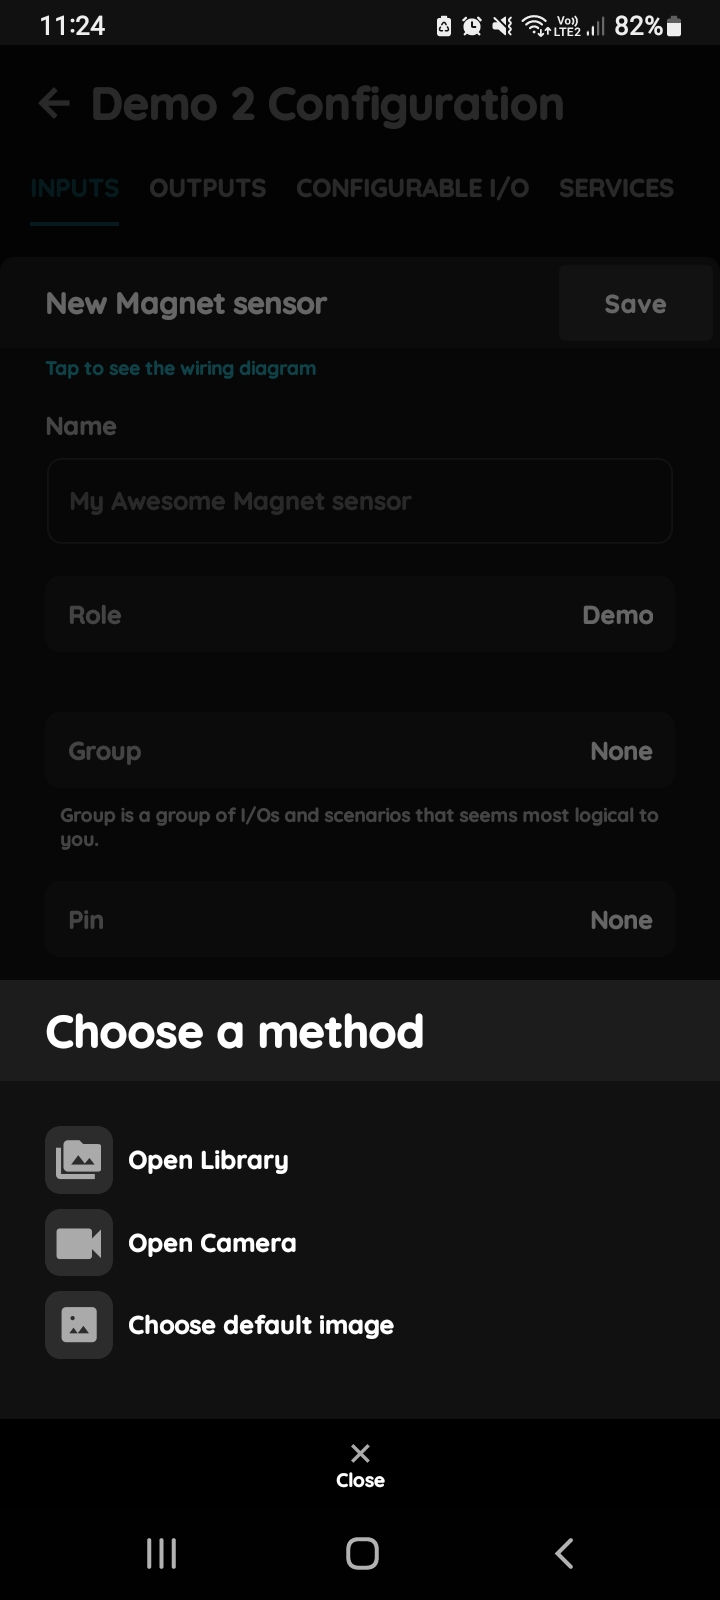
Change Photo - Magnet Contact sensor
Tap on the photo of the Magnet Contact sensor.
You have three options:
Open Library - The phone’s Library will open.
Open Camera - You can take a picture using your smartphone.
Choose default image - These images are prepared in advance in order to provide a complete and seamless experience.
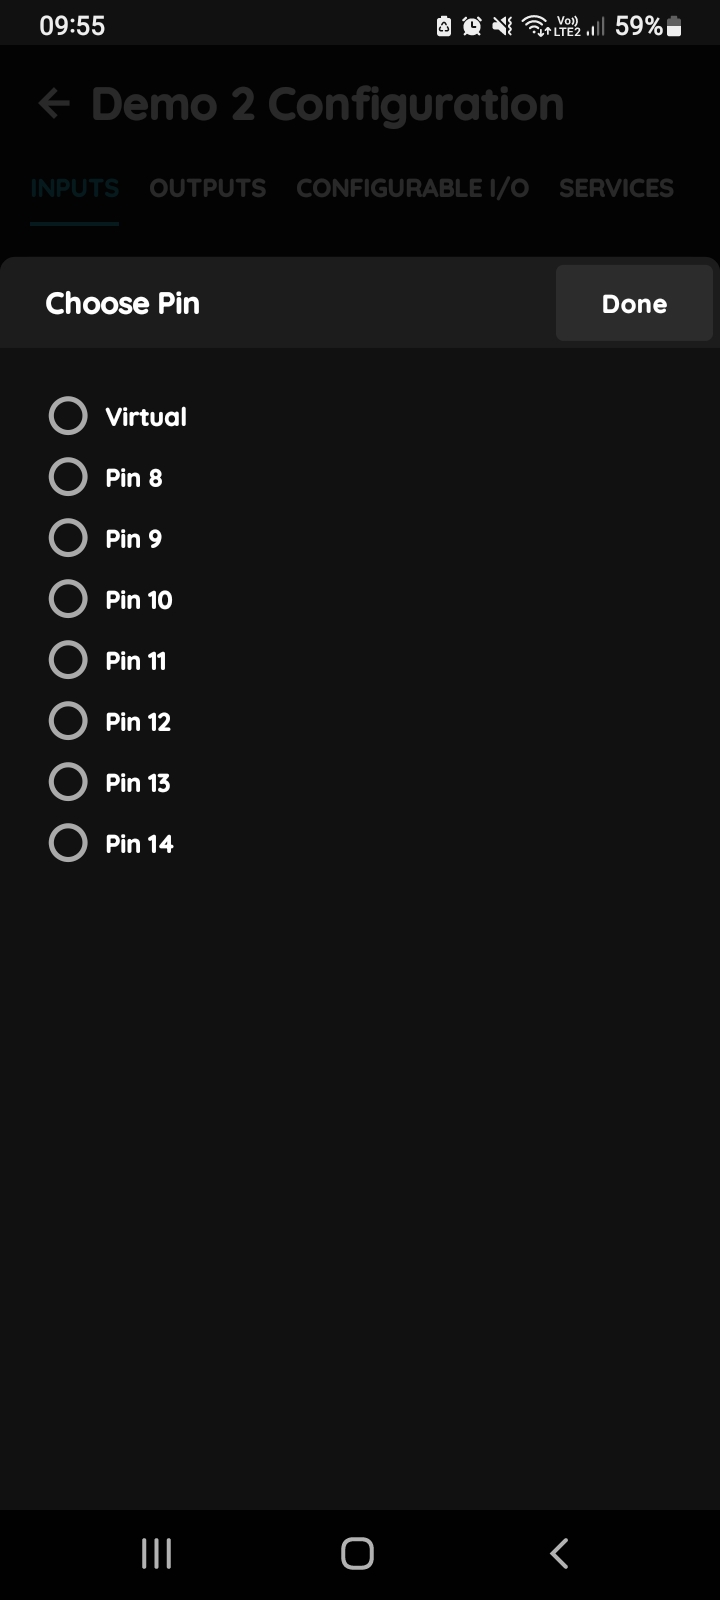
Choose PIn
Tap on the radio button next to the Pin that you would like to choose.
To confirm selection tap on Save/Done.
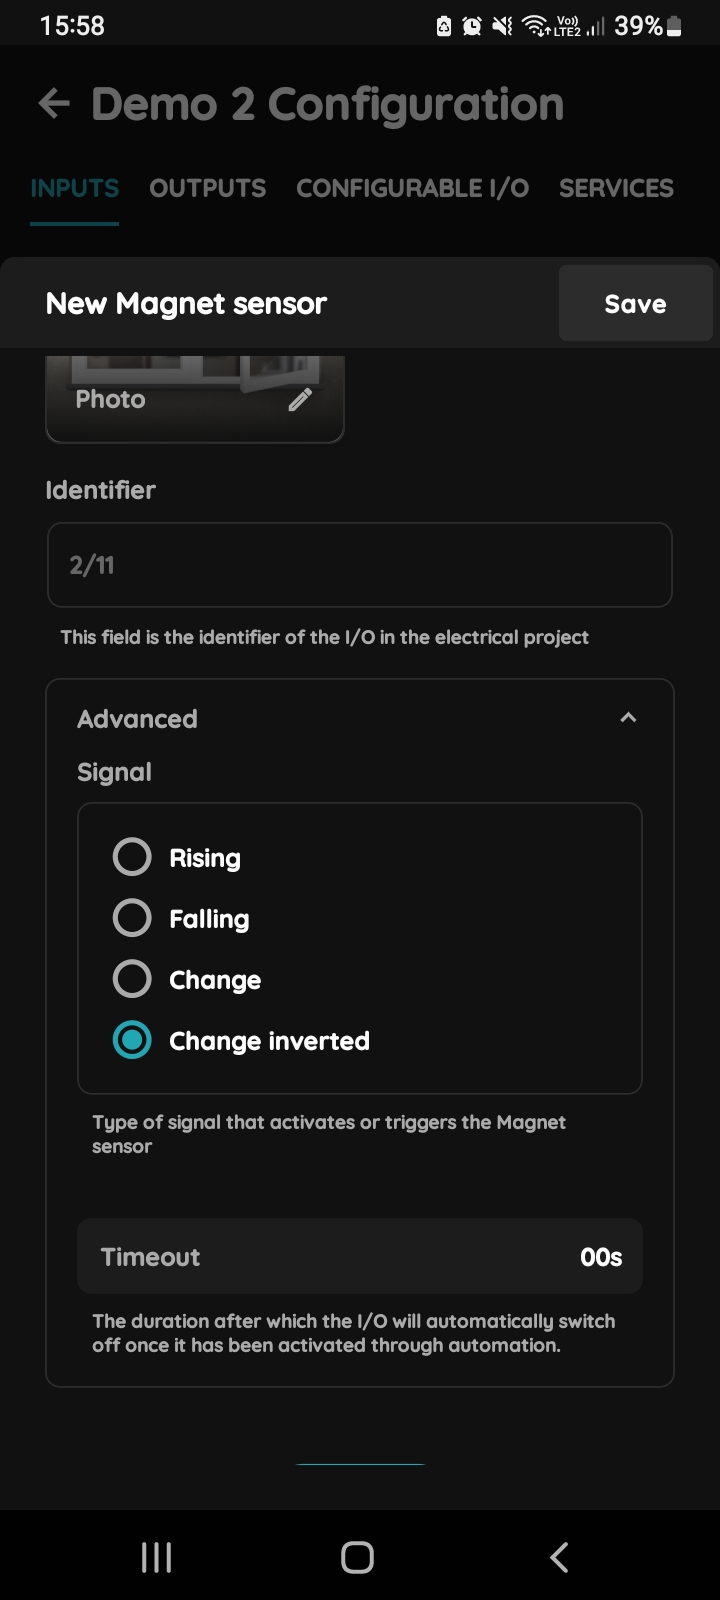
Advanced - Magnet Contact sensor
Tap radio button next to the type of signal that you would like to choose.
You can choose:
- Rising - Triggered when the contact changes from inactive to active state.
- Falling - Triggered when the contact changes from active to inactive state.
- Change - Triggered whenever the contact state changes.
- Change inverted - Triggered whenever the contact state changes, with inverted output logic.
You can choose type of the signal that activates or triggers the Magnet Contact sensor.
The default settings for most common cases: Change Inverted, Timeout set to 00s.