PIERRE Partner - Motion Sensor
Description
The Motion Sensor is a wired input that reports movement in a space. The state is available to automation, notifications and alarm functions in the PIERRE system.
Configuration
To add the sensor:
- Open the desired Controller.
- Navigate to Inputs.
- Select Add and choose the sensor type.
- Configure: Name, Group, Role, Picture, Identifier and Signal Type.
- Submit and save the configuration.
To edit a sensor, open the Controller, go to the Inputs tab and select it from the list. The same fields are available, and the sensor can be deleted from here.
Motion sensor signal configuration
Select the Signal you want to use:
- Rising – Triggered when the signal changes from OFF to ON.
- Falling – Triggered when the signal changes from ON to OFF.
- Change – Triggered when the signal changes, regardless of whether it changes from OFF to ON or from ON to OFF.
- Change inverted – Triggered when the signal changes, with the signal state interpreted inversely.
The selected Signal determines which change in the Motion Sensor's signal will trigger the associated action or automation.
Fields
- Identifier — links the input to the electrical project documentation.
- Signal Type — the signal that the sensor produces on activation.
Automation Applications
- Switching lights on detected movement, with a timeout that switches them off again.
- Triggering notifications when movement is detected outside expected hours.
- Use as a condition in scenarios, for example suspending ventilation in an empty room.
Technical Notes
- Occupies one controller input.
- Reports movement only — it does not measure distance or direction.
- The signal type must match the sensor's output.
Add Motion sensor from Controllers
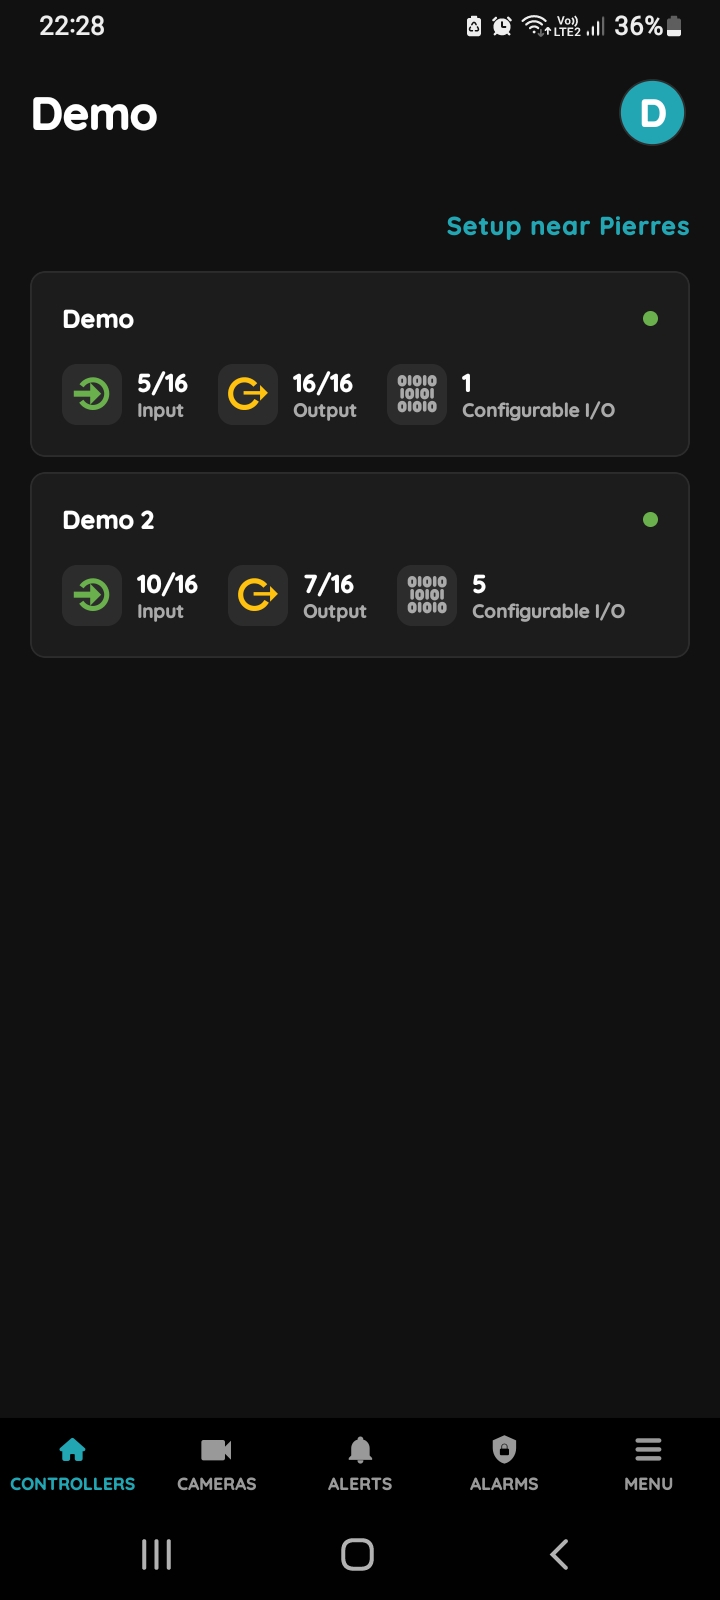
You can add Motion sensor is from the Controllers.
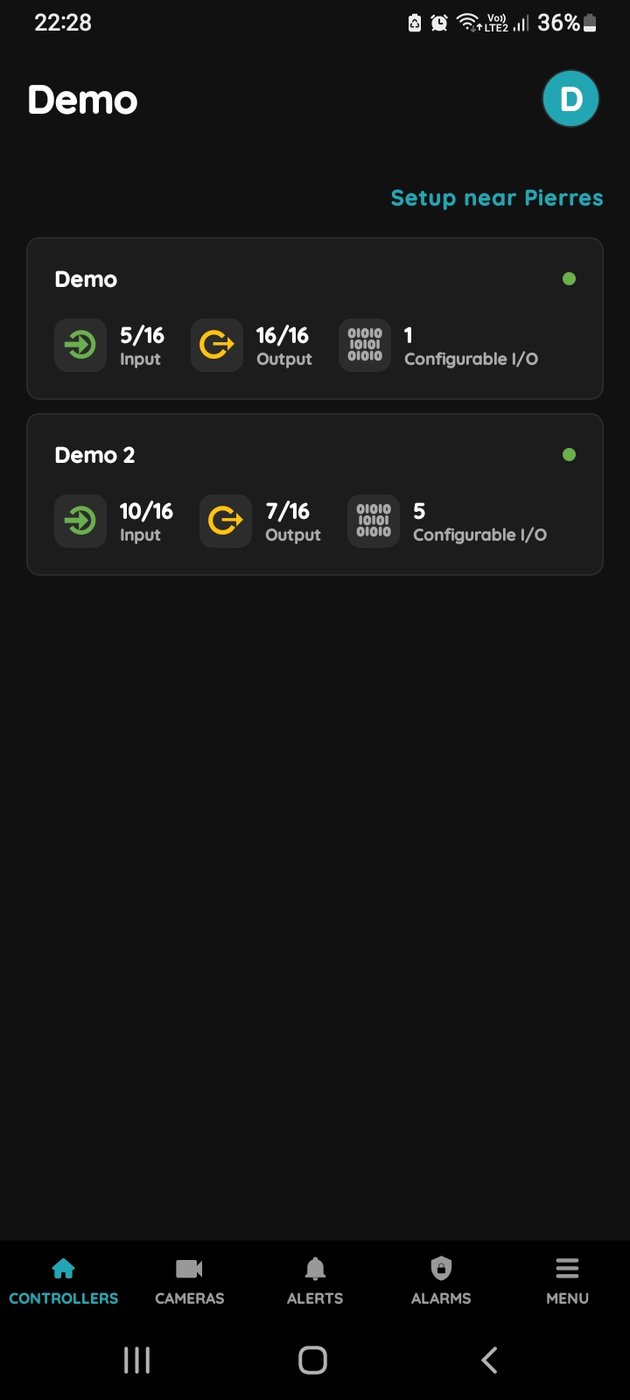
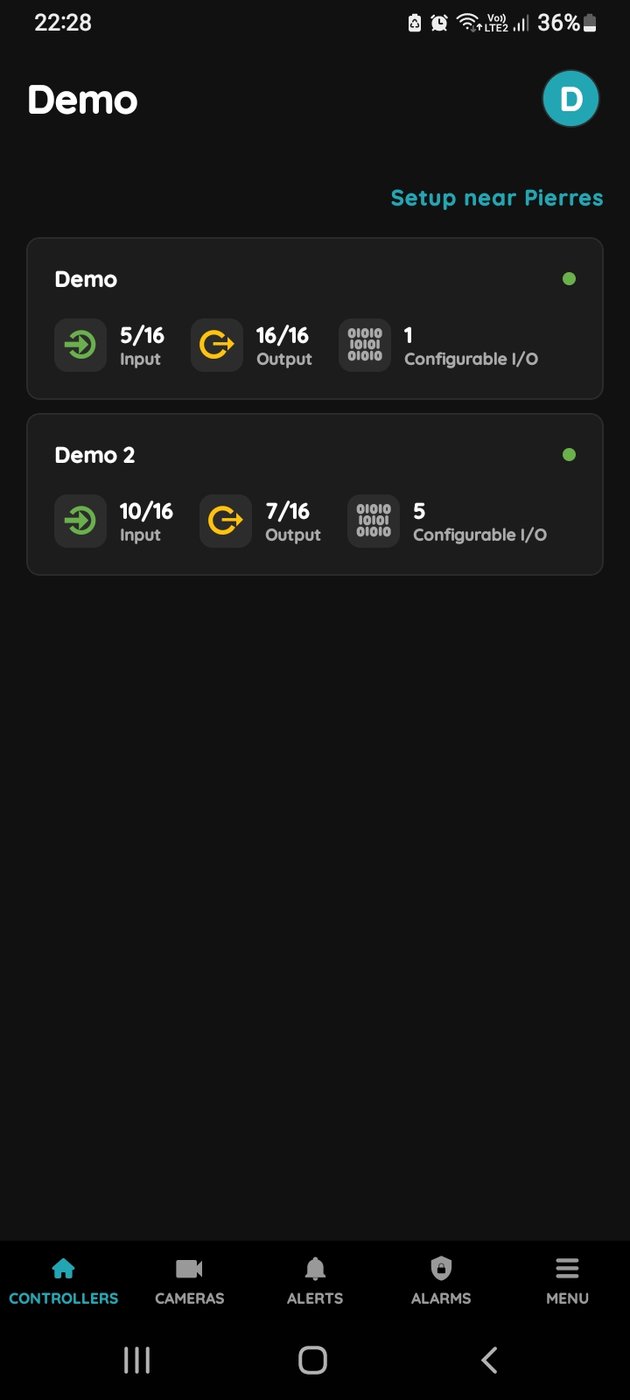
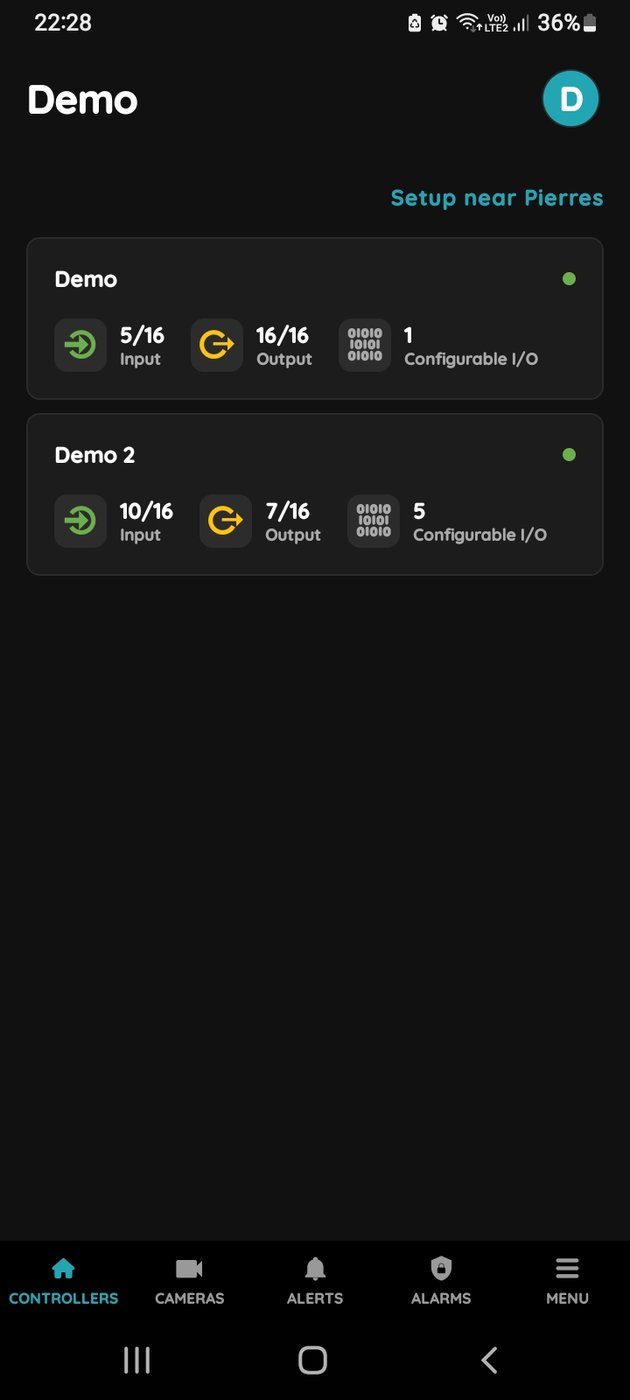
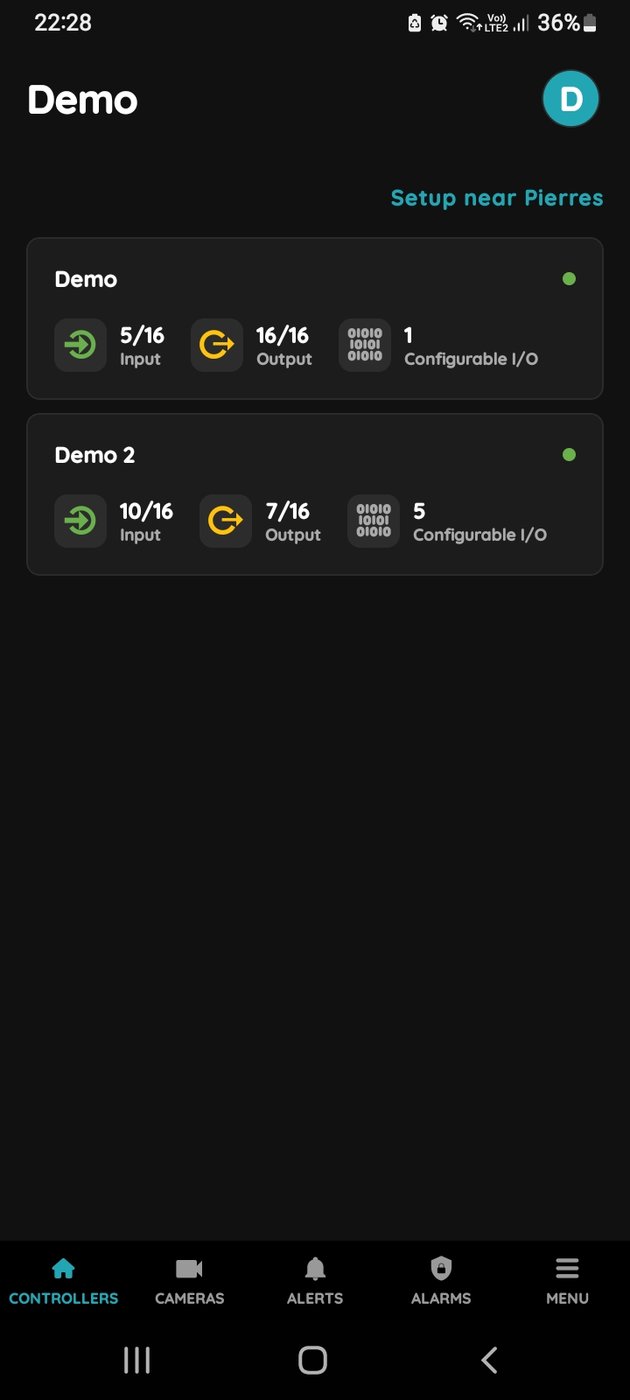
Choose Controller
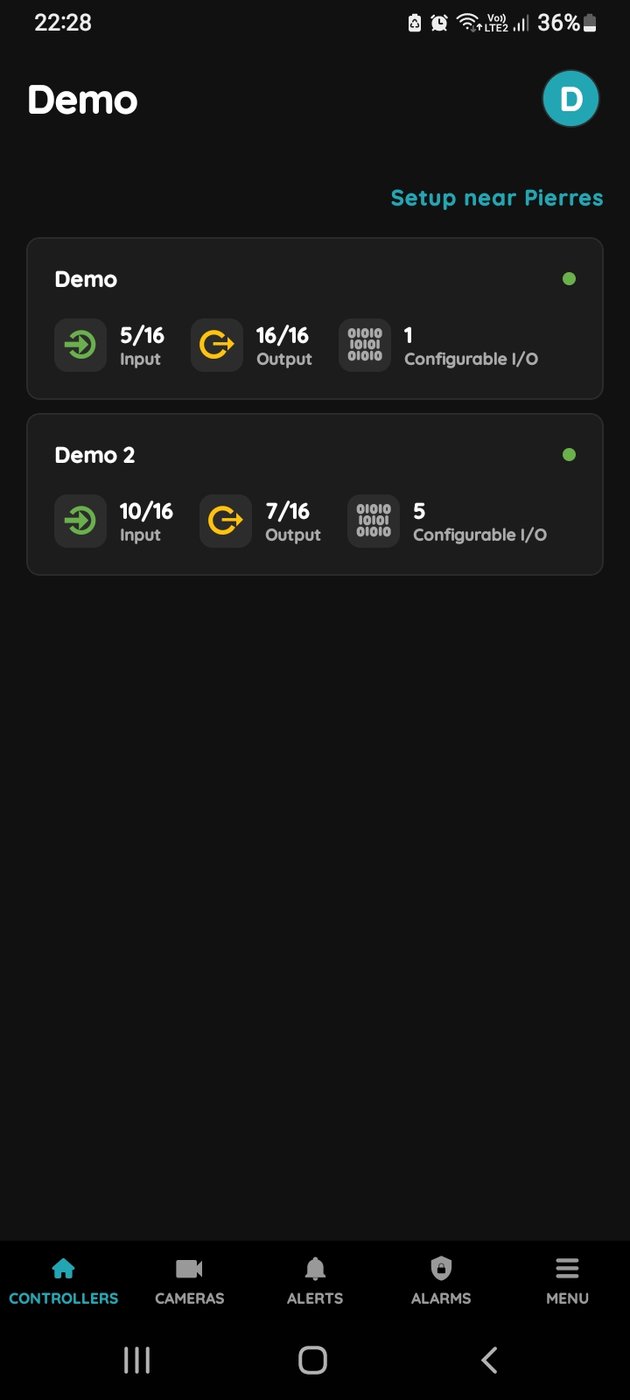
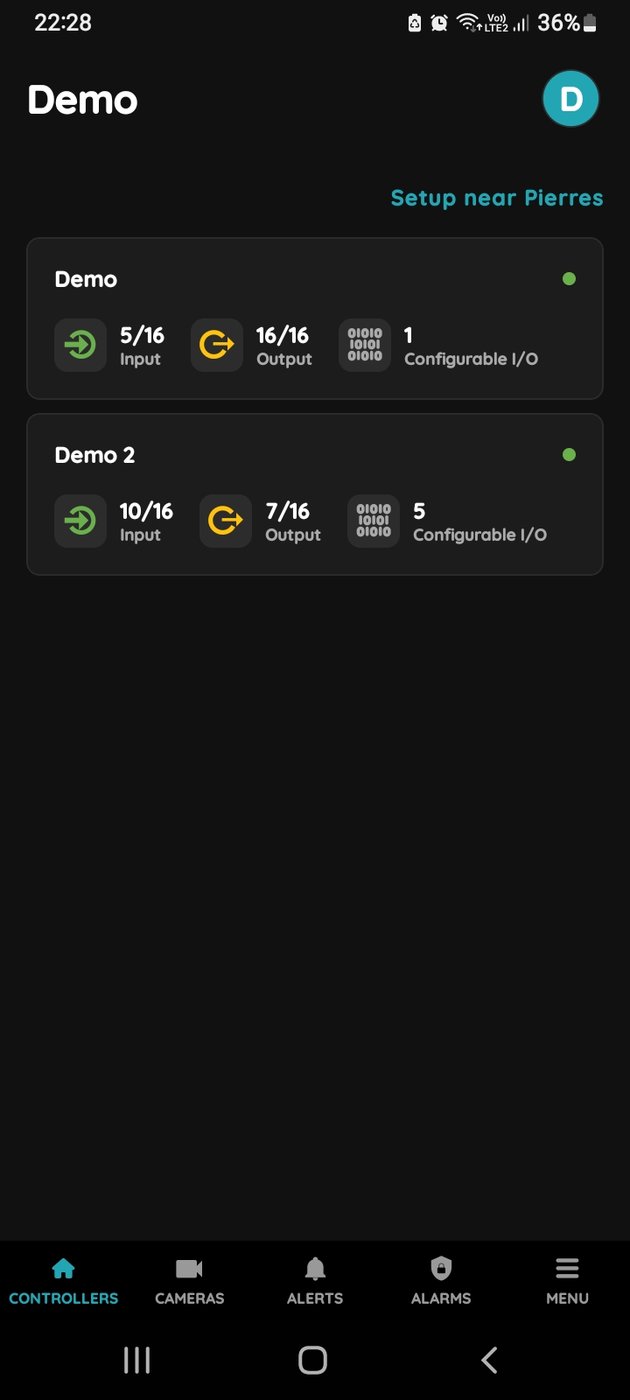
Tap on the Controller that you would like to add new I/O to.
To edit the I/O, click on the Controller to which the I/O is added.
Add button for Inputs
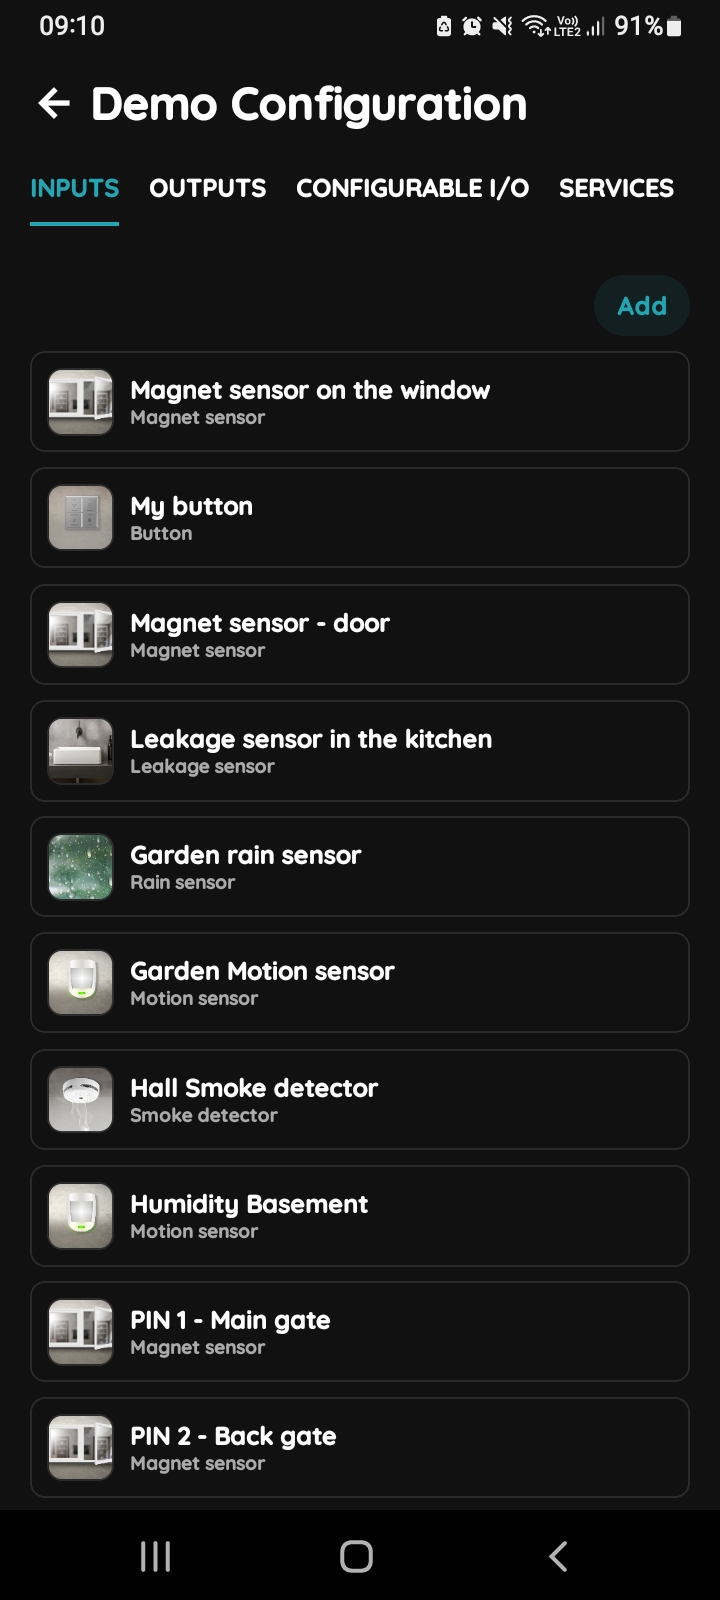
Inputs tab is selected.
List of Inputs is shown.
In order to add new Input tap on the Add button.
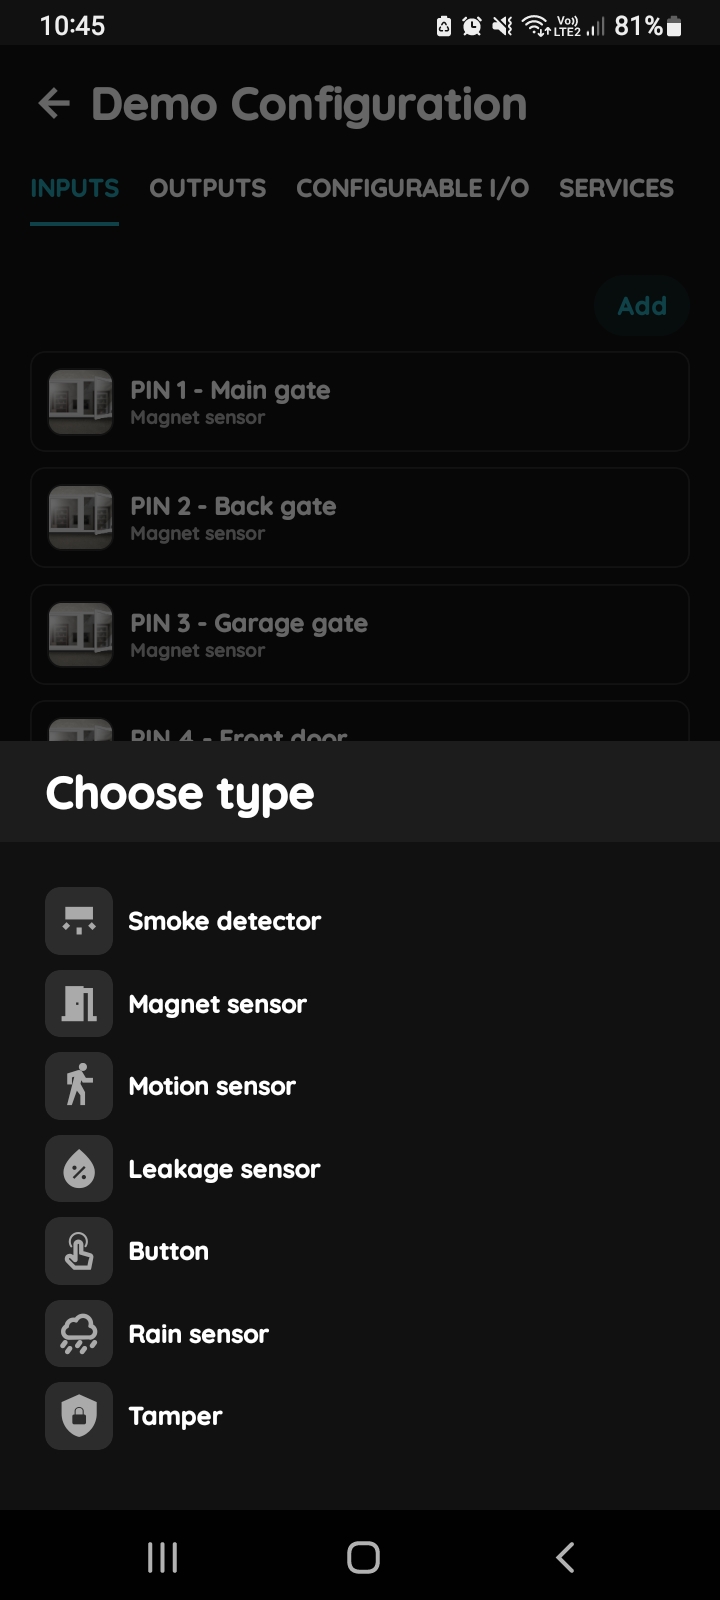
Choose type - Inputs
Scroll to the I/O from the list that you would like to add and tap on it.
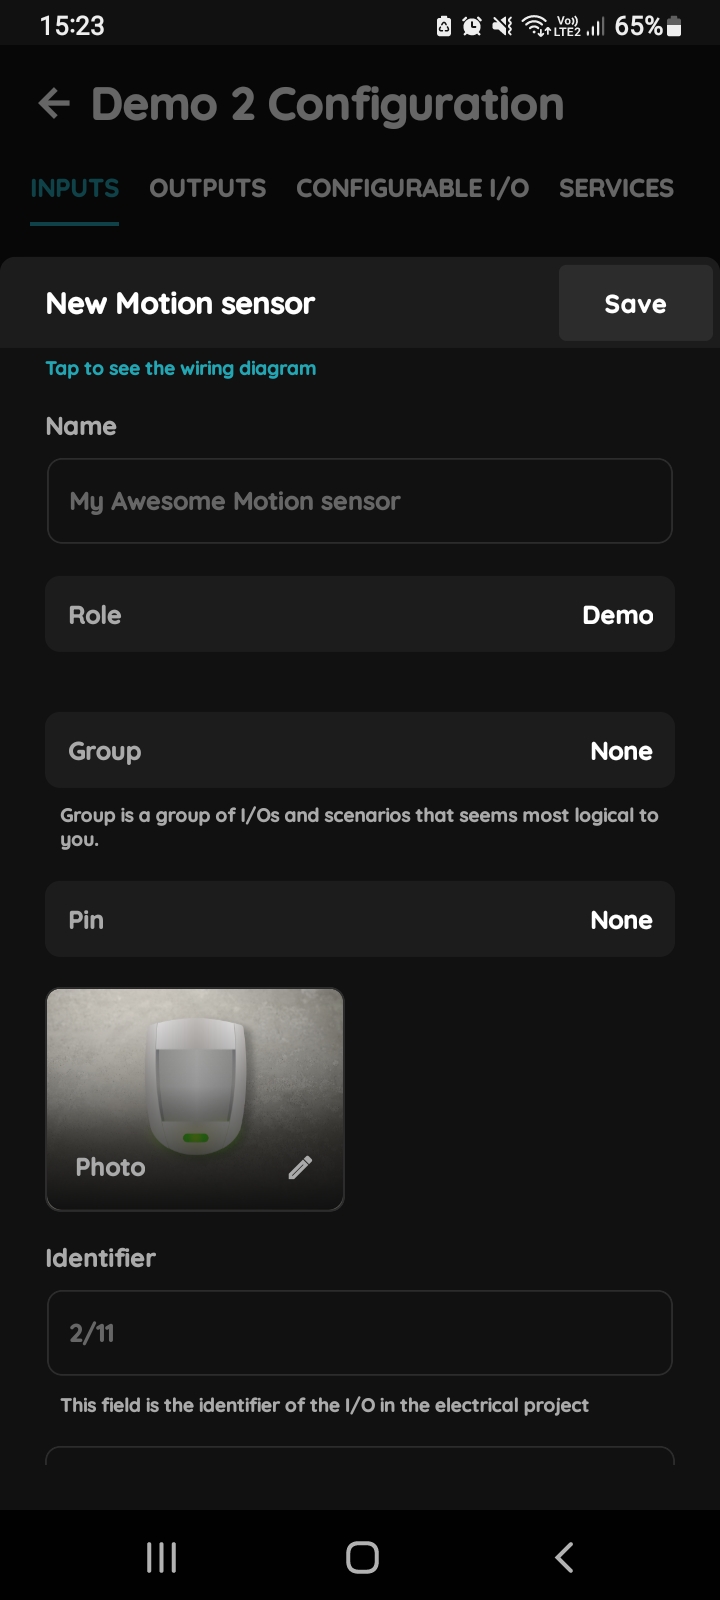
New Motion sensor
Fill following form:
- Name - Write the name of the Motion sensor.
- Role - Choose Role from the list.
- Group - Choose Group from the list. Group is a group of I/O and scenarios that seems most logical to you.
- Pin - Choose Pin from the list. Pin is physical place on the Controller where I/O is connected to it.
- Photo - Choose photo for the Motion sensor.
- Identifier - This field is the identifier of the I/O in the electrical project.
- Advanced - You can choose type of the signal that activates or triggers the Motion sensor: rising, falling, change, change inverted.
- Timeout - It the duration for which the Motion sensor will remain active in auto mode.
For more details follow next steps.
When you want to confirm your choice tap button Save and Submit.
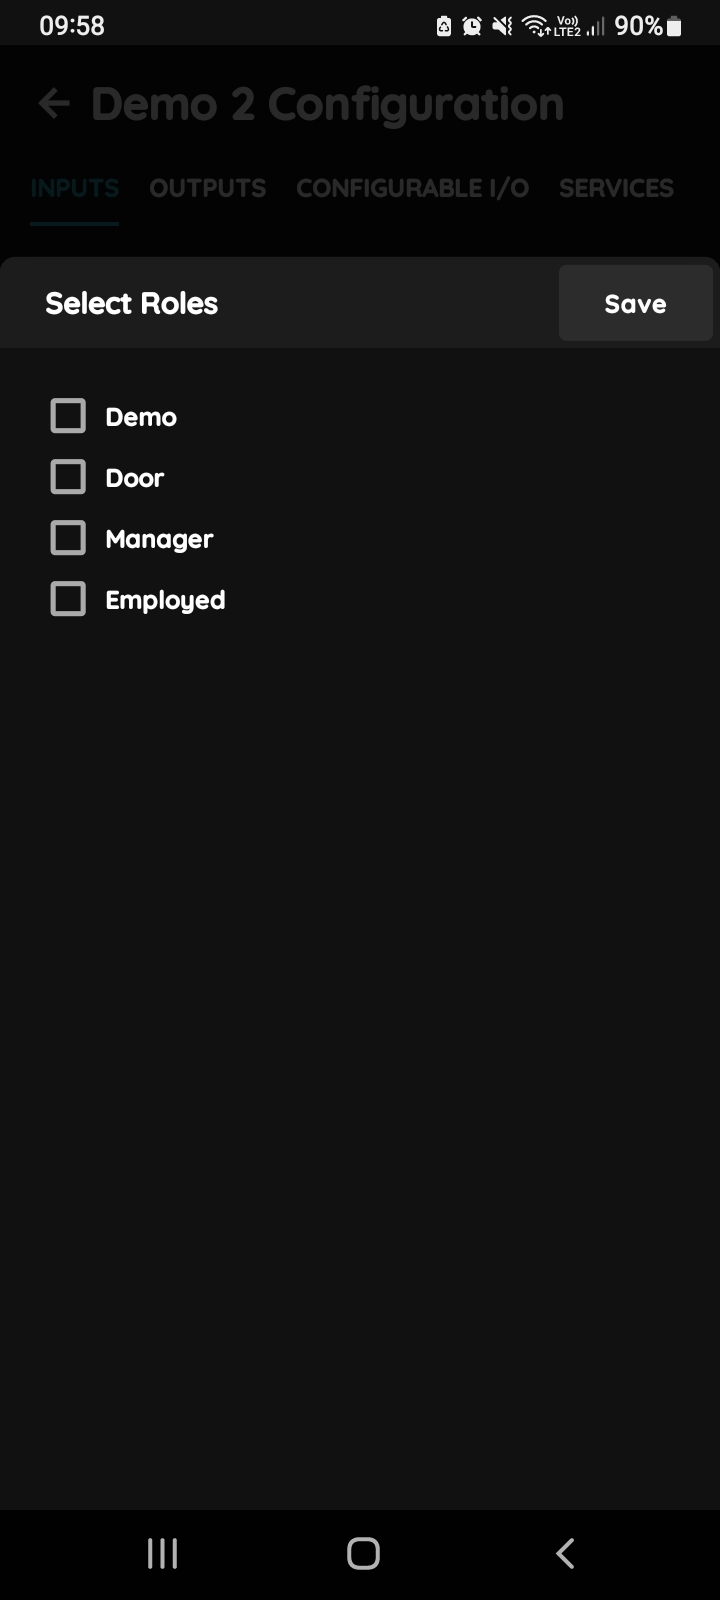
Select Roles - Inputs
Tap in the field Roles.
Select checkbox/checkboxes (for multiple choice) next to the Role/Roles that you would like to choose.
To confirm selection tap the button Save/Done.
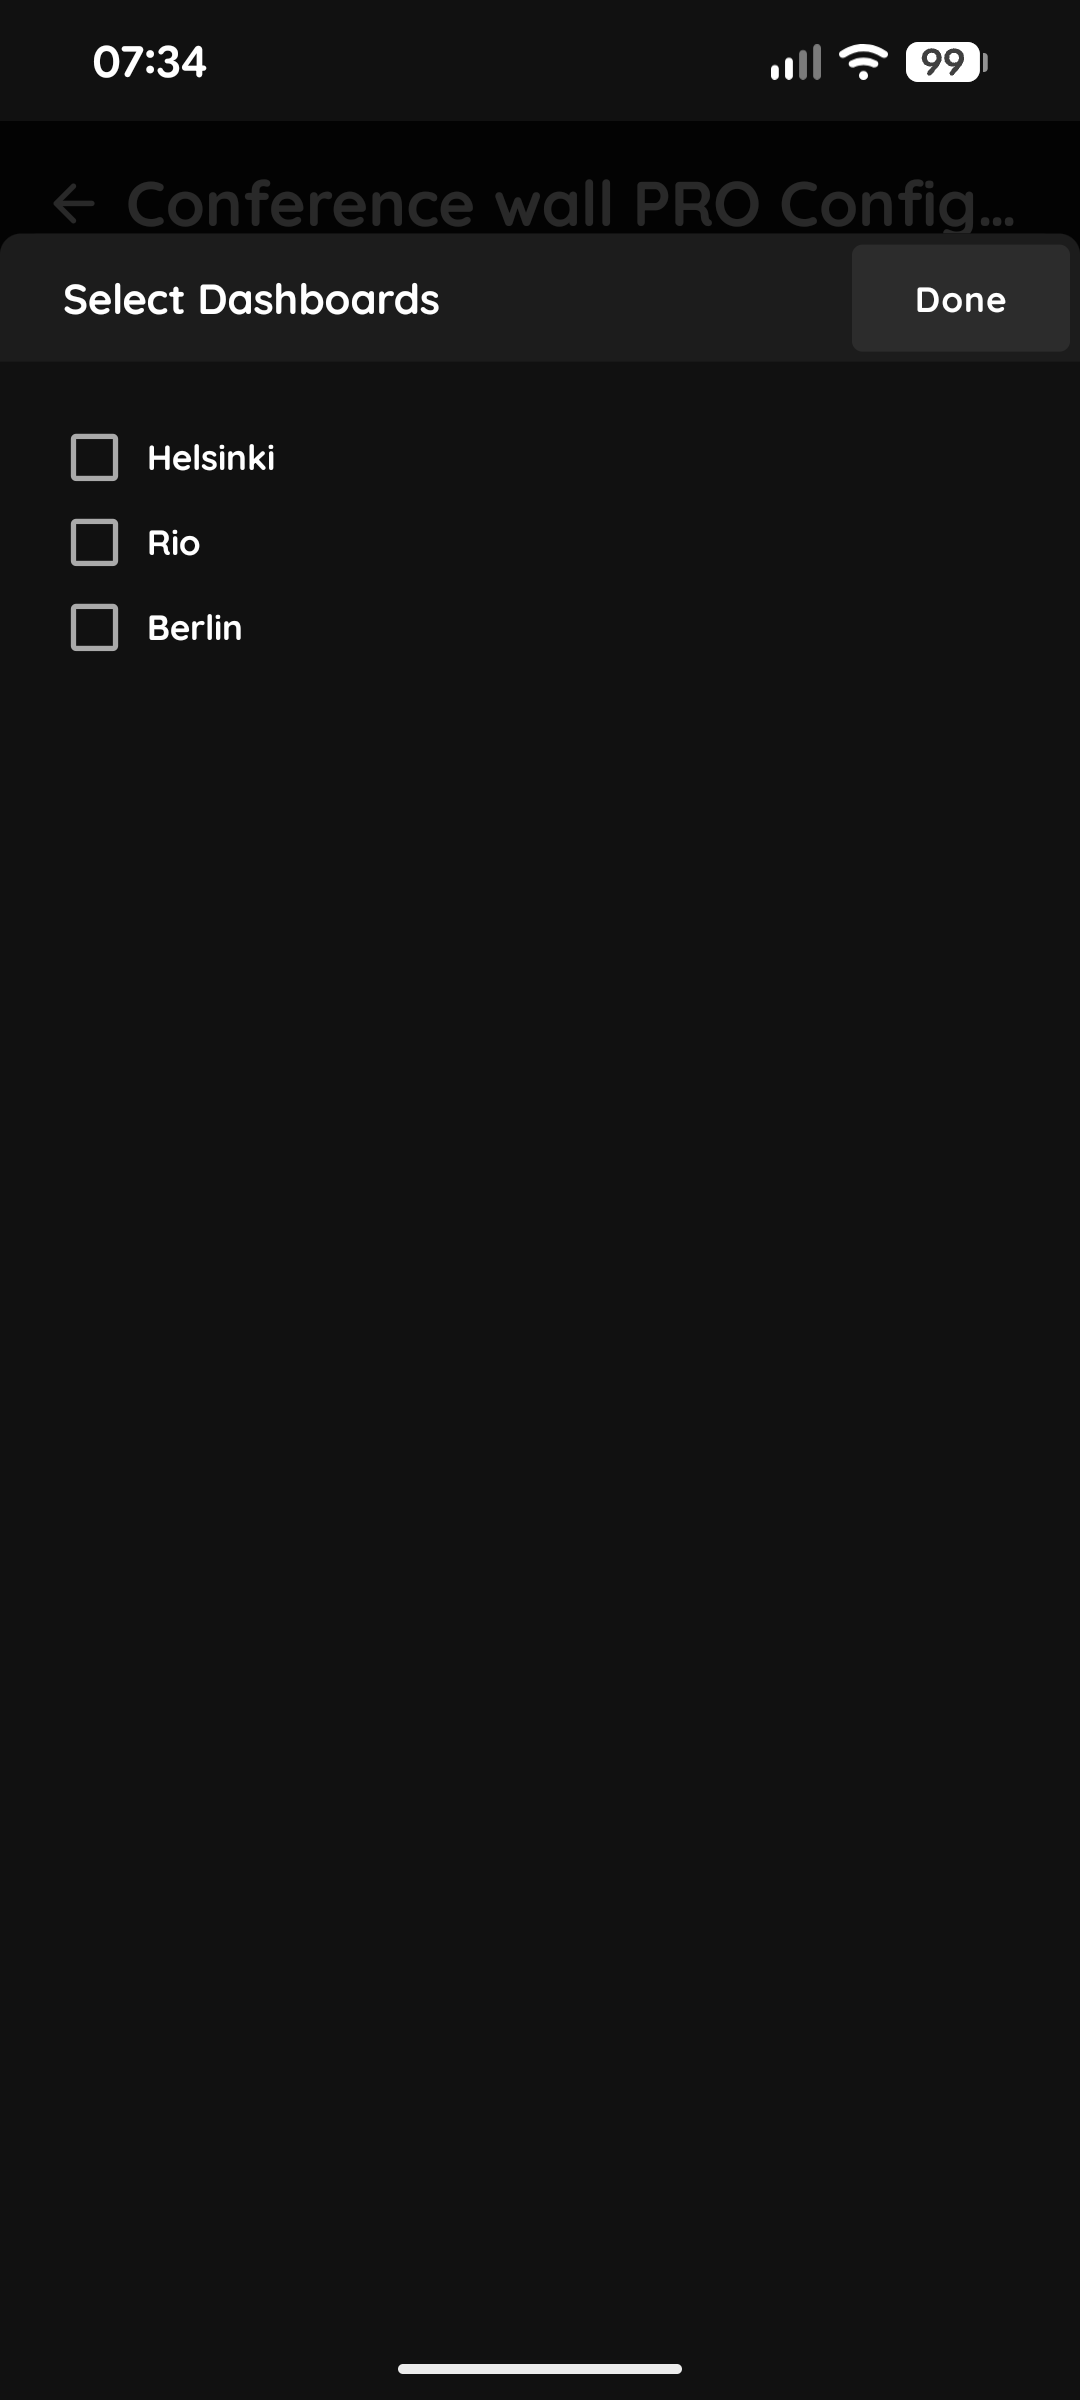
Select Dashboards - Inputs
In this step you select the Dashboard: the PIERRE display or displays on which the I/O will be shown. Select the check box next to the desired Dashboard or Dashboards from the list.
When you want to confirm your choice tap Done.
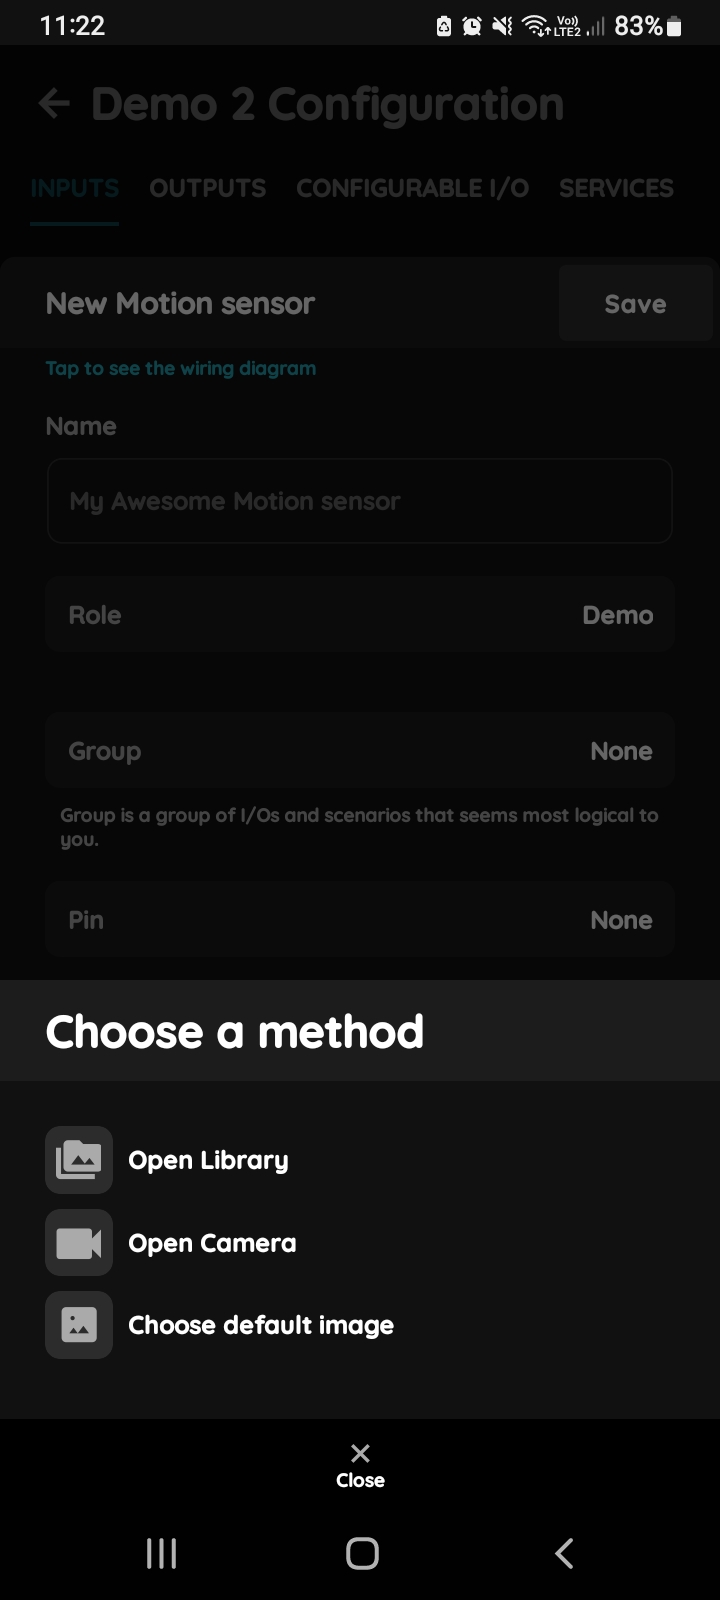
Change photo - Motion sensor in PIERRE Partner app
Tap on the photo of the Motion sensor.
You have tree options:
Open Library - The phone’s Library will open.
Open Camera - You can take a picture using your smartphone.
Choose default image - These images are prepared in advance in order to provide a complete and seamless experience.
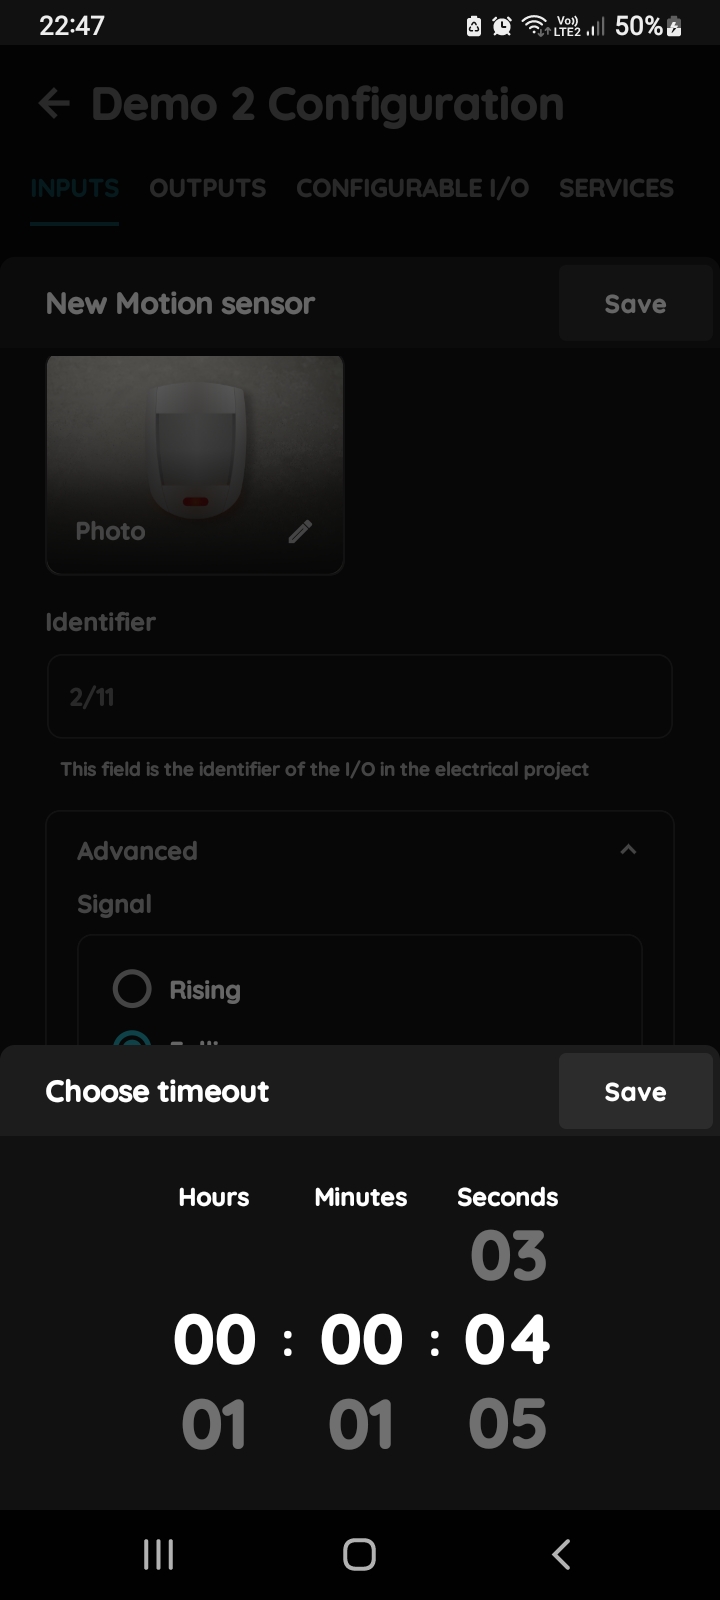
Timeout - Motion sensor
In order to set Timeout - hours, minutes and seconds, you should scroll through each of these columns and when you are satisfied with your choice tap on Save button.
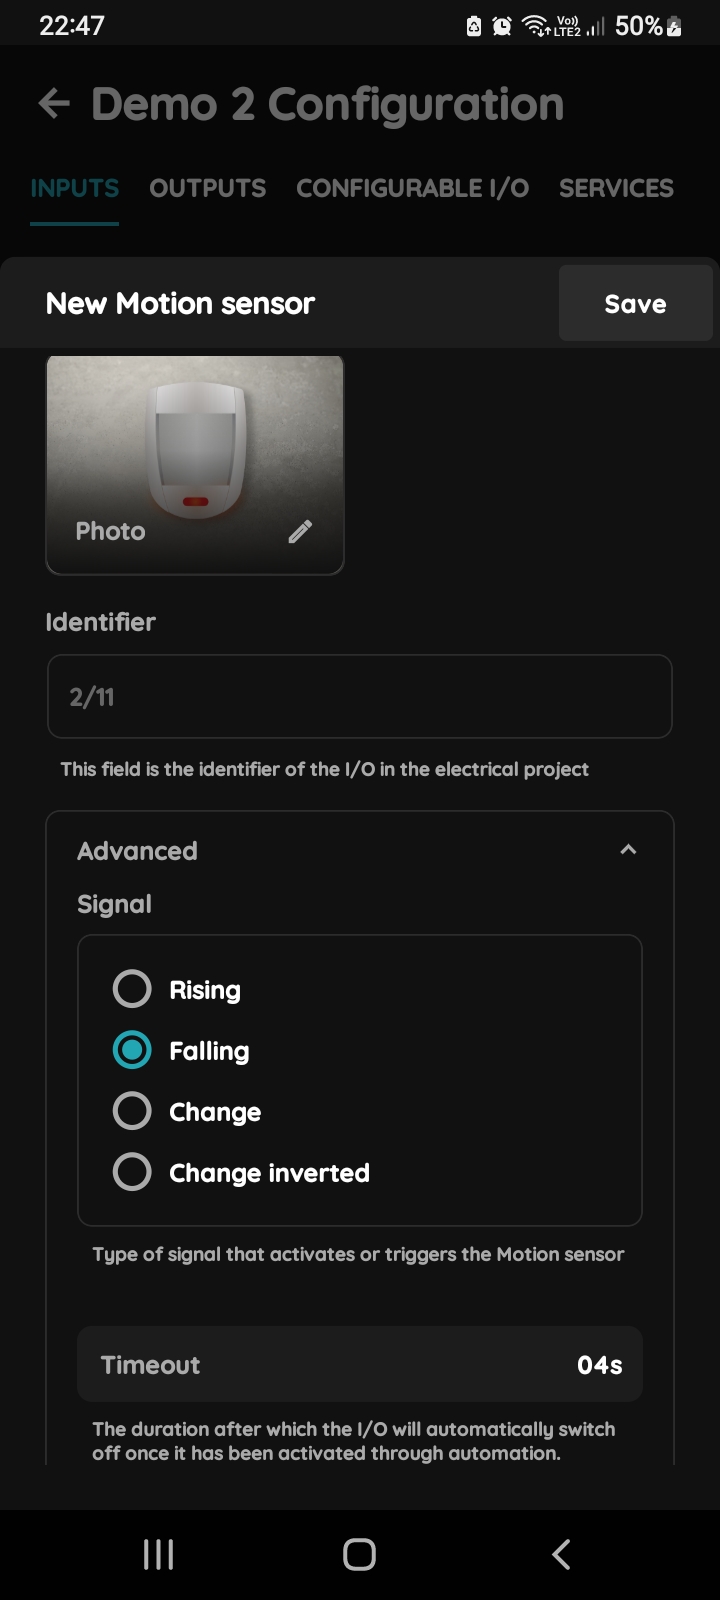
Advanced - Motion sensor
Select the Signal you want to use:
- Rising – Triggered when the signal changes from OFF to ON.
- Falling – Triggered when the signal changes from ON to OFF.
- Change – Triggered when the signal changes, regardless of whether it changes from OFF to ON or from ON to OFF.
- Change inverted – Triggered when the signal changes, with the signal state interpreted inversely.
The selected Signal determines which change in the Motion Sensor's signal will trigger the associated action or automation.
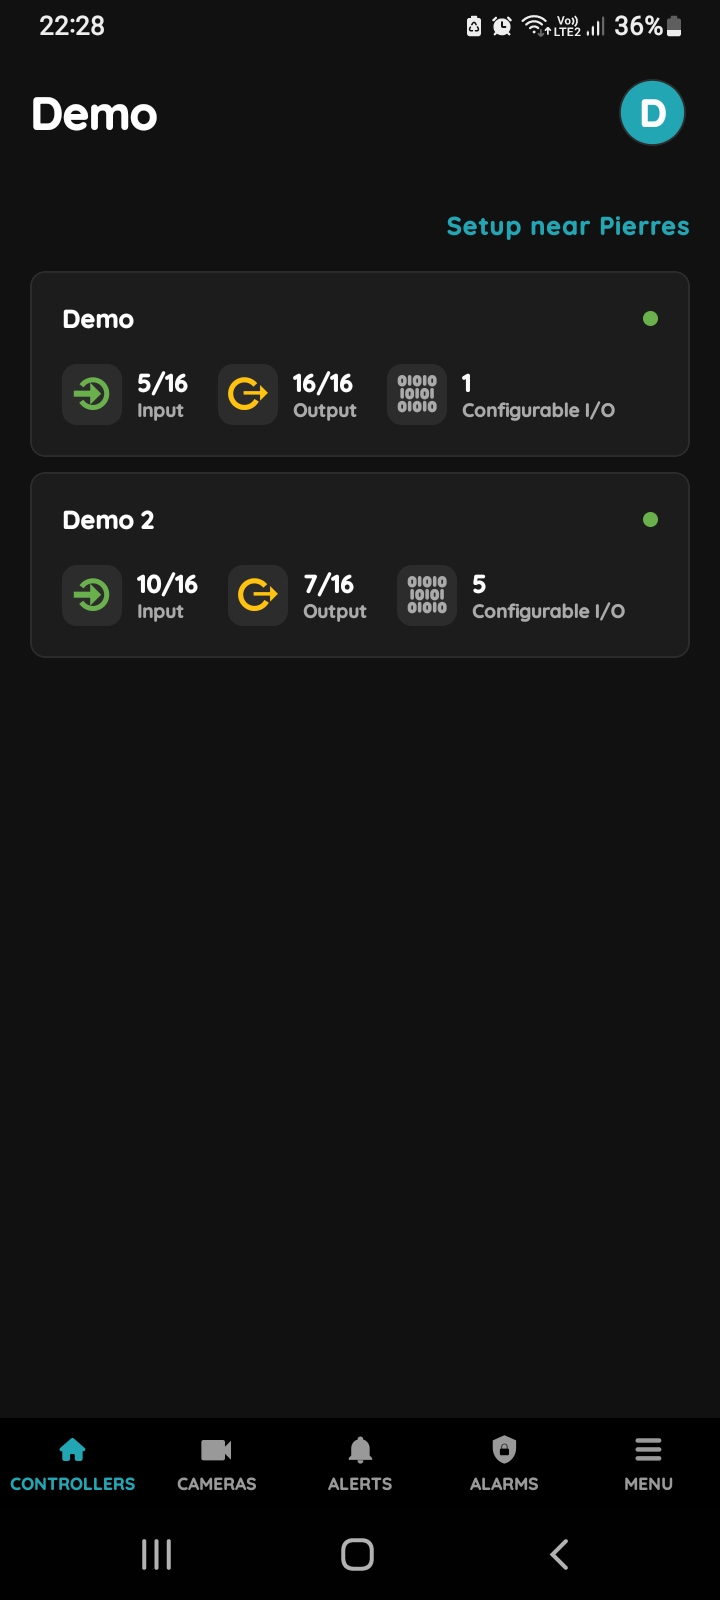
Choose Controller
You can edit Motion sensor from the Controllers.
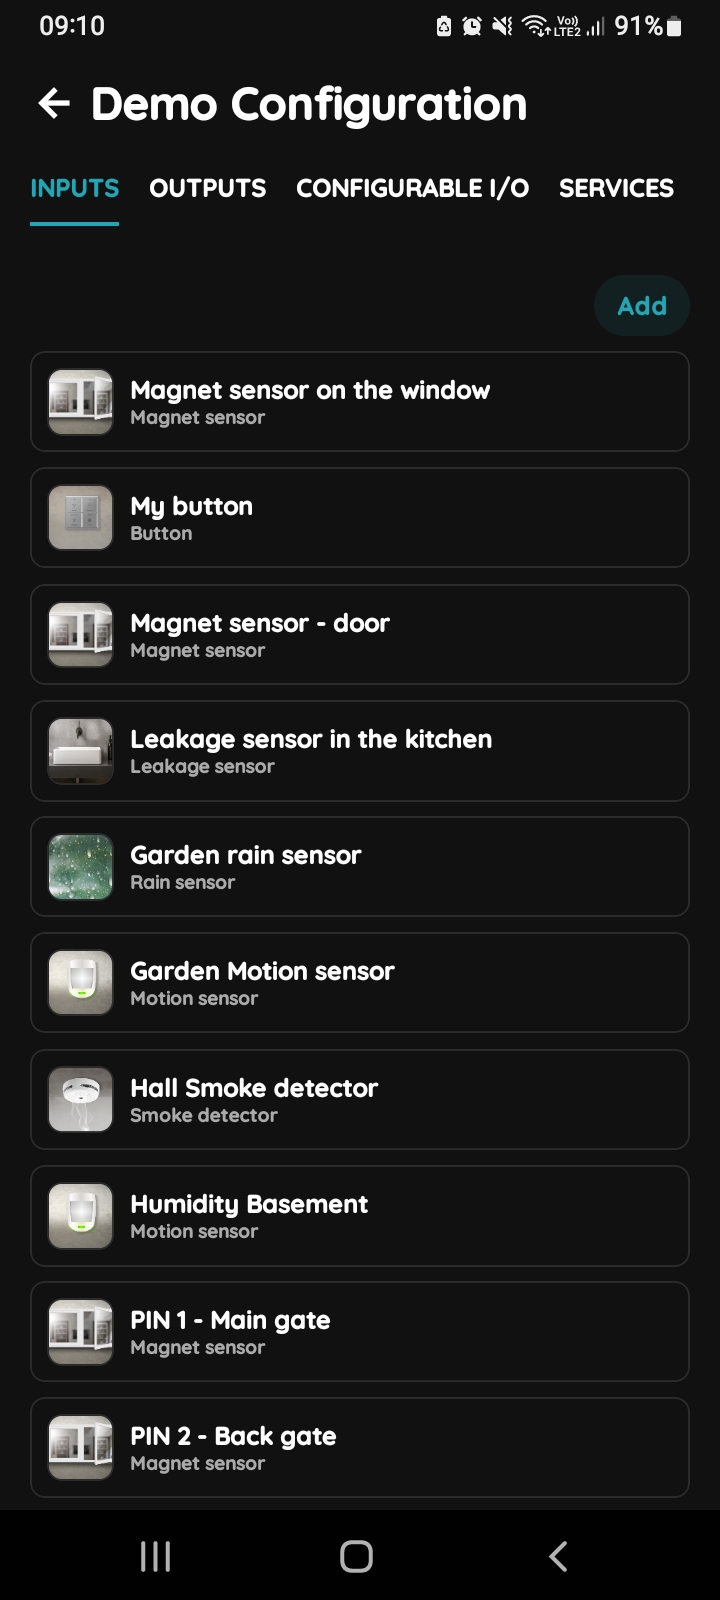
Inputs list
Tab Inputs is selected, scroll and tap on the I/O from the list that you would like to edit.
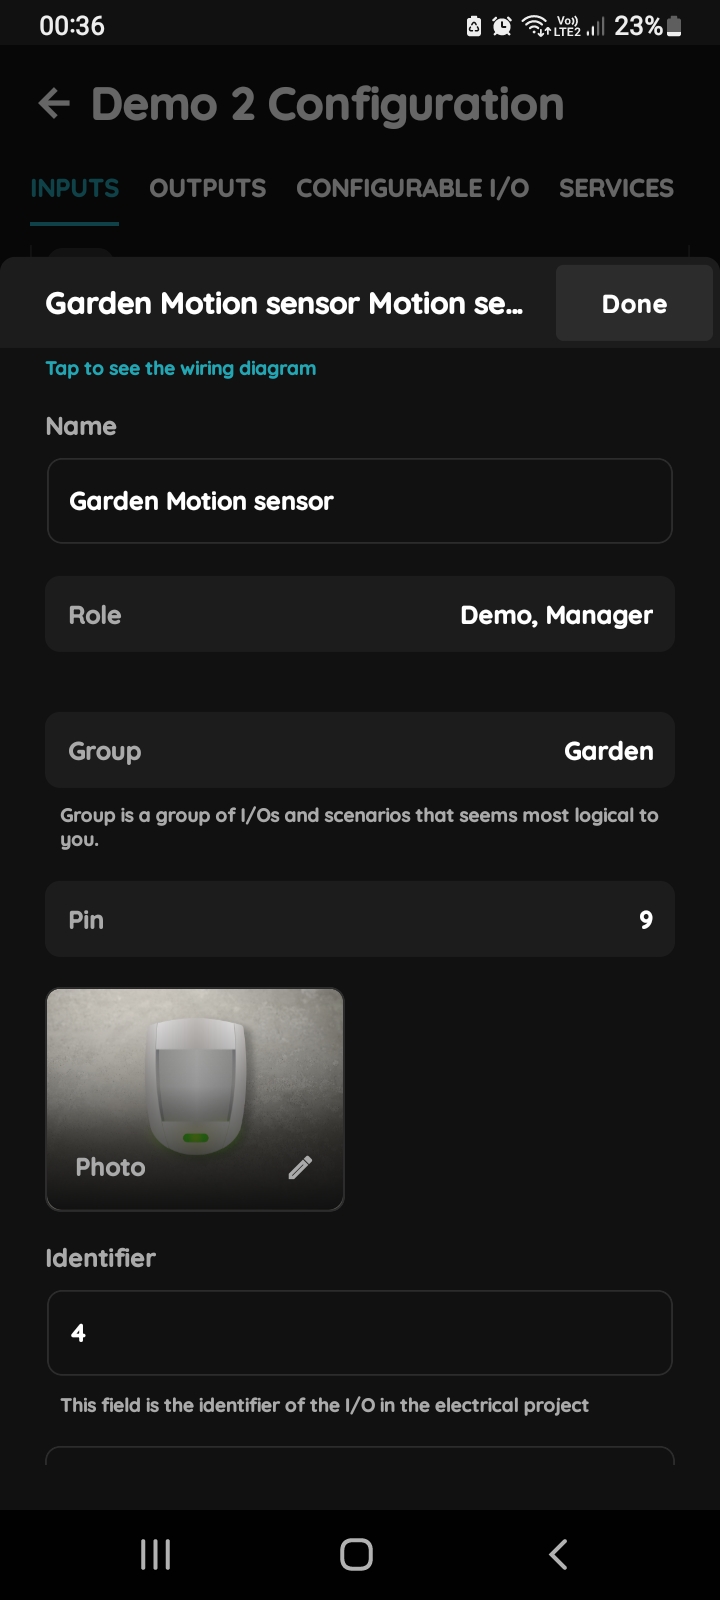
Edit Motion sensor
Edit this form:
- Name - Edit the name of the Motion sensor.
- Role - Choose Role from the list.
- Group - Choose Group from the list. Group is a group of I/O and scenarios that seems most logical to you.
- Pin - Choose Pin from the list. Pin is physical place on the Controller where I/O is connected to it.
- Photo - Choose photo for the Motion sensor.
- Identifier - This field is the identifier of the I/O in the electrical project.
- Advanced - You can choose type of the signal that activates or triggers the Motion sensor: rising, falling, change, change inverted.
- Timeout - It the duration for which the Motion sensor will remain active in auto mode.
When you want to confirm your choice tap button Save and Submit, or if you want to delete it tap the button Delete.