PIERRE Partner - Rain Sensor
Description
The Rain Sensor is configured as an input in the PIERRE Partner application. The sensor provides the PIERRE system with information about whether rain is detected.
Once configured, the Rain Sensor can be used as a trigger or condition in Automations, allowing other I/Os in the PIERRE system to react automatically when rain is detected.
Typical applications include stopping irrigation, retracting awnings, closing pergola roofs or roof windows, and triggering notifications.
Configuration
When adding or editing a Rain Sensor in the PIERRE Partner application, the following parameters can be configured:
-
Name – name of the Rain Sensor.
-
Group – assigns the sensor to the appropriate group.
-
Role – defines the Role associated with the sensor.
-
Picture – image used to represent the Rain Sensor.
-
Identifier – links the sensor to the corresponding I/O in the electrical project documentation.
-
Signal Type – defines which input signal state represents the active, rain-detected state.
The Signal Type must correspond to the actual switching logic of the connected Rain Sensor. If configured incorrectly, the PIERRE system may interpret the sensor state in reverse.
Automation
Once configured, the Rain Sensor can be selected as a trigger or condition in PIERRE Automations.
When rain is detected, the system can, for example:
-
pause or stop irrigation,
-
retract a compatible awning,
-
close a compatible pergola roof,
-
close compatible motorized roof windows,
-
send a notification,
-
trigger other configured PIERRE functions.
The Rain Sensor can also be combined with other I/Os and conditions to create more complex Automations.
Technical Notes
-
The Rain Sensor must be connected to the appropriate PIERRE Controller input.
-
Signal Type must be configured according to the actual switching logic of the connected sensor.
-
The Rain Sensor acts as an input in the PIERRE system; the actions performed when rain is detected are defined separately through the system configuration and Automations.
-
Physical wiring and installation must follow the applicable PIERRE wiring documentation and the Rain Sensor manufacturer's requirements.
Add Rain sensor from Controllers
Adding Rain sensor is fast and easy to the Controllers.
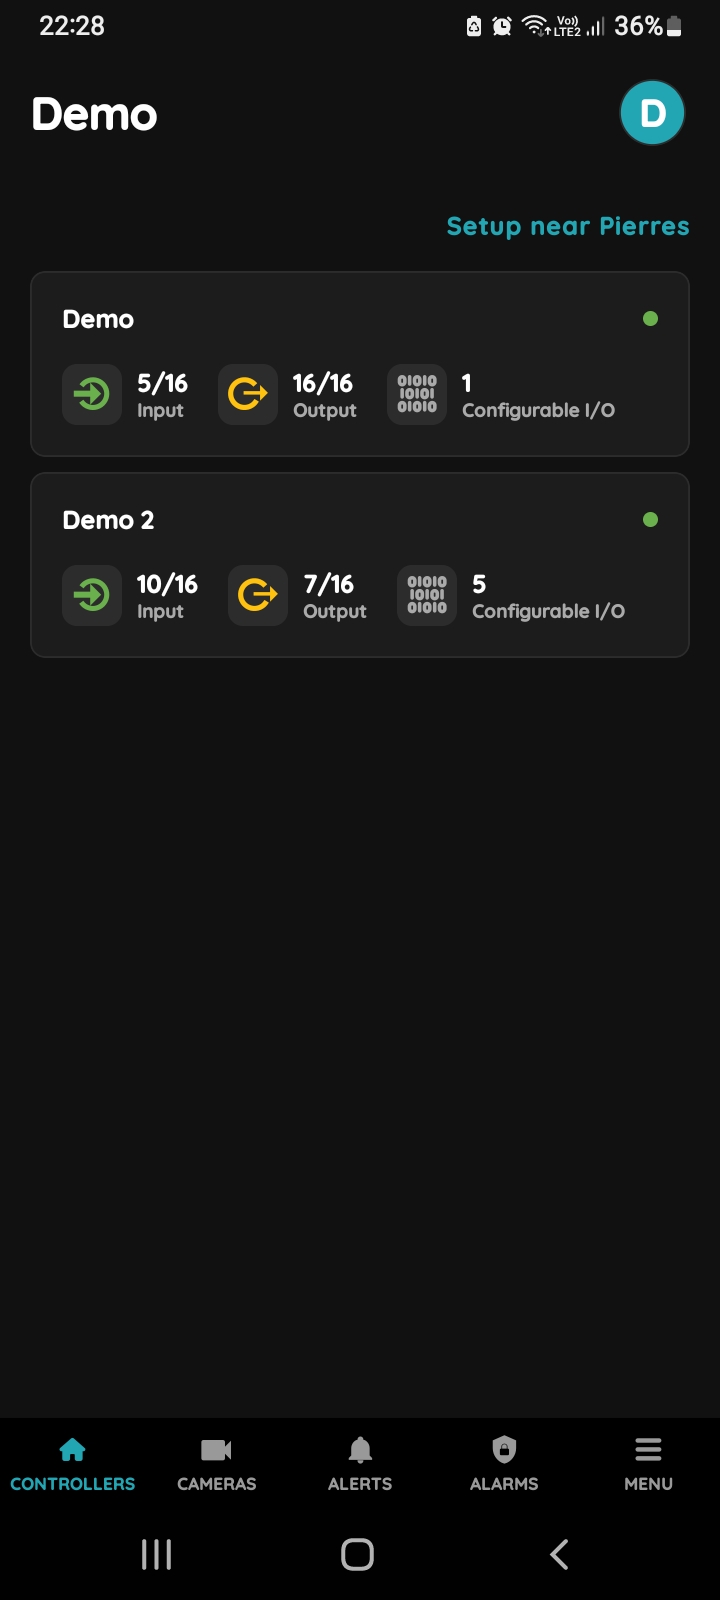
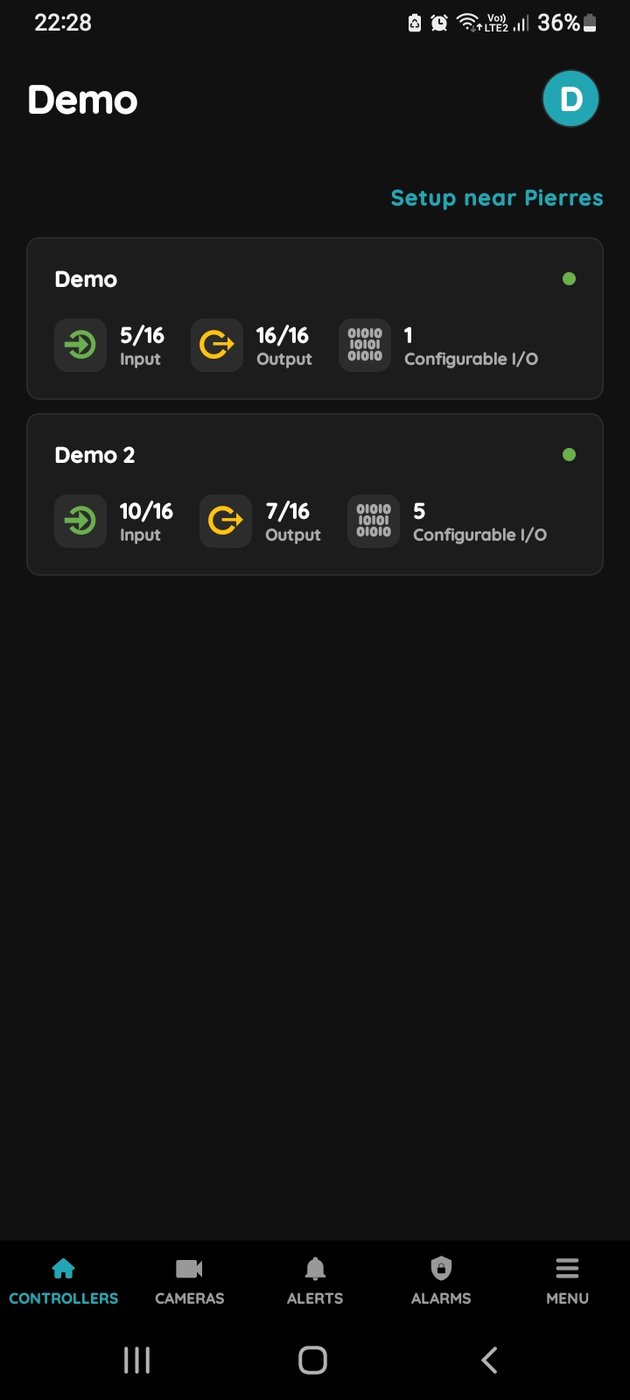
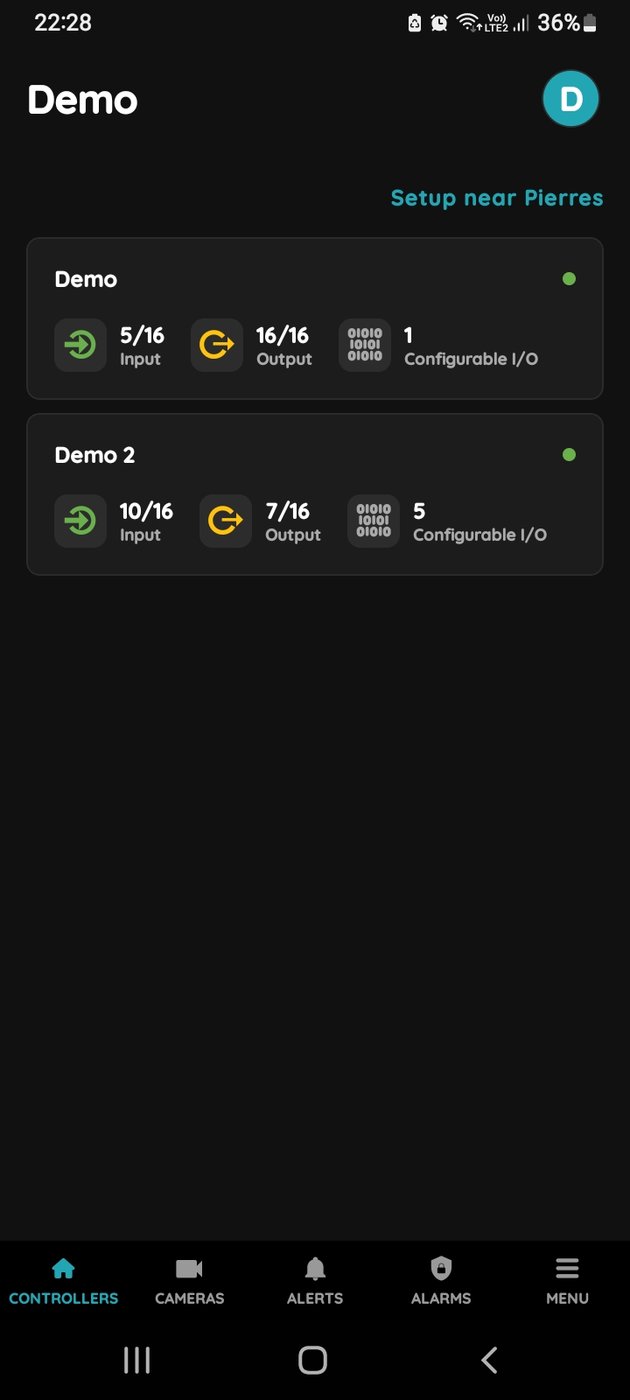
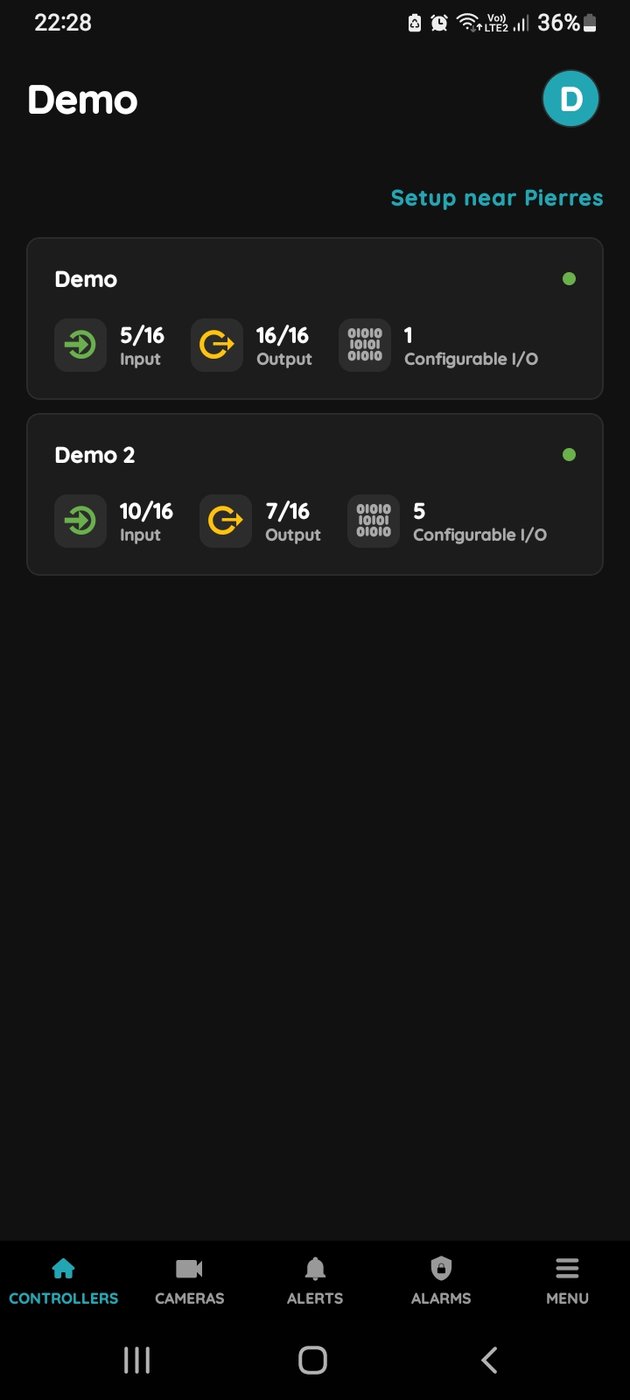
Choose Controller
Tap on the Controller that you would like to add a new I/O to.
To edit an I/O, tap on the Controller to which the I/O has been added.
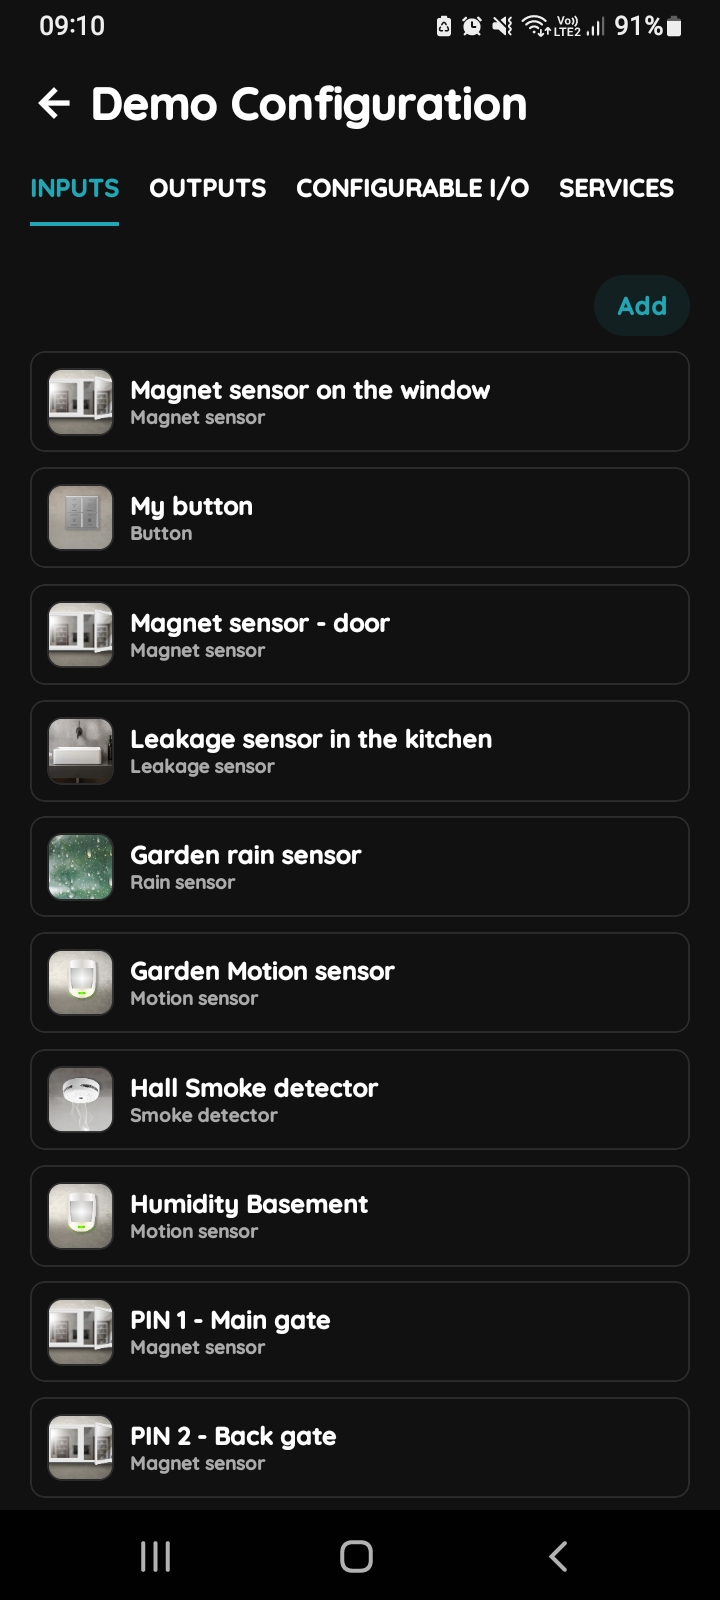
Add button for Inputs
The Inputs tab is selected.
The list of Inputs is shown.
To add a new Input, tap on the Add button.
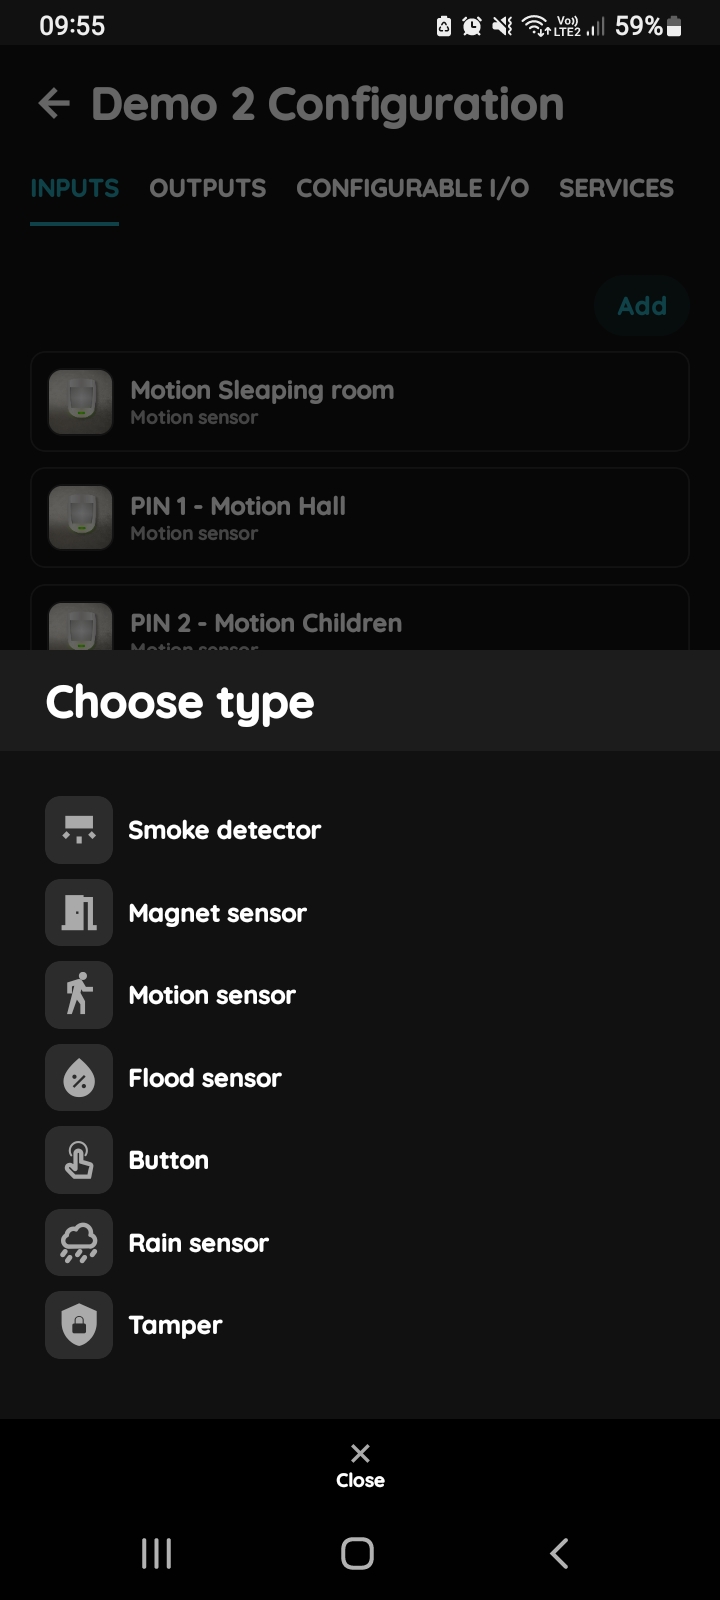
Choose type - Inputs
From the list, tap on the desired I/O that you would like to add.
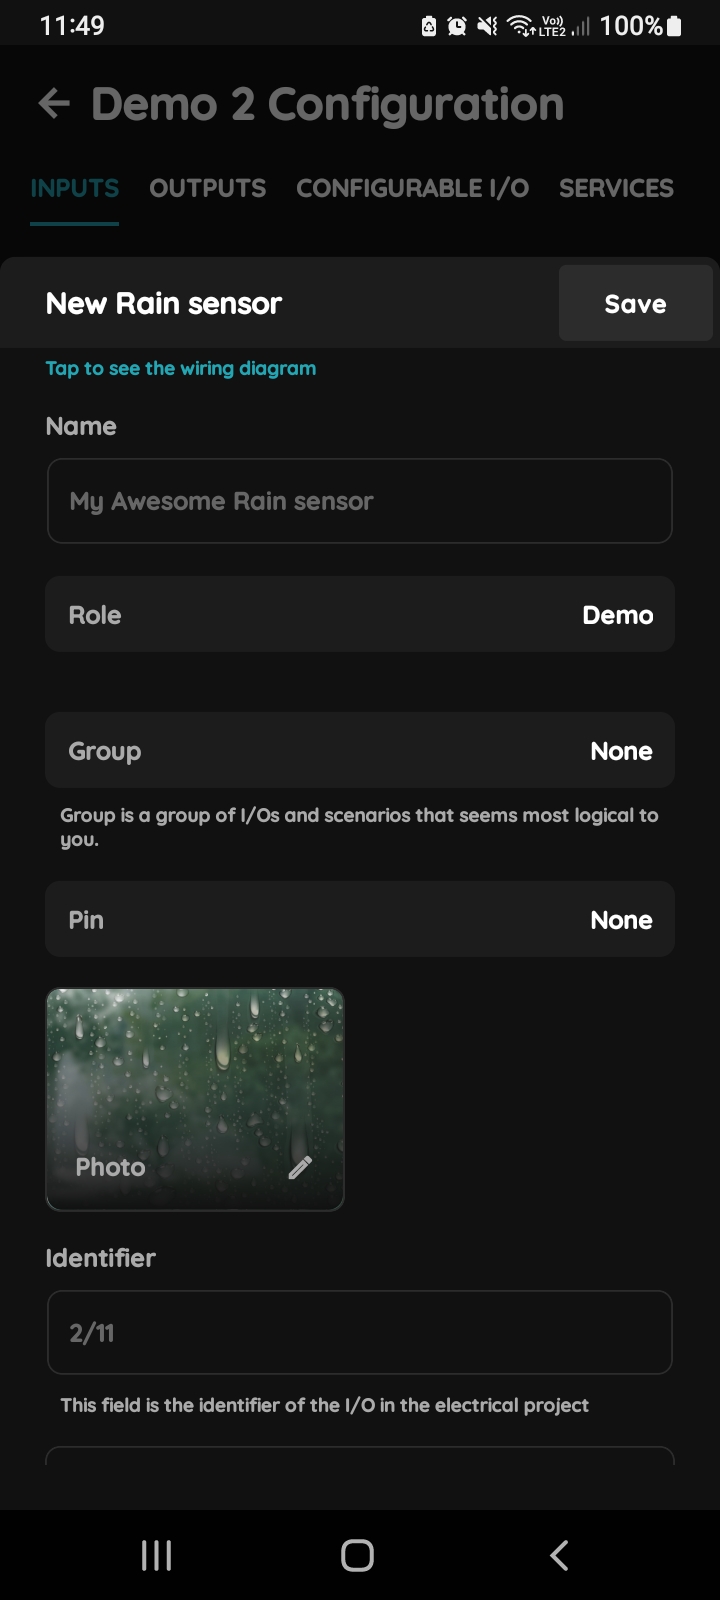
New Rain sensor
Fill in the following form:
- Name - Enter the name of the Rain sensor.
- Role - Choose a Role from the list.
- Group - Choose a Group from the list. A Group is a group of I/Os and scenarios that logically belong together.
- Pin - Choose a Pin from the list. The Pin is the physical input on the Controller where the I/O is connected.
- Photo - Choose a photo for the Rain sensor.
- Identifier - This field is the identifier of the I/O in the electrical project.
- Advanced - You can choose the type of signal that activates or triggers the Rain sensor: Rising, Falling, Change, or Change Inverted.
- Timeout - It is the duration for which the Rain sensor will remain active in Auto mode.
For more details, follow the next steps.
When you want to confirm your settings, tap Save and Submit.
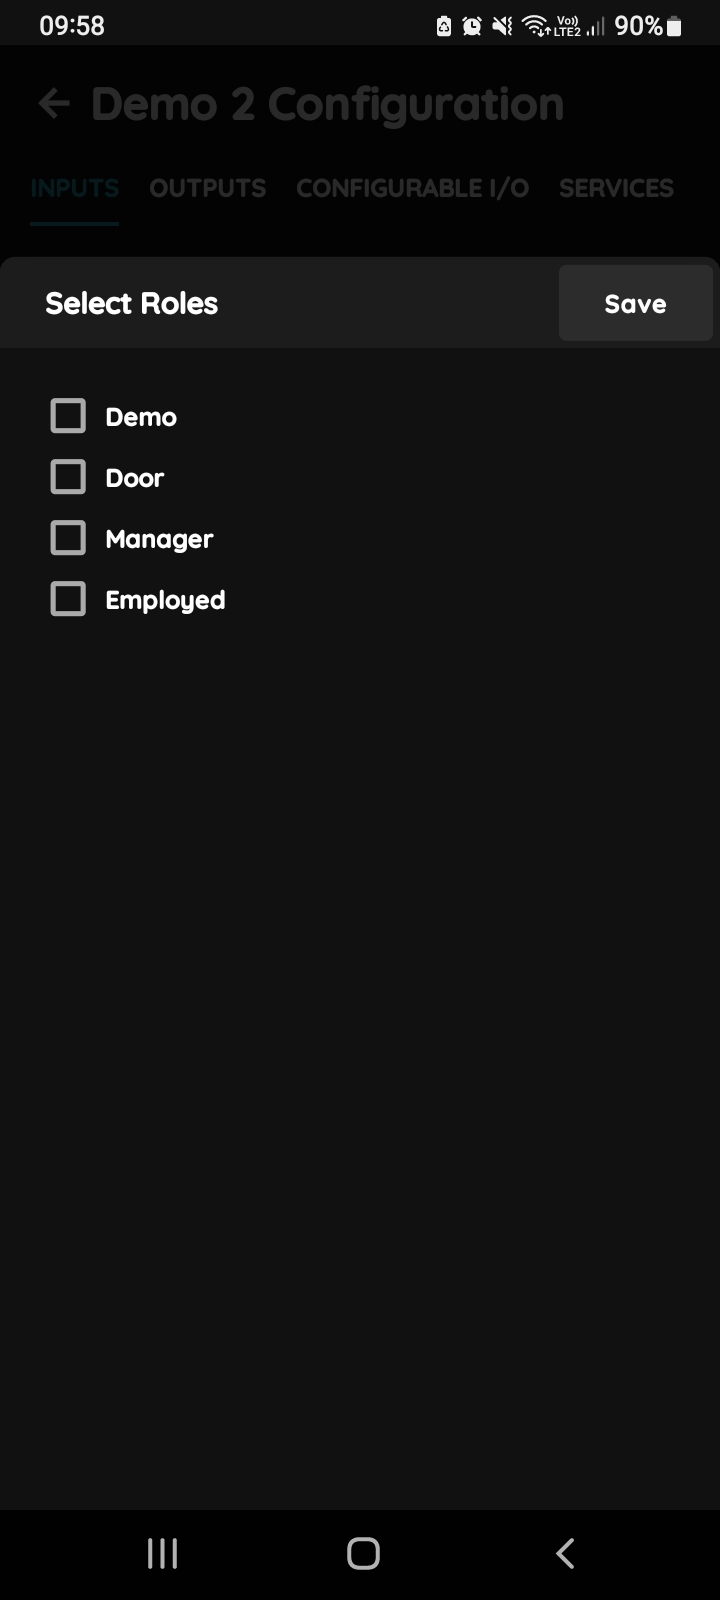
Select Roles - Inputs
Tap on the Roles field.
Select the checkbox/checkboxes next to the Role/Roles that you would like to choose.
To confirm the selection, tap Save/Done.
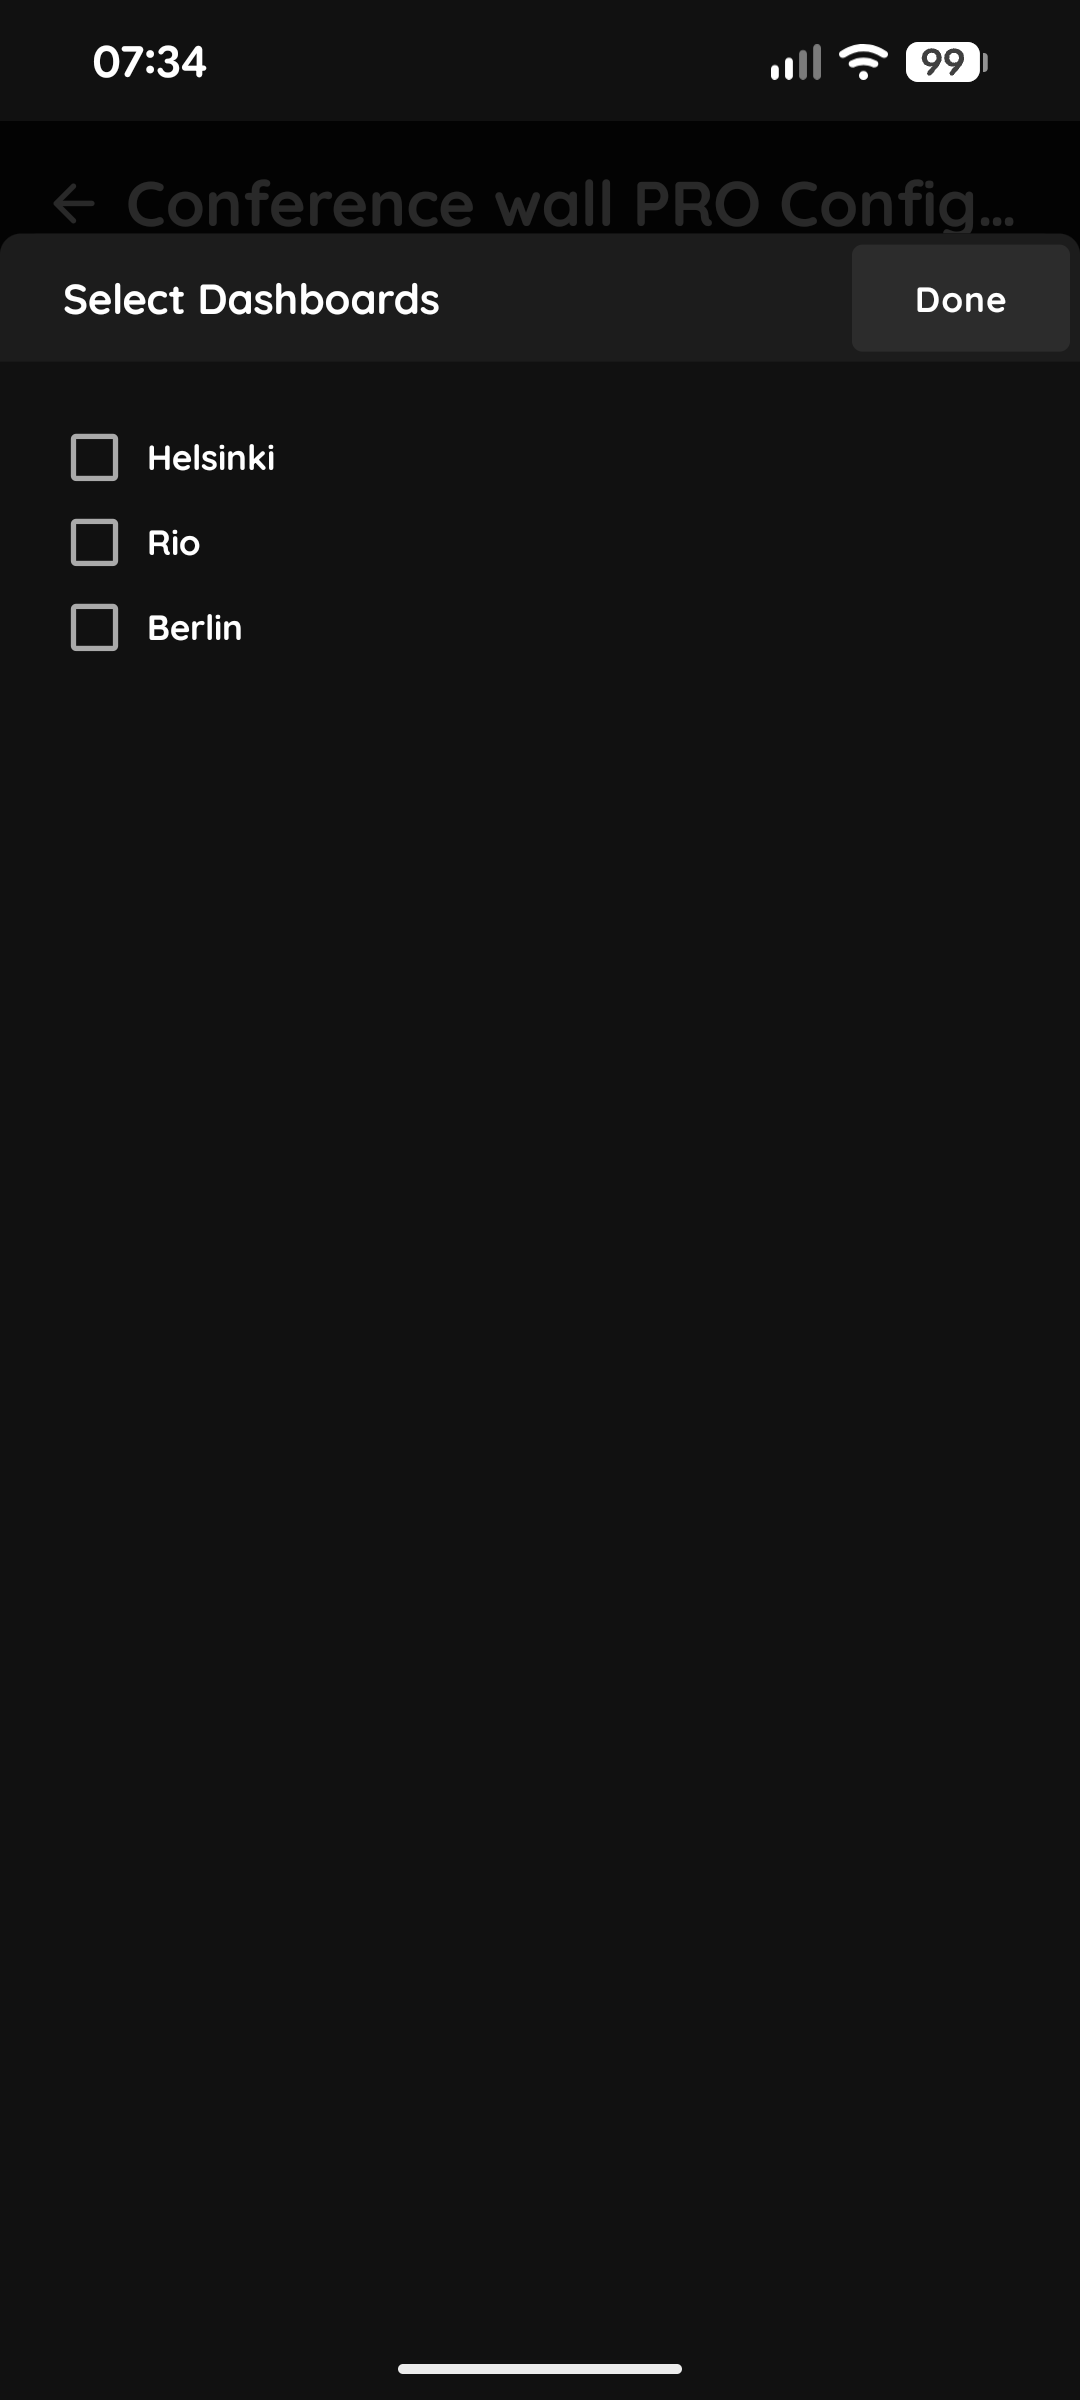
Select Dashboards - Inputs
In this step you select the Dashboard: the PIERRE display or displays on which the I/O will be shown. Select the check box next to the desired Dashboard or Dashboards from the list.
When you want to confirm your choice tap Done.
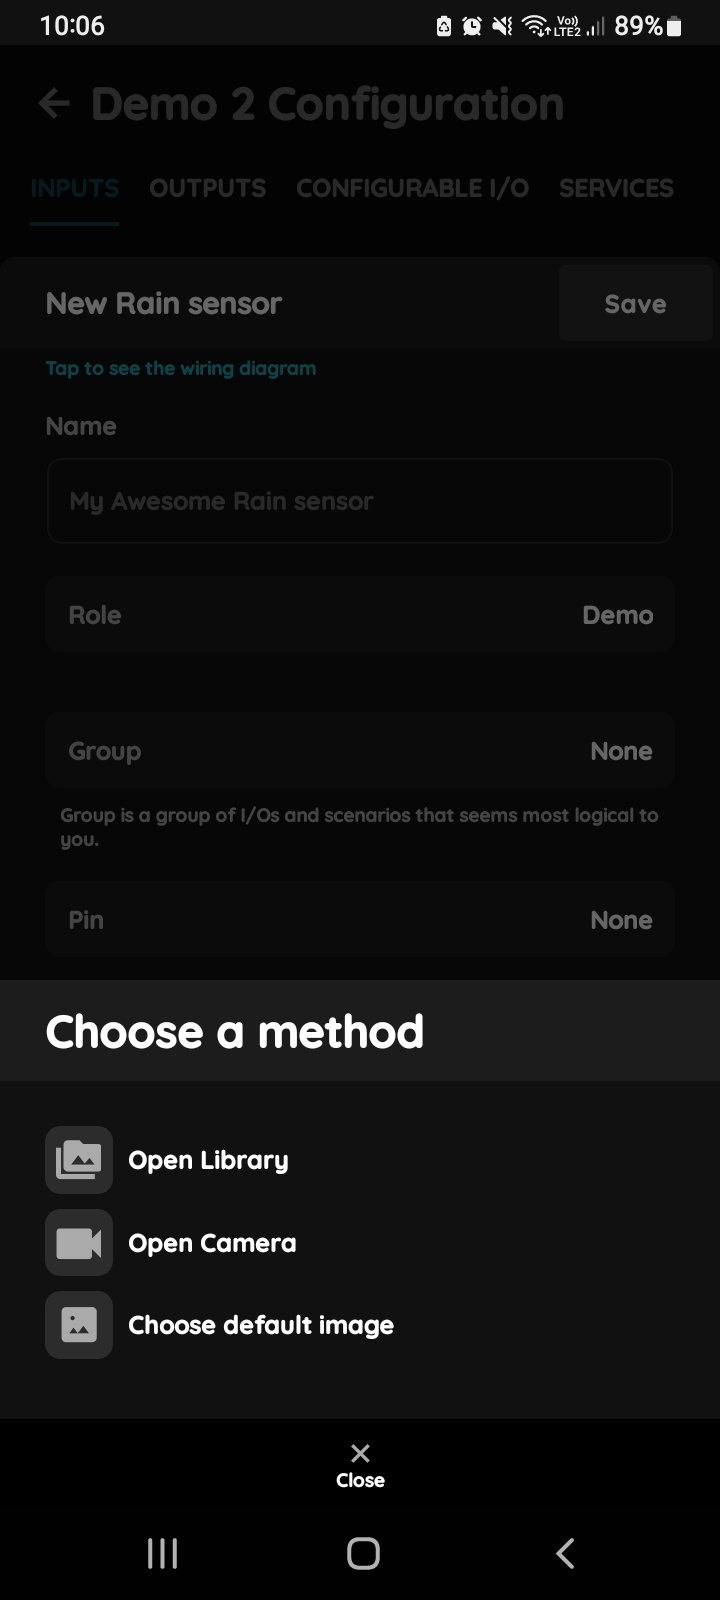
Change picture - Rain Sensor in PIERRE Partner app
Tap on the photo of the Rain sensor.
You have three options:
- Open Library - The phone's Library will open.
- Open Camera - You can take a picture using your smartphone.
- Choose default image - Choose from the predefined images available in the application.
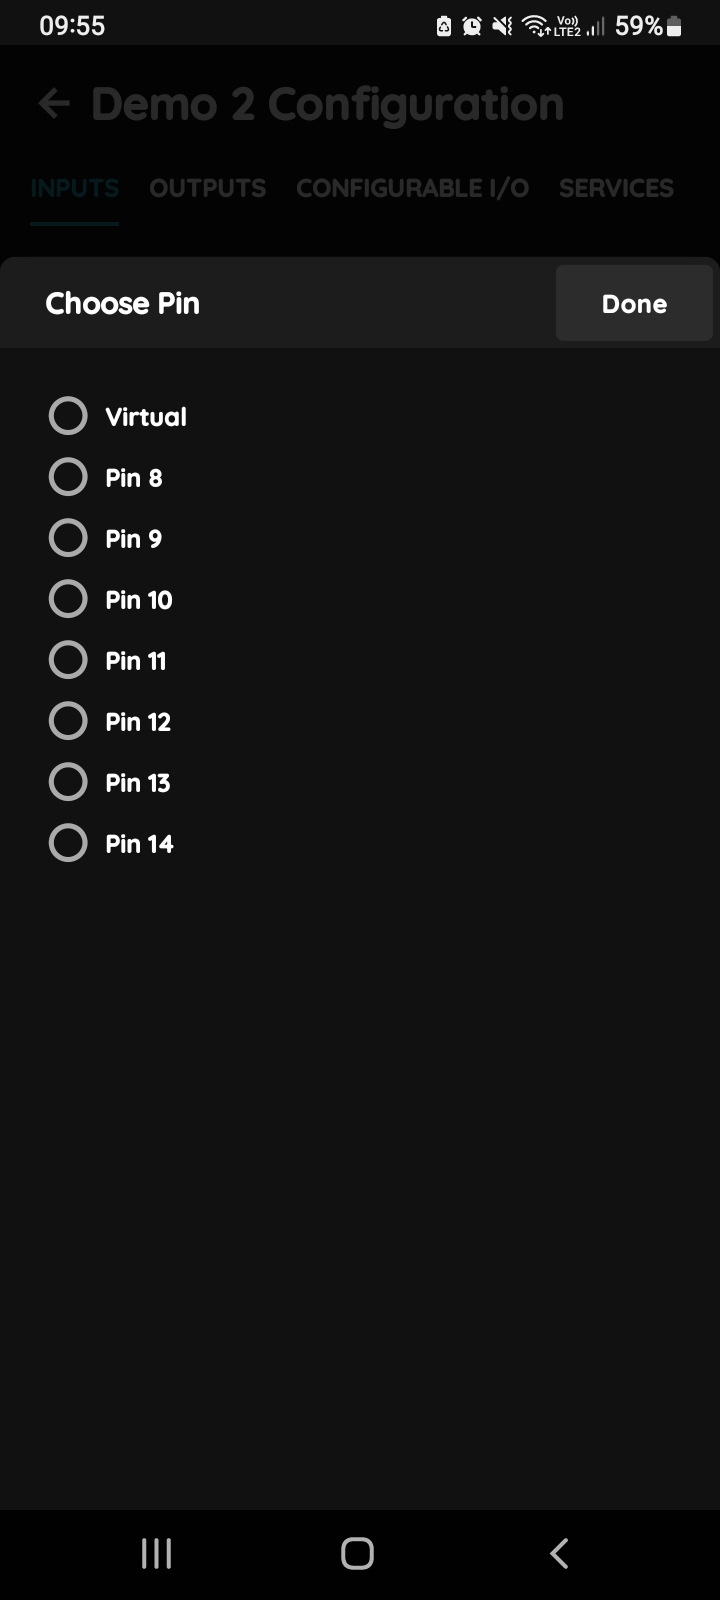
Choose PIn
Tap on the radio button next to the Pin that you would like to choose.
To confirm the selection, tap Save/Done.
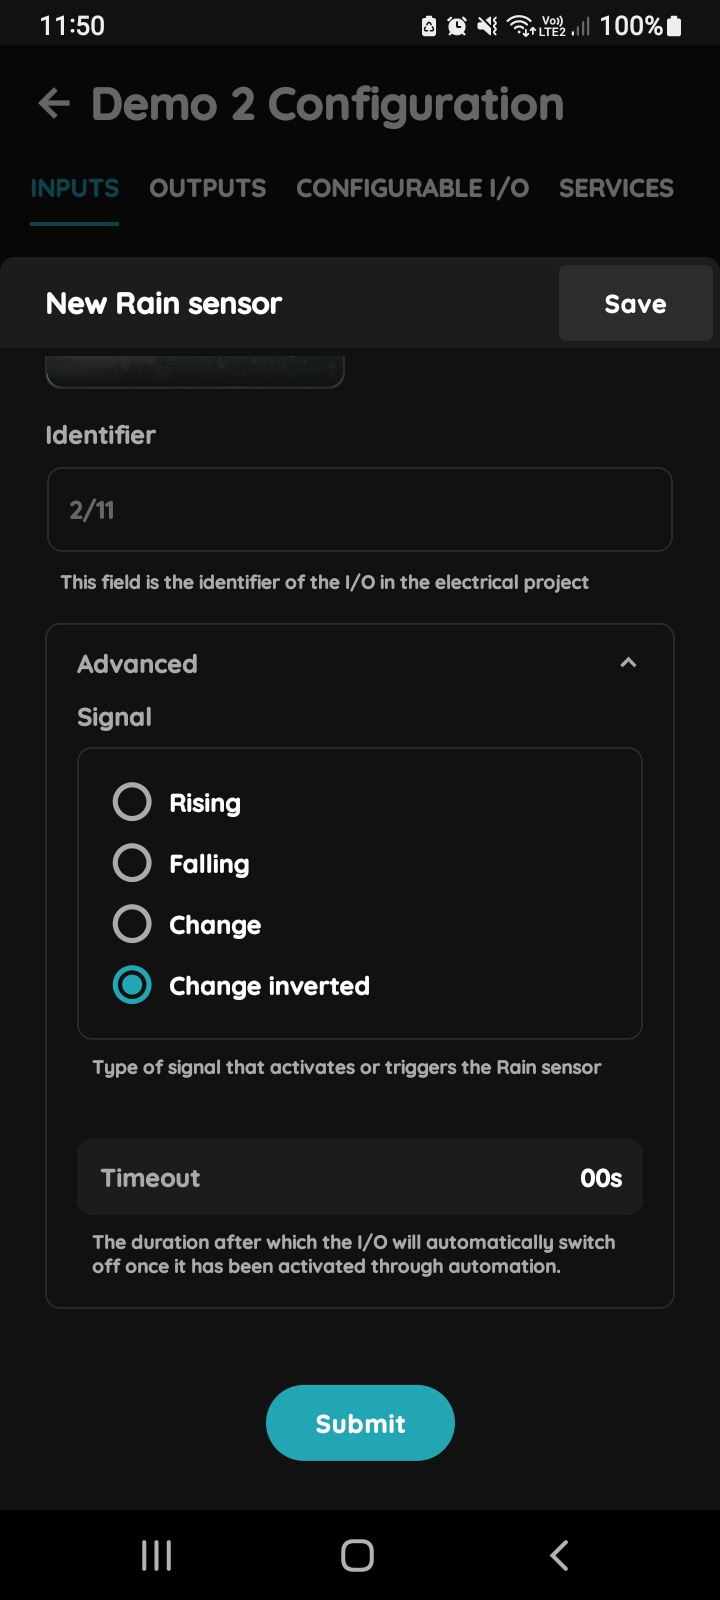
Advanced - Rain sensor
Tap the radio button next to the type of signal that you would like to choose.
You can choose:
- Rising
- Falling
- Change
- Change Inverted
The selected signal type determines which signal activates or triggers the Rain sensor.
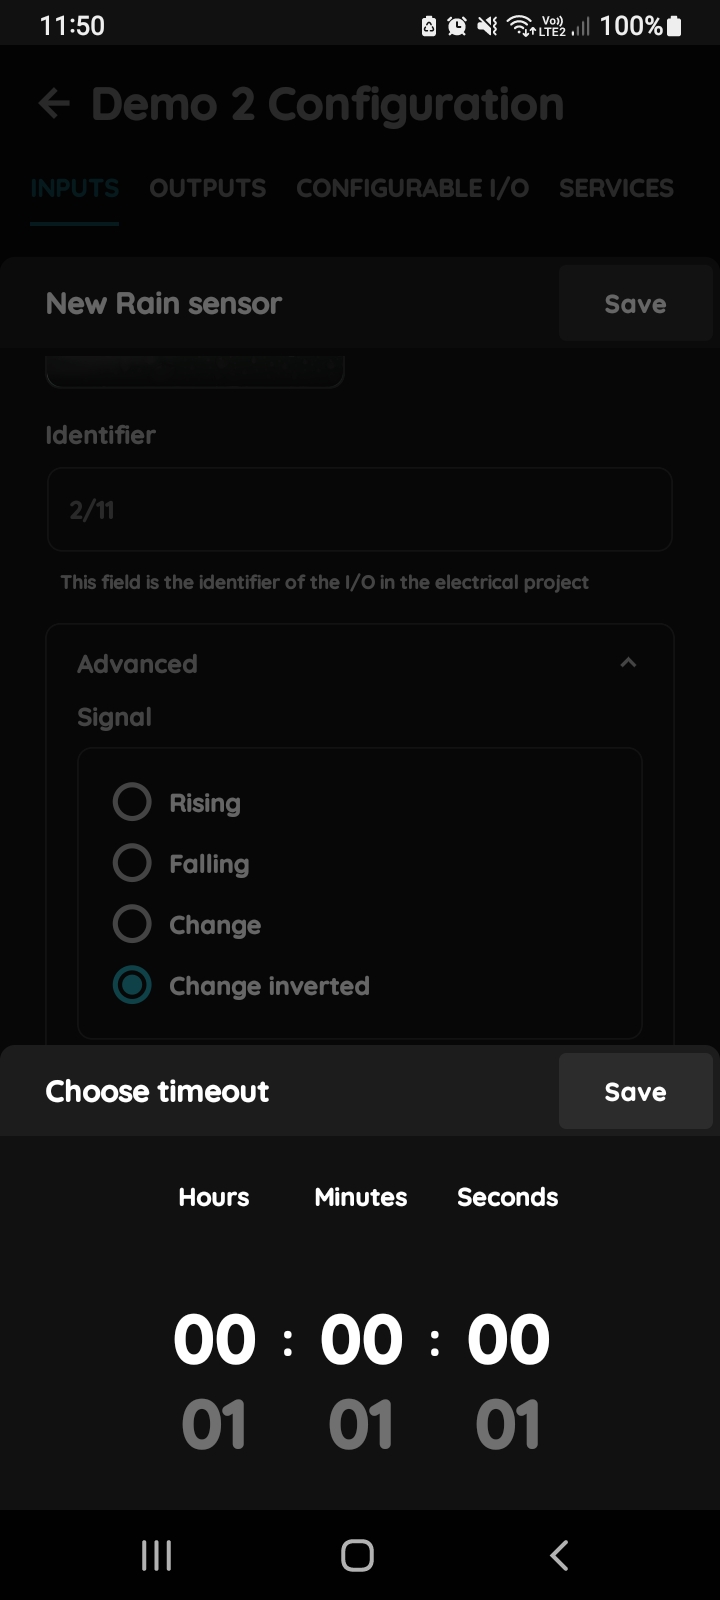
Timeout - Rain sensor
You have three columns to set the timeout:
- Hours
- Minutes
- Seconds
Scroll through each column and set the timeout.
To confirm tap the button Save.
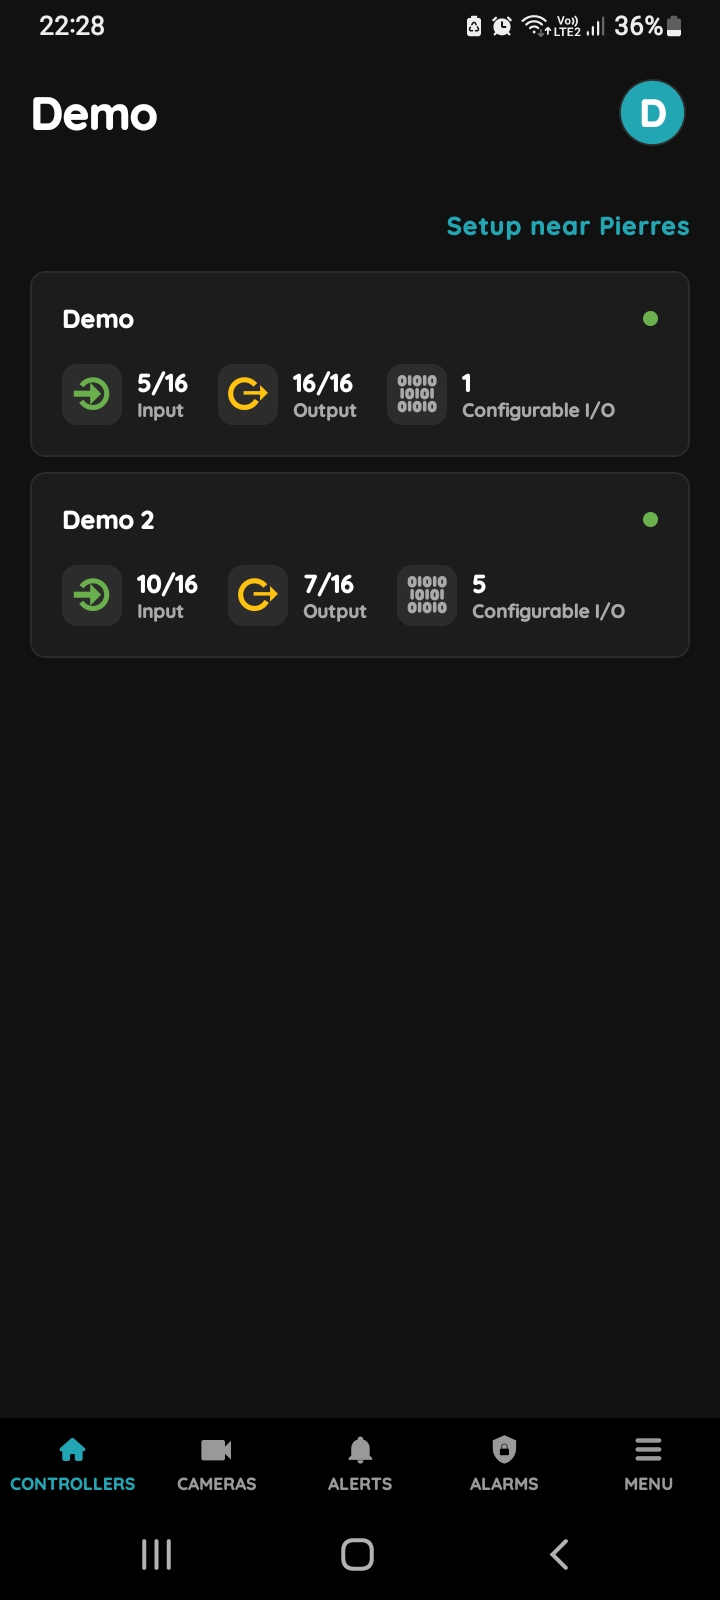
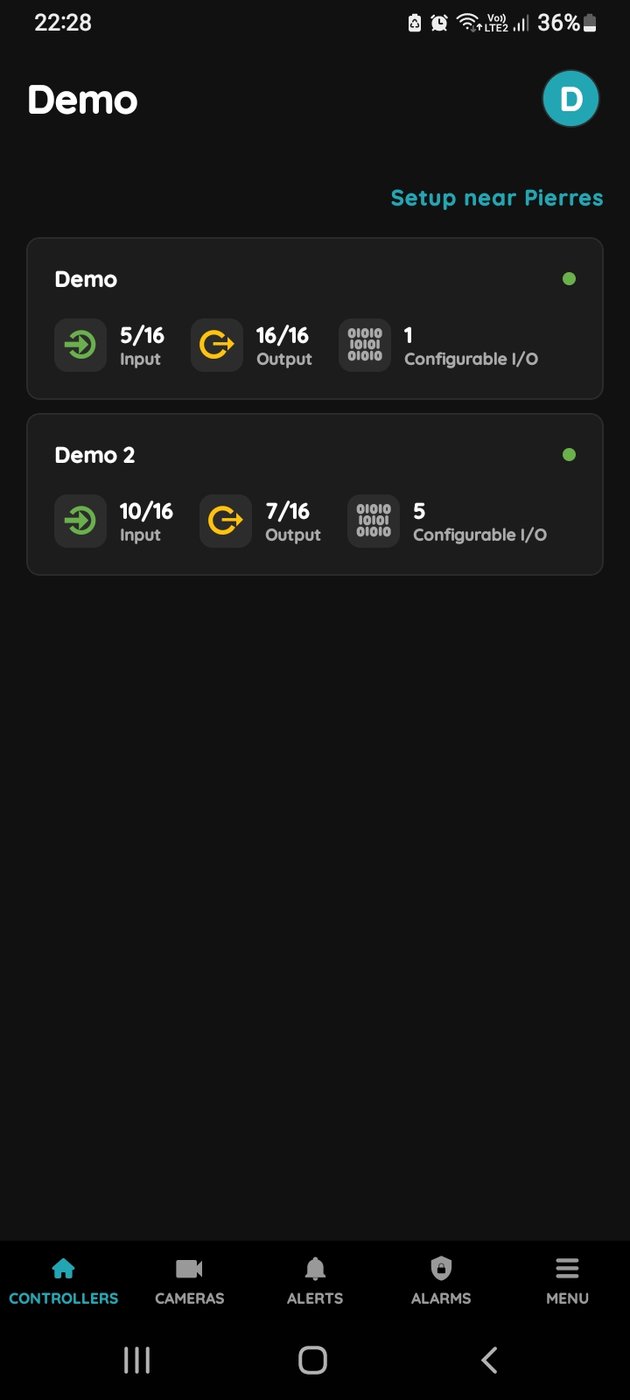
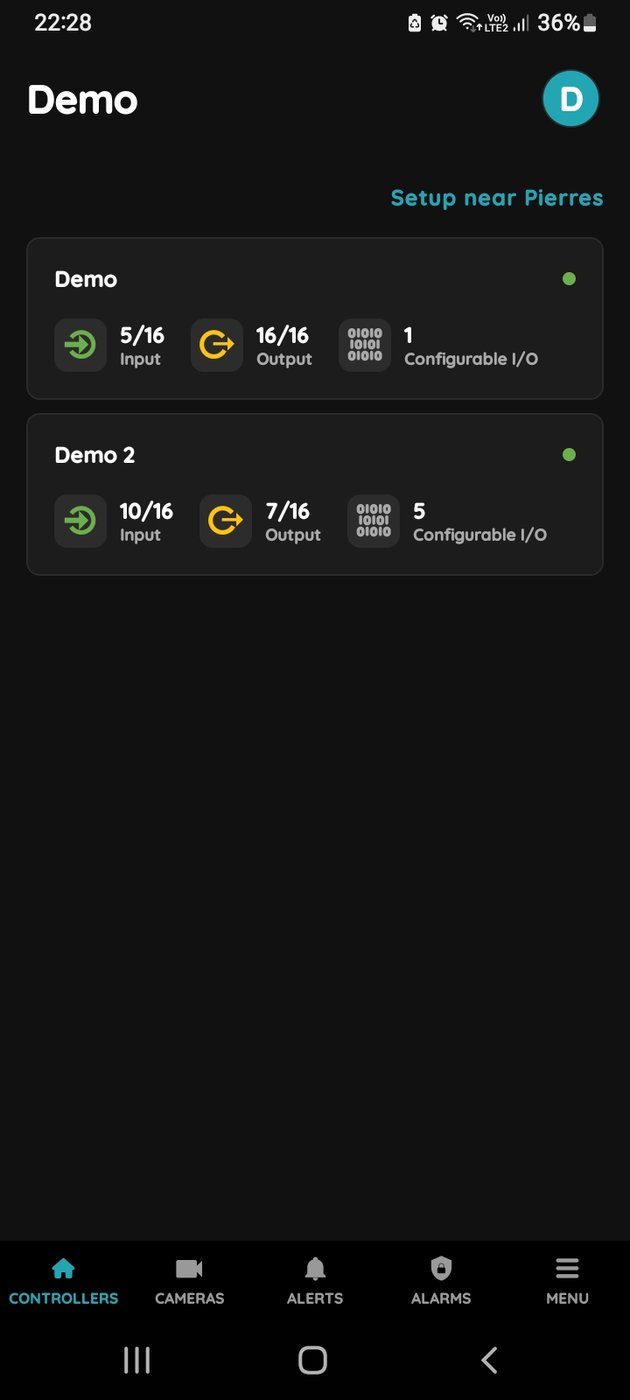
Choose Controller
You can edit the Rain sensor from the Controllers.
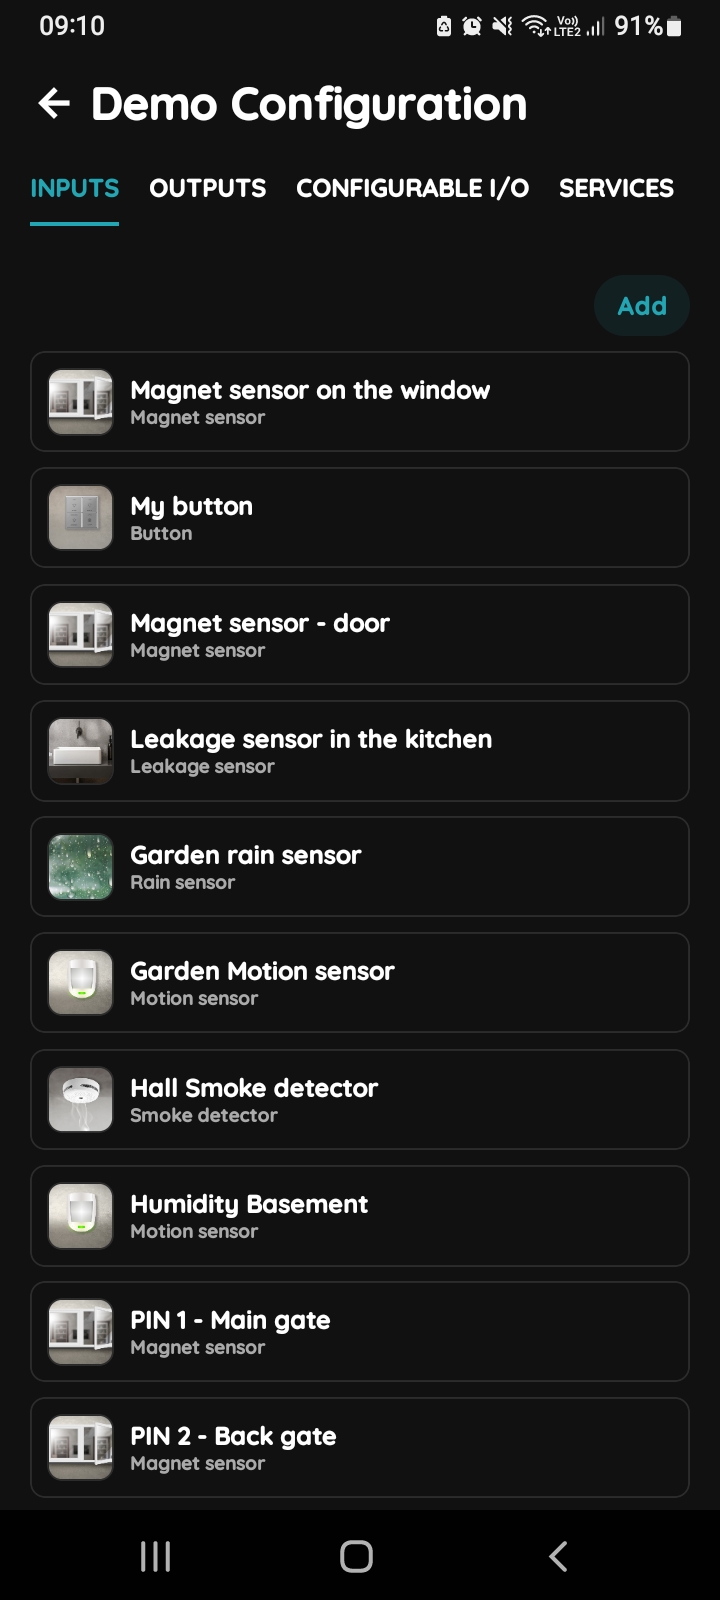
Inputs list
The Inputs tab is selected. Scroll through the list and tap on the I/O that you would like to edit.
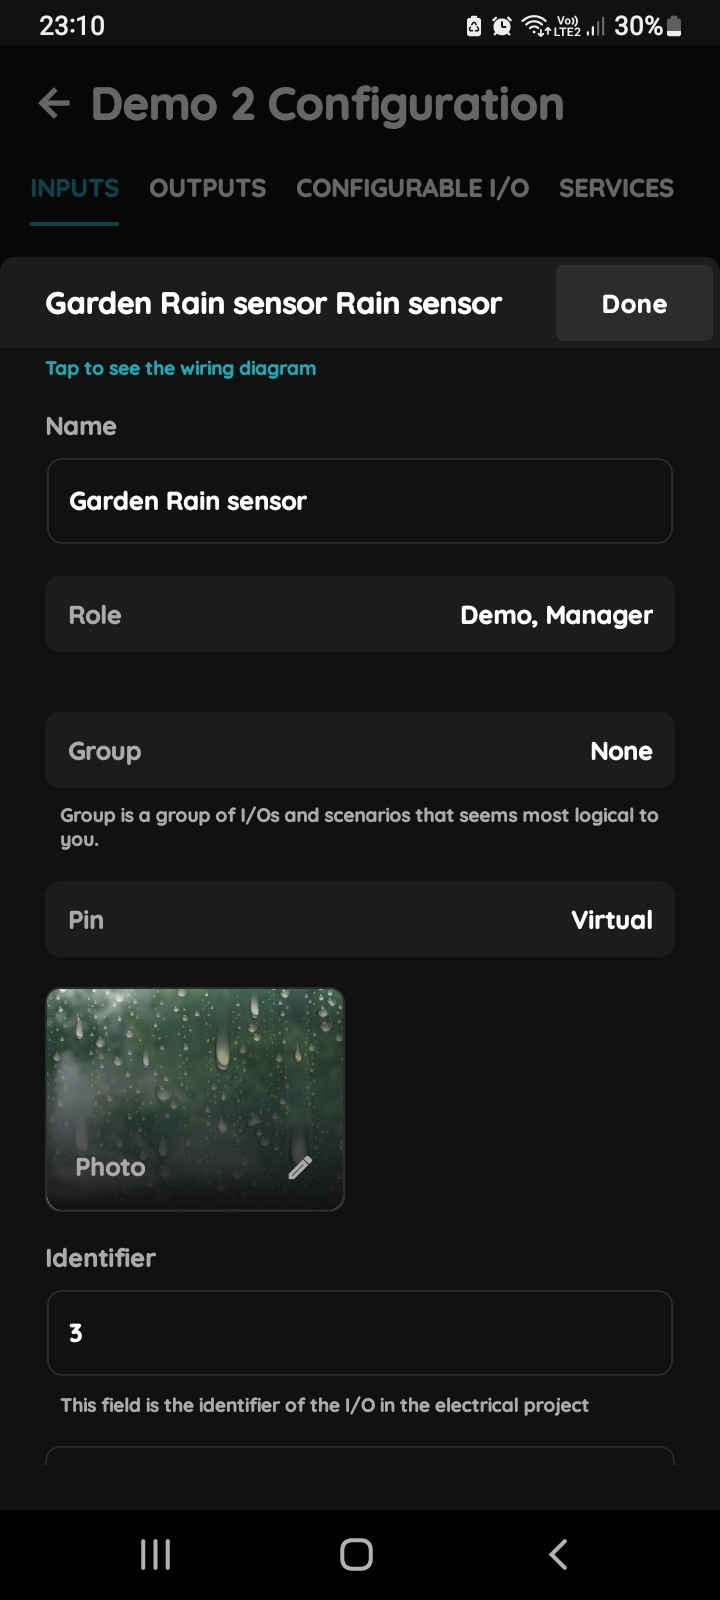
Edit Rain sensor
Edit the following form:
- Name - Edit the name of the Rain sensor.
- Role - Choose a Role from the list.
- Group - Choose a Group from the list. A Group is a group of I/Os and scenarios that logically belong together.
- Pin - Choose a Pin from the list. The Pin is the physical input on the Controller where the I/O is connected.
- Photo - Choose a photo for the Rain sensor.
- Identifier - This field is the identifier of the I/O in the electrical project.
- Advanced - You can choose the type of signal that activates or triggers the Rain sensor: Rising, Falling, Change, or Change Inverted.
- Timeout - It is the duration for which the Rain sensor will remain active in Auto mode.
To confirm your changes, tap Submit and Save, or tap Delete if you want to remove the Rain sensor.