PIERRE Partner - Safety Detectors
Description
The Safety Detector input is designed for integration of 12 VDC detectors with relay outputs. The input can be used for smoke detection, fire alarms, carbon monoxide (CO) detectors, gas detectors, and other safety devices operating on the same principle.
When an alarm condition is detected, the detector activates its relay output and sends a 12 VDC signal to the PIERRE controller.
Configuration
To add a Safety Detector:
- Open the desired Controller.
- Navigate to Inputs.
- Select Add Input and choose Smoke Detector.
- Configure:
- Name
- Dashboard
- Role
- Pin
- Identifier
- Signal Type
- Save the configuration.
Supported Devices
The input can be used with:
- Smoke Detectors
- Fire Alarm Detectors
- Carbon Monoxide (CO) Detectors
- Natural Gas Detectors
- LPG Gas Detectors
- Other 12 VDC relay-based safety detectors
Operating Principle
The detector monitors the environment independently.
During normal operation, no alarm signal is present.
When an alarm condition occurs, the detector activates its relay output and applies a 12 VDC signal to the configured controller input.
The controller can then trigger notifications, alarms, automation functions, or other predefined actions.
Automation Applications
Safety detector inputs can be used for:
- Alarm notifications
- Siren activation
- Push notifications
- HVAC shutdown
- Emergency lighting activation
- Building management alarms
- Automation and safety logic
Technical Notes
- Designed for 12 VDC detectors with relay outputs.
- Requires a digital input on the controller.
- Supports smoke, fire, CO, and gas detection devices.
- The detector must provide a switched 12 VDC output signal during alarm conditions.
- Available functions depend on the controller configuration.
Safety Notice
The PIERRE system is not a certified fire alarm, life safety, or emergency notification system.
While the system can monitor detector inputs and generate notifications, it must not be considered a replacement for certified fire alarm, gas detection, or life safety systems required by local regulations.
In the event of smoke, fire, gas leaks, carbon monoxide detection, or other hazardous conditions, PIERRE may generate push notifications and automation events. However, delivery of notifications cannot be guaranteed.
Notification delivery depends on various external factors, including but not limited to:
- Internet connectivity
- Mobile network availability
- Cloud service availability
- Power supply availability
- Network infrastructure integrity
- Mobile device status and settings
- Third-party service availability
Infrastructure damage caused by fire, power outages, network failures, or other emergency conditions may prevent alarm notifications from reaching intended recipients.
PIERRE does not guarantee the delivery, receipt, or timely processing of alarm notifications and shall not be held liable for any personal injury, loss of life, property damage, financial loss, or other damages resulting from the failure, delay, or non-delivery of alarm notifications.
Certified life-safety and fire alarm systems should always be installed where required by applicable laws, regulations, or project specifications.
Add Smoke detector
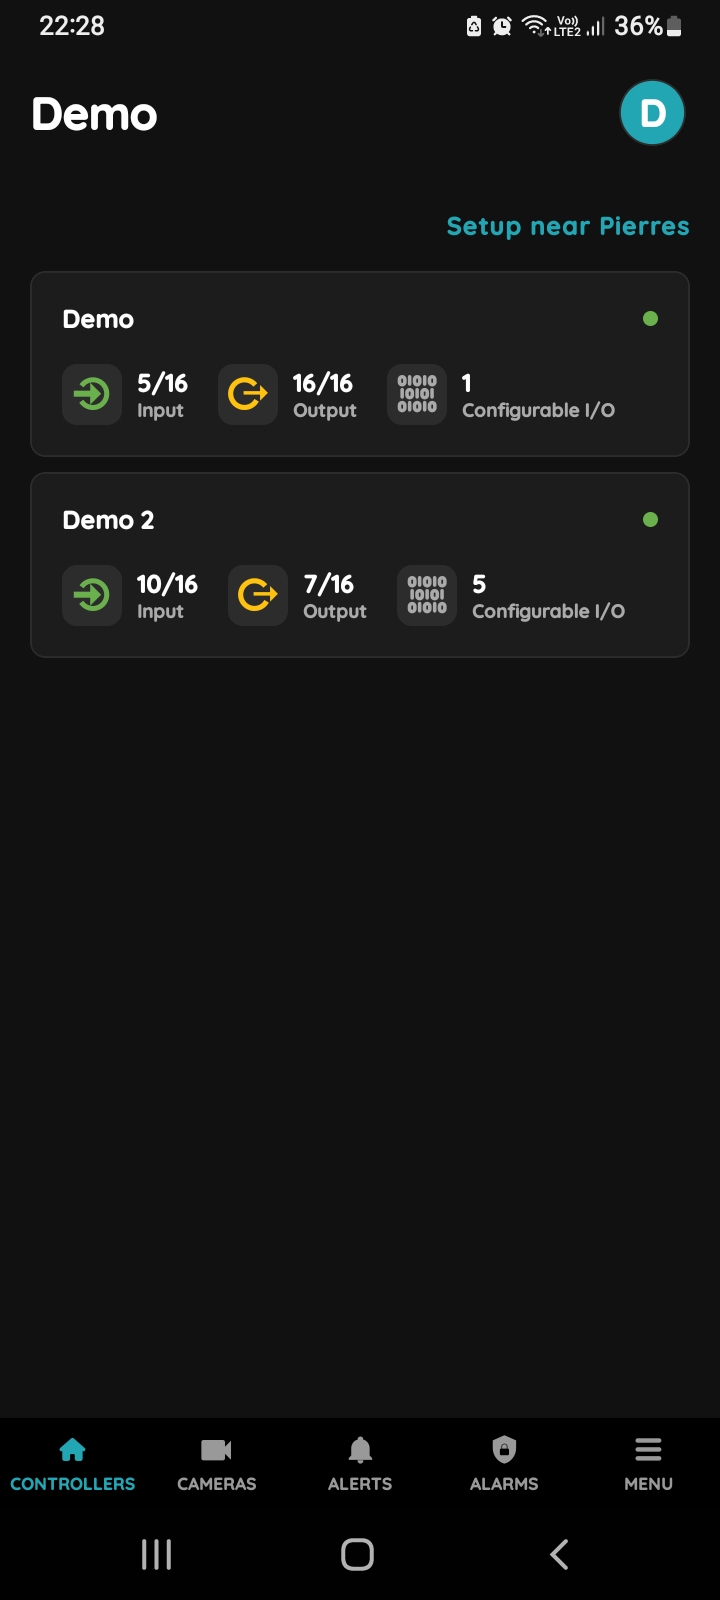
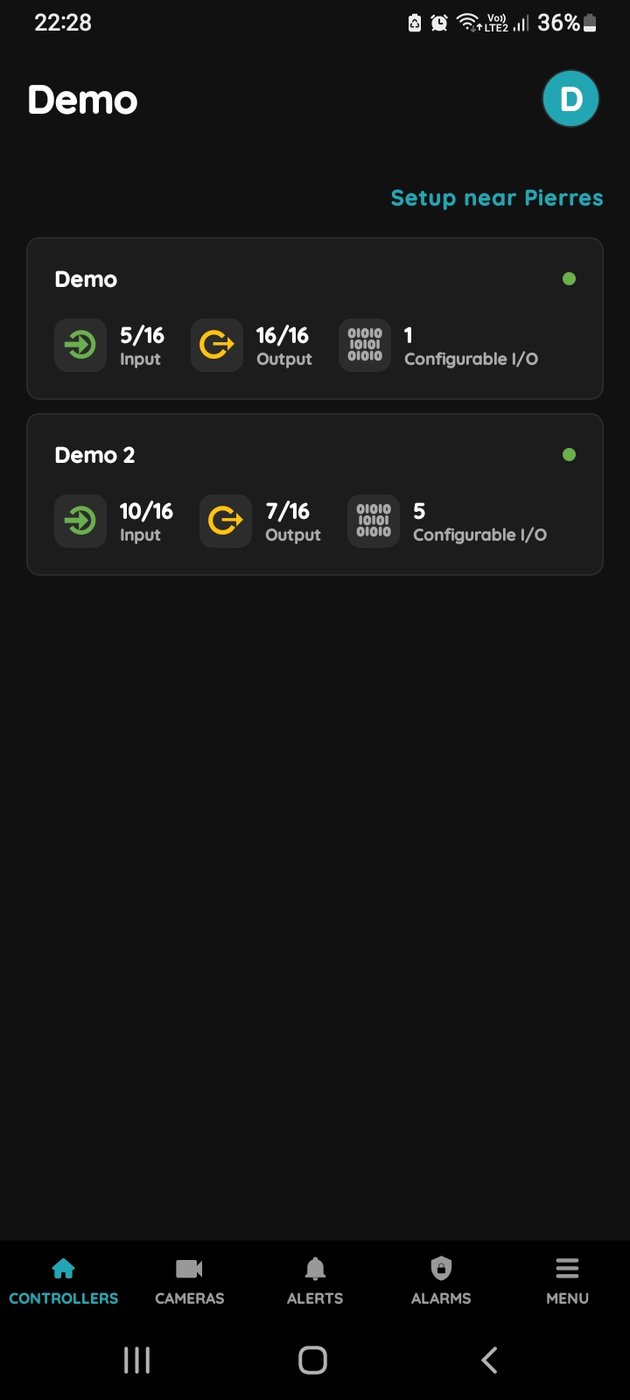
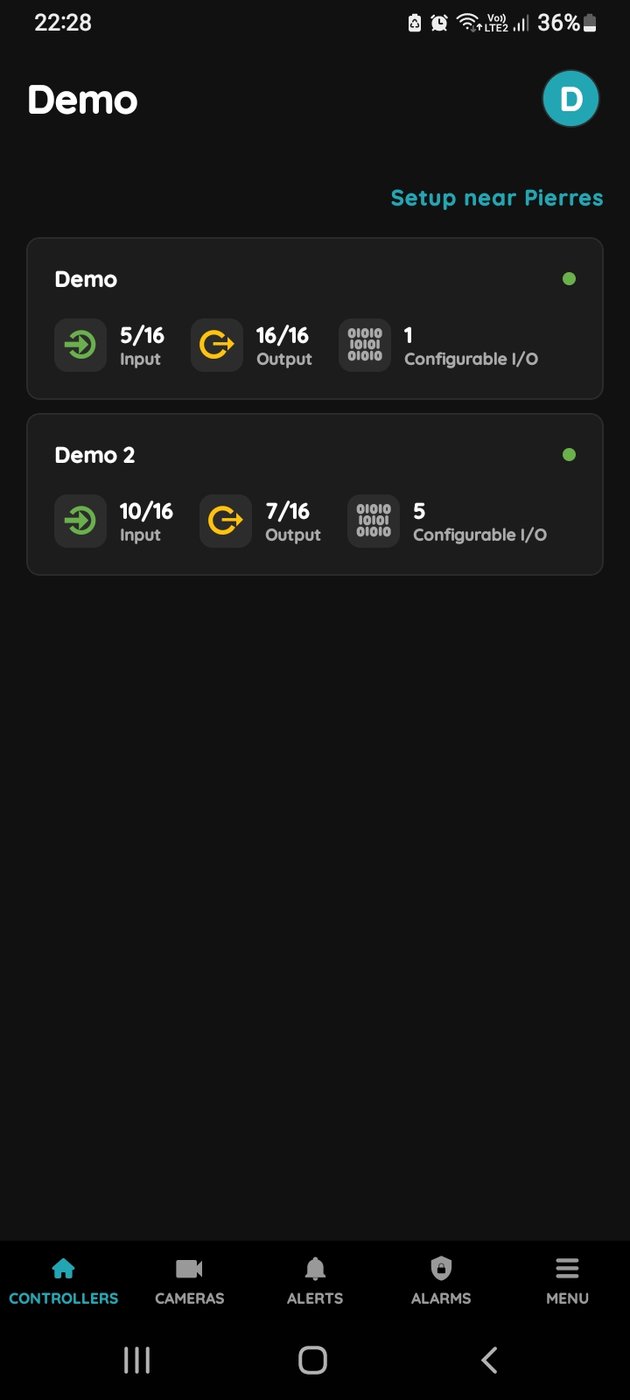
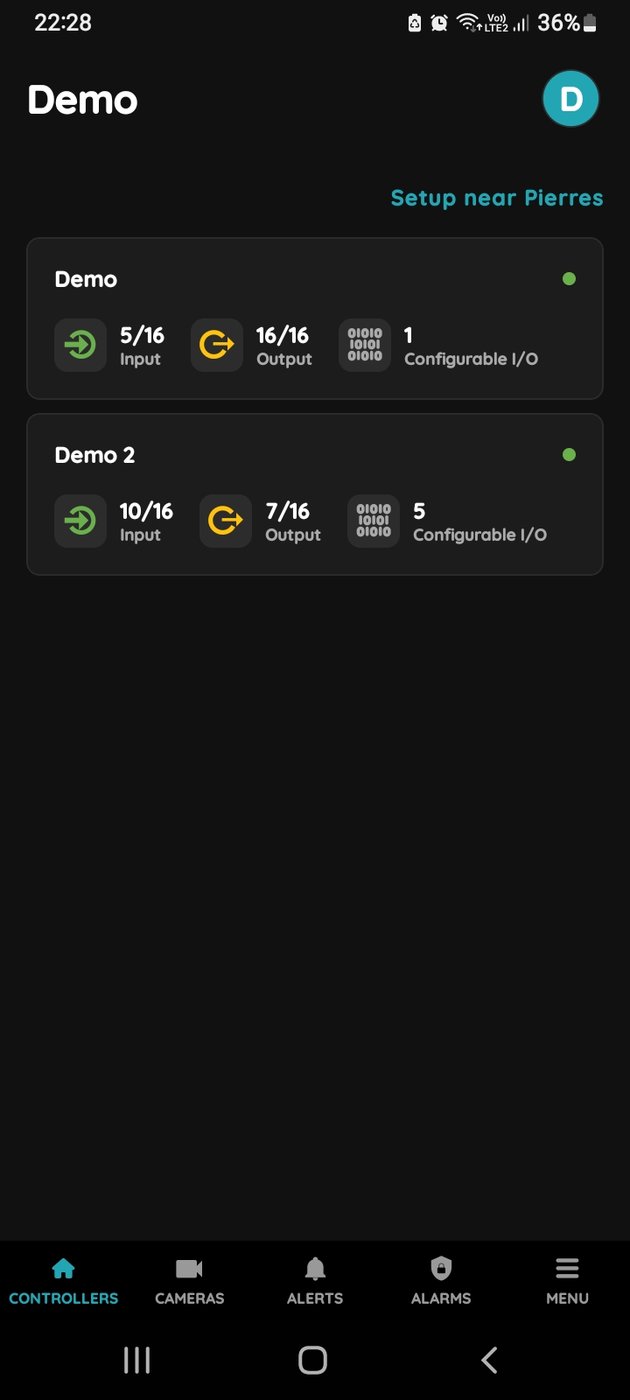
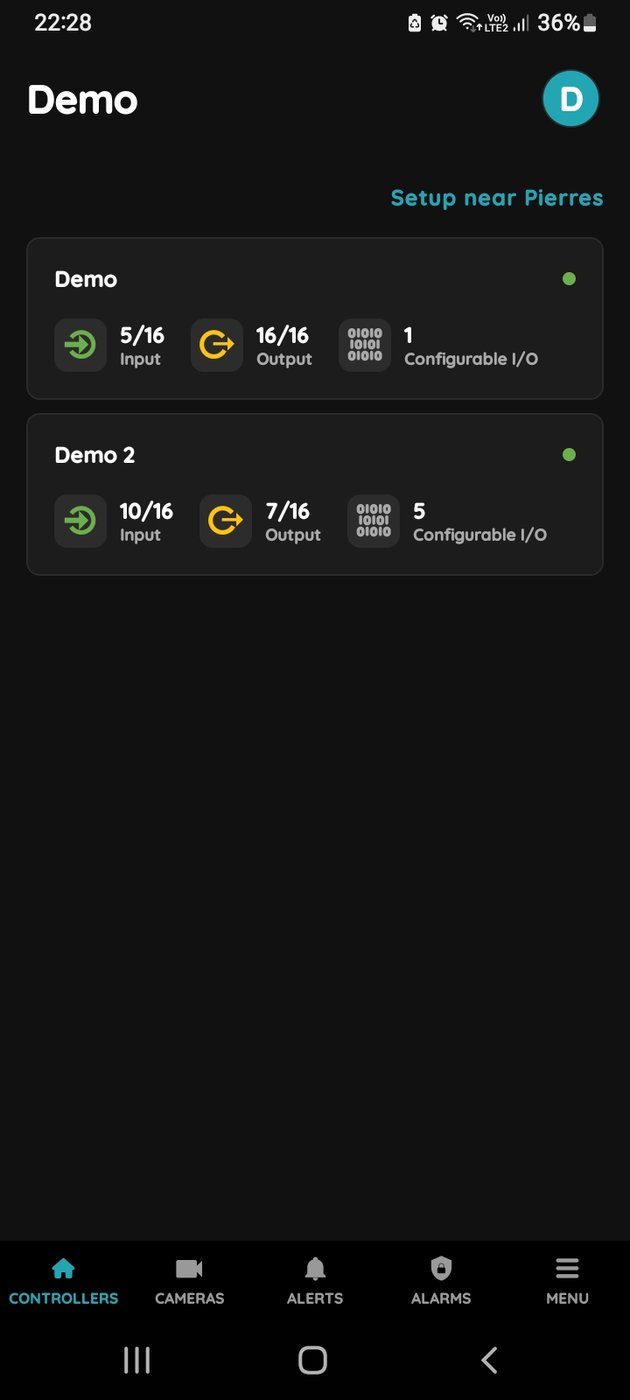
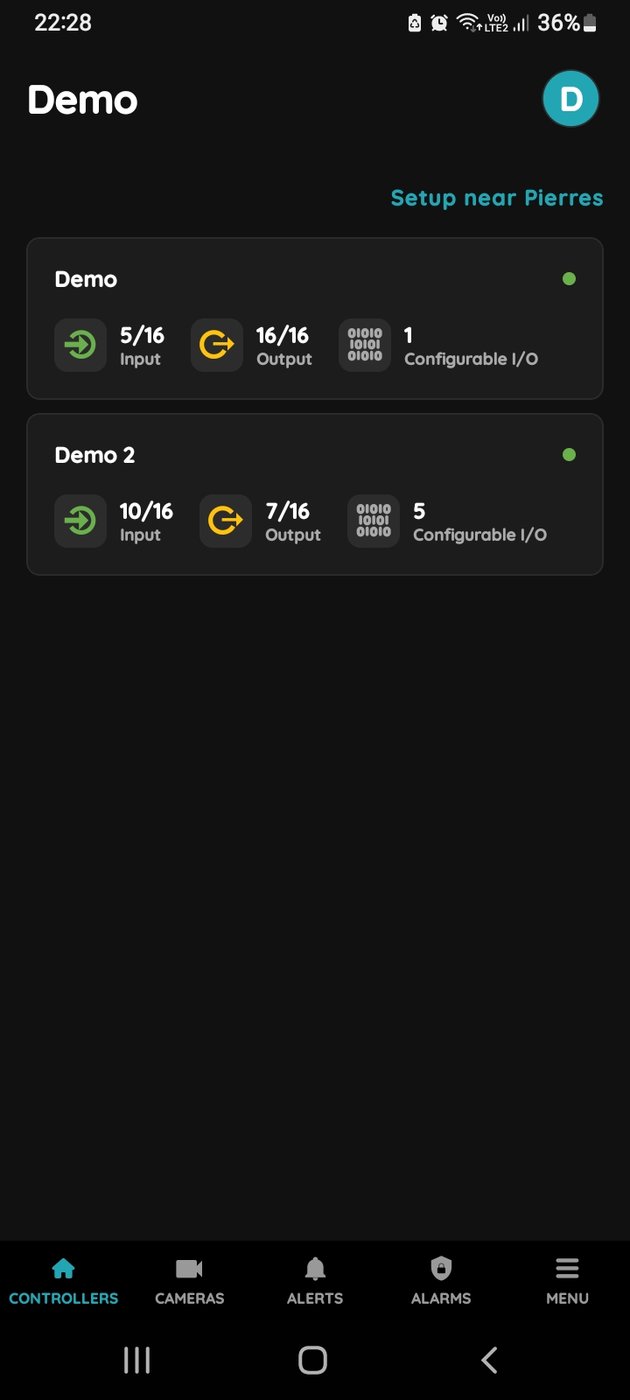
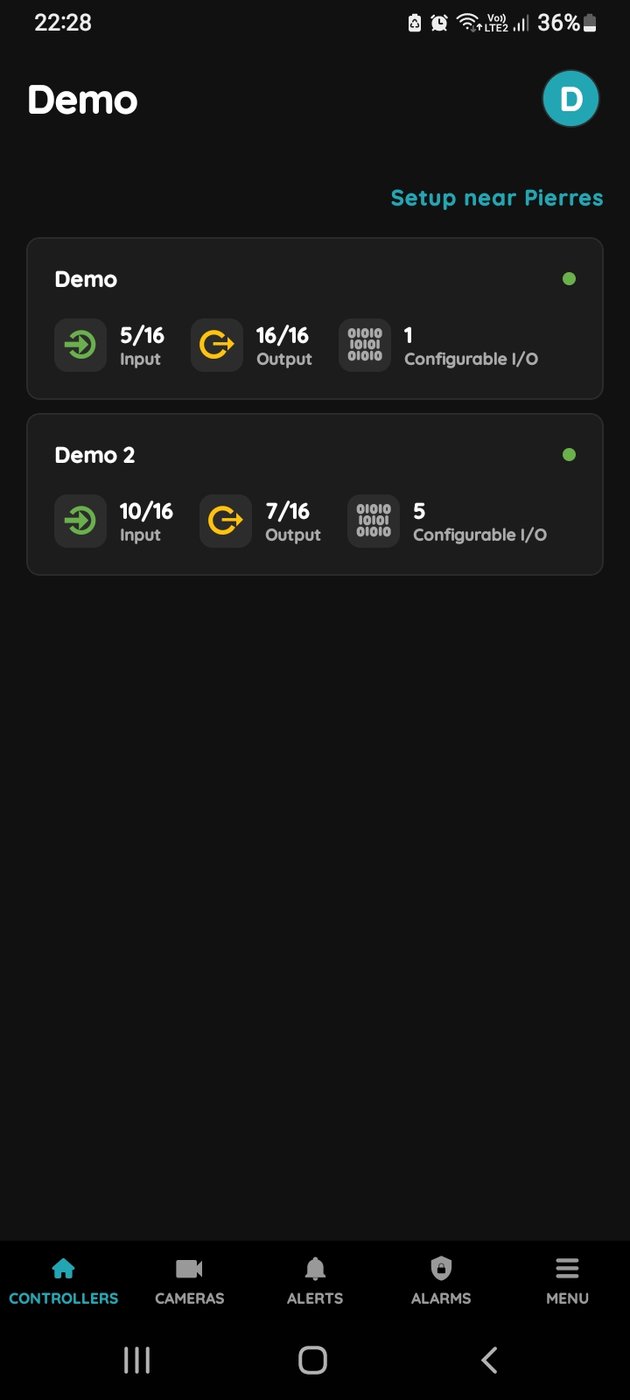
Choose Controller
Tap on the Controller that you would like to add new I/O to.
To edit the I/O, click on the Controller to which the I/O is added.
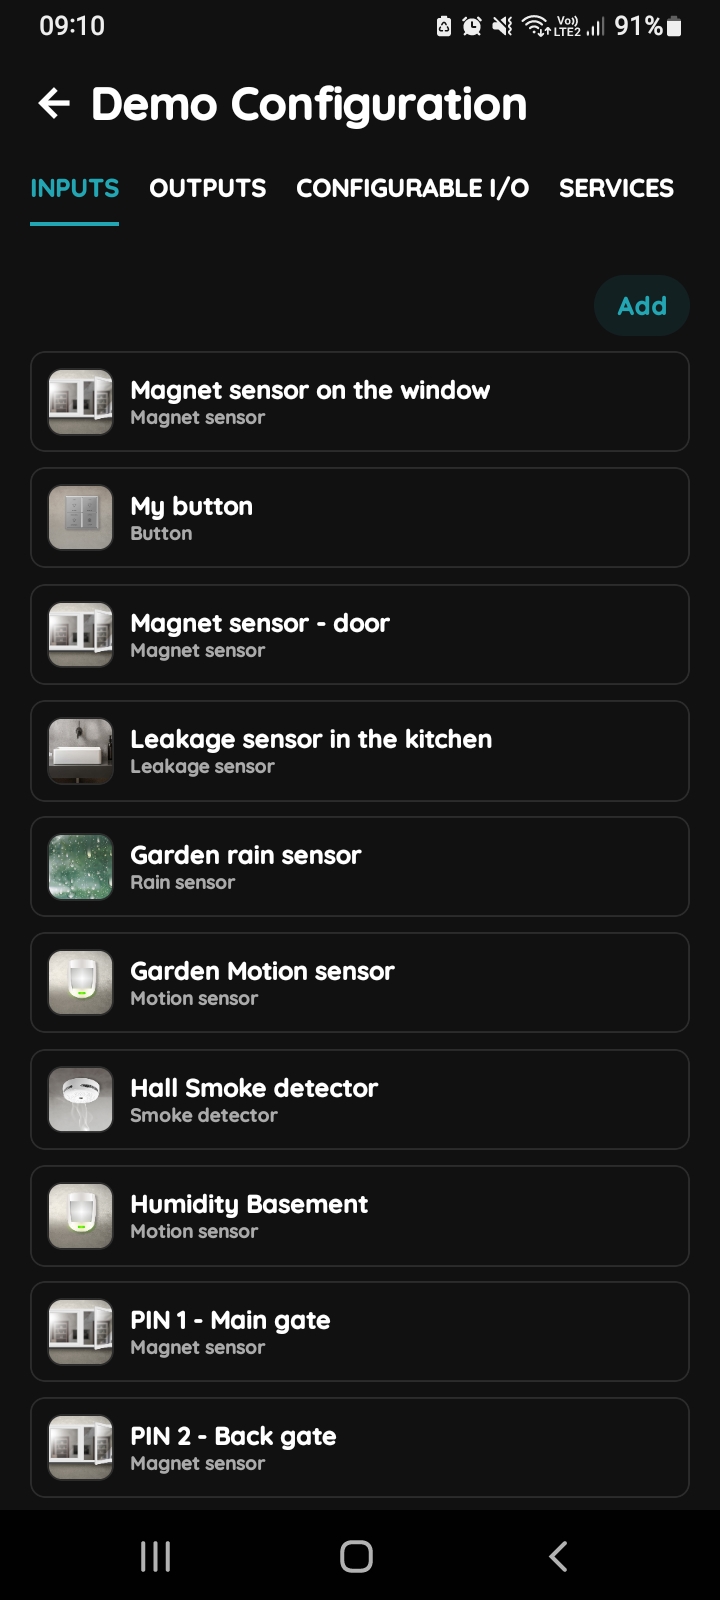
Add button for Inputs
Inputs tab is selected.
List of Inputs is shown.
In order to add new Input tap on the Add button.
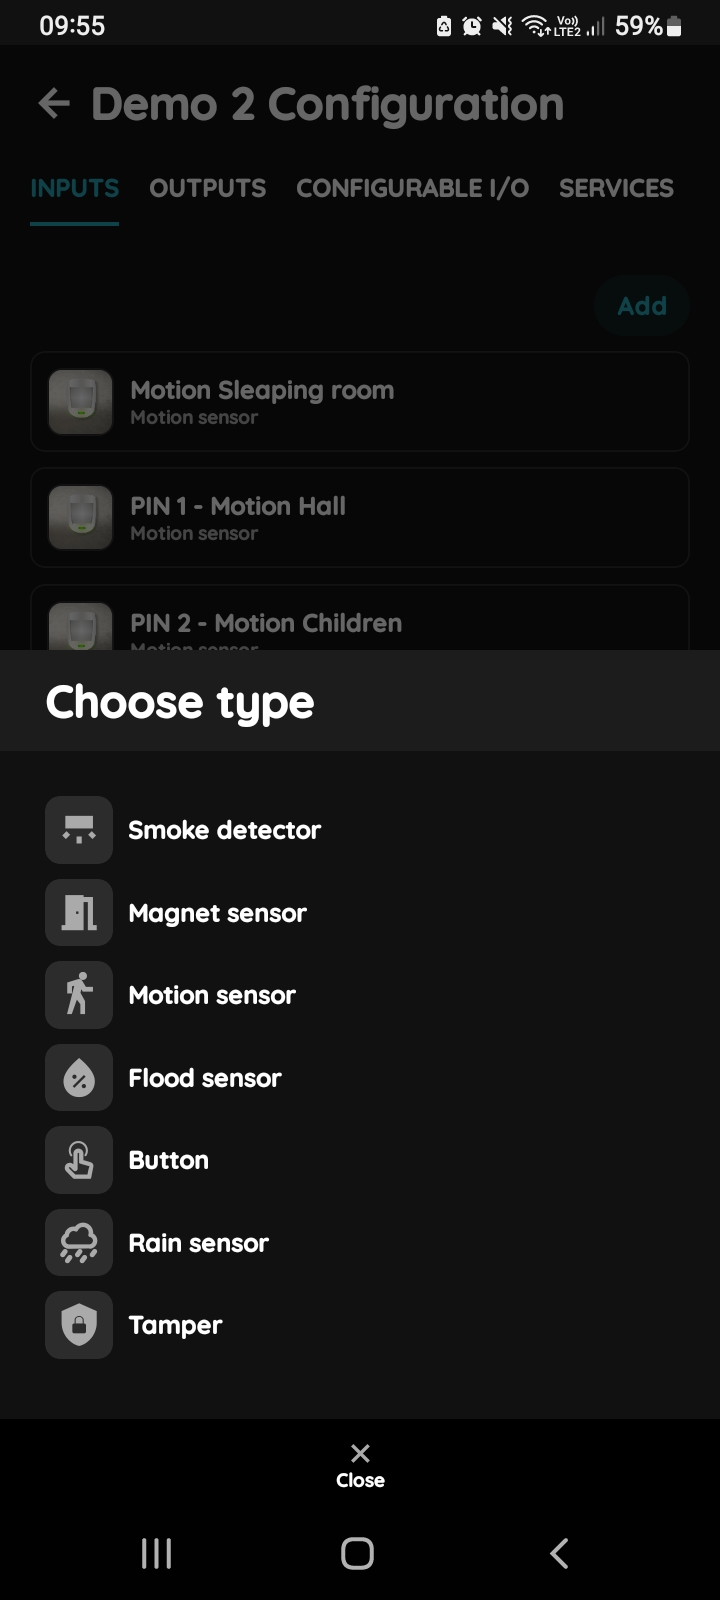
Choose type - Inputs
From the list that is shown tap on the desired I/O that you would like to add.
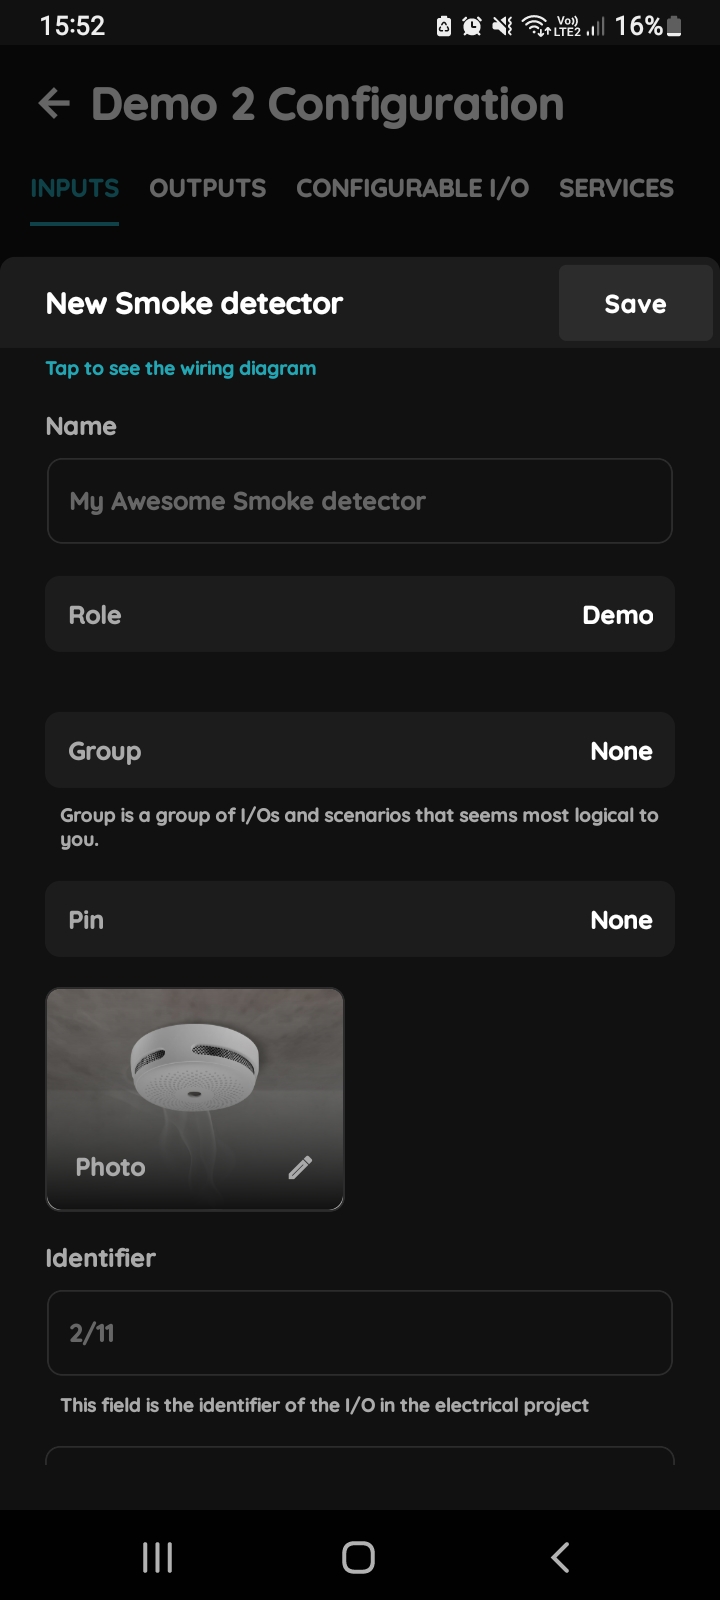
New Smoke detector
Fill following form:
- Name - Write the name of the Smoke detector.
- Role - Choose Role from the list.
- Group - Choose Group from the list. Group is a group of I/O and scenarios that seems most logical to you.
- Pin - Choose Pin from the list. Pin is physical place on the Controller where I/O is connected to it.
- Photo - Choose photo for the Smoke detector.
- Identifier - This field is the identifier of the I/O in the electrical project.
- Advanced - You can choose type of the signal that activates or tiggers the Smoke detector: rising, falling, change, change inverted.
- Timeout - It is the duration for which the Smoke detector will remain active in auto mode.
For more details follow next steps.
When you want to confirm your choice tap Save and Submit.
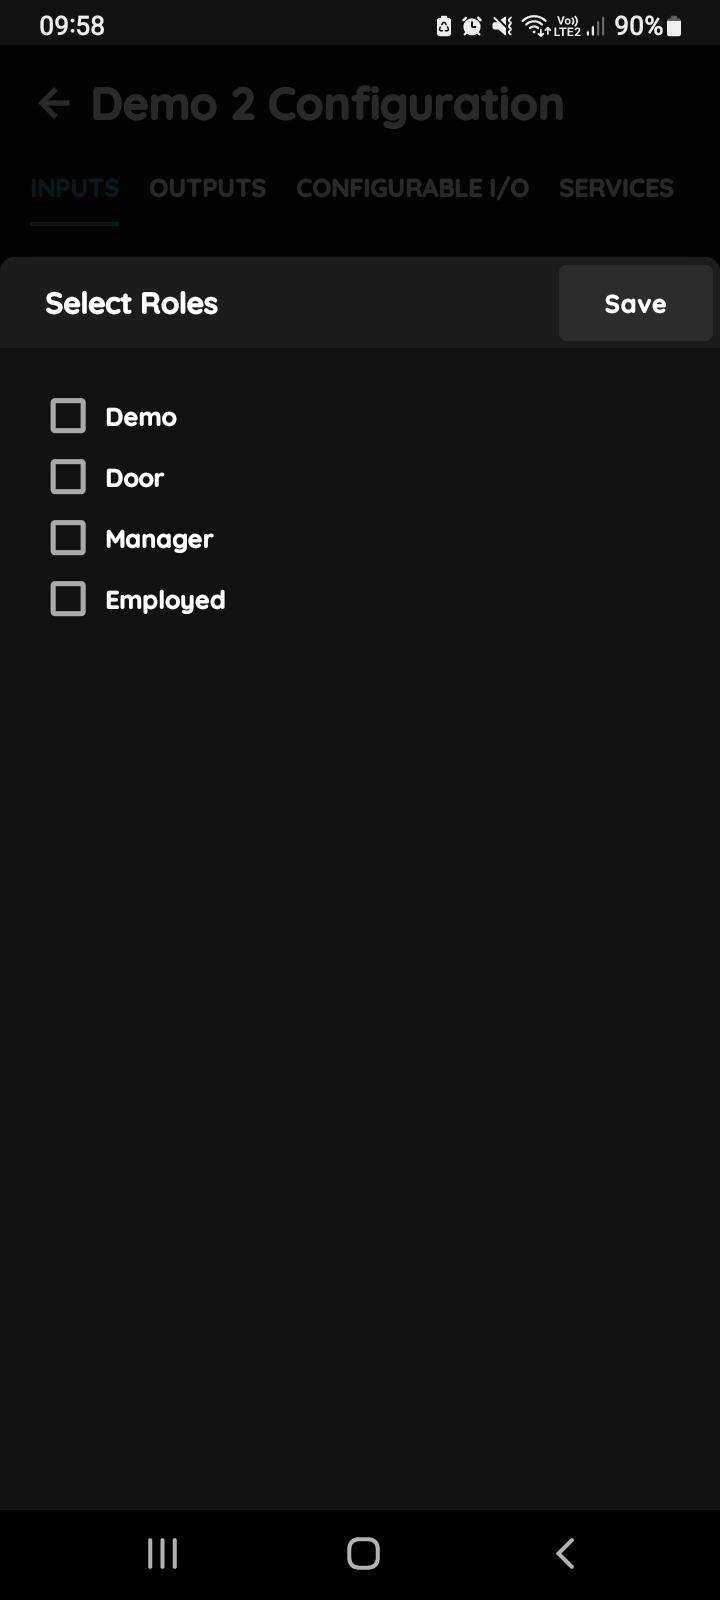
Select Roles - Inputs
Tap in the field Roles.
Select checkbox/checkboxes (for multiple choice) next to the Role/Roles that you would like to choose.
To confirm selection tap the button Save/Done.
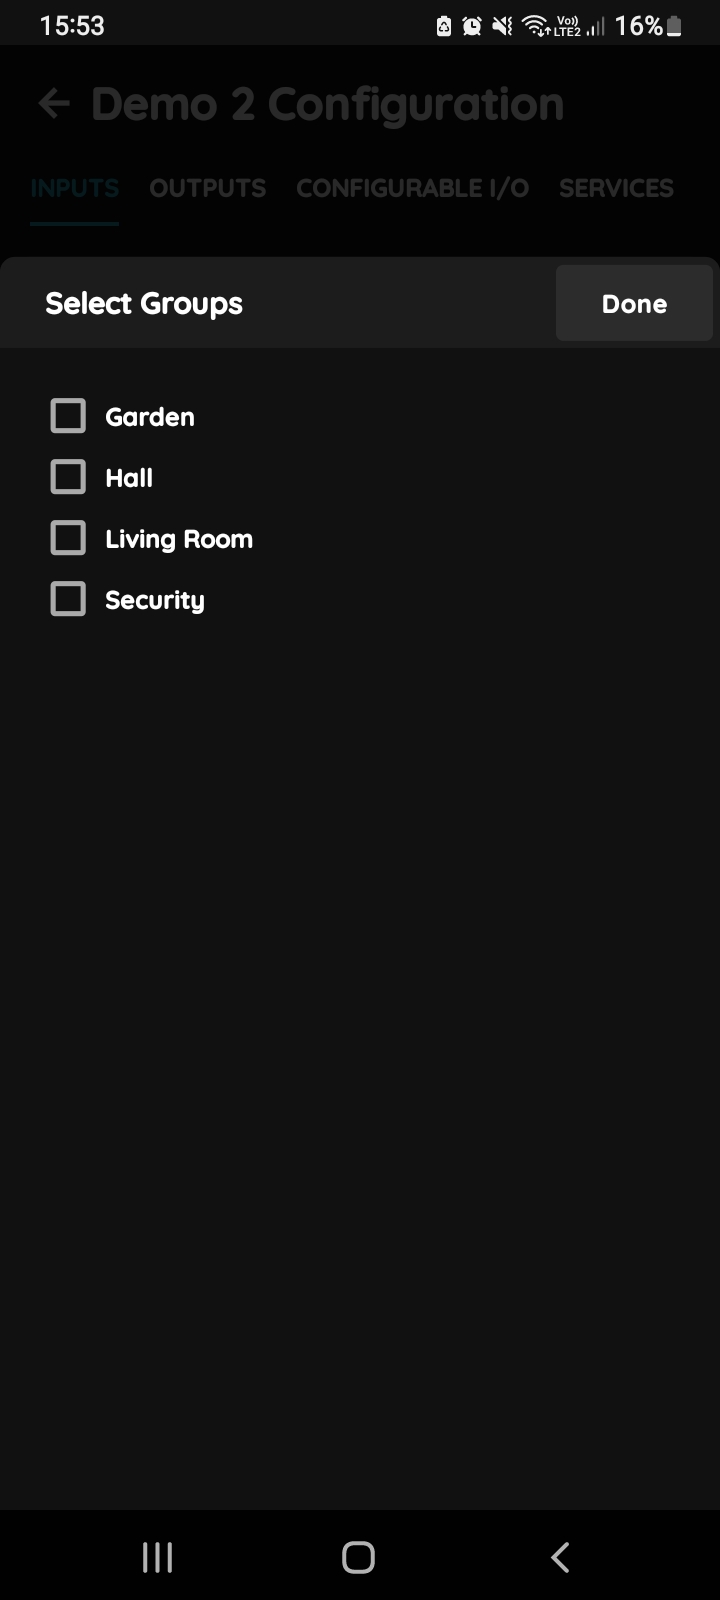
Select Dashboards - Inputs
In this step you should select Dashboards.
Select check box/check boxes next to the desired Dashboards from the list.
When you want to confirm your choice tap button Done/Save.
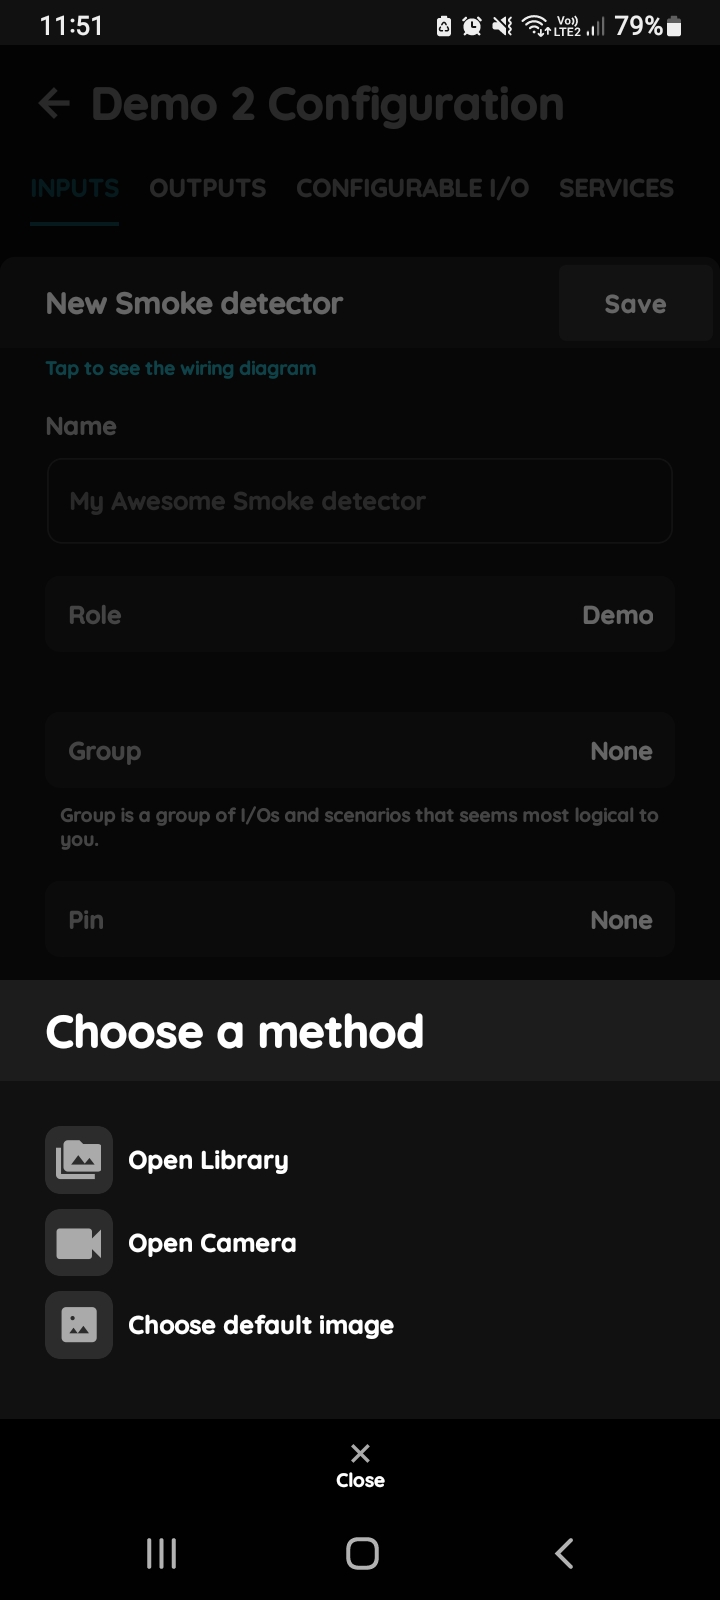
Change photo - Smoke detector in PIERRE Partner application
Tap on the photo of the Smoke detector.
You have three options:
Open Library - The phone’s Library will open.
Open Camera - You can take a picture using your smartphone.
Choose default image - These images are prepared in advance in order to provide a complete and seamless experience.
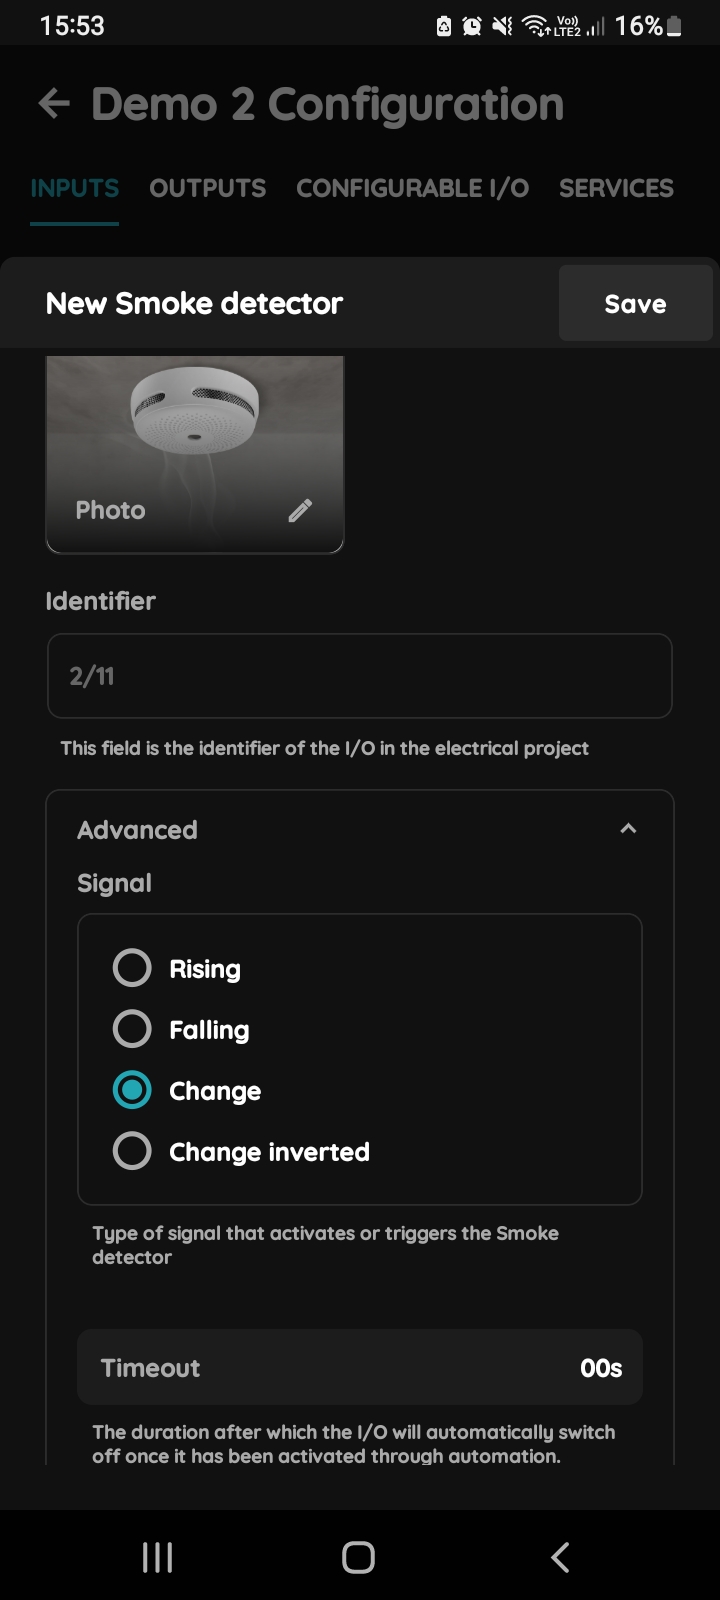
Advanced - Smoke detector
Click radio button next to the type of signal that you would like to choose.
You can choose:
- Rising – Triggered when the detector signal changes from OFF to ON. Typically used to detect the moment an alarm is activated.
- Falling – Triggered when the detector signal changes from ON to OFF. Typically used to detect when the alarm condition is cleared.
- Change – Triggered whenever the detector signal changes state, either OFF → ON or ON → OFF.
- Change inverted – Triggered whenever the detector signal changes state, but with the opposite trigger logic compared to Change.
You can choose type of the signal that activates or triggers the Smoke detector.
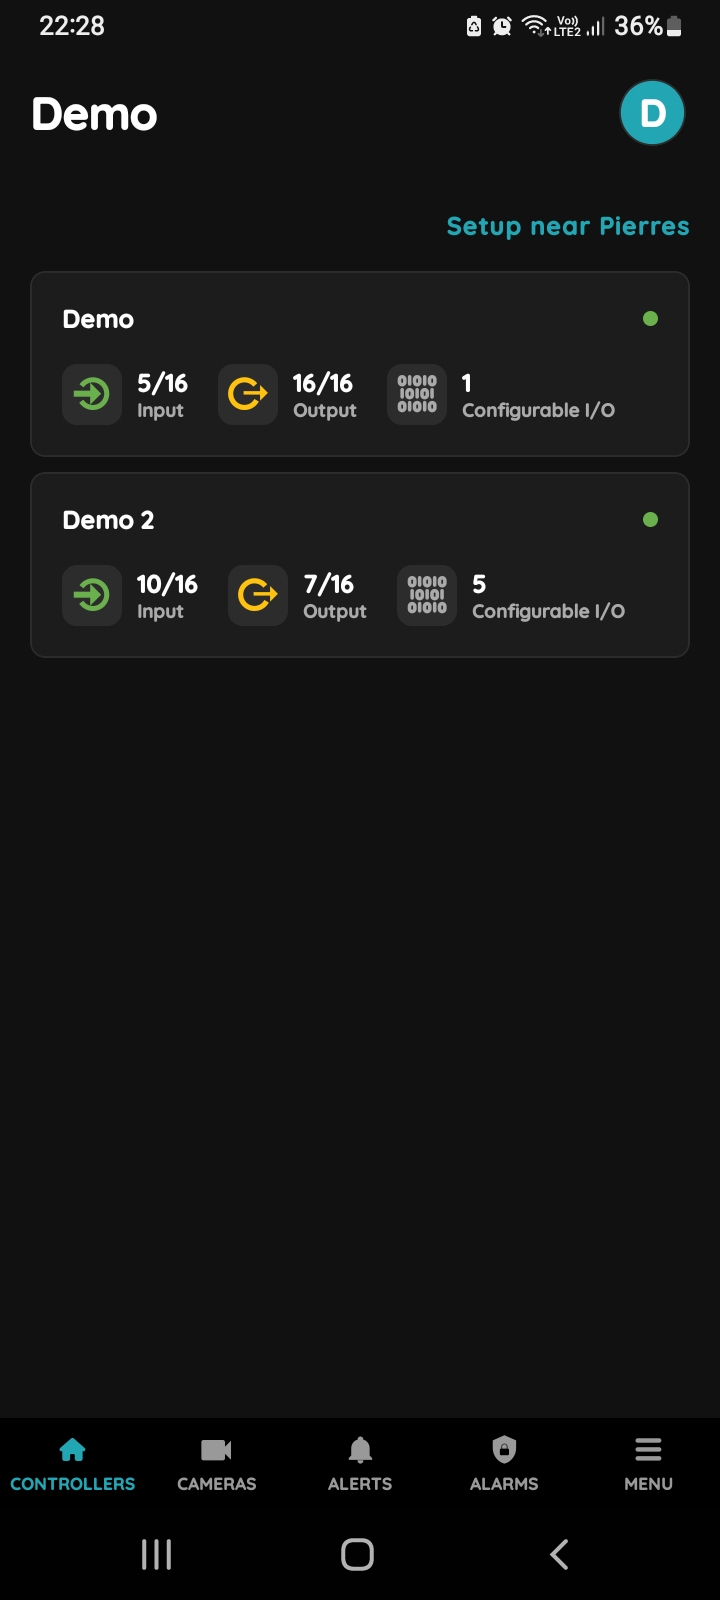
Choose Controller
You can edit Smoke detector from the Controllers.
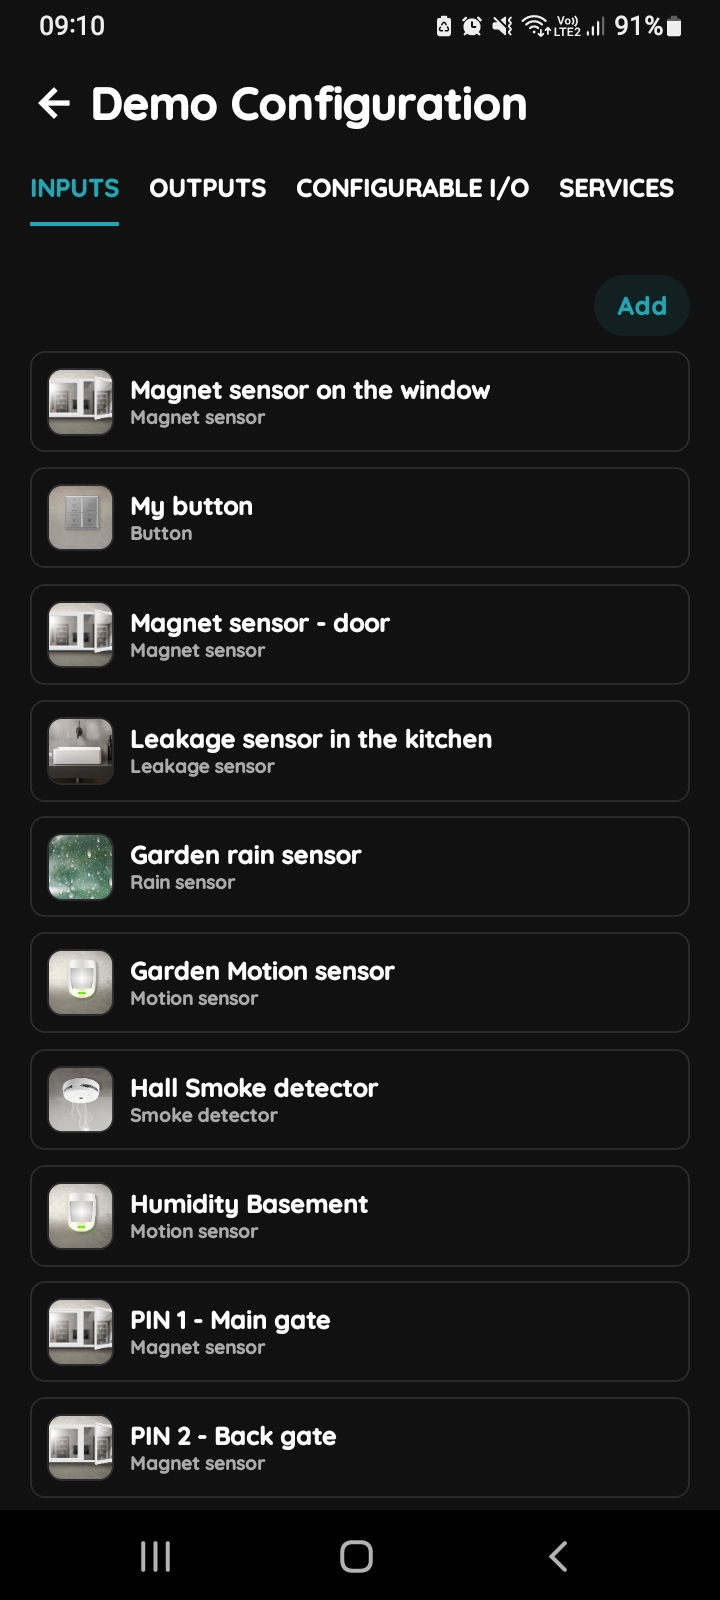
Inputs list
Tab Inputs is selected, scroll and tap on the I/O from the list that you would like to edit.
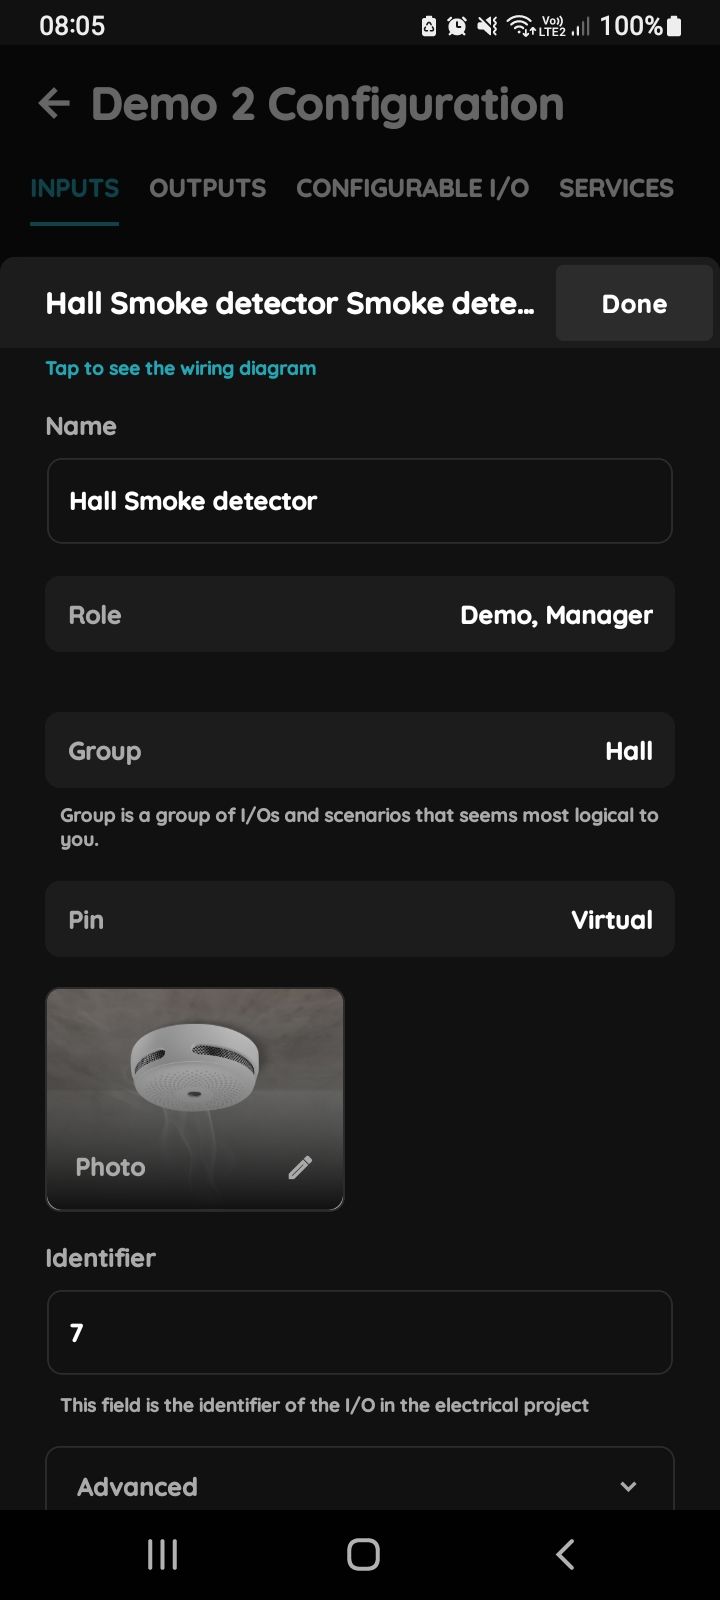
Edit Smoke detector
Edit this form:
- Name - Edit the name of the Smoke detector.
- Role - Choose Role from the list.
- Dashboards - Choose Dashboards from the list. Dashboards are group of I/O and scenarios that seems most logical to you.
- Pin - Choose Pin from the list. Pin is physical place on the Controller where I/O is connected to it.
- Photo - Choose photo for the Smoke detector.
- Identifier - This field is the identifier of the I/O in the electrical project.
- Advanced - You can choose type of the signal that activates or tiggers the Smoke detector:
- Rising – Triggered when the detector signal changes from OFF to ON. Typically used to detect the moment an alarm is activated.
- Falling – Triggered when the detector signal changes from ON to OFF. Typically used to detect when the alarm condition is cleared.
- Change – Triggered whenever the detector signal changes state, either OFF → ON or ON → OFF.
- Change inverted – Triggered whenever the detector signal changes state, but with the opposite trigger logic compared to Change.
- Timeout - It is the duration for which the Smoke detector will remain active in auto mode.
When you want to confirm your choice tap on Save and Submit, or if you want to delete Smoke detector tap on Delete.