PIERRE Partner - Curtain
Description
The Curtain Control function enables the control of motorized curtains through the PIERRE system. Curtains can be controlled via mobile applications, displays, push buttons, as well as schedules, scenes, and automations.
Configuration
To create a Curtain output:
- Open the desired Controller in the PIERRE Partner application.
- Navigate to Outputs.
- Select Add Output, then choose the Curtain icon.
- Configure the following parameters:
- Name – Enter a name for the curtain.
- Role – Select the appropriate role.
- Dashboard – Select the dashboard where the curtain should be displayed.
- Photo Closed / Photo Open – Select an image or take a photo of the curtain in its open and closed positions.
- Identifier – Optionally enter an identifier.
- Open Direction – Select the appropriate output for opening the curtain.
- Close Direction – Select the appropriate output for closing the curtain.
- Button Open – If a push button is connected for curtain control, select the appropriate push button for opening.
- Button Close – If a push button is connected for curtain control, select the appropriate push button for closing.
- Open Direction – Select the physical opening direction of the curtain: right to left or left to right.
- Save the configuration.
Available Functions
- Open
- Close
- Stop
Automation Applications
Curtain control can be linked to:
- Schedules
- Scenes
- Brightness sensors
- Temperature sensors
- External push buttons
- Automation rules
Technical Notes
- The function is designed for controlling motorized curtain systems.
- It supports both manual and automatic operation.
- It can be integrated into scenes and automations.
- Available functions depend on the controller configuration.
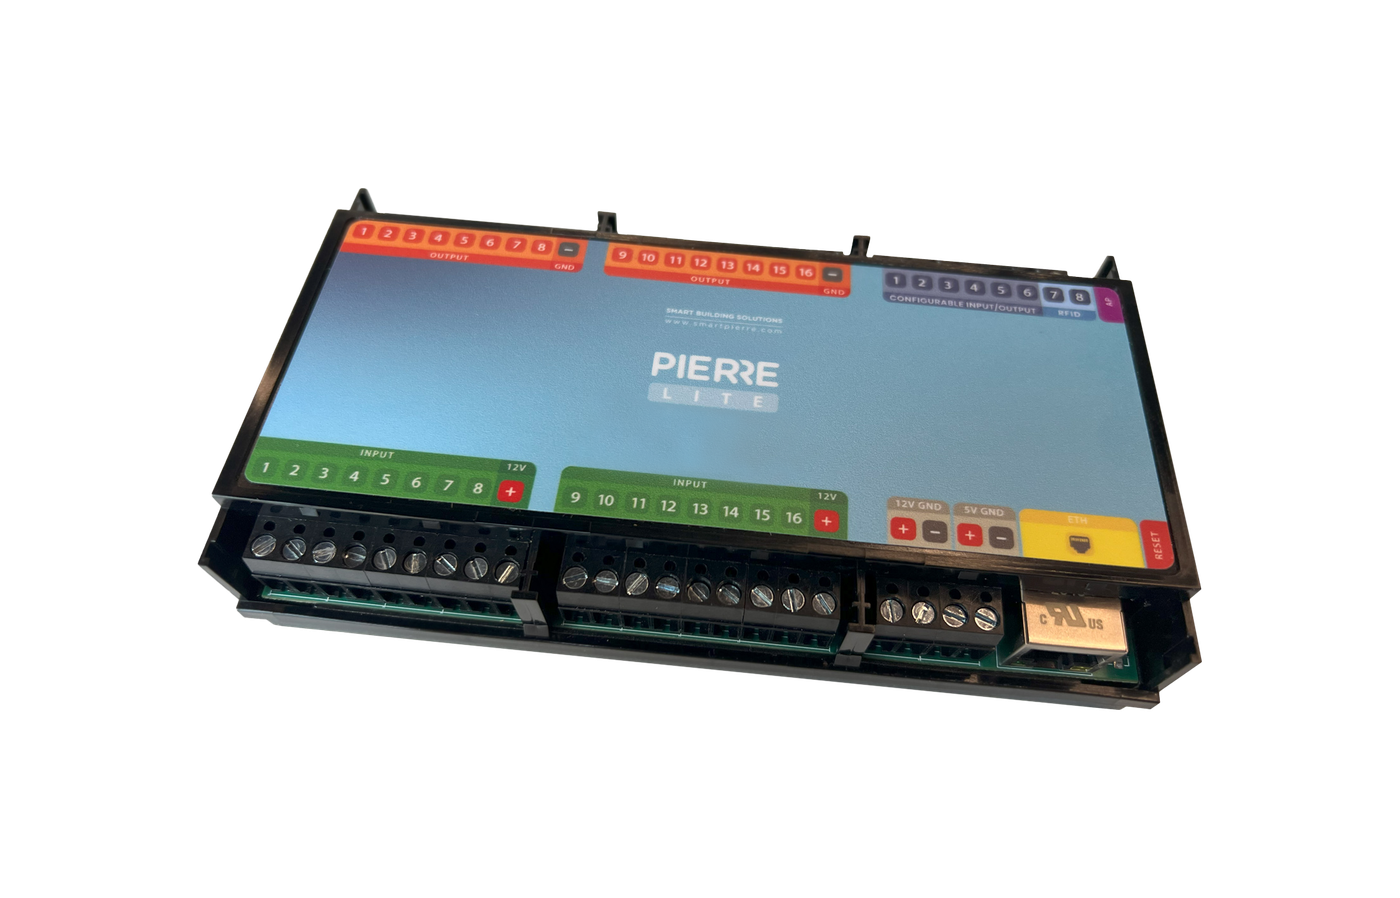
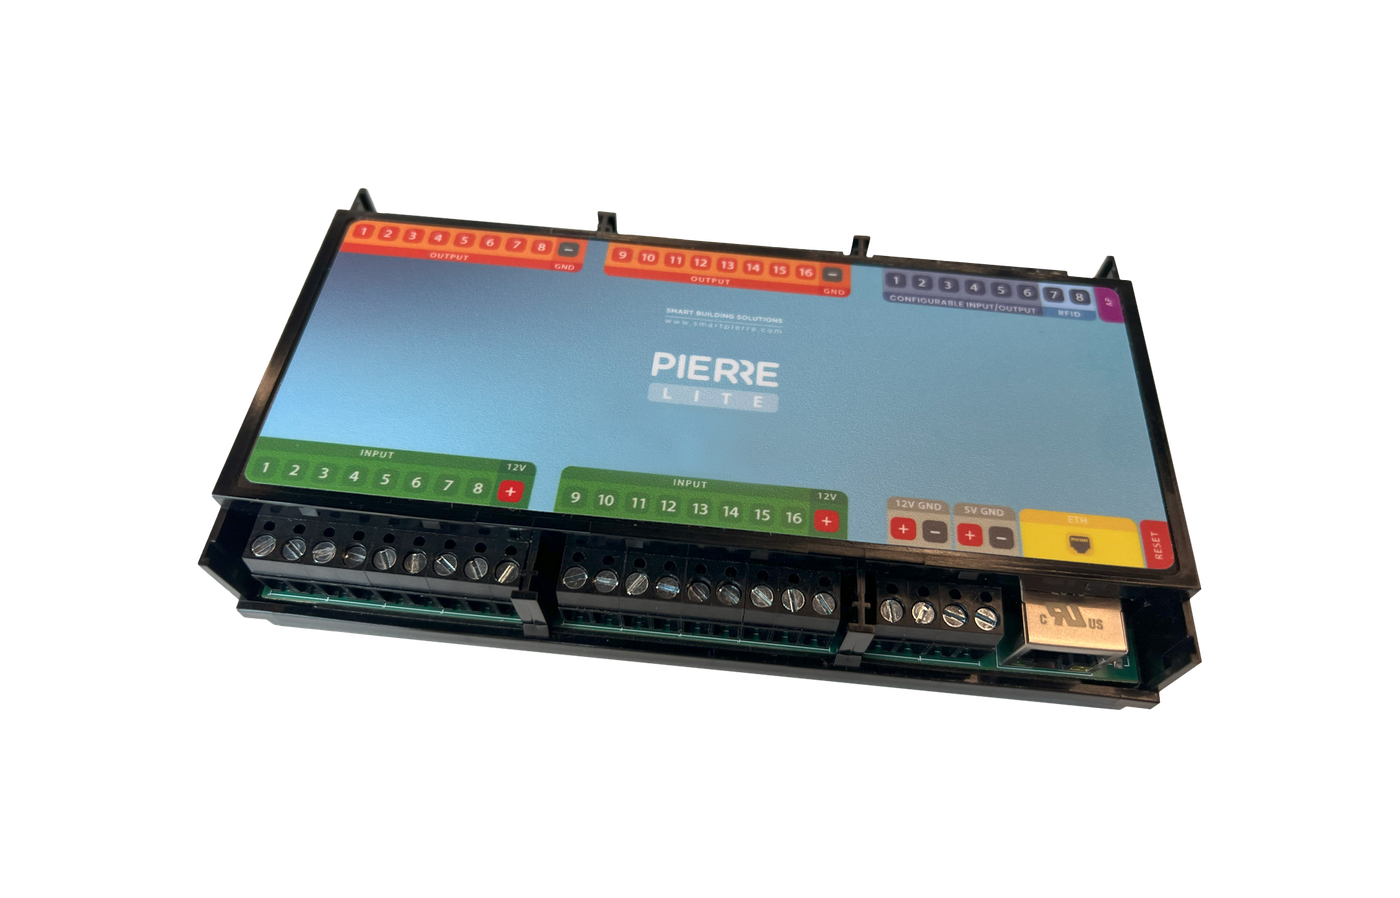
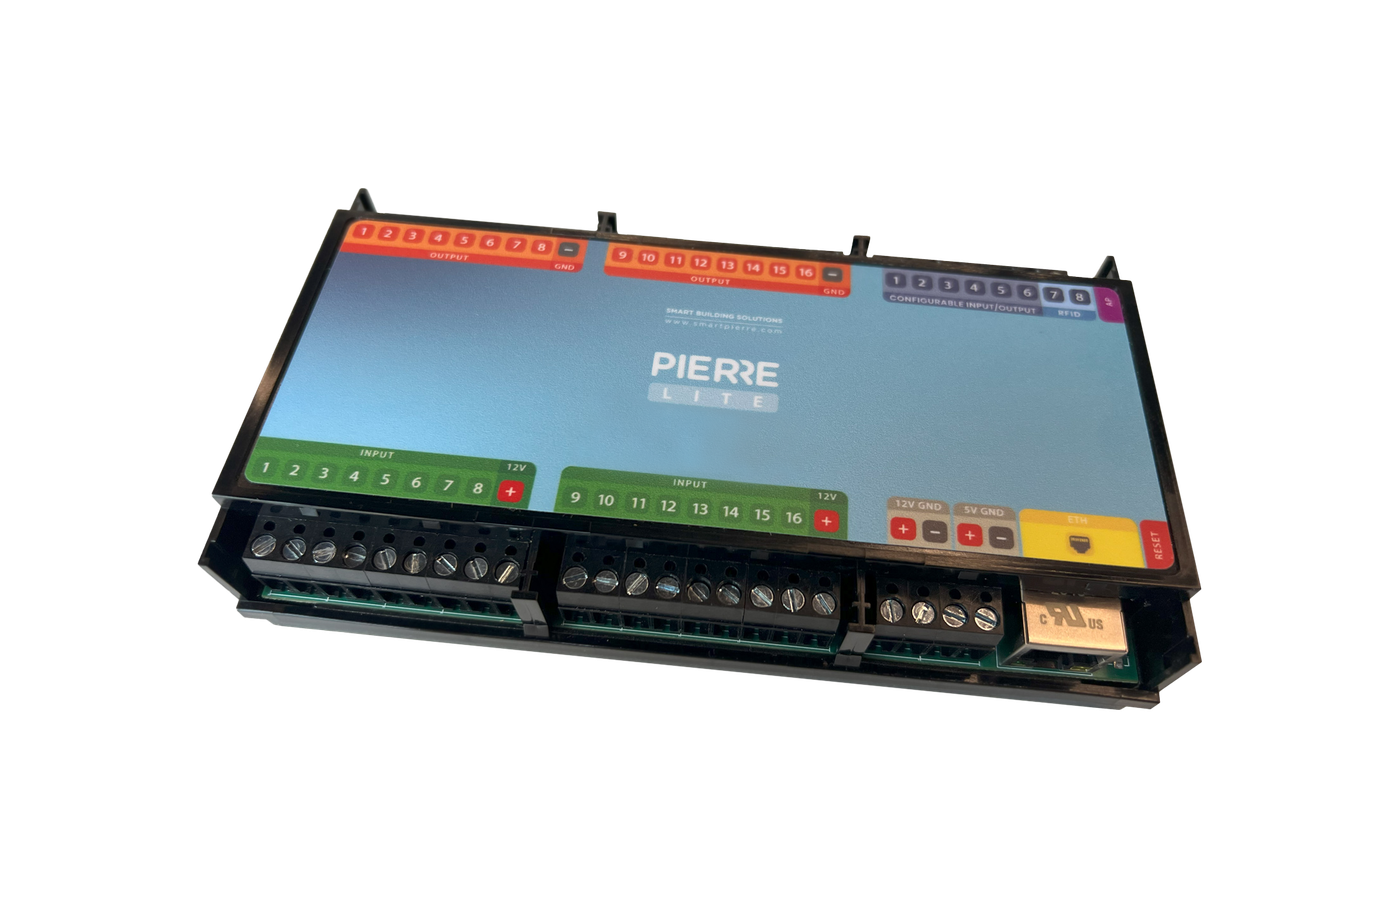
- Before installation, make sure that a compatible motor with the appropriate wiring is installed for use with the PIERRE system (L1, L2, N, PE).
Add Curtain
Curtain can be added in a few steps.
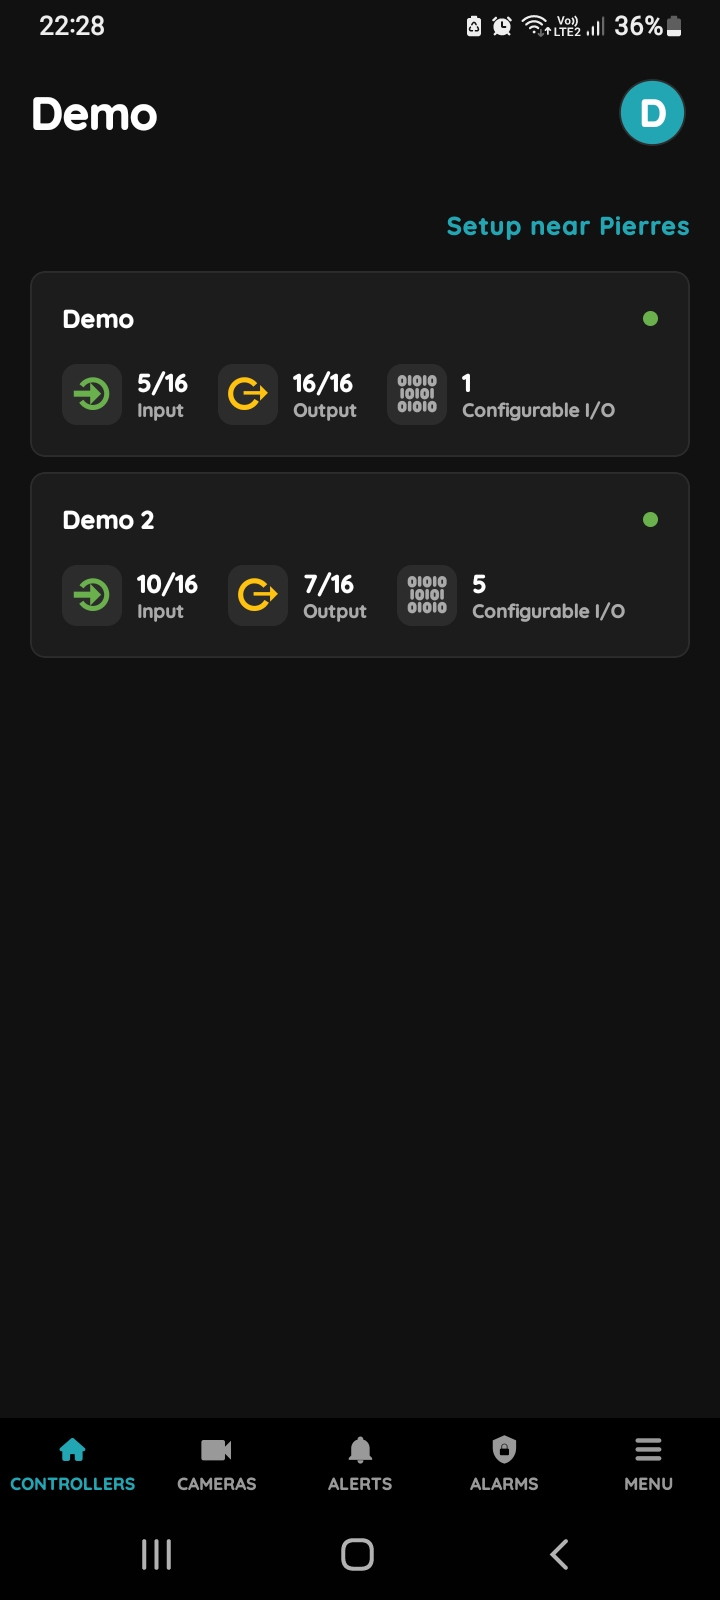
Choose Controller
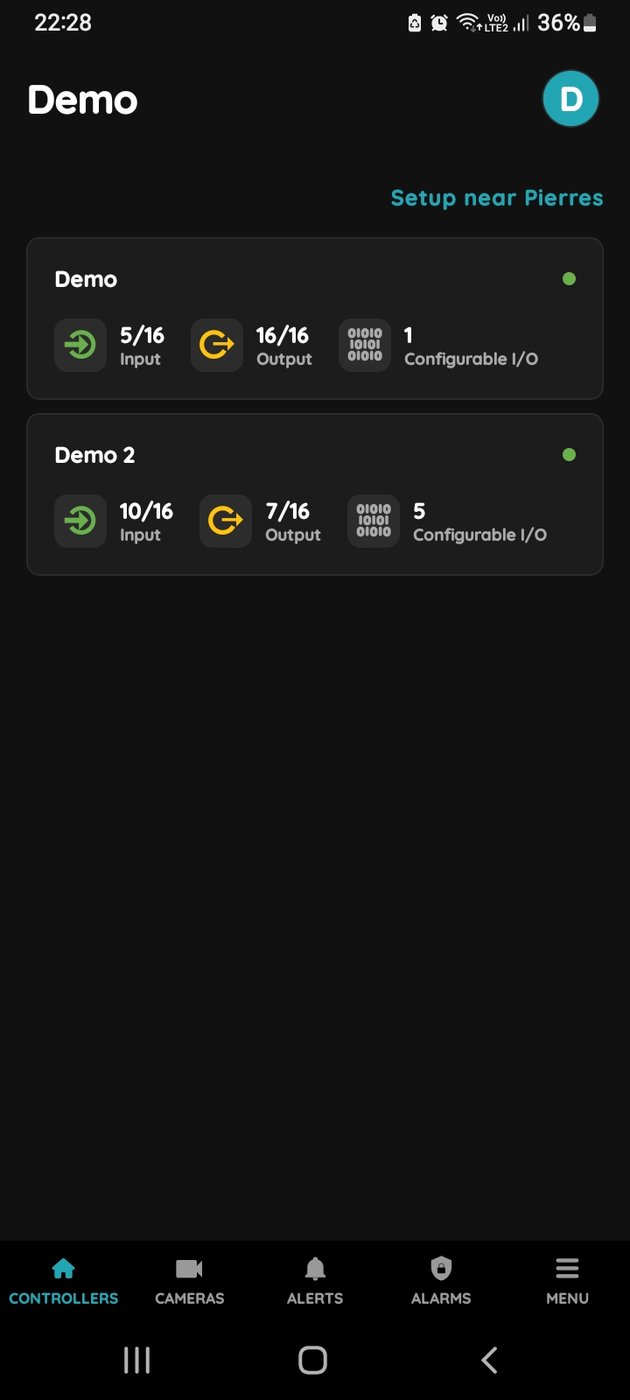
Tap on the Controller that you would like to add new I/O to.
To edit the I/O, click on the Controller to which the I/O is added.
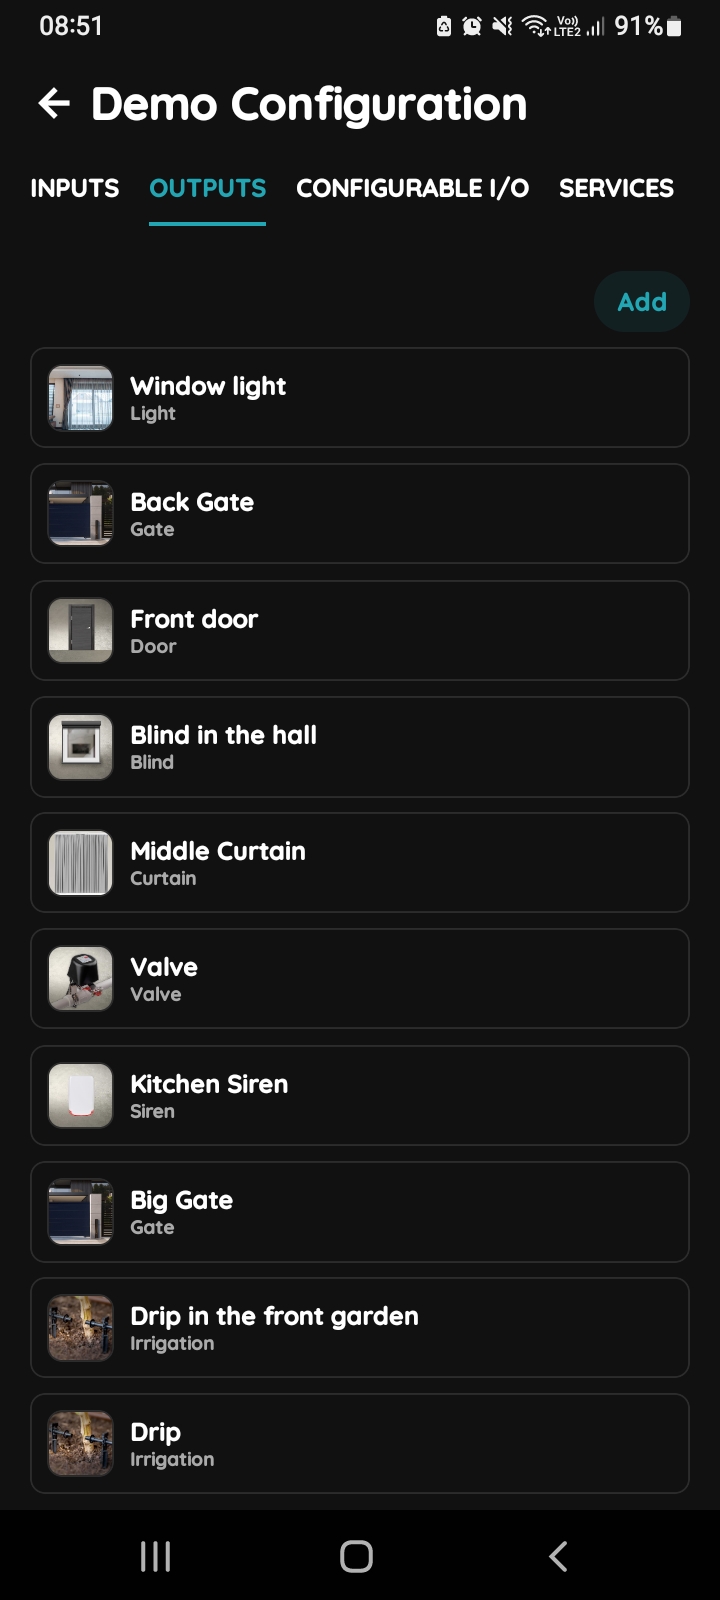
Outputs - Add button
Tap on the Outputs at the top and tap on the button Add.
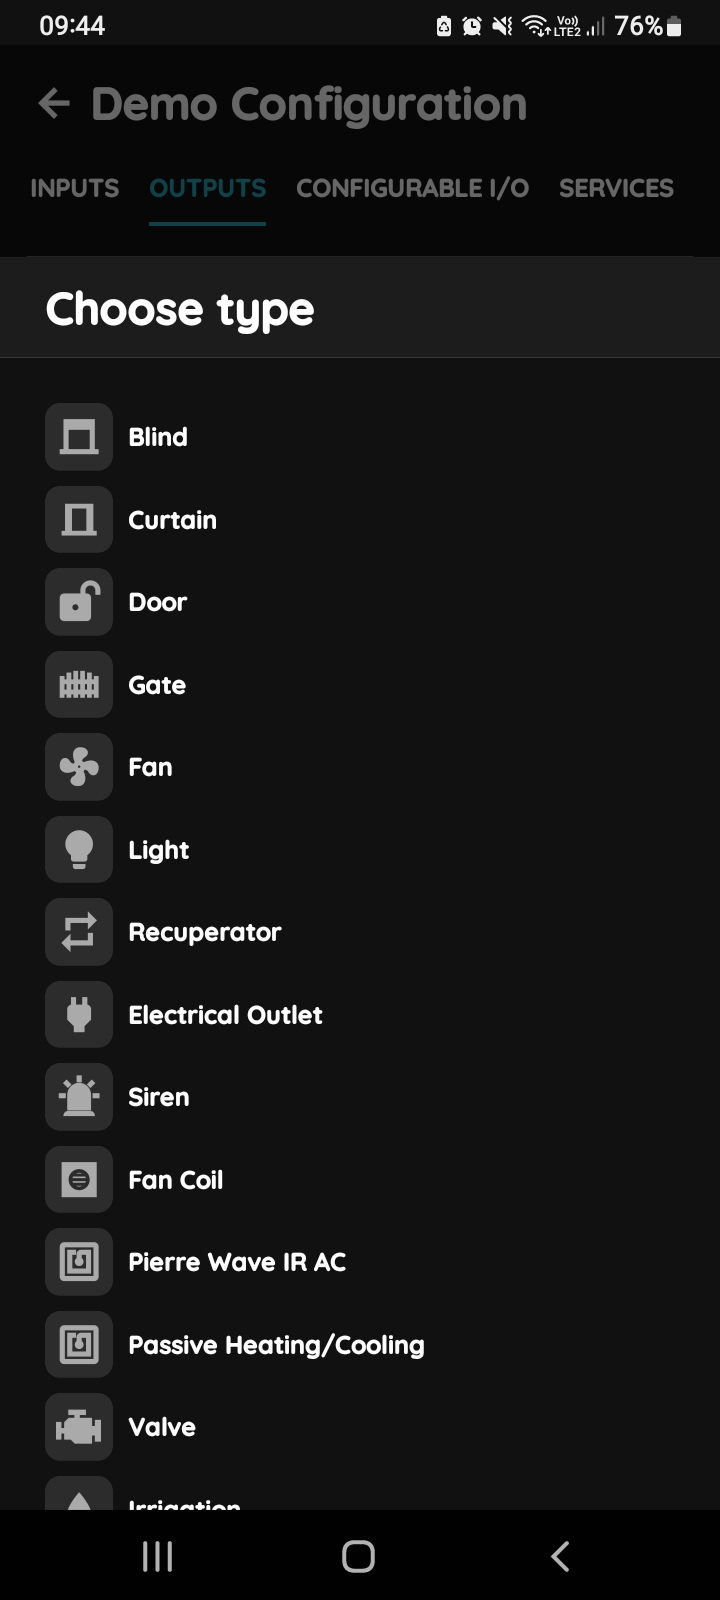
Choose type in Partner application
Choose type - From the list choose the device that you would like to add (Curtain).
Scroll to the desired I/O from the list that you would like to add and tap on it.
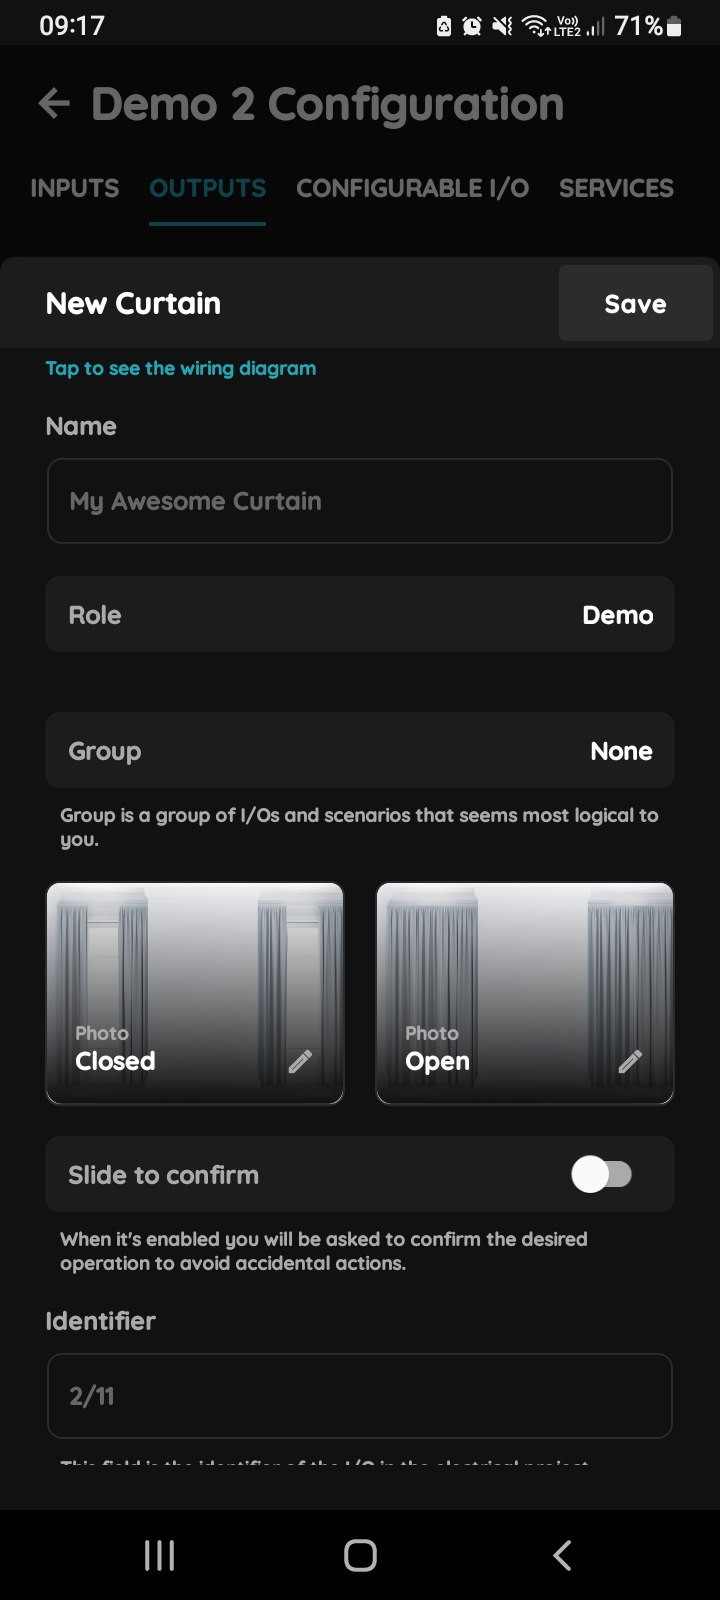
New Curtain
Fill the following form:
- Name - Write the name of the Curtain.
- Role - Choose role from the list.
- Dashboards - Choose Dashboards from the list.
Dashboards are group of I/O and scenarios that seems most logical to you. - Photo - Choose photo for the Curtain - Closed, Open.
- Slide to confirm - When it is enabled you will be asked to confirm the desired operation to avoid accidental actions.
- Identifier - This field is the identifier of the I/O in the electrical project.
- Hide Activity - This field is used for hiding I/O activity from the Activity tab.
- Open Direction
Output - Choose Pin. Pin is physical place on the Controller where I/O is connected to it.
To confirm choice tap on button Done.
Timeout - Choose timeout. Time in seconds which is needed for the Curtain to open completely.
When you are satisfied with your choice tap button Save. - Close Direction
Output - Choose Pin. Pin is physical place on the Controller where I/O is connected to it.
To confirm choice tap on button Done.
Timeout - Choose timeout. Time in seconds which is needed for the Curtain to go down completely.
When you are satisfied with your choice tap on the button Save.
Time in seconds which is needed for the Curtain to open completely. - Button Open
Add a new Button - Choose Button.
Tap on the desired button from the list.
When you are satisfied with your choice tap on the button Done. - Button Close
Add a new Button - Choose Button.
Tap on the desired button from the list.
When you are satisfied with your choice tap on the button Done. - Open Direction
Left
Right
For more details follow next steps.
When you want to confirm your choice tap on buttons Save and Submit.
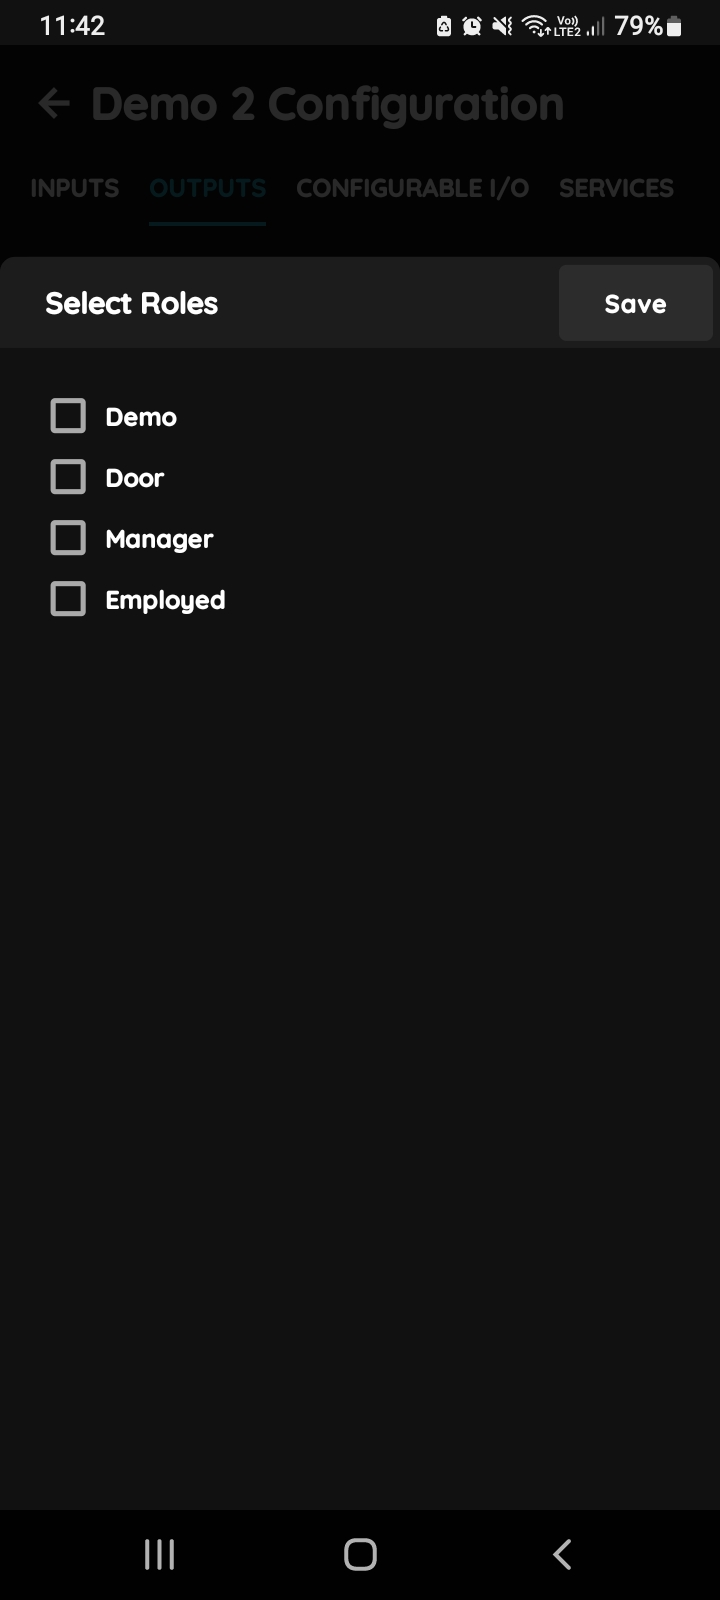
Select Roles
You can select desired Role or Roles - multiple choice if you tap on the checkboxes next to them.
Tap on Save/Done.
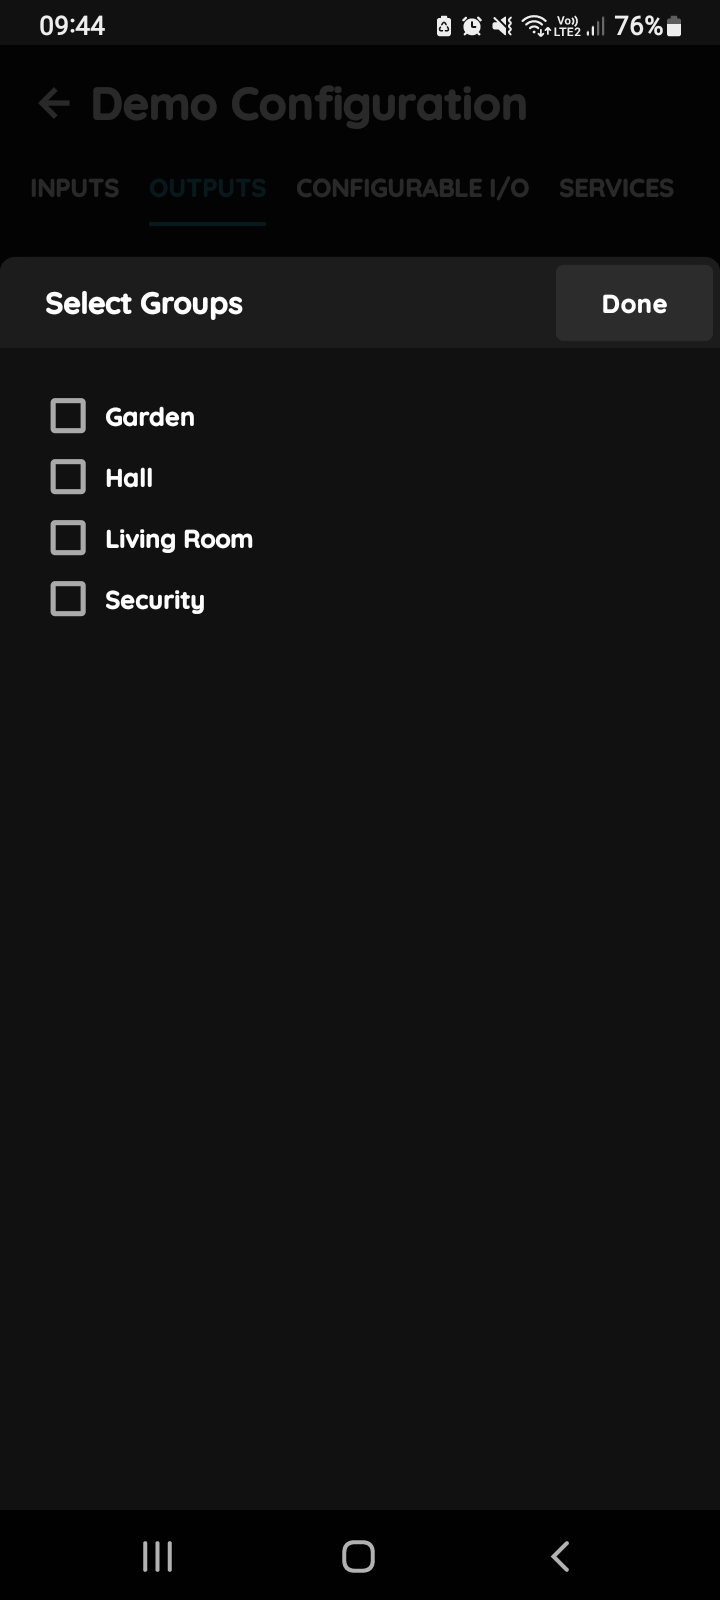
Select Dashboard
In this step, you need to select one or more Dashboards.
Select the checkbox/checkboxes next to the Dashboards that you want to associate with the I/O.
Once selected, the I/O will appear in the chosen Dashboards on the Dashboard.
Tap Save/Done to confirm your selection.
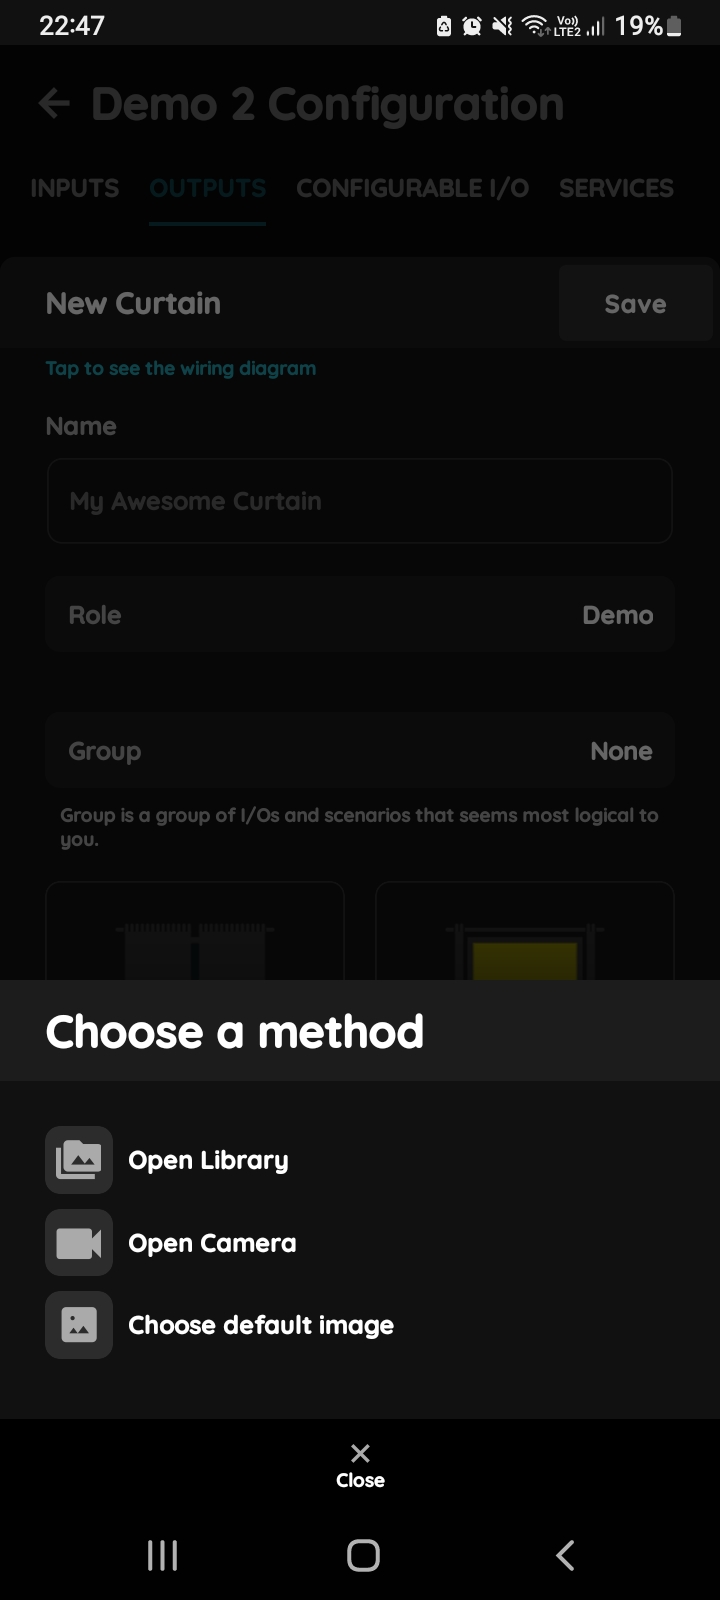
Change photo - Curtain in PIERRE Partner application
Tap photo of the Curtain.
You have three options:
- Open Library - The phone’s Library will open. It is recommended to take pictures from the same angle for both Curtain statuses to achieve a complete and consistent view.
- Open Camera - You can take a picture using your smartphone. For a complete and consistent view, it’s recommended to capture both Curtain statuses from the same angle.
- Choose default image - These images are prepared in advance in order to provide a complete and seamless experience.
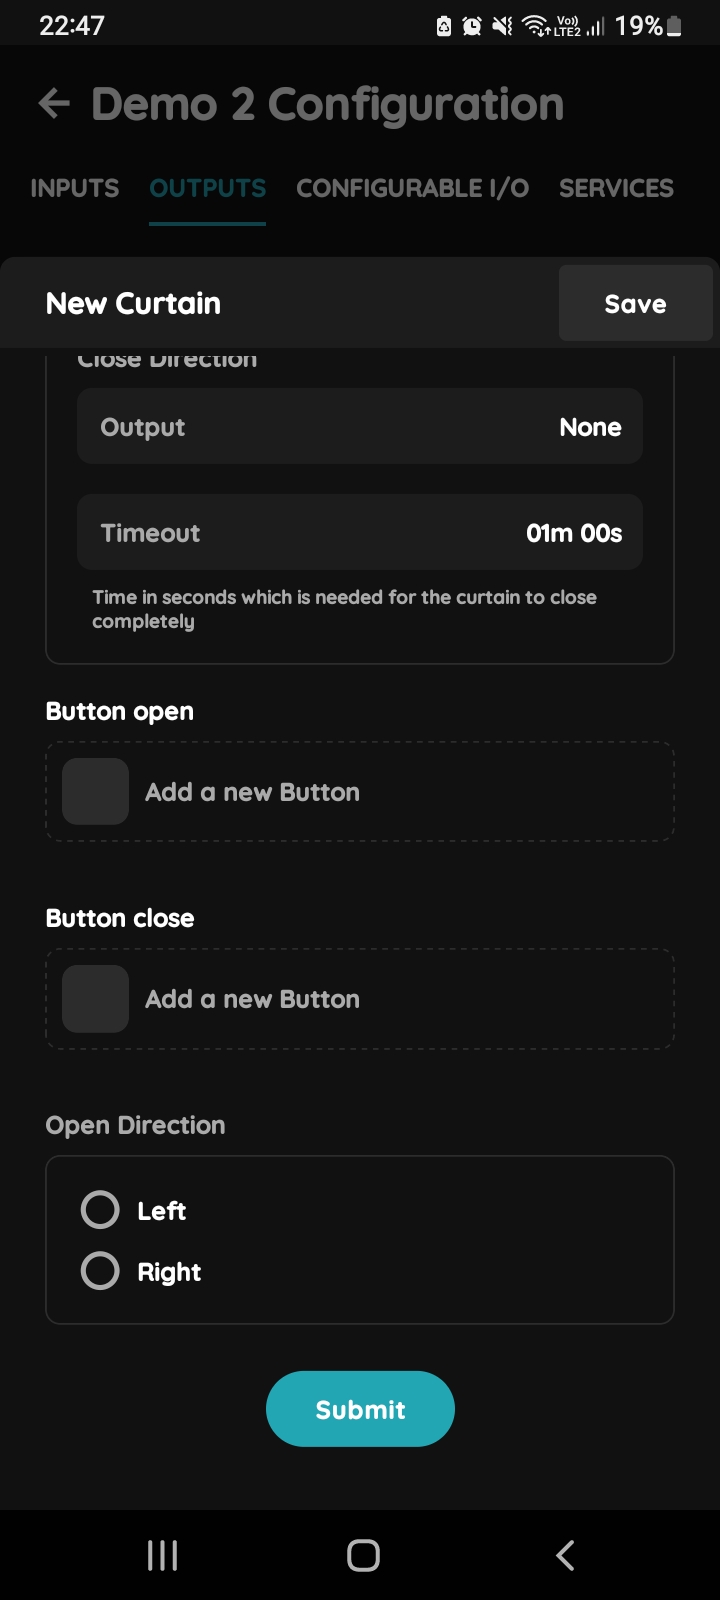
Open/Close Direction
Tap in the fields:
- Output - Choose Pin and confirm by click on button Done.
- Timeout - Choose timeout and click button Save.
For more details follow next steps.
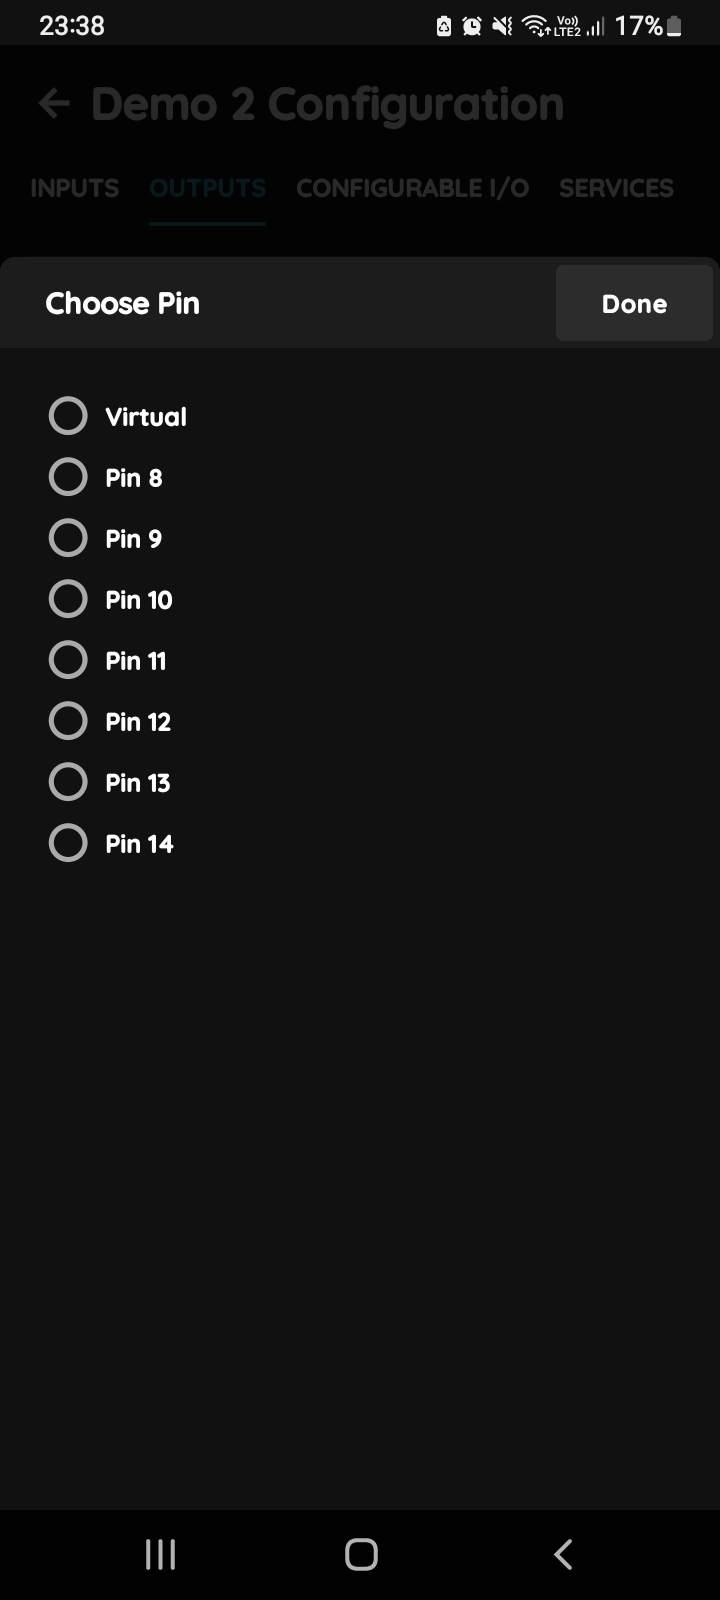
Open/Close Direction - Choose Pin
In this step you should for Open/Close Direction click in the field Output and Choose Pin by selecting radio button next to it.
To confirm choice tap the button Save.
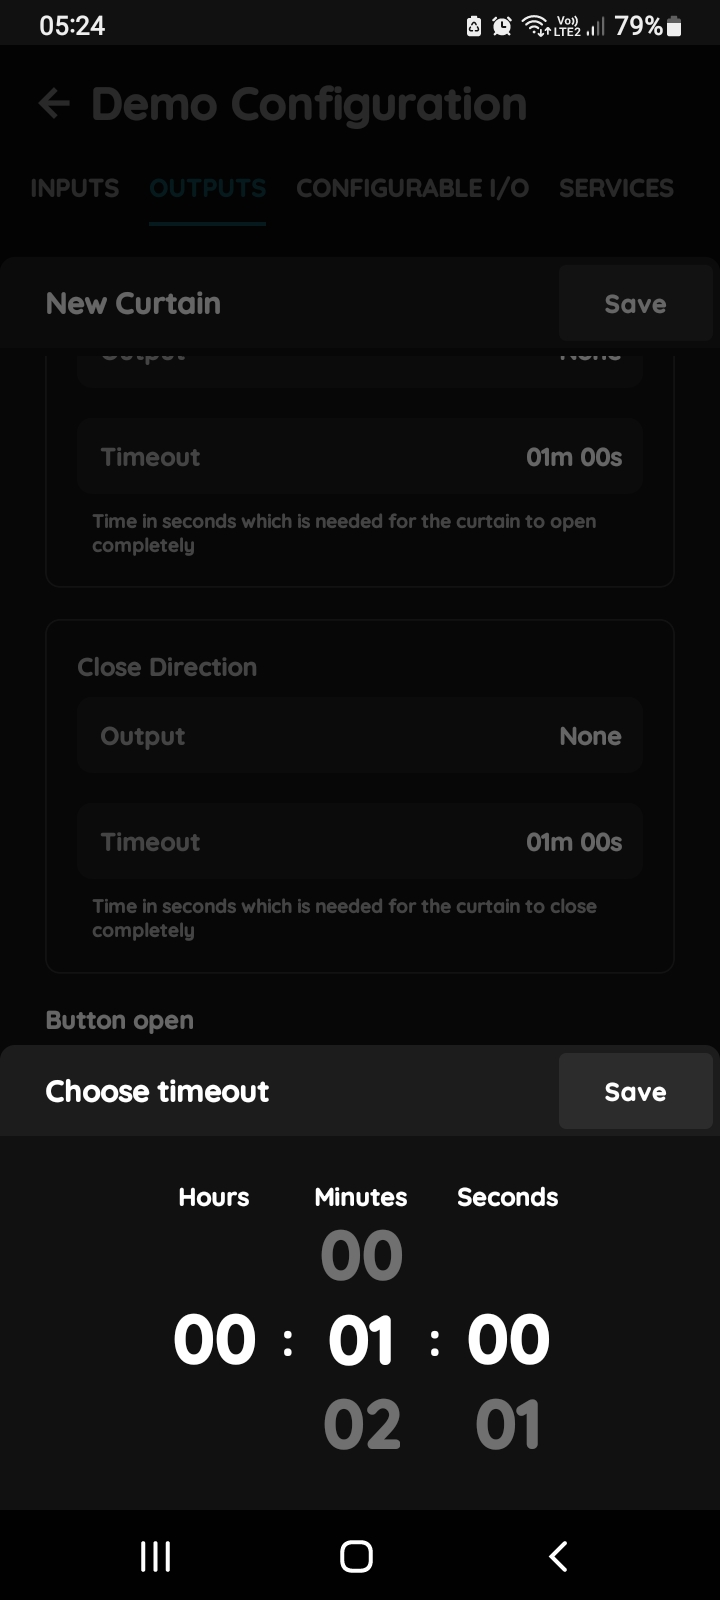
Choose Timeout - Curtain
In order to set hours, minutes and seconds - Timeout, you should scroll through each of these columns and when you are satisfied with your choice tap Save button.
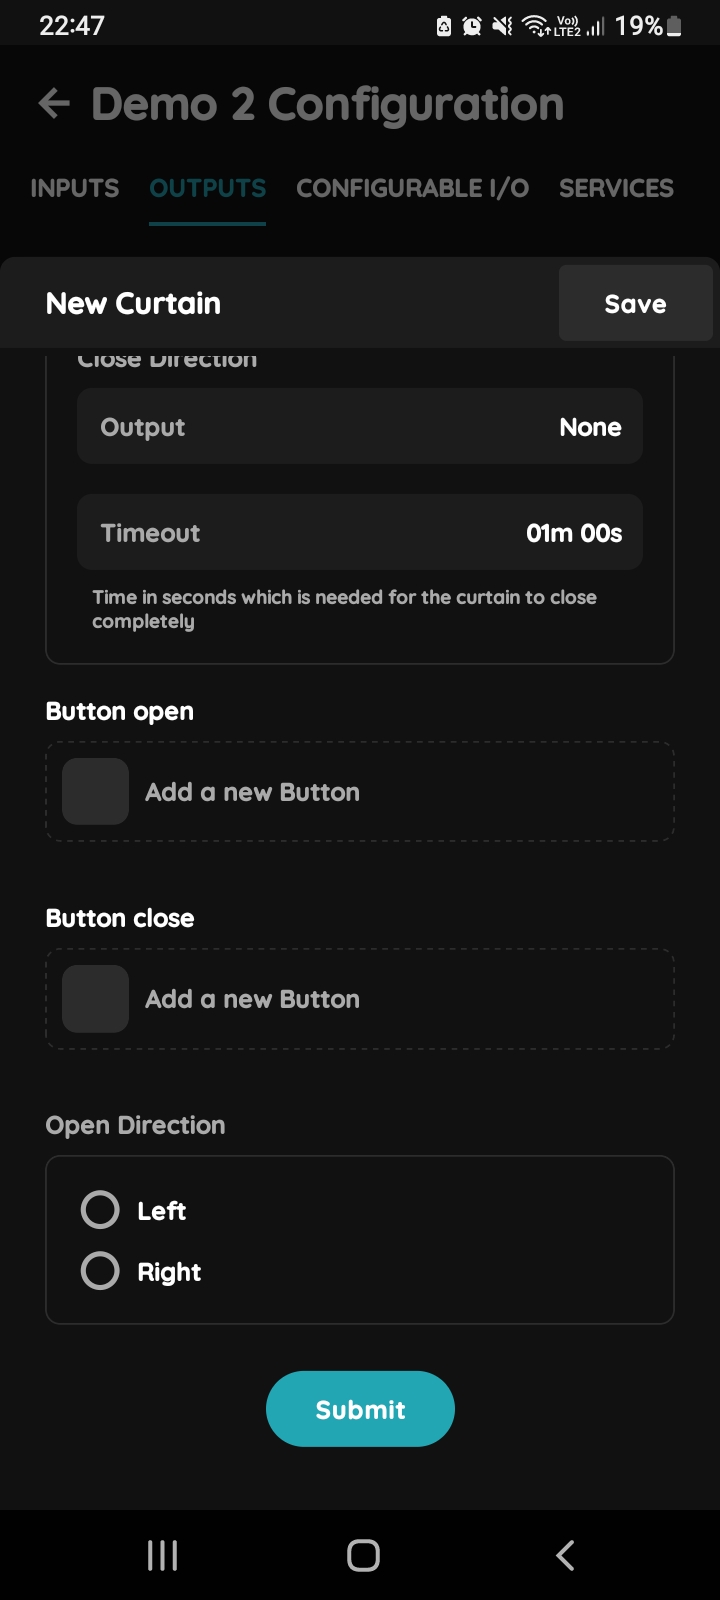
Button Open/Button Close
Tap on Add a new Button.
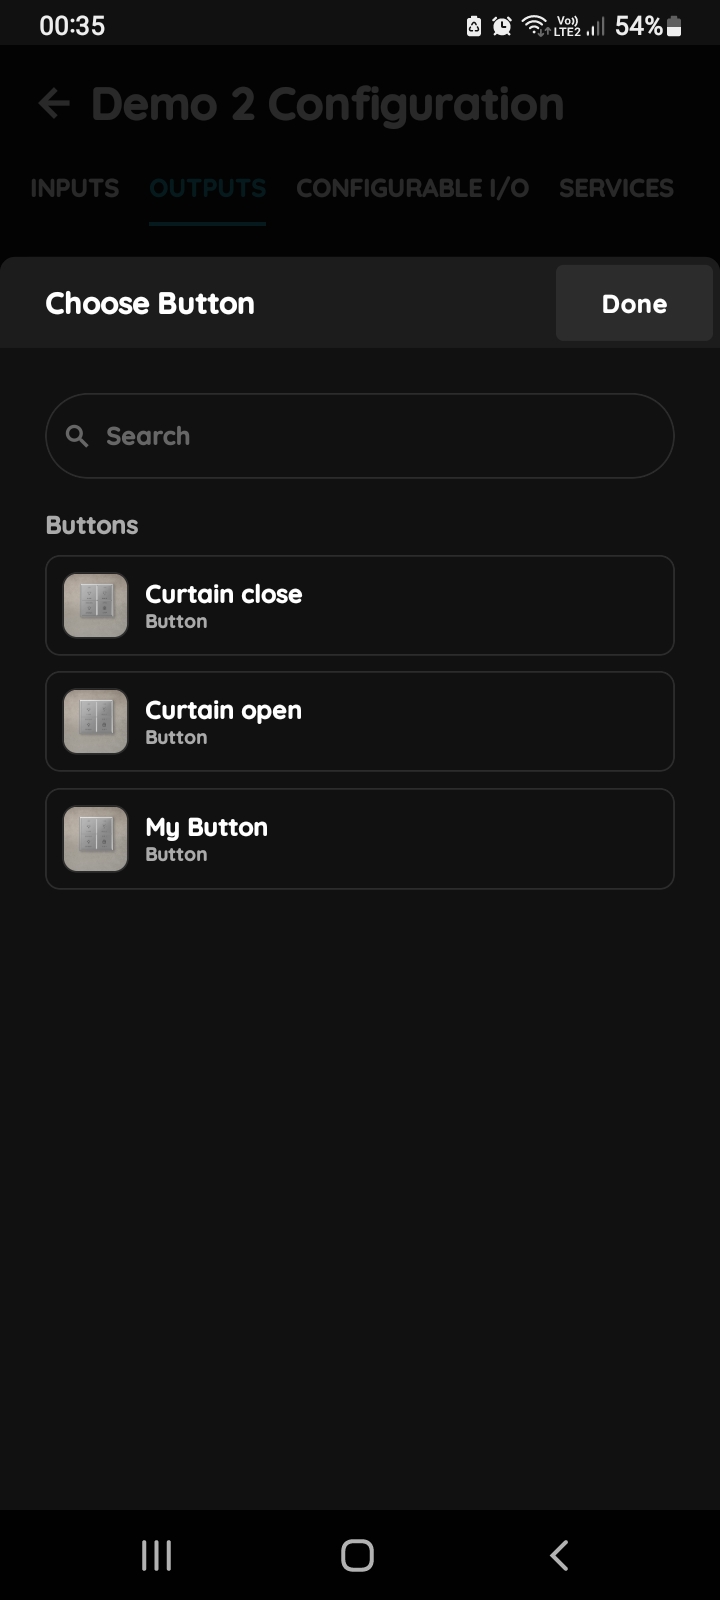
Choose Button
In this step you should choose add button for the Button up/Button down.
Tap on the Add new Button and Choose Button.
Tap on the desired button from the list.
To confirm tap button Done.
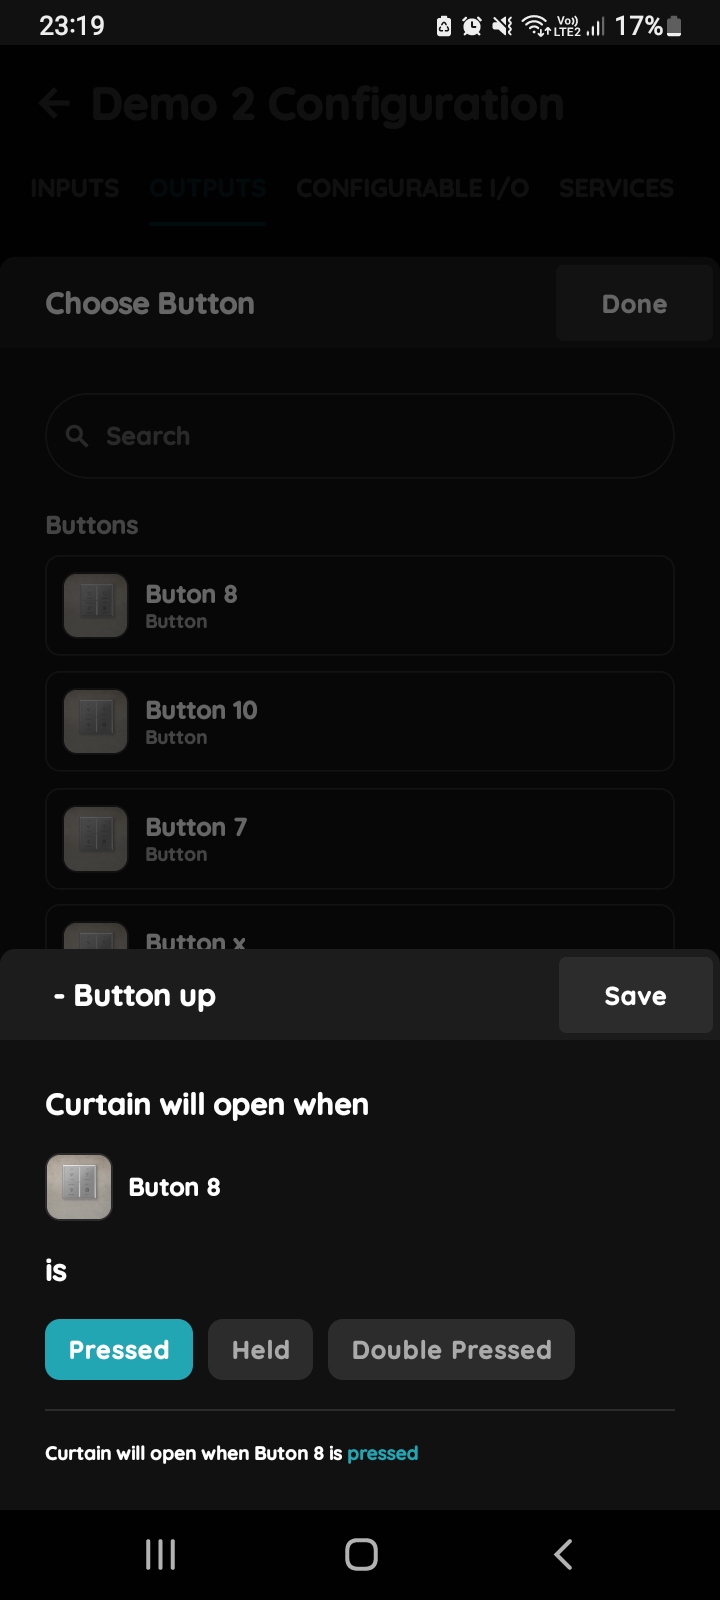
Button - Pressed, Held, Double Pressed
Curtain will open/close when button is Pressed, Held, Double pressed.
In this case Curtain will open when the button is Pressed.
To confirm your choice tap button Save.