PIERRE Partner - Doors Control
Description
A Door is a controller output that drives an electric strike, magnetic lock or door controller input. Adding a door in the PIERRE Partner app makes it operable from the Smart PIERRE app and available to access control and automation.
Configuration
To add a door:
- Open the desired Controller.
- Navigate to Outputs.
- Select Door as the type.
- Configure: Name, Role, Group, Pin and photo.
- Set Timeout, and enable Slide to Confirm or Hide Activity if required.
- Enable Use Sensor if a contact sensor is fitted, then add the sensor.
- Submit and save the configuration.
To edit a door, open the Controller, go to the Outputs tab and select the door from the list. The same fields are available.
Fields
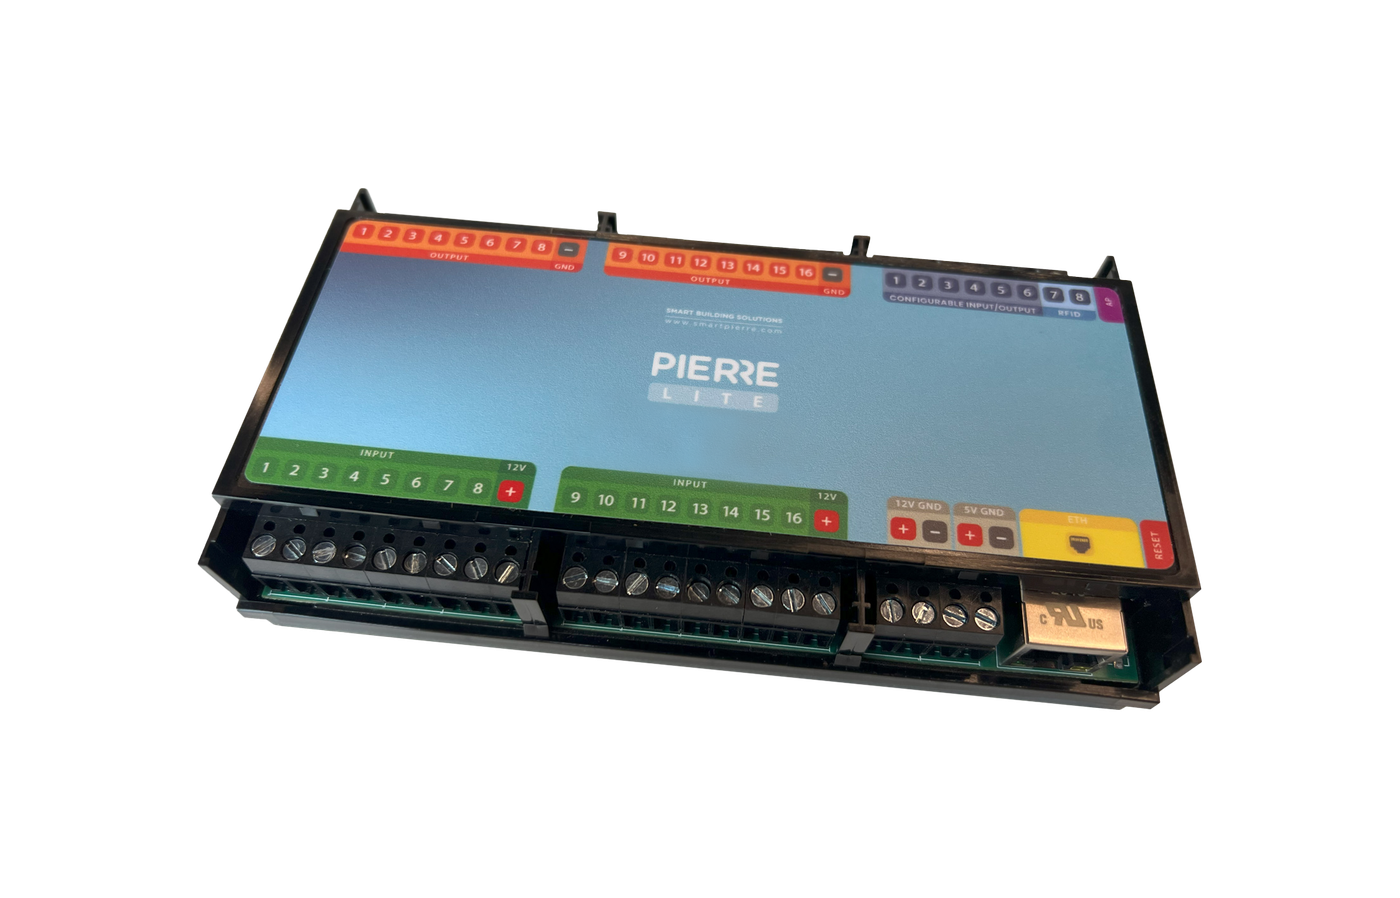
- Pin — the controller output that releases the lock.
- Timeout — how long the door stays released, in seconds.
- Use Sensor — enables a contact sensor so the system reports the actual open or closed state instead of the commanded one.
- Slide to Confirm — requires the user to slide to open the door, preventing accidental release.
- Hide Activity — keeps door events out of the activity log.
Automation Applications
- Releasing the door on a successful read from an RFID reader or keypad.
- Scheduled unlocking, for example during opening hours.
- Using the contact sensor state as a trigger, for example switching on a light when the door opens.
Technical Notes
- Occupies one controller output.
- State reporting requires a contact sensor on an input.
- Access events are recorded and can be reviewed in the system.
Add Door
Door can be added in a few steps.
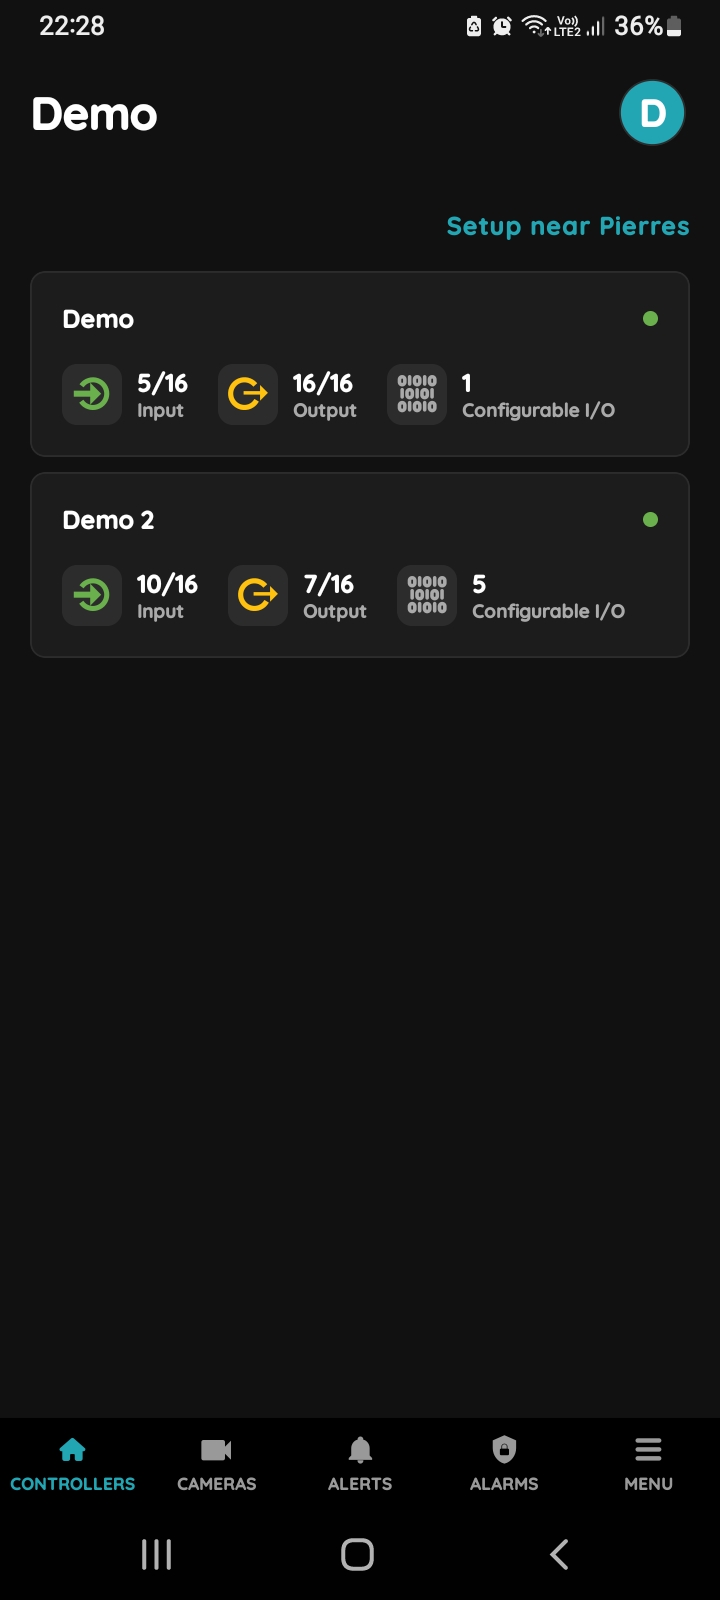
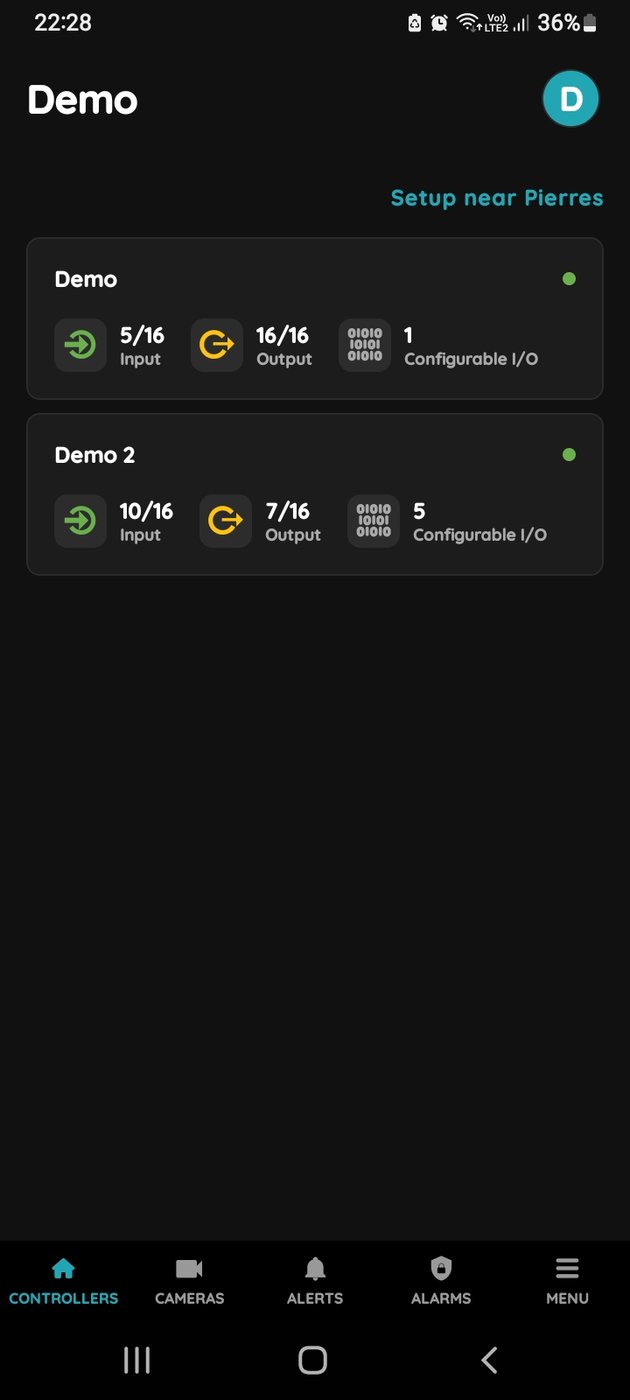
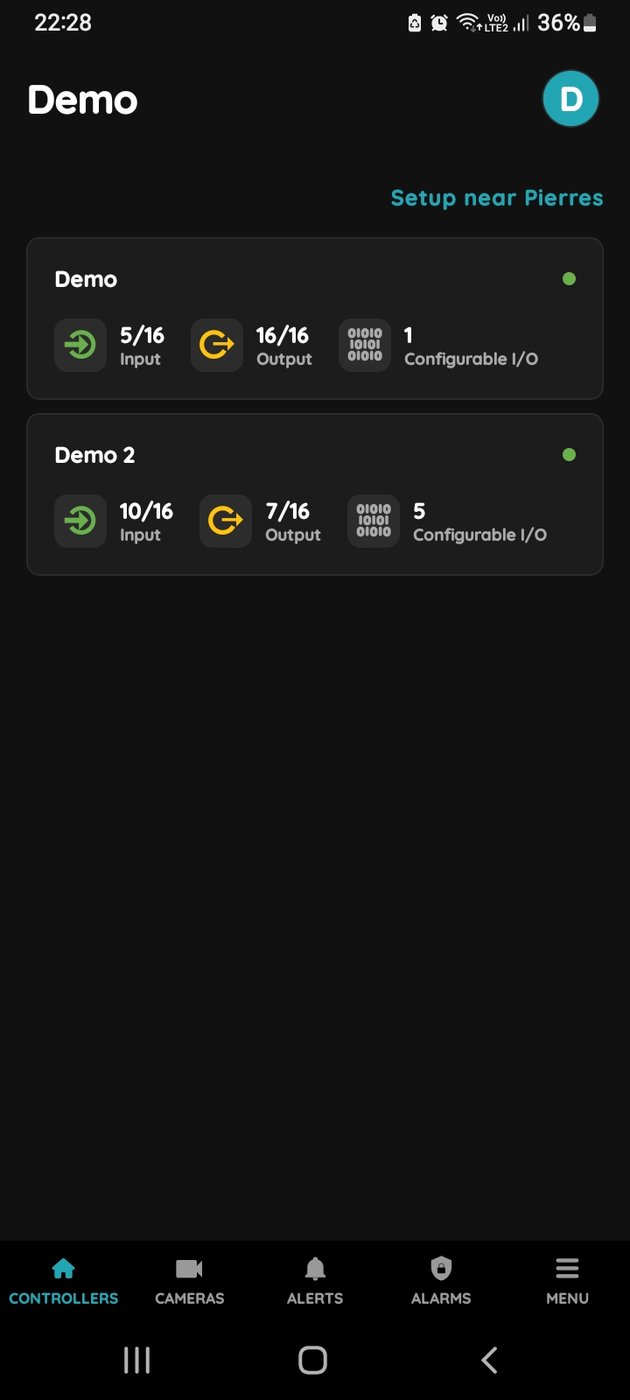
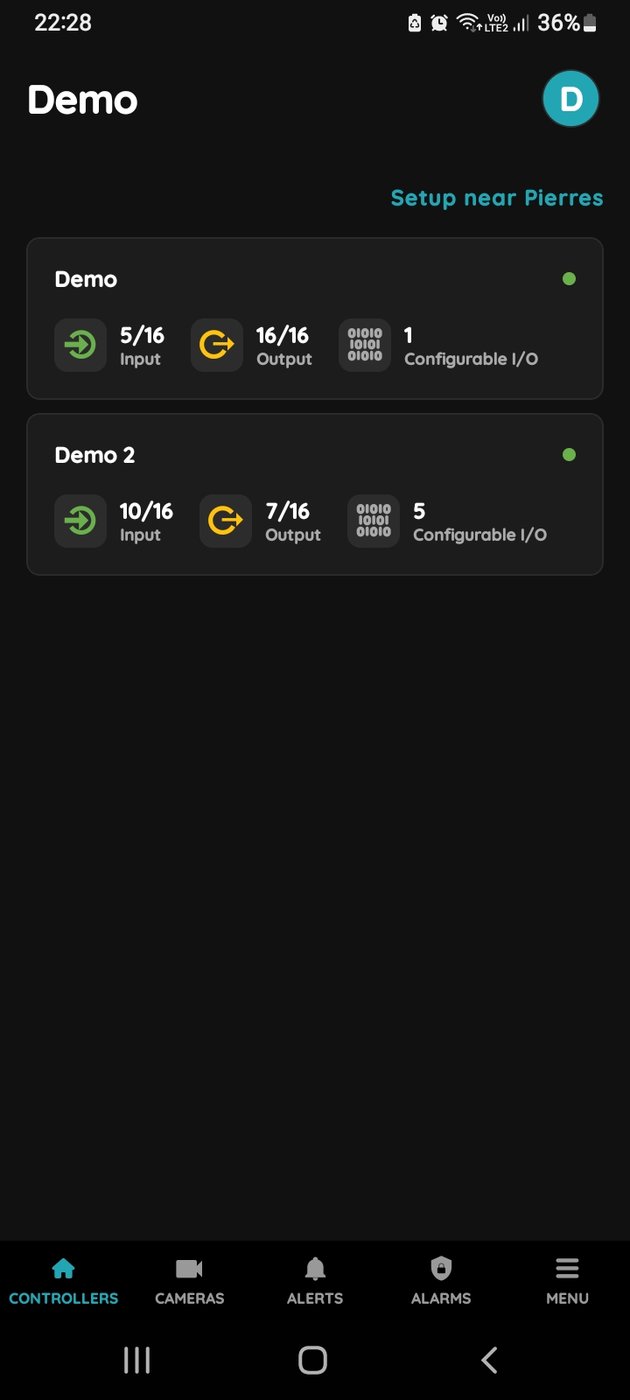
Choose Controller
Tap on the Controller that you would like to add new I/O to.
To edit the I/O, click on the Controller to which the I/O is added.
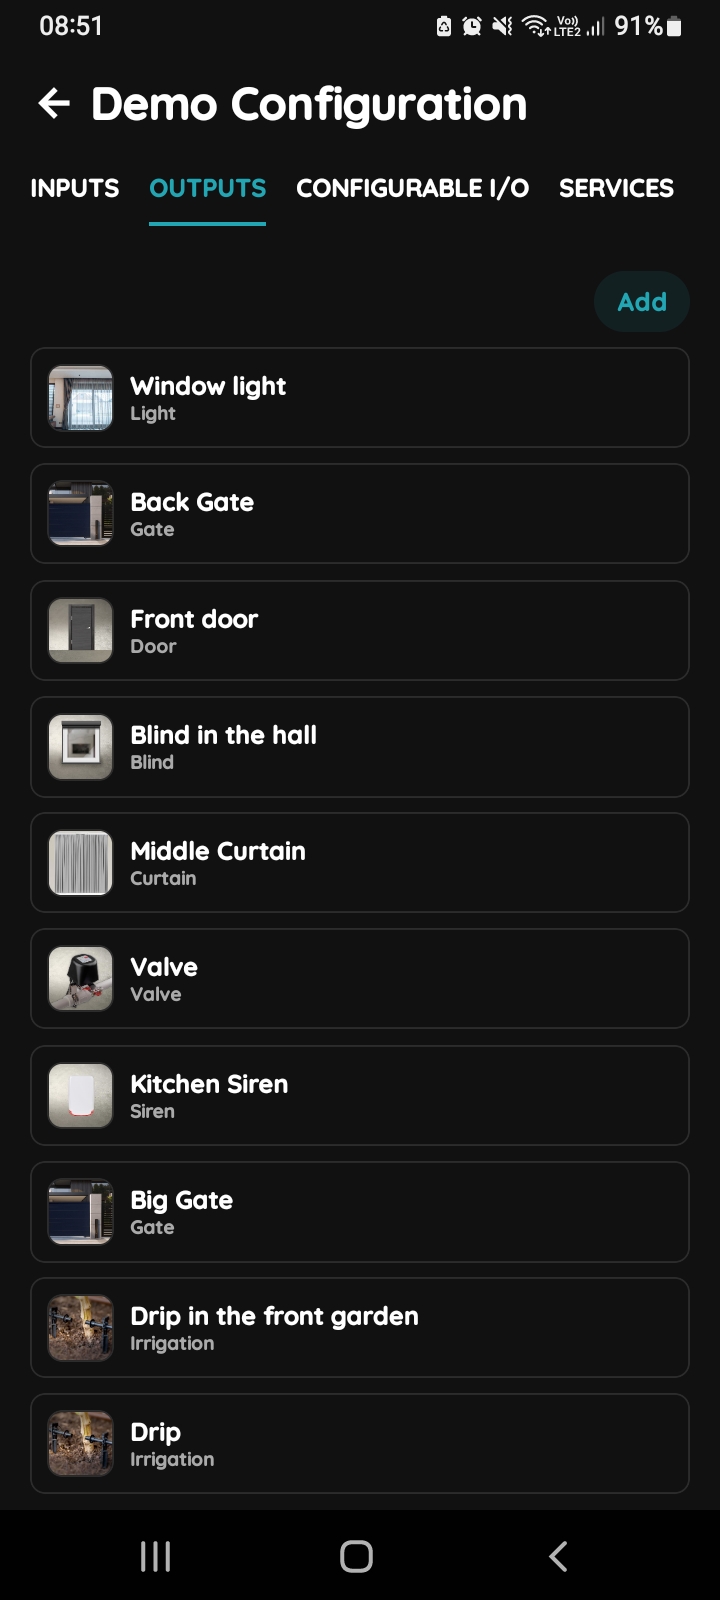
Outputs - Choose I/O
Tap on the Outputs tab, scroll to the desired I/O from the list and tap on it.
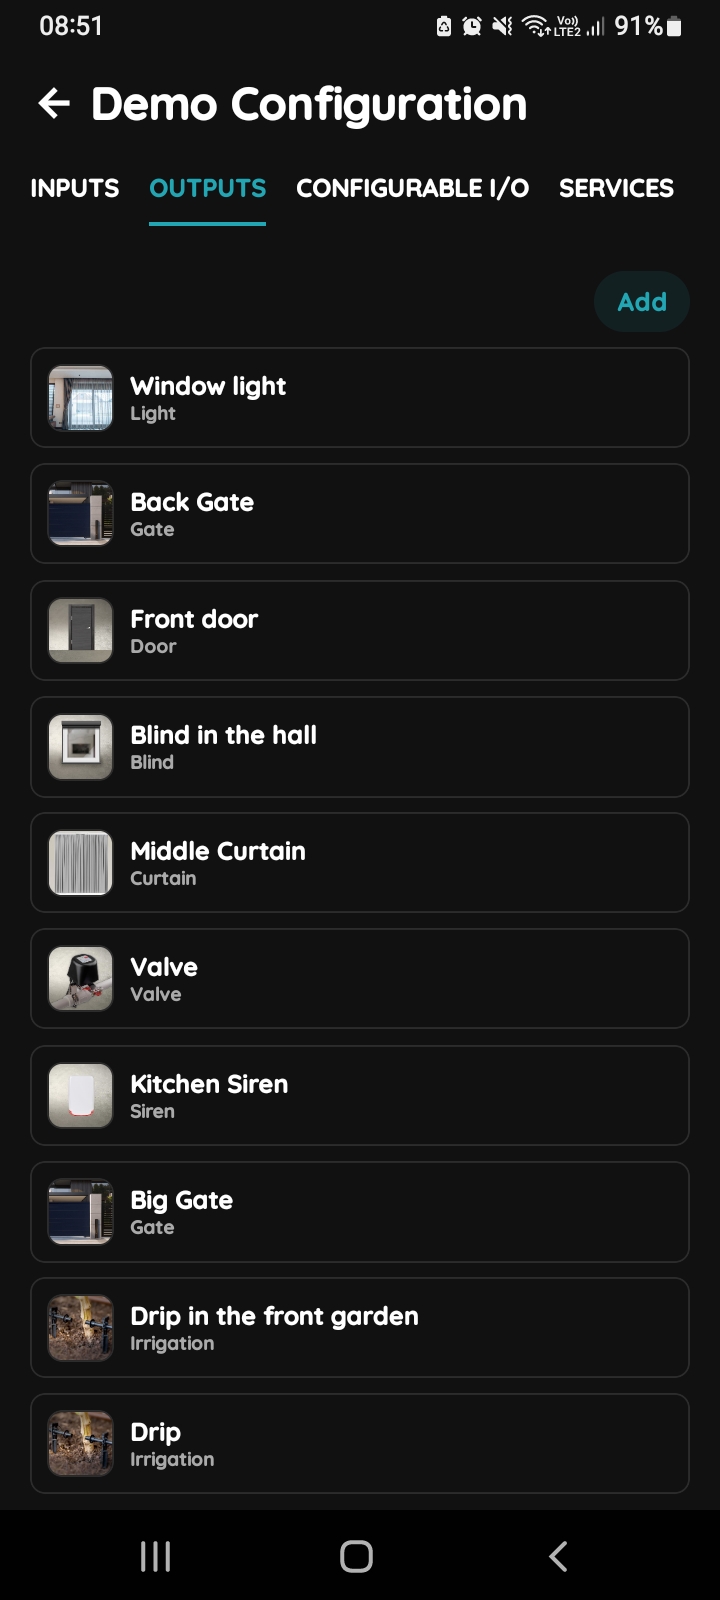
Outputs - Add button
Tap on the Outputs at the top and tap on the button Add.
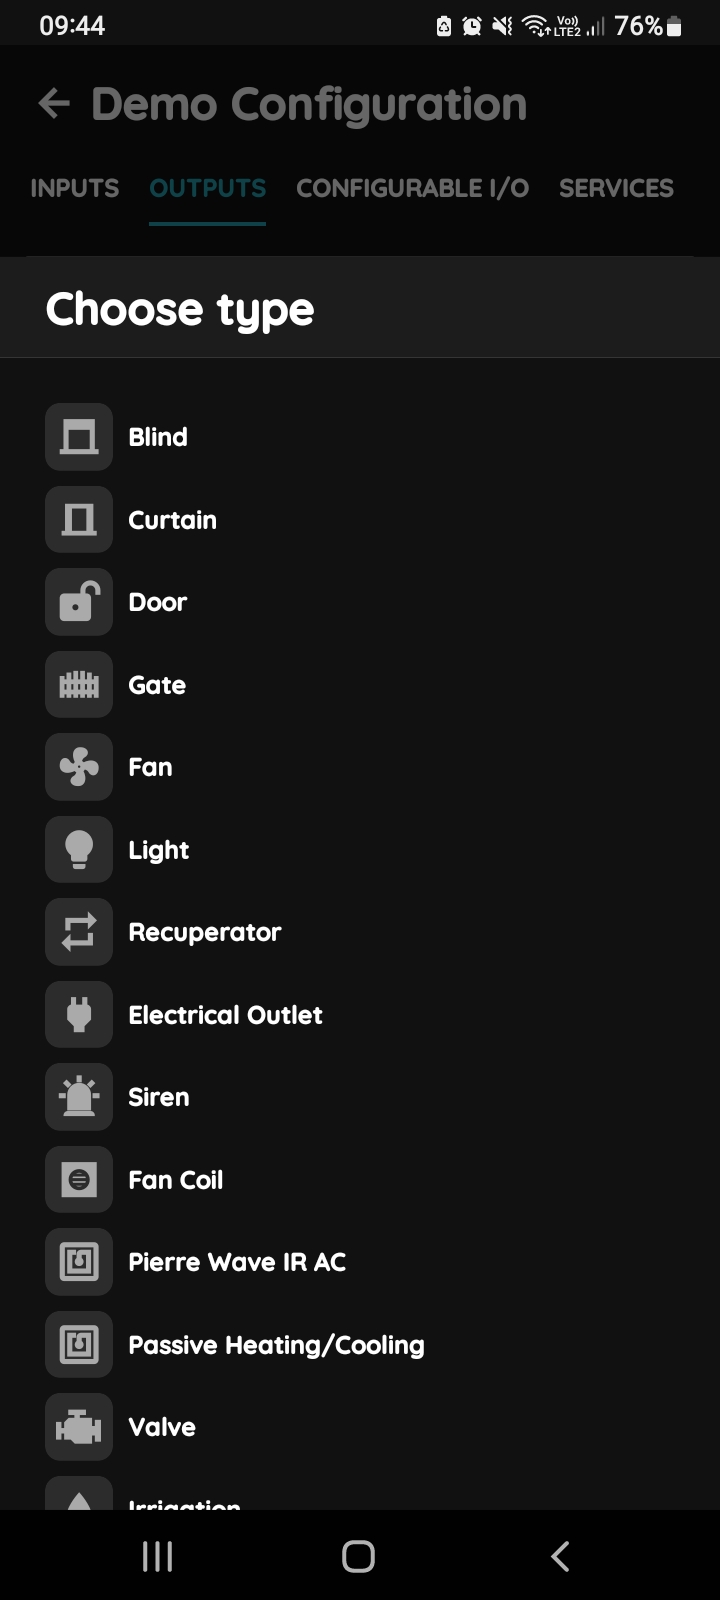
Choose type in PIERRE Partner application
Choose type - Scroll to the I/O from the list and tap on the one that you would like to add.
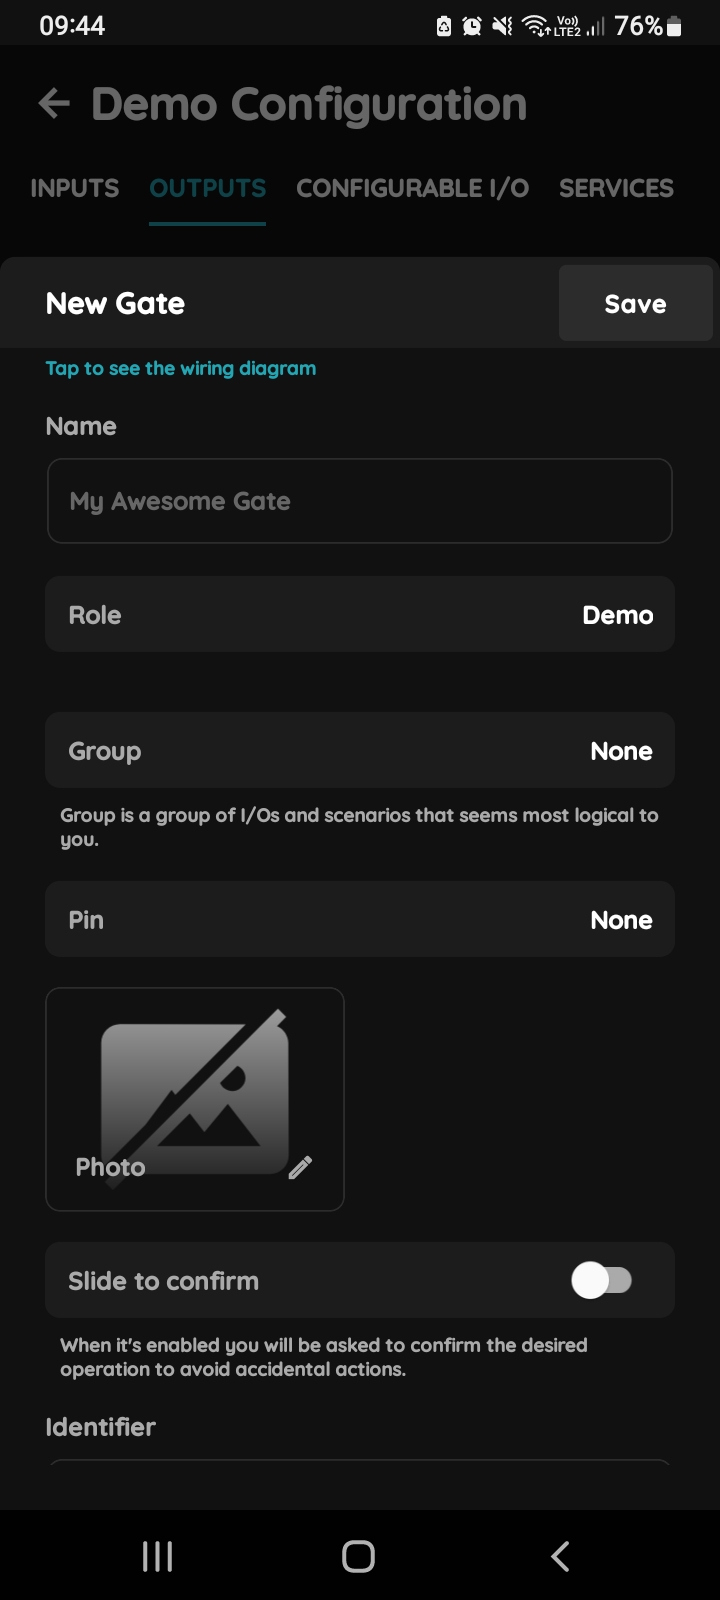
New Door
In this step fill following form to add New Door:
- Name - Enter the name of the Doors.
- Role - Select the role from the list.
- Group - Choose the appropriate group from the list. Groups represent logical collections of I/O and scenarios.
- Pin - Select the Pin. The Pin is the physical place on the Controller where the I/O device is connected.
- Photo - Choose a photo for the Doors.
- Slide to confirm - When enabled, you will be asked to confirm the desired operation to prevent accidental actions.
- Identifier - Enter the I/O identifier from the electrical project.
- Hide Activity - Use this option to hide the I/O activity from the Activity tab.
- Timeout - It the duration of time for how long the Doors will stay Open in auto mode.
- Use sensor - Indicate whether the assigned sensor is actively in use.
- Sensor - Add a new sensor if needed.
- Open Direction - Select the direction for the Doors to open.
When you want to confirm your choice tap Submit and Done.
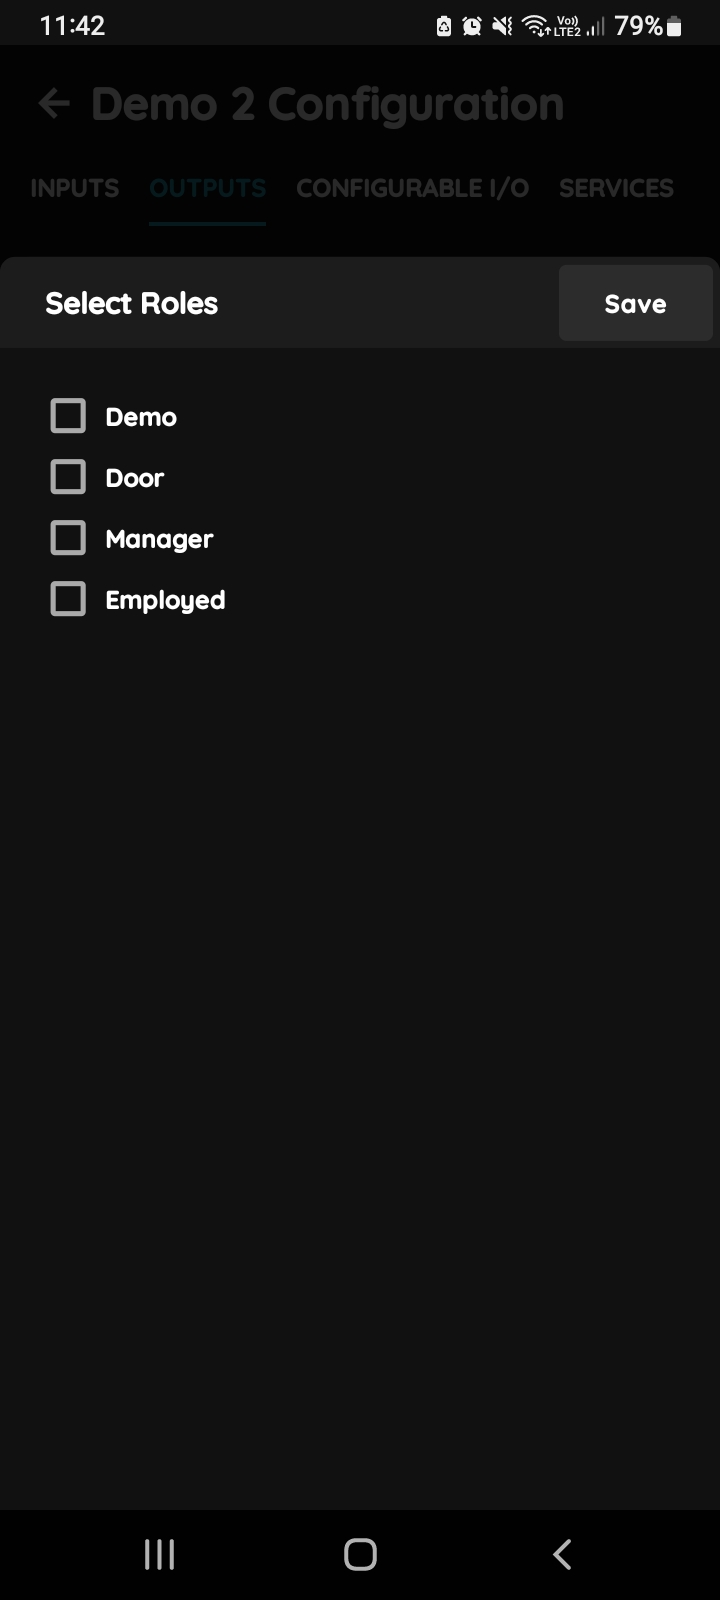
Select Roles
You can select desired Role or Roles - multiple choice if you tap on the checkboxes next to them.
Tap on Save/Done.
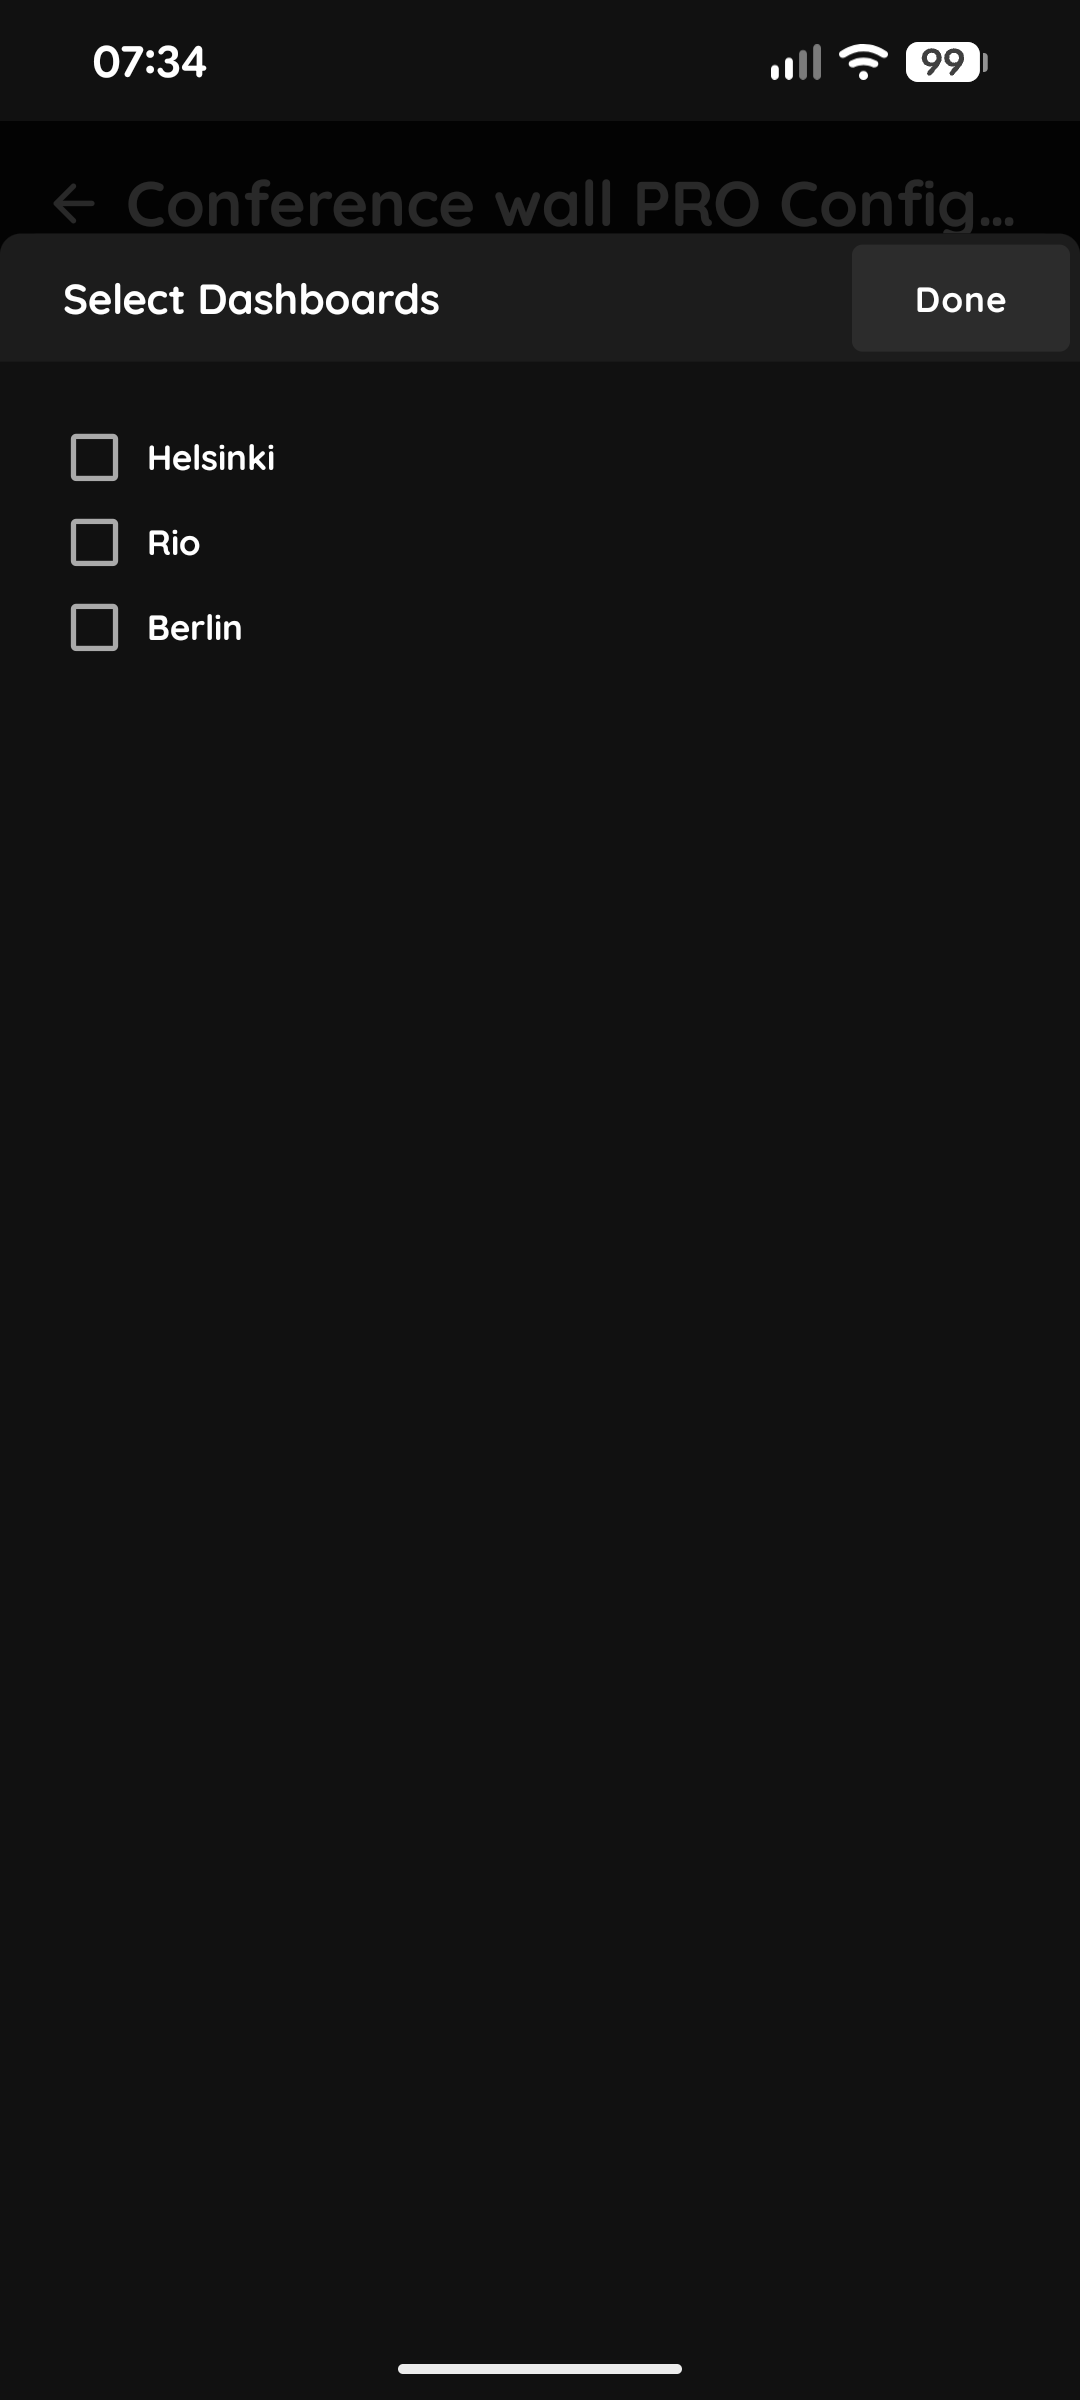
Select Dashboards
In this step you select the Dashboard: the PIERRE display or displays on which the I/O will be shown. Select the check box next to the desired Dashboard or Dashboards from the list.
When you want to confirm your choice tap Done.
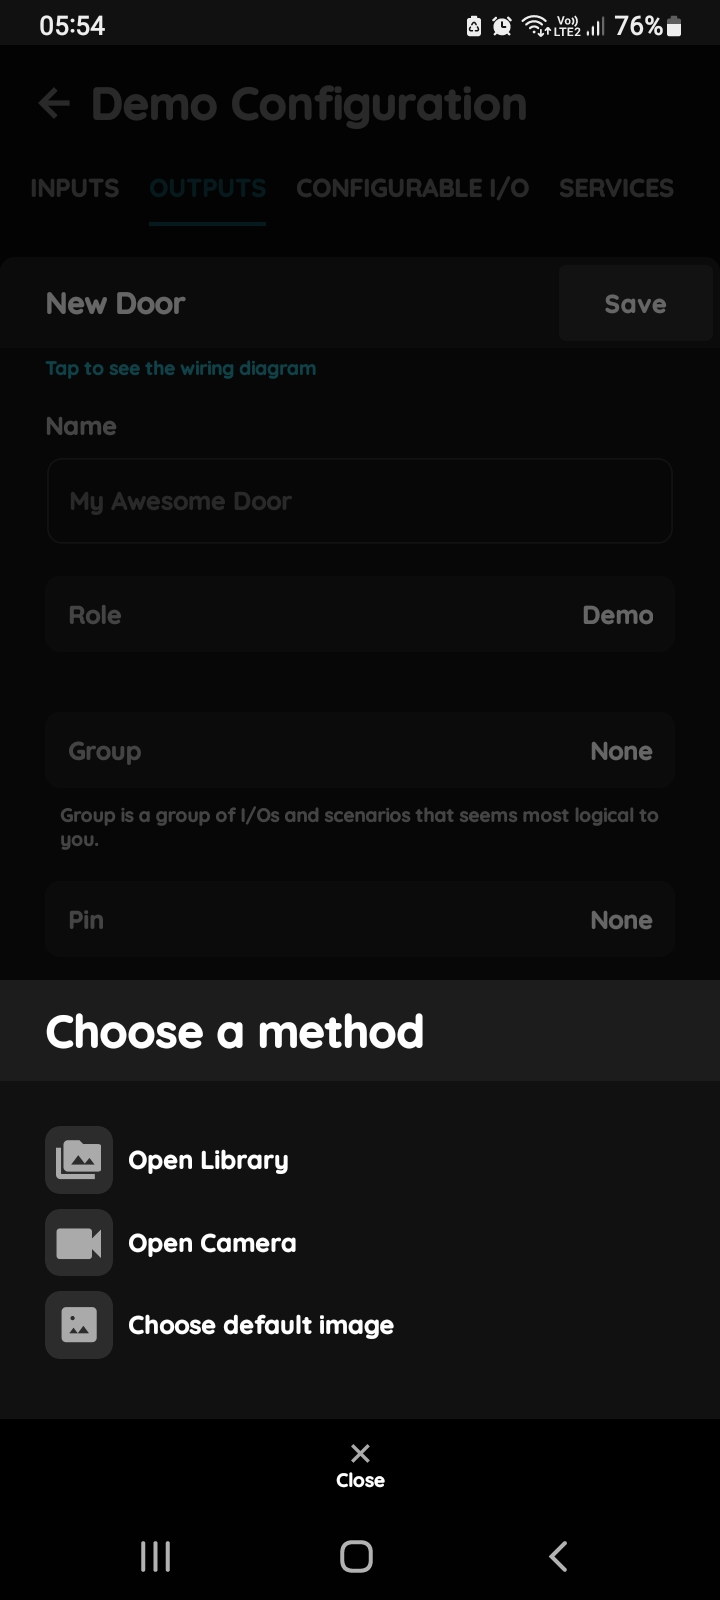
Change a photo - Doors in PIERRE Partner app
Tap the photo of the Doors.
You have tree options:
Open Library - The phone’s Library will open.
Open Camera - You can take a picture using your smartphone.
Choose default image - These images are prepared in advance in order to provide a complete and seamless experience.
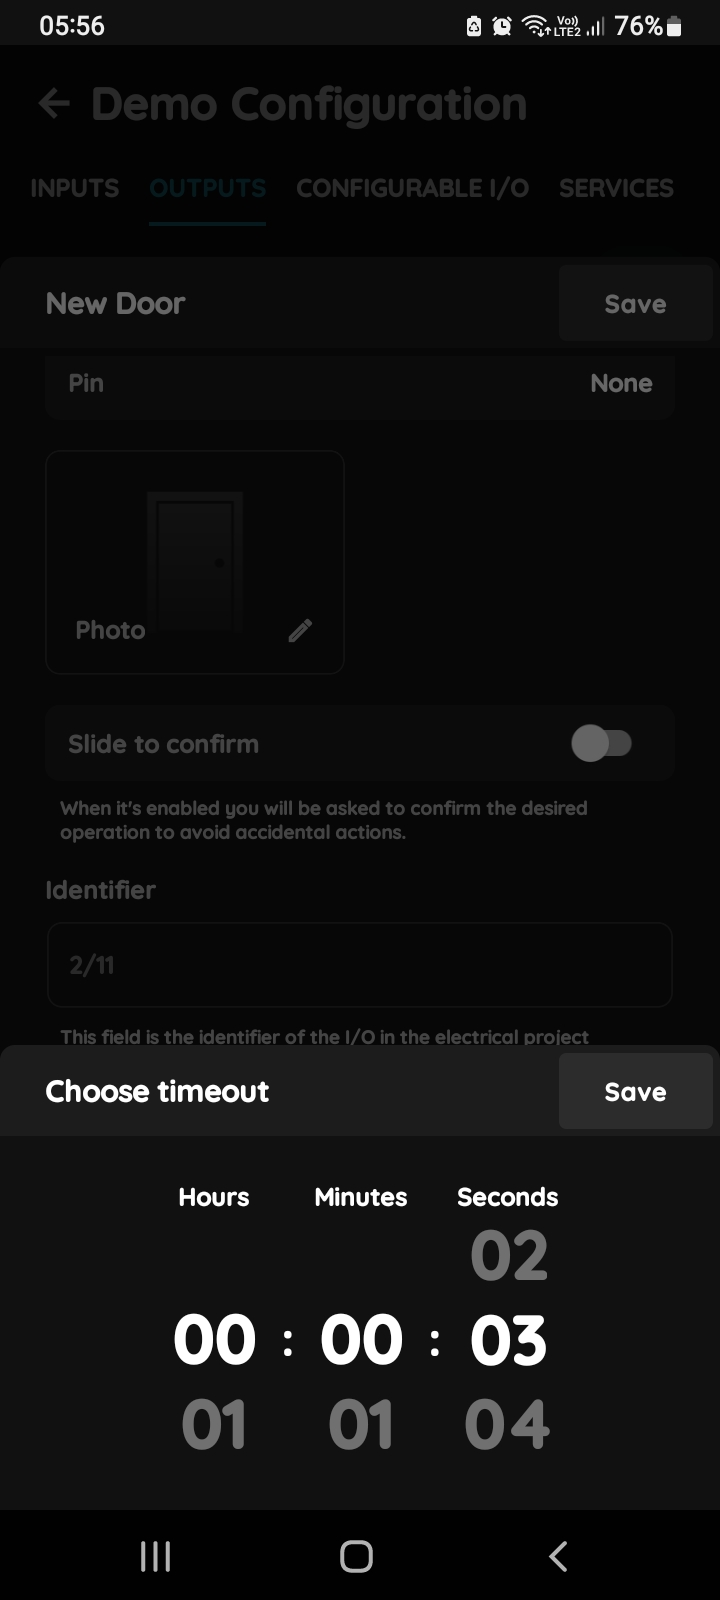
Choose Timer - Doors
In order to set hours, minutes and seconds - Timeout, you should scroll through each of these columns and when you are satisfied with your choice tap Save button.
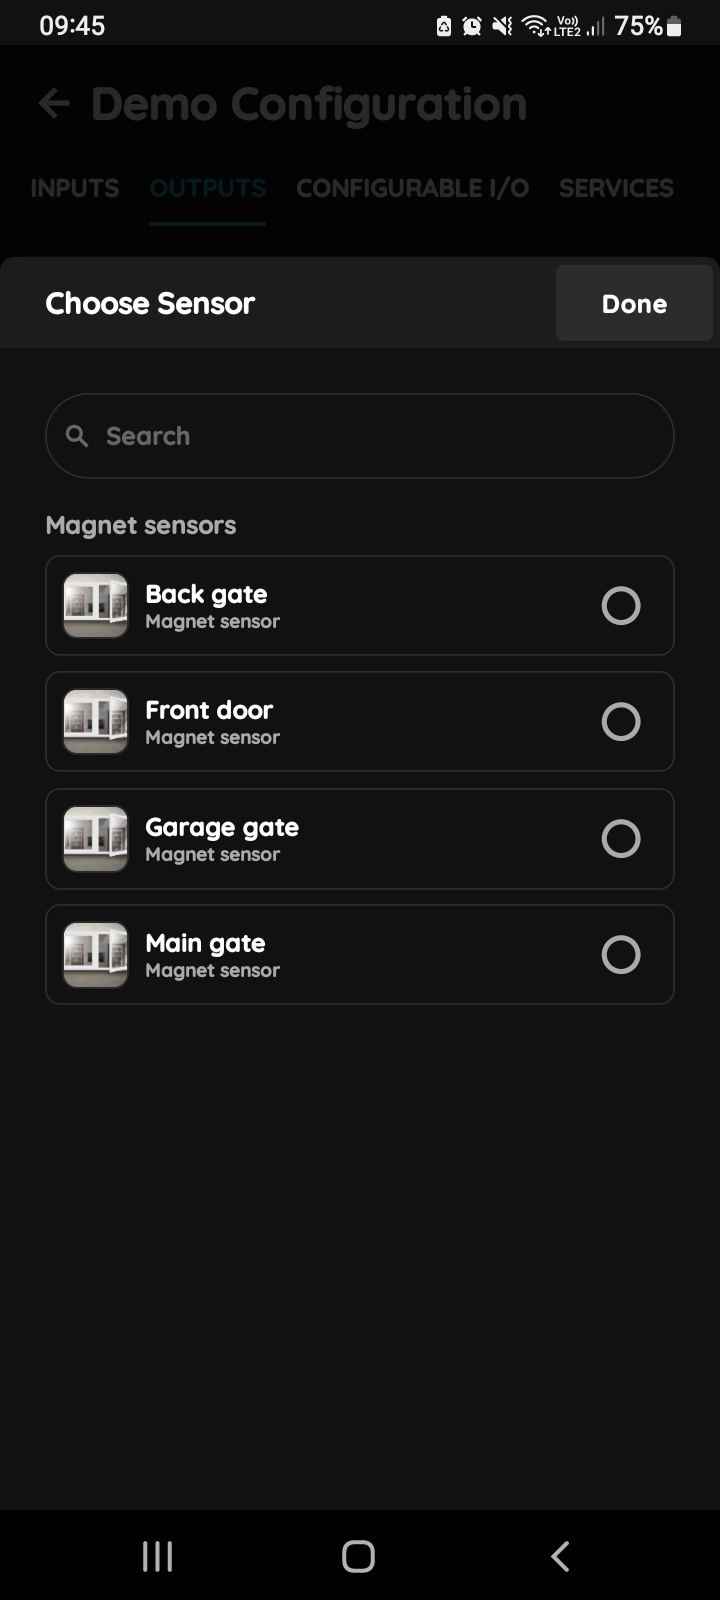
Choose Sensor
Here is a list of Magnet Contact sensors connected to the Gates/Doors.
Select the radio button on the right side next to the Magnet sensor you would like to add.
When you are satisfied with your choice tap the button Done.
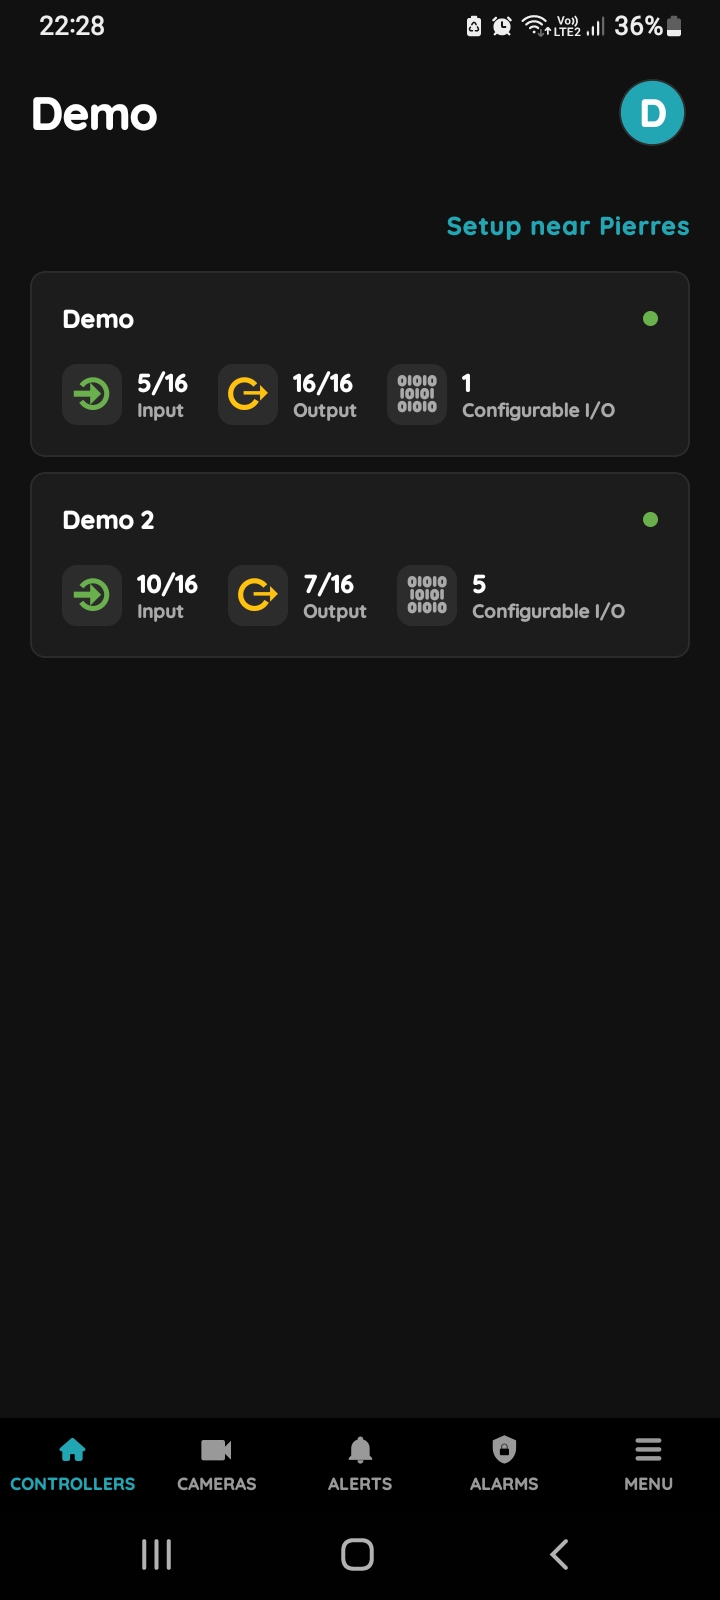
Choose Controller
Door can be edited in a few steps.
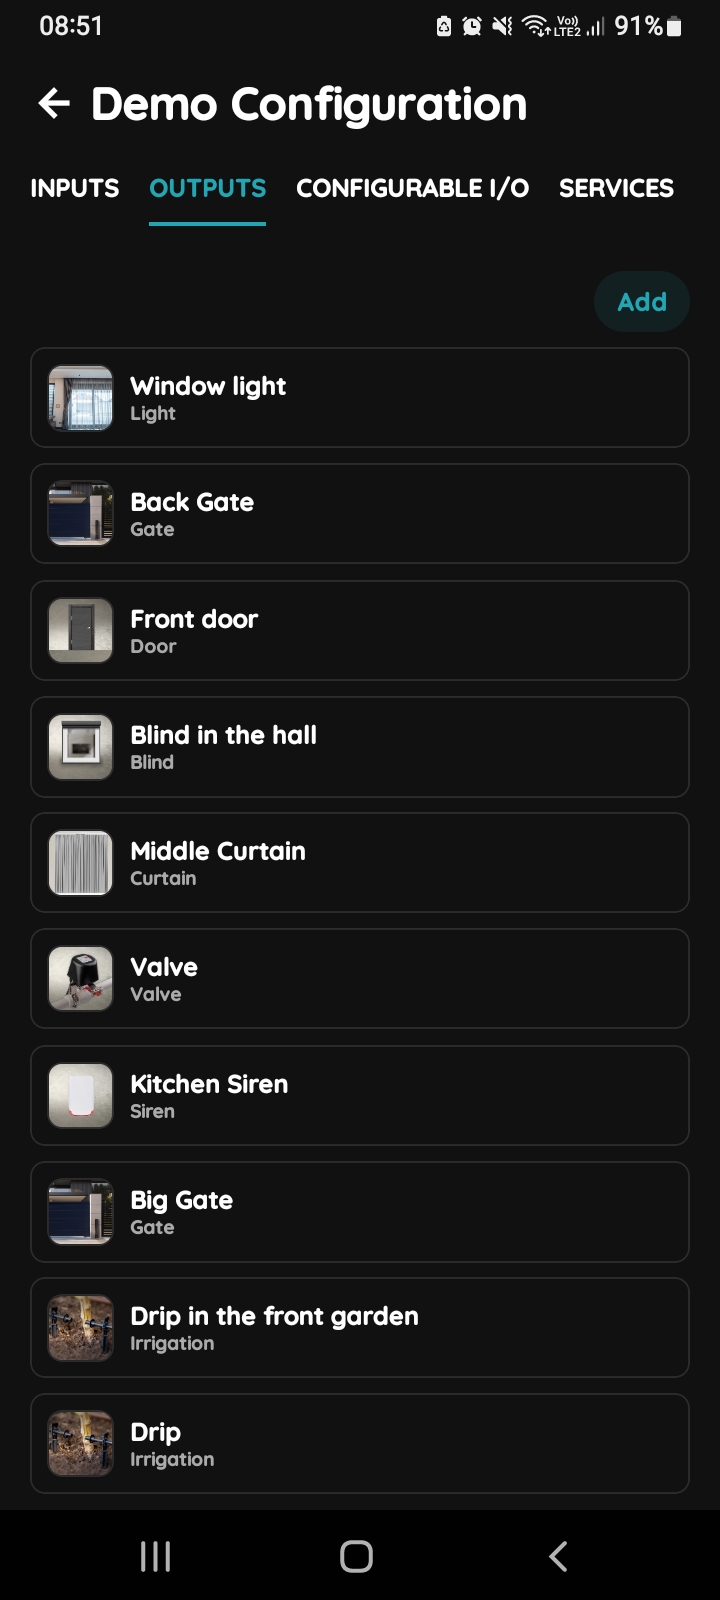
Outputs - Choose I/O
Tap on the Outputs tab, scroll to the desired I/O from the list and tap on it.
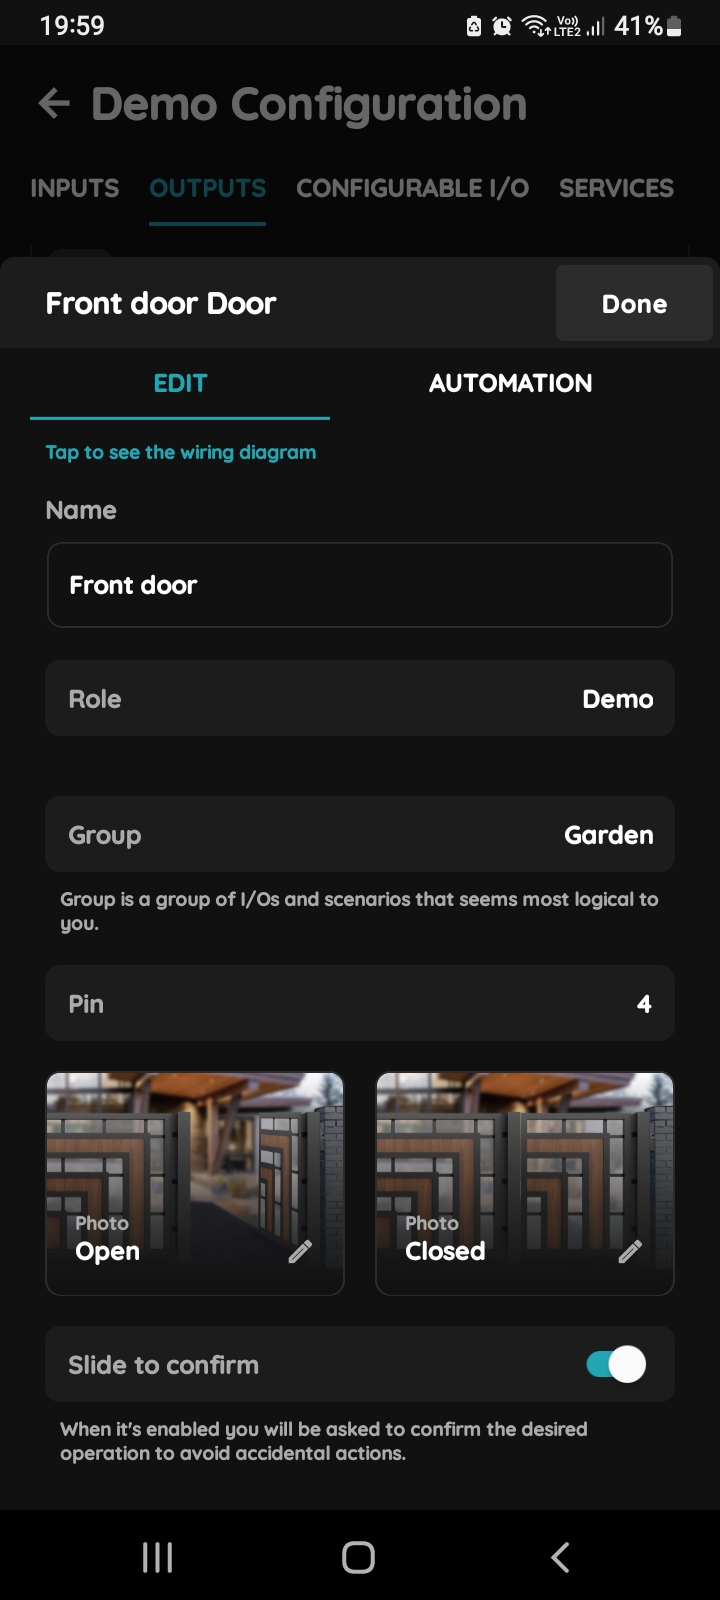
Edit Doors in Partner application
Edit following form:
- Name - Enter the name of the Doors.
- Role - Select the role from the list.
- Group - Choose the appropriate group from the list. Groups represent logical collections of I/O and scenarios.
- Pin - Select the Pin. The Pin is the physical place on the Controller where the I/O device is connected.
- Photo - Choose a photo for the Doors.
- Slide to confirm - When enabled, you will be asked to confirm the desired operation to prevent accidental actions.
- Identifier - Enter the I/O identifier from the electrical project.
- Hide Activity - Use this option to hide the I/O activity from the Activity tab.
- Timeout - It the duration of time for how long the Doors will stay Open in auto mode.
- Use sensor - Indicate whether the assigned sensor is actively in use.
- Sensor - Add a new sensor if needed.
- Open Direction - Select the direction for the Doors to open.
When you want to confirm your choice tap Submit and Done, or if you want to delete the Doors tap button Delete.