PIERRE Partner - Irrigation
Description
Irrigation is a controller output that switches a solenoid valve or pump for a watering zone. Once configured it can be operated from the Smart PIERRE app and driven by schedules and sensors.
Configuration
To add an irrigation output:
- Open the desired Controller.
- Navigate to Outputs.
- Select Add and choose Irrigation as the type.
- Configure: Name, Group, Role and Pin.
- Set Timeout, and enable Slide to Confirm or Hide Activity if required.
- Submit and save the configuration.
To edit an irrigation output, open the Controller, go to the Outputs tab and select it from the list.
Fields
- Pin — the controller output that switches the valve or pump.
- Timeout — how long the zone runs in auto mode, in seconds.
- Slide to Confirm — requires the user to slide to start watering.
- Hide Activity — keeps watering events out of the activity log.
Automation Applications
- Watering on a schedule, with the run time set by Timeout.
- Suspending watering while a Rain Sensor reports rain, and resuming afterwards.
- Use as a target in scenarios.
Zones and Power Supply
One irrigation output controls one zone. Wire one zone per output and automate them individually.
How many zones can run at the same time is a power supply limit, not a system limit. The irrigation power supply normally used can drive three zones simultaneously. With a larger supply, more zones — or all of them — can run together.
Size the supply during design. If the standard supply is used, stagger the zone start times in the schedule so that no more than three valves are open at once.
Technical Notes
- Occupies one controller output per zone.
- The output switches the valve or pump — check that the coil current is within the rating of the relay used.
- Rain-based suspension requires a Rain Sensor wired as a separate input.
Add an Irrigation to the Controller
An Irrigation can be added to the Controller in a few steps.
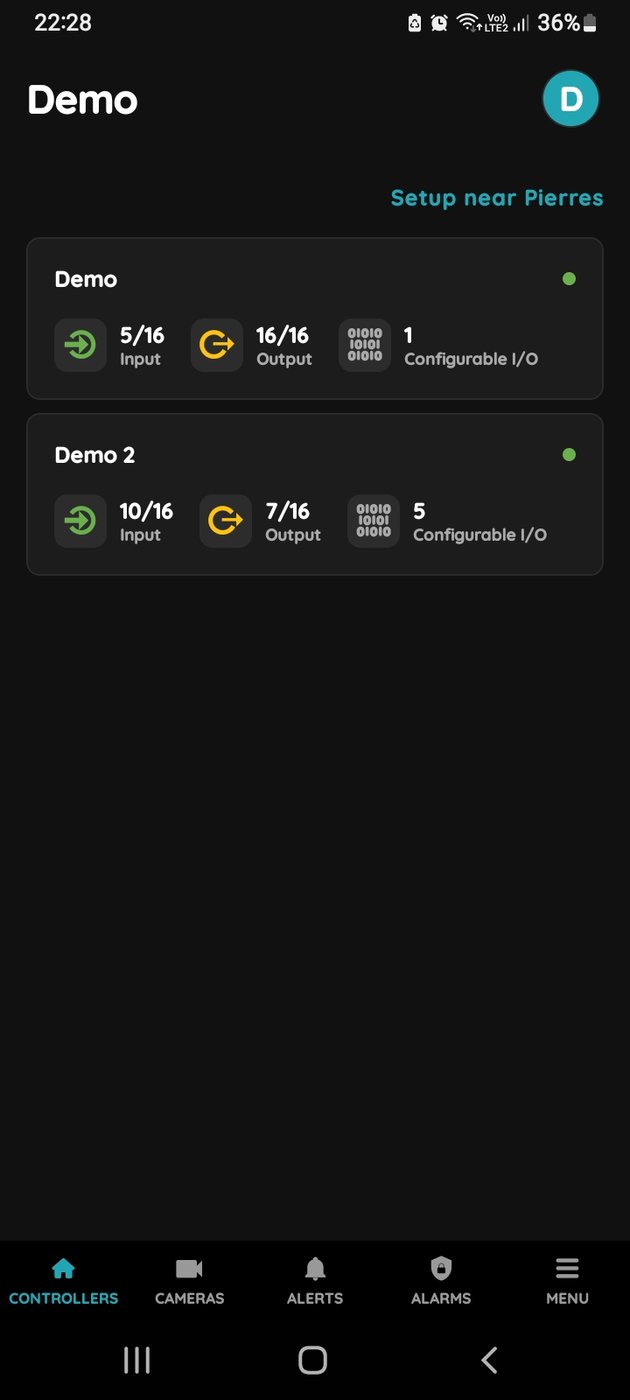
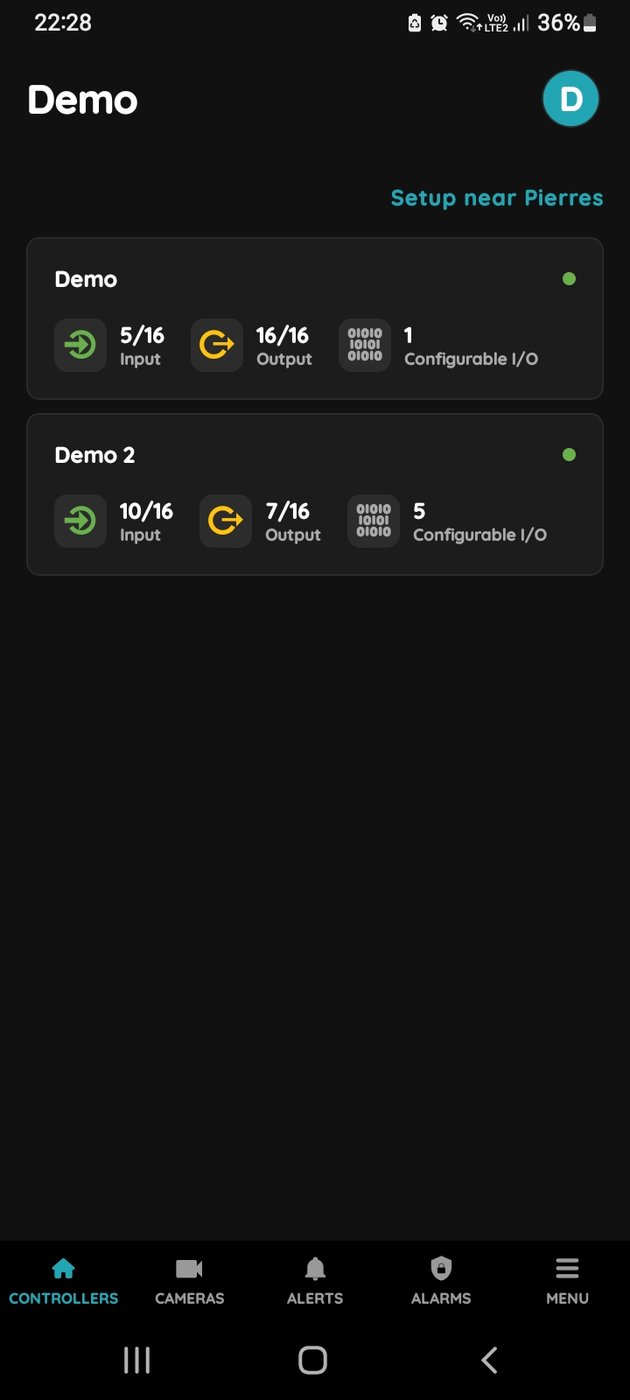
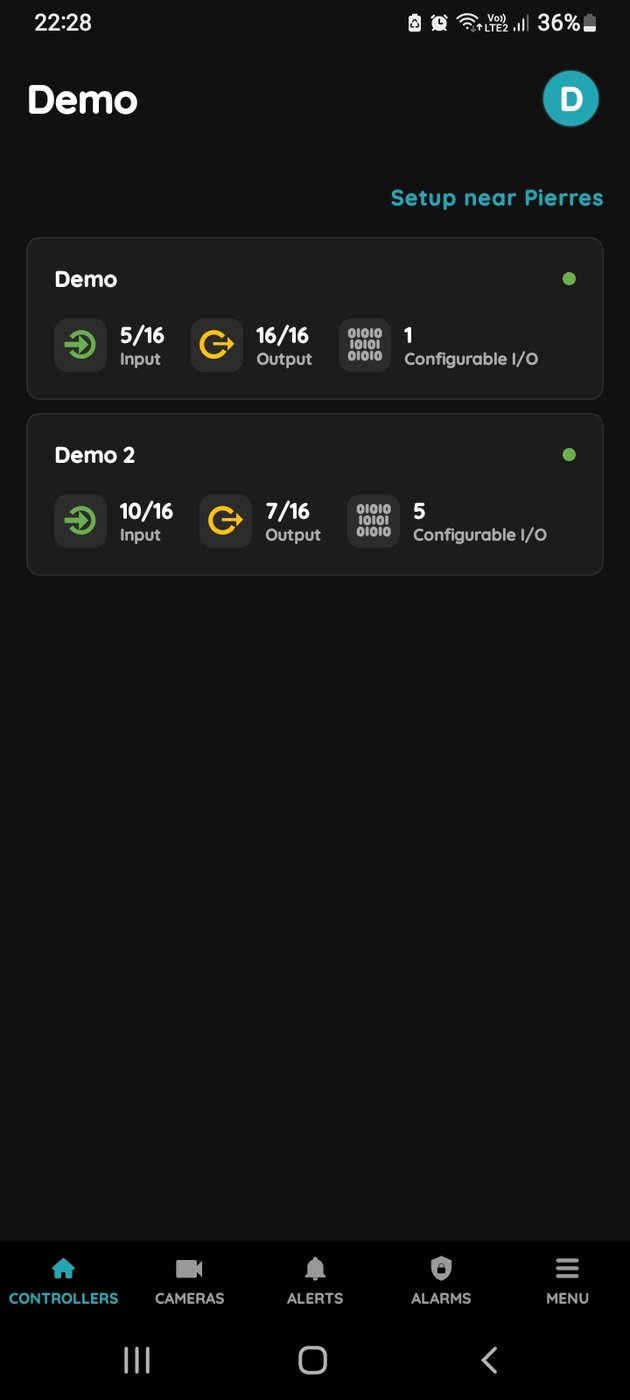
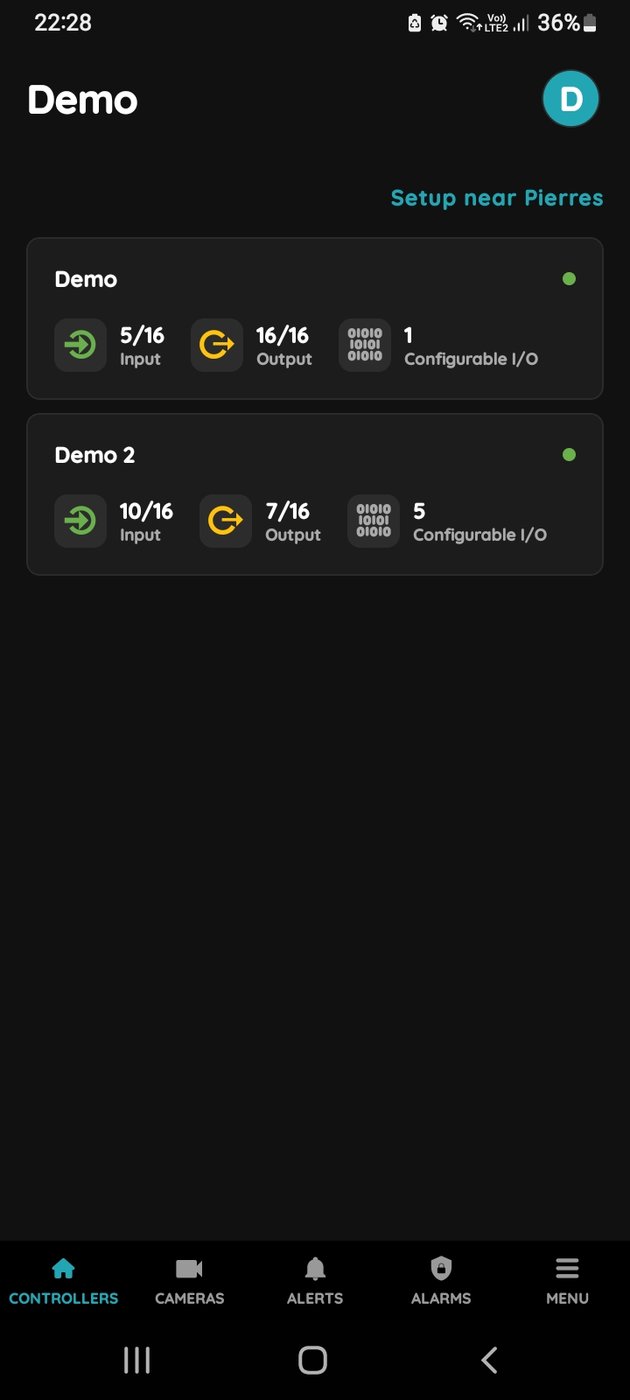
Choose Controller
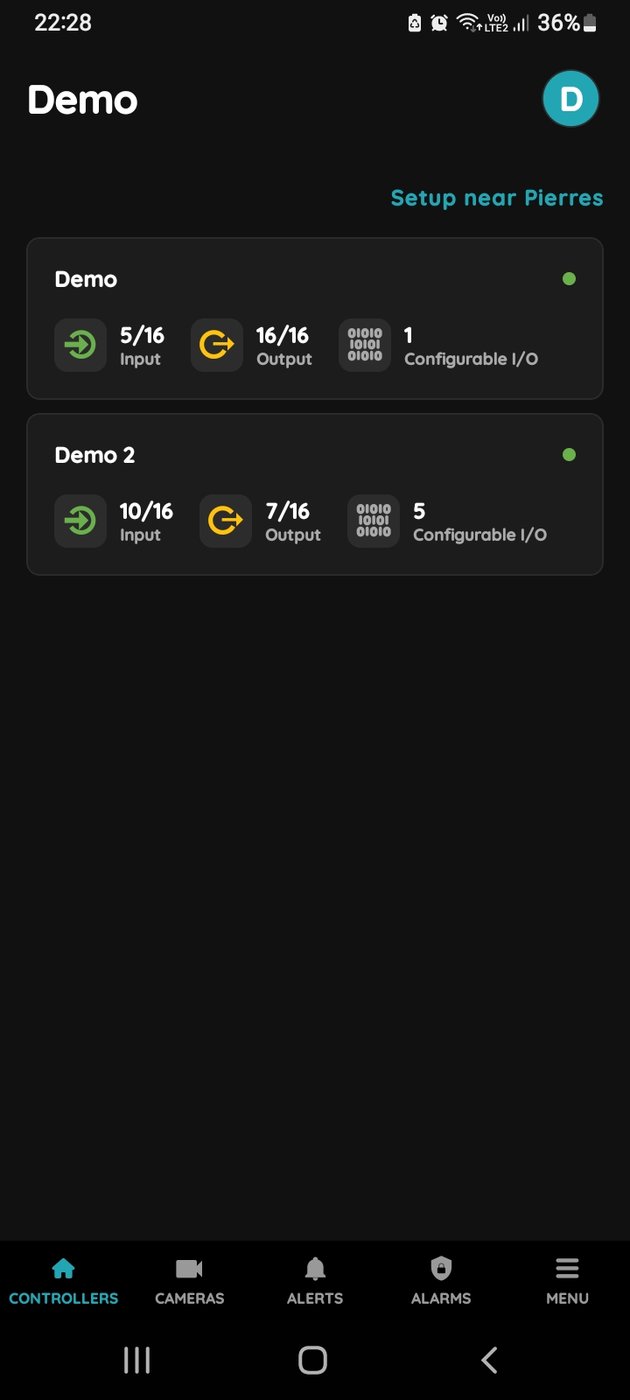
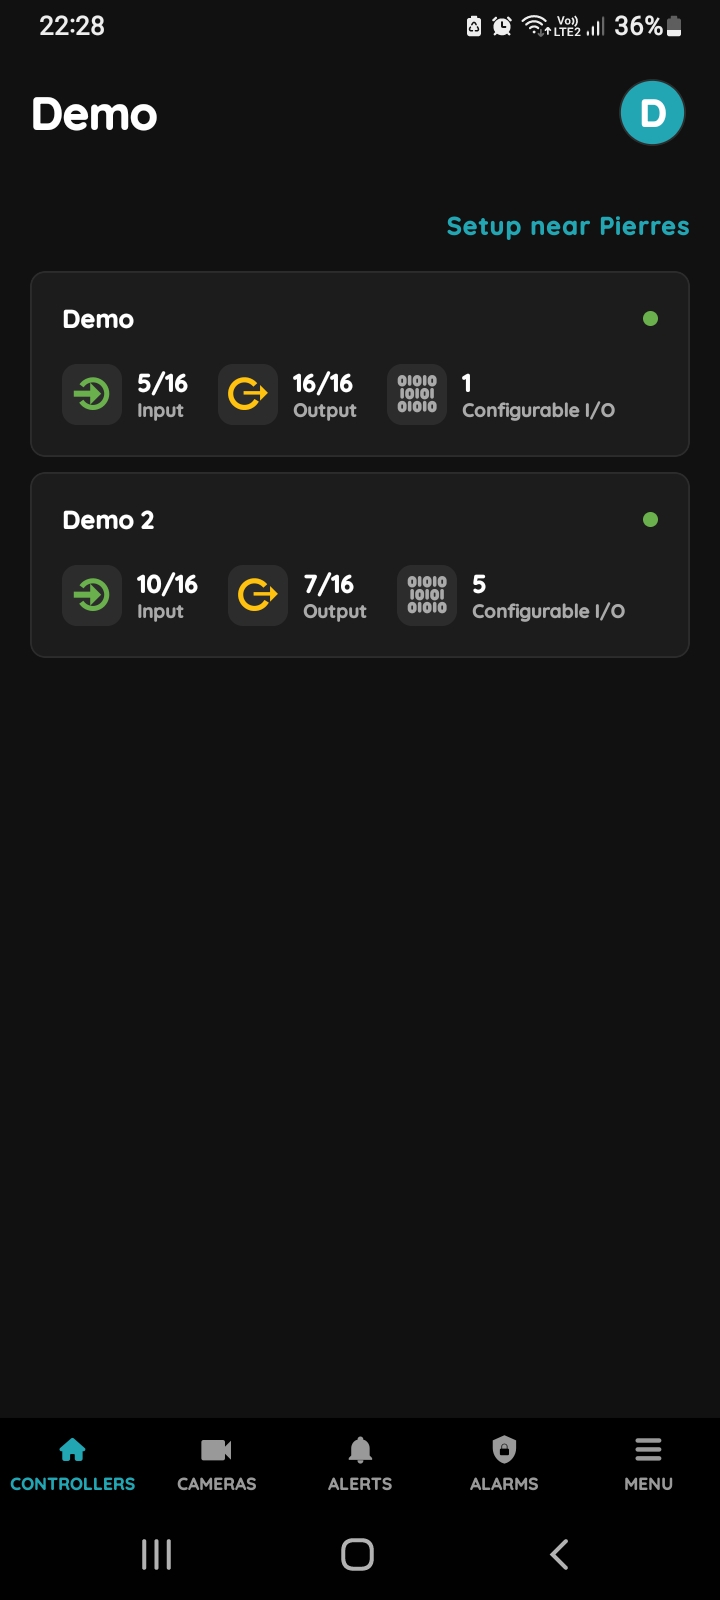
Tap on the Controller that you would like to add new I/O to.
To edit the I/O, click on the Controller to which the I/O is added.
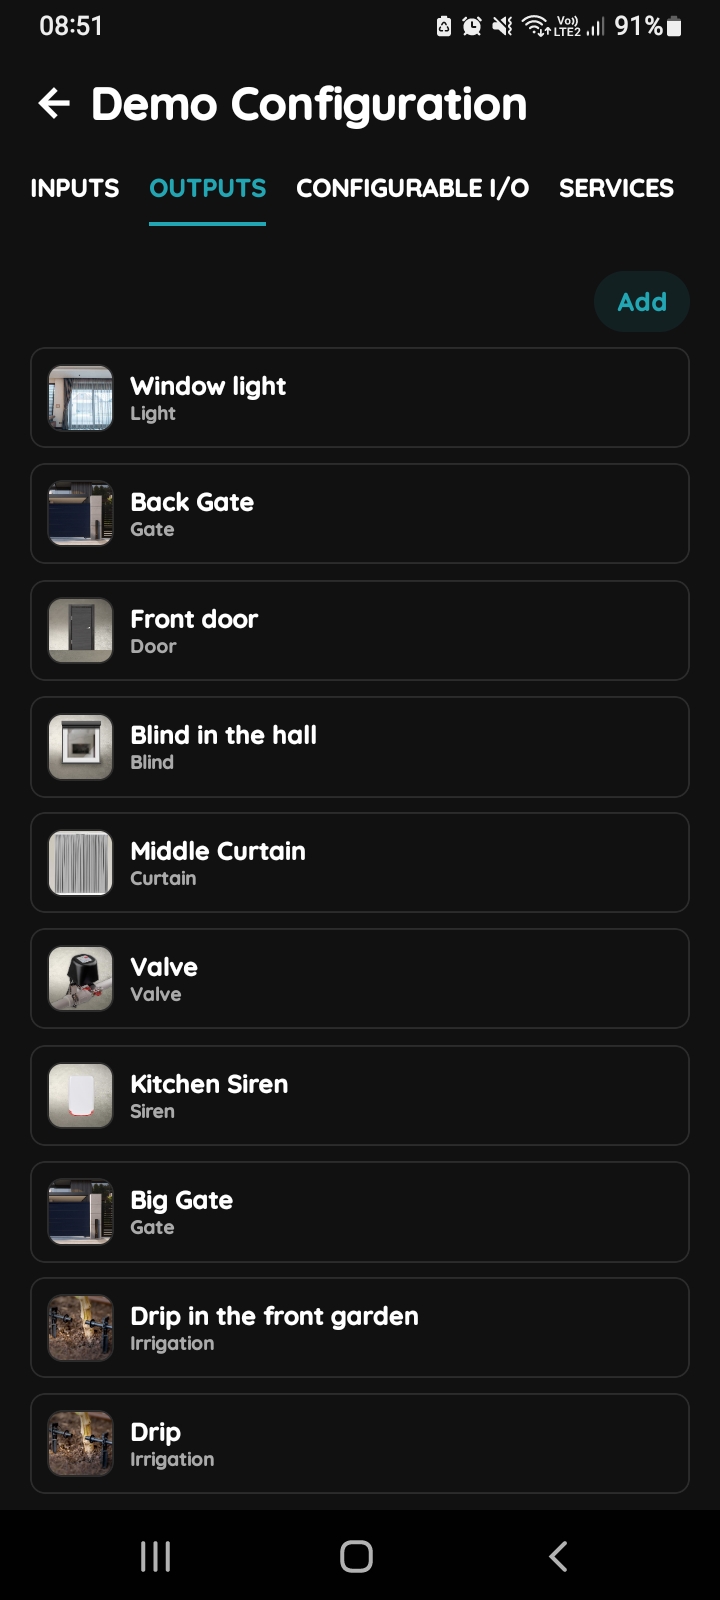
Outputs - Add button
Tap on the Outputs at the top and tap on the button Add.
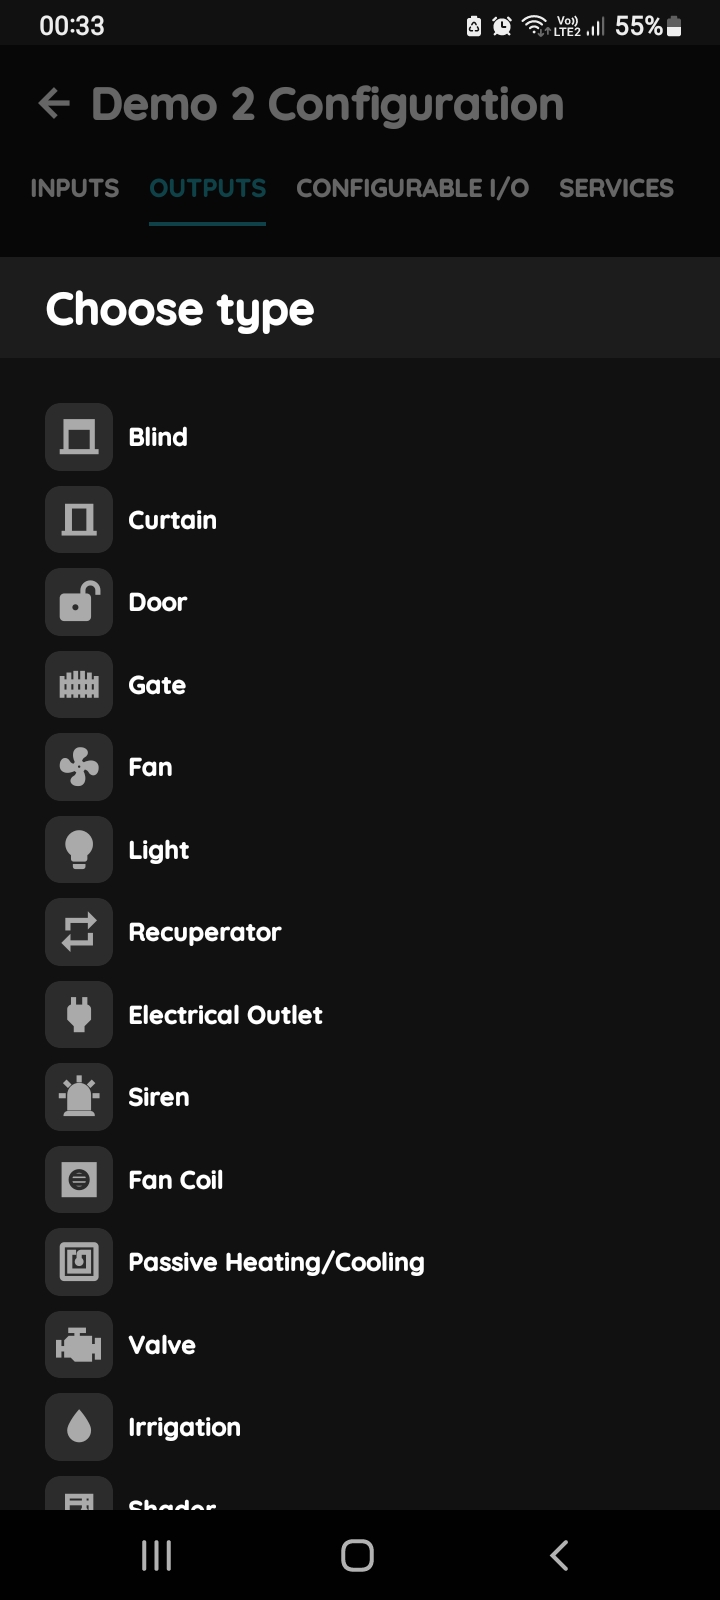
Choose type - Outputs
Tap on the type of the desired I/O that you would like to add.
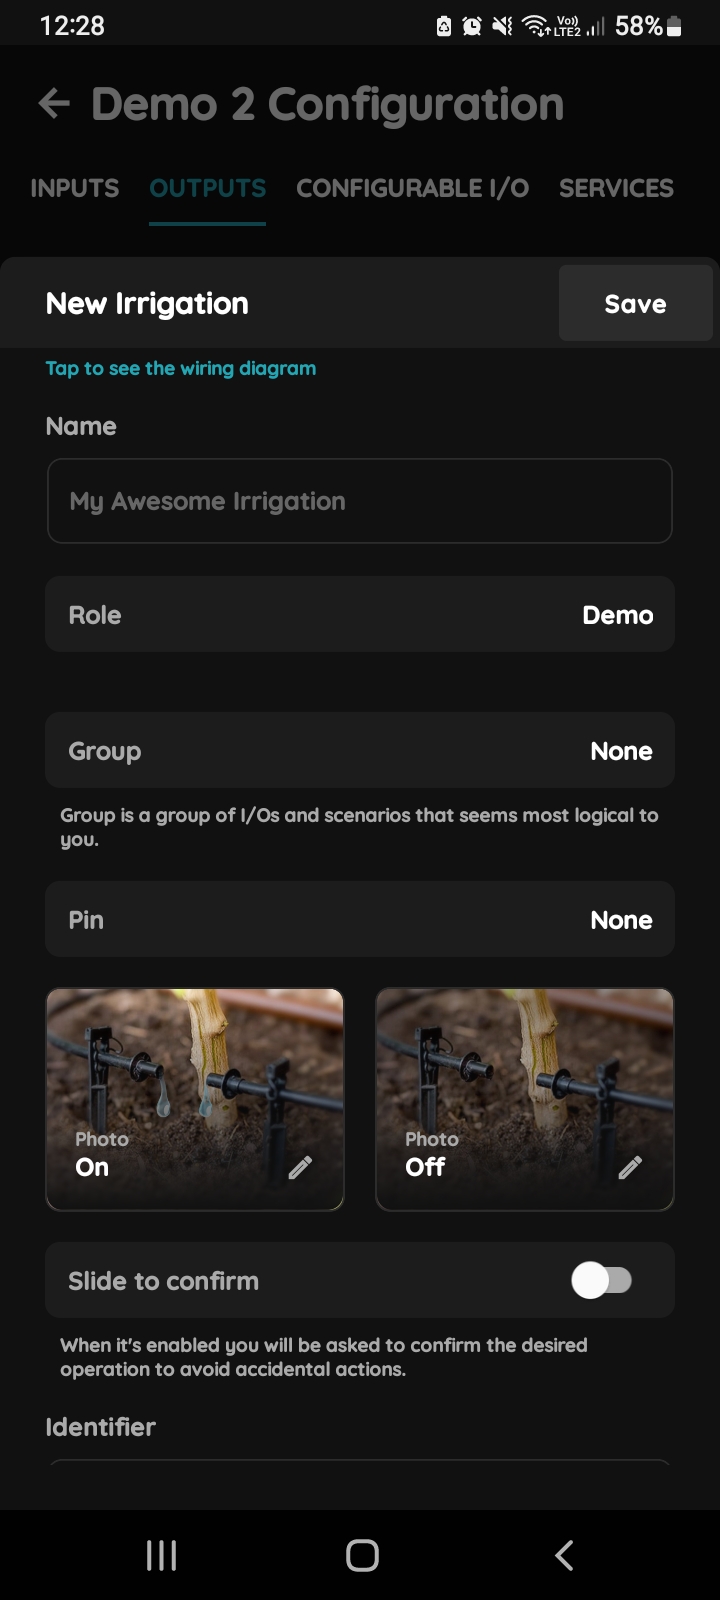
New Irrigation
Fill following form:
- Name - Enter the name of the Irrigation.
- Role - Select the appropriate Role from the list.
- Group - Choose a Group from the list. Group is a group of I/Os and scenarios that seems most logical to you.
- Pin - Select the Pin, which is the physical location where the I/O connects to the Controller.
- Photo - Choose a photo for the Irrigation representing both the On and Off statuses.
- Identifier - This field is the unique identifier for the I/O in the electrical project.
- Hide Activity - Use this option to conceal I/O activity from the Activity tab.
- Timeout - It is the duration of time the irrigation will remain turned On in auto mode.
When you want to confirm your choice tap Submit and Save.
For further instructions, please follow the next steps.
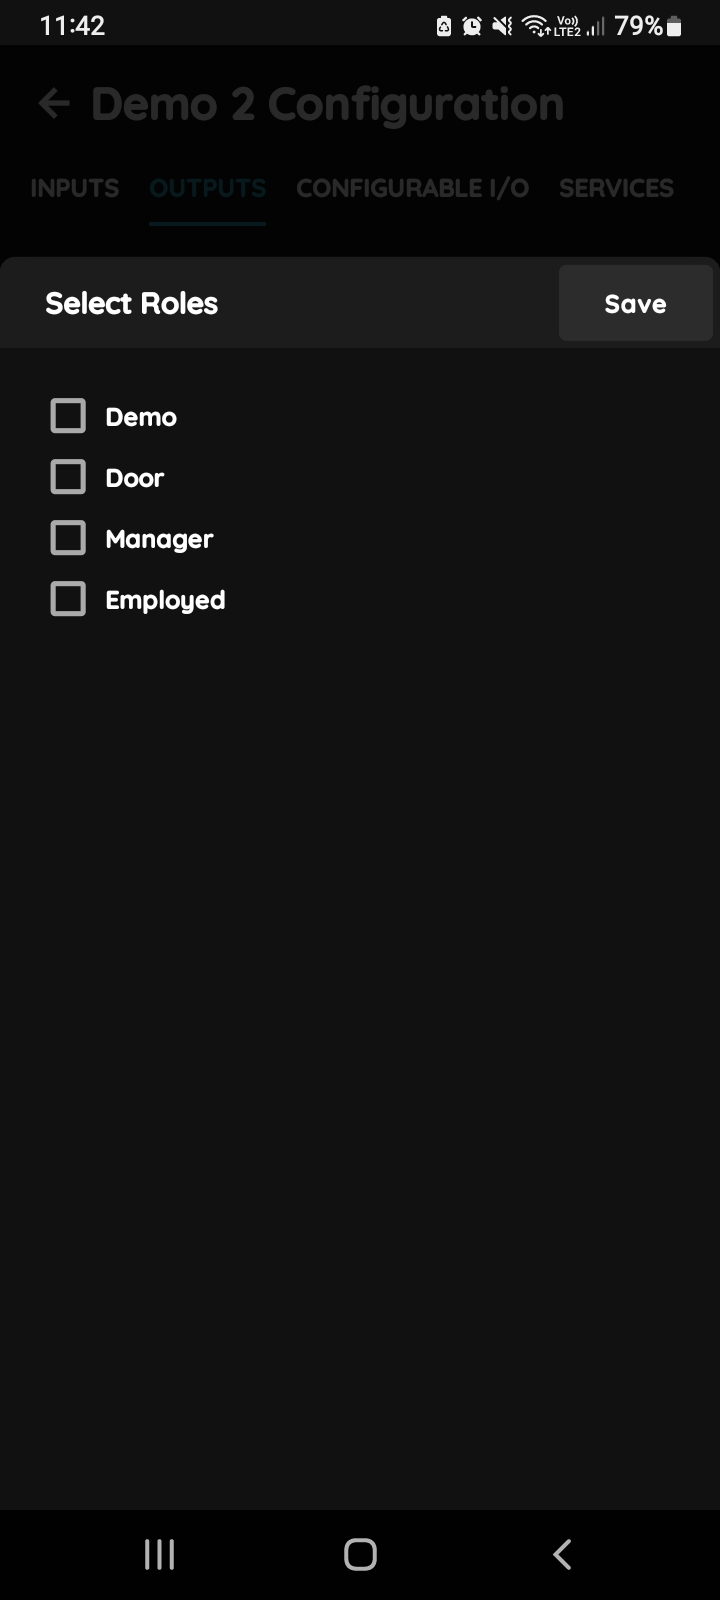
Select Roles
Tap in the field Role and after tap on the checkbox/checkboxes to select Role/Roles - multiple choice.
Tap Save/Done.
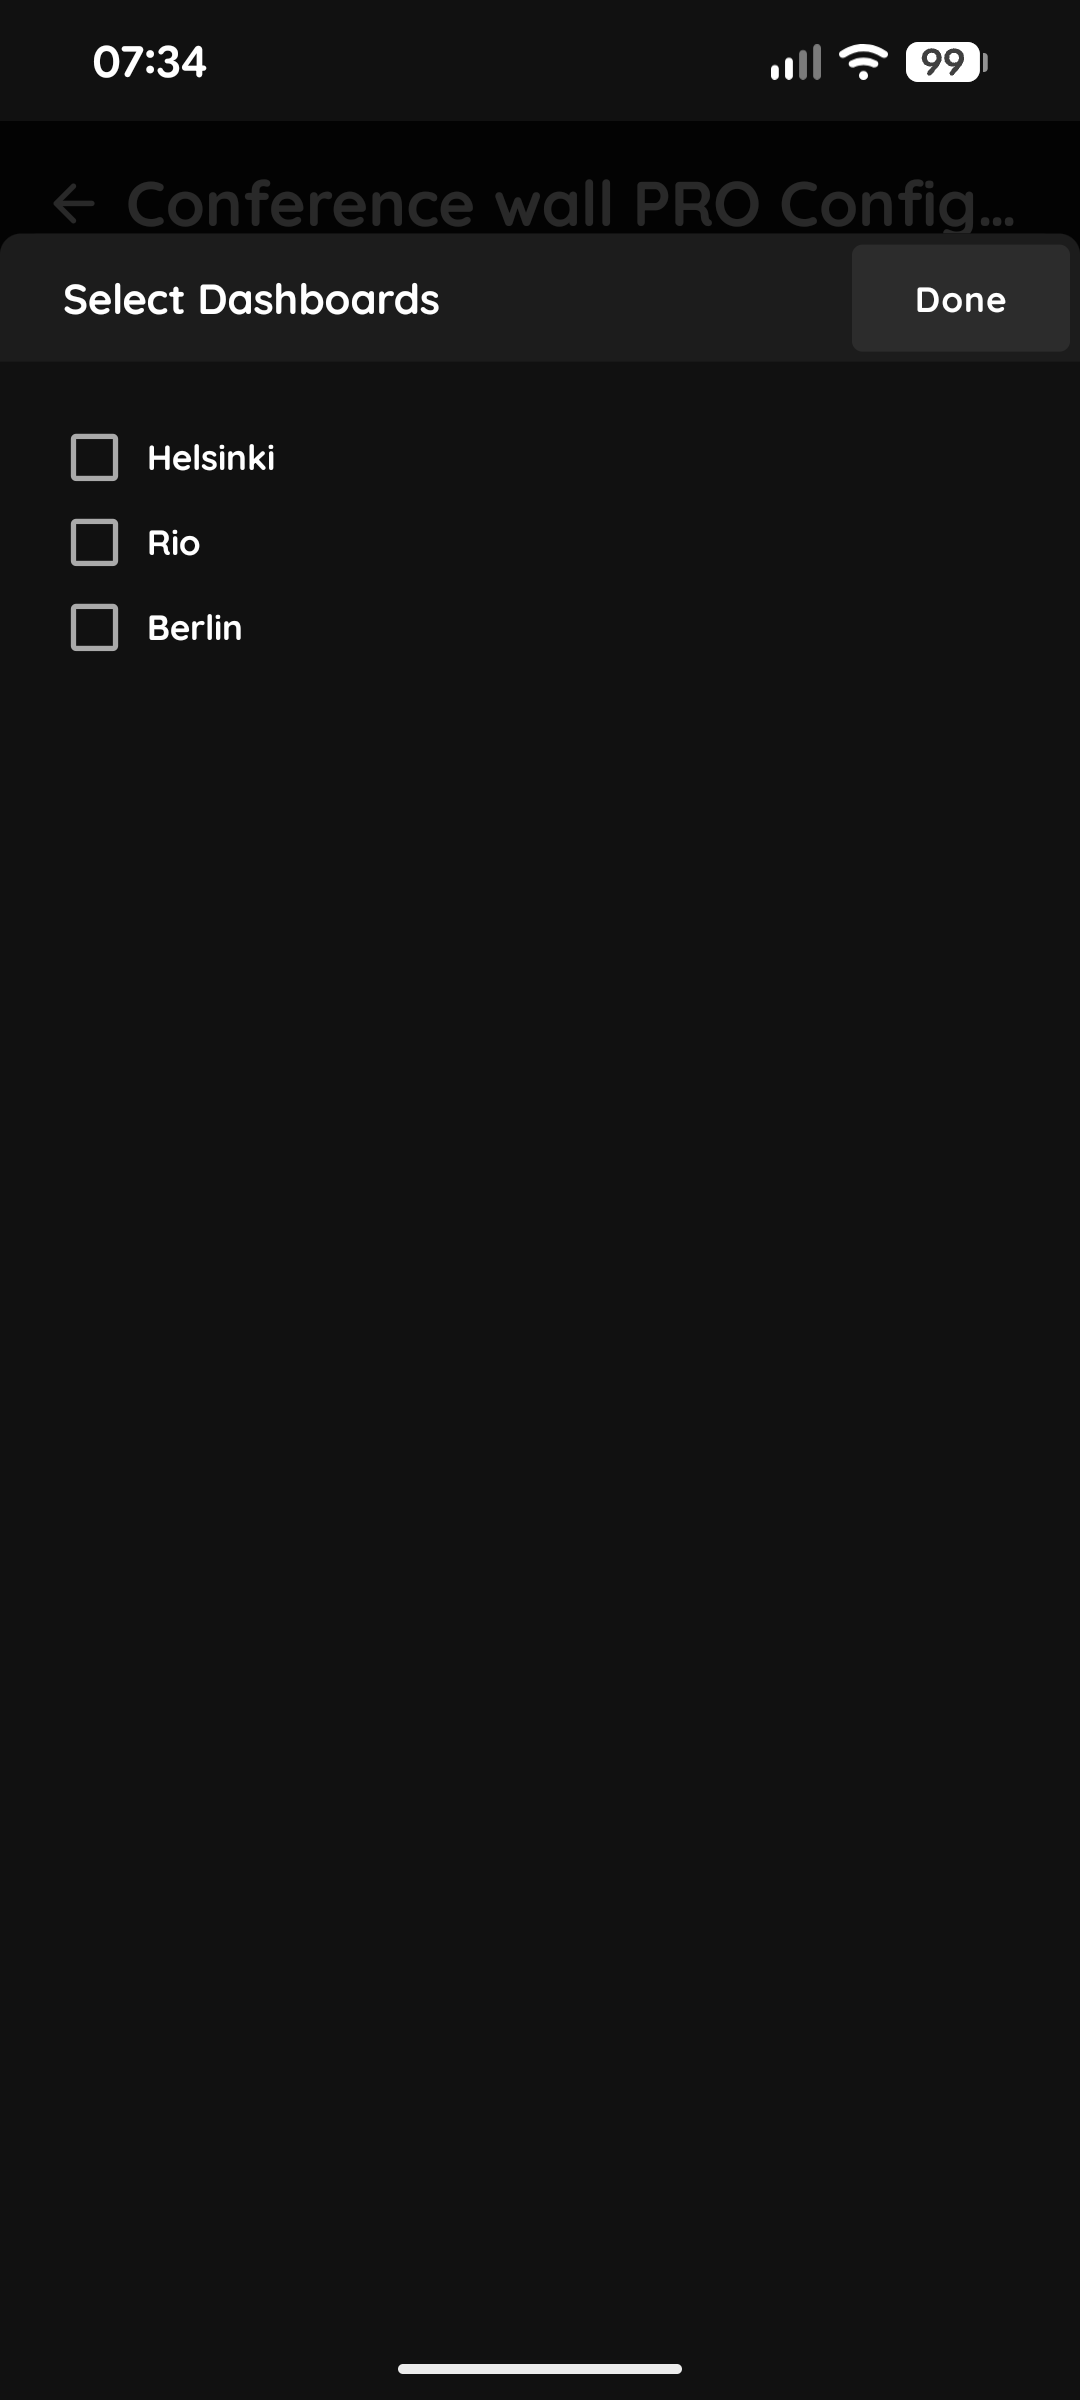
Select Dashboards
In this step you select the Dashboard: the PIERRE display or displays on which the I/O will be shown. Select the check box next to the desired Dashboard or Dashboards from the list.
When you want to confirm your choice tap Done.
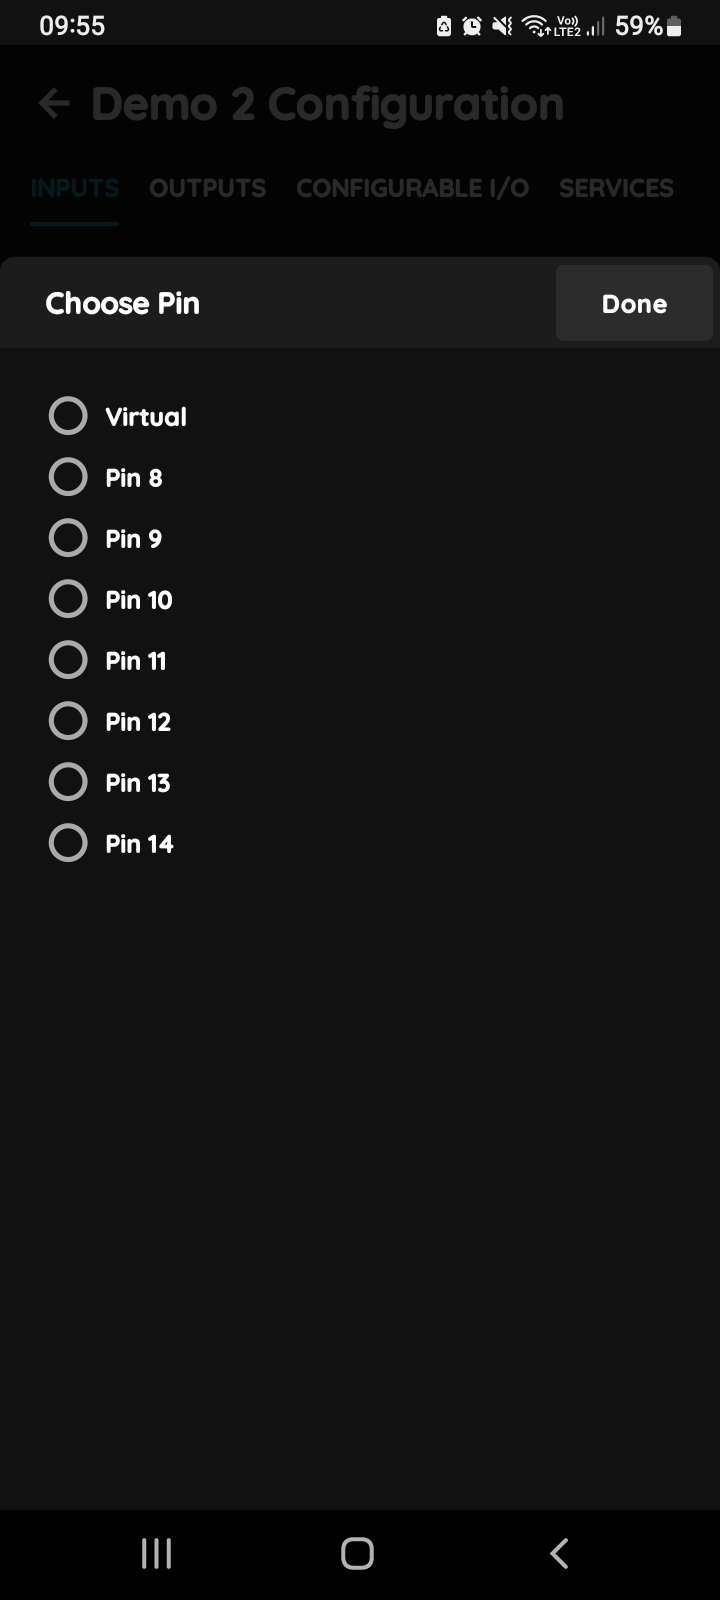
Choose PIn
Tap on the radio button next to the Pin that you would like to choose.
To confirm selection tap on Save/Done.
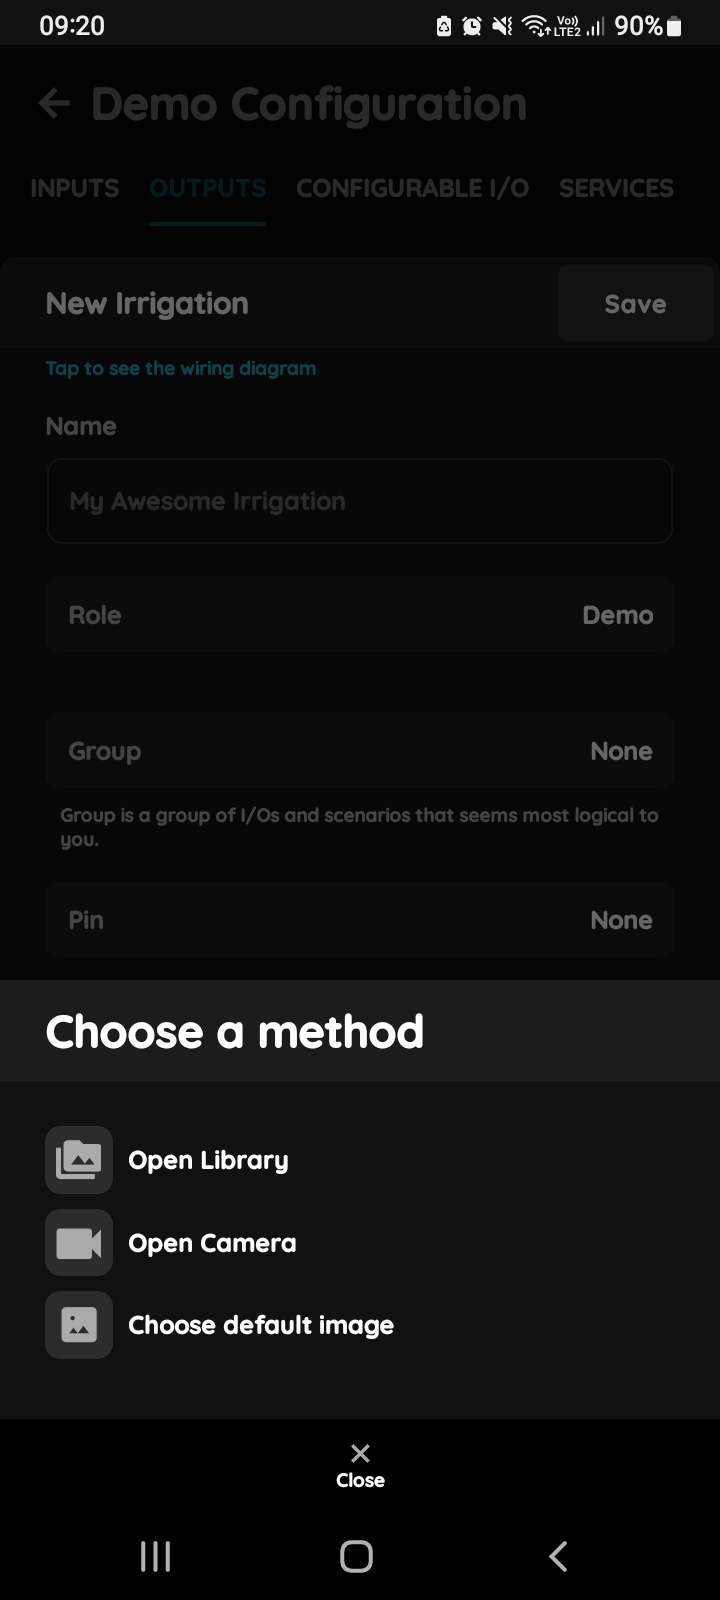
Change photo - Irrigation
There are four sources of photos:
Open Library - The phone’s Library will open. It is recommended to take pictures from the same angle for both irrigation statuses to achieve a complete and consistent view.
Open Camera - You can take a picture using your smartphone. For a complete and consistent view, it’s recommended to capture both irrigation statuses from the same angle.
Choose default image - These images are prepared in advance in order to provide a complete and seamless experience.
Remove image - Removes existing image.
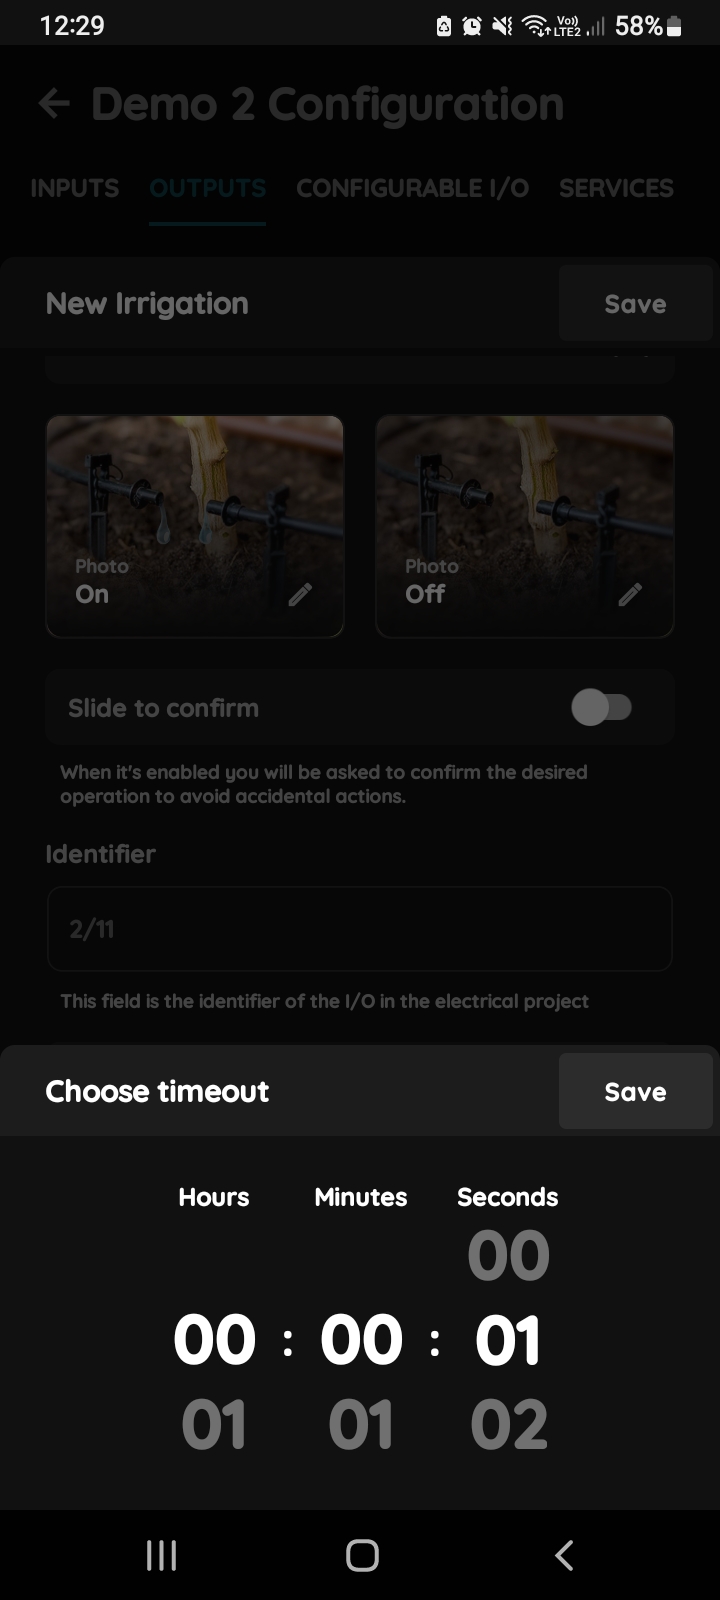
Choose timeout - Irrigation
You have three columns to set the timeout:
- Hours
- Minutes
- Seconds
Scroll through each column.
To confirm tap on Save.
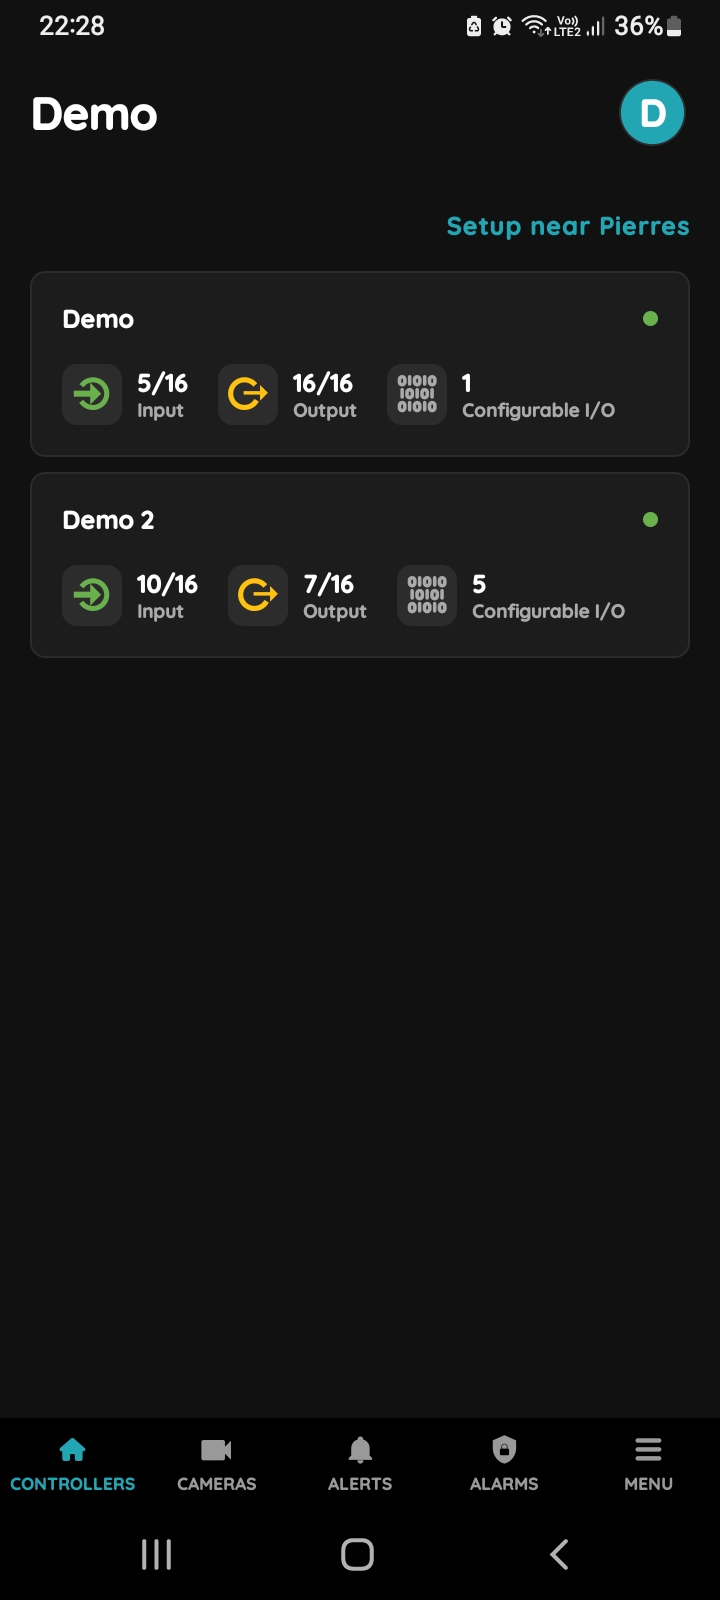
Choose Controller
An Irrigation can be edited in a few steps.
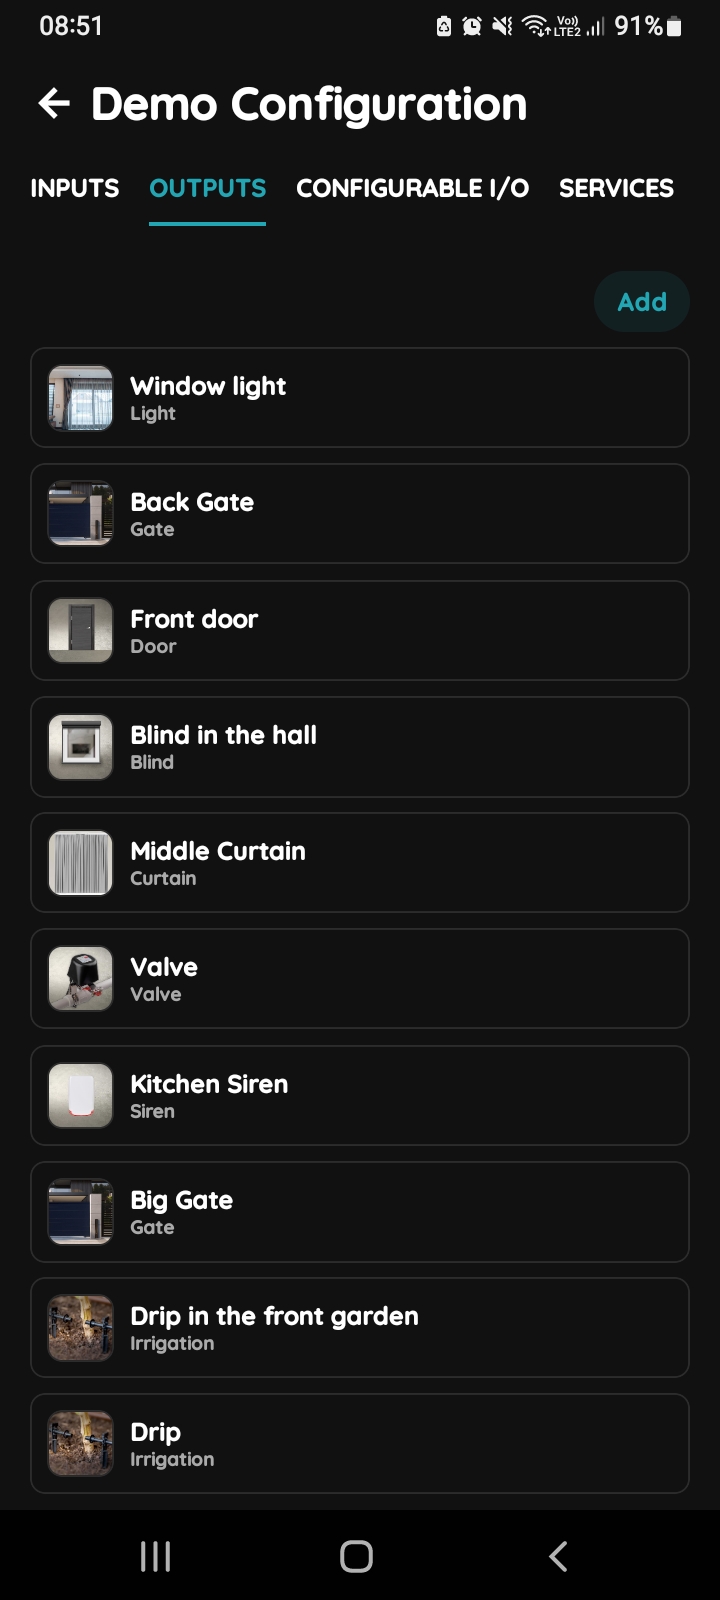
Outputs - Choose I/O
Tap on the Outputs tab, scroll to the desired I/O from the list and tap on it.
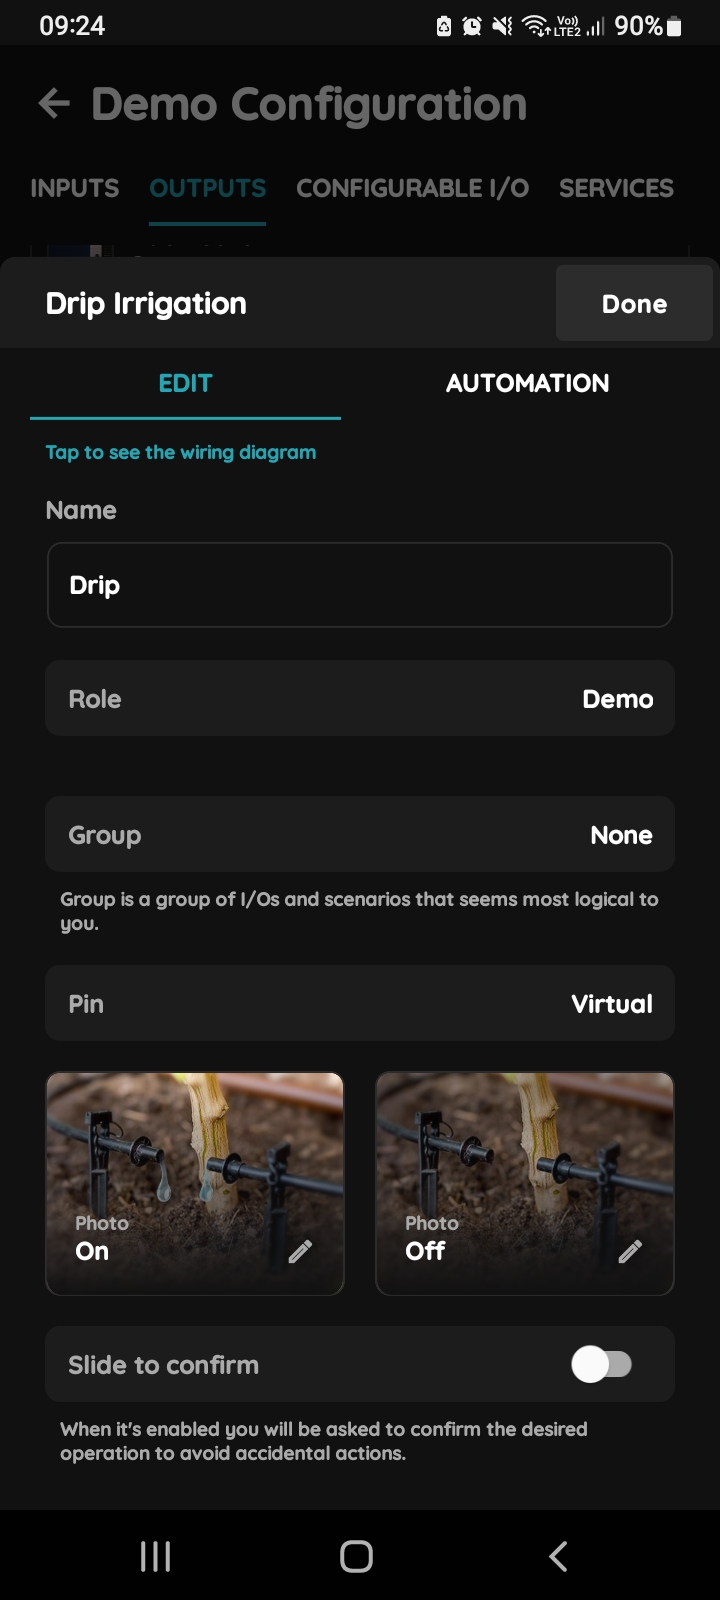
Edit an Irrigation
Edit following form:
- Name - Edit the name of the Irrigation.
- Role - Select the appropriate Role from the list.
- Group - Choose a Group from the list. Group is a group of I/Os and scenarios that seems most logical to you.
- Pin - Select the Pin, which is the physical location where the I/O connects to the Controller.
- Photo - Choose a photo for the Irrigation representing both the On and Off statuses.
- Identifier - This field is the unique identifier for the I/O in the electrical project.
- Hide Activity - Use this option to conceal I/O activity from the Activity tab.
- Timeout - t is the duration of time the irrigation will remain turned On in auto mode.
When you want to confirm your choice tap on Submit and Save, in case that you would like to delete the Irrigation tap on the button Delete.