PIERRE Partner - Lights
Description
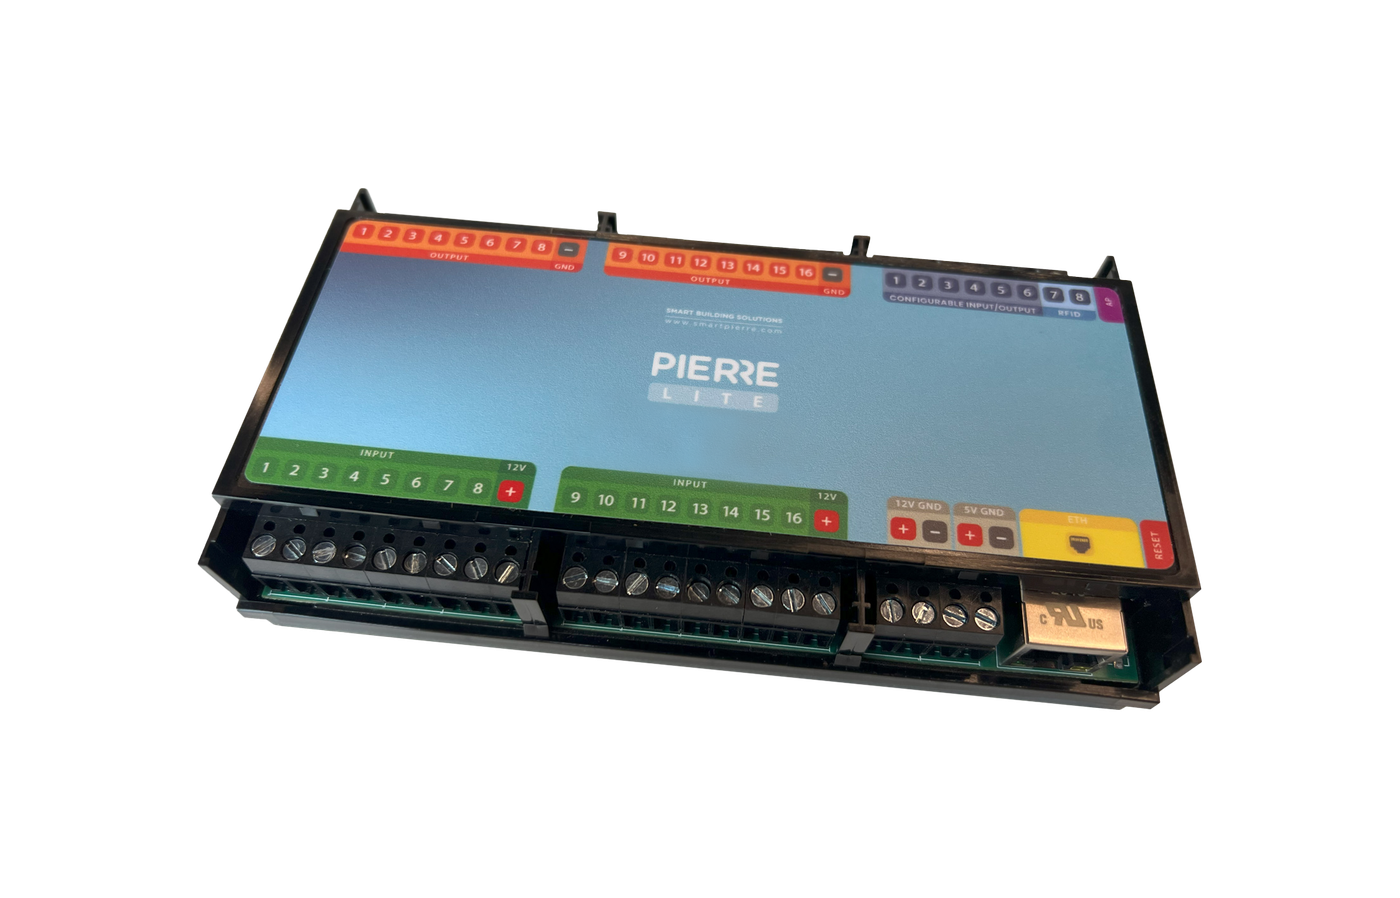
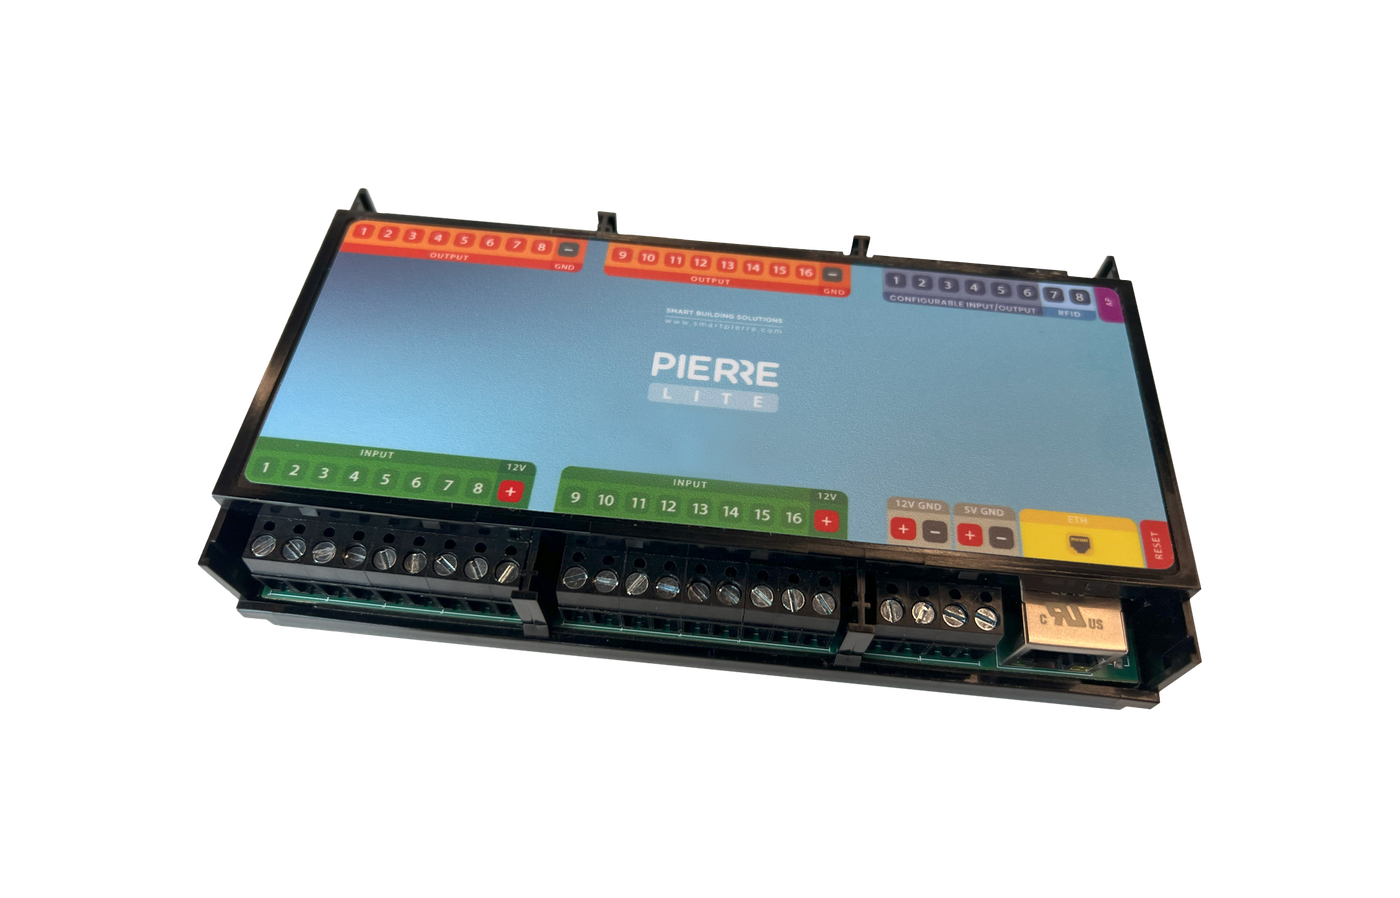
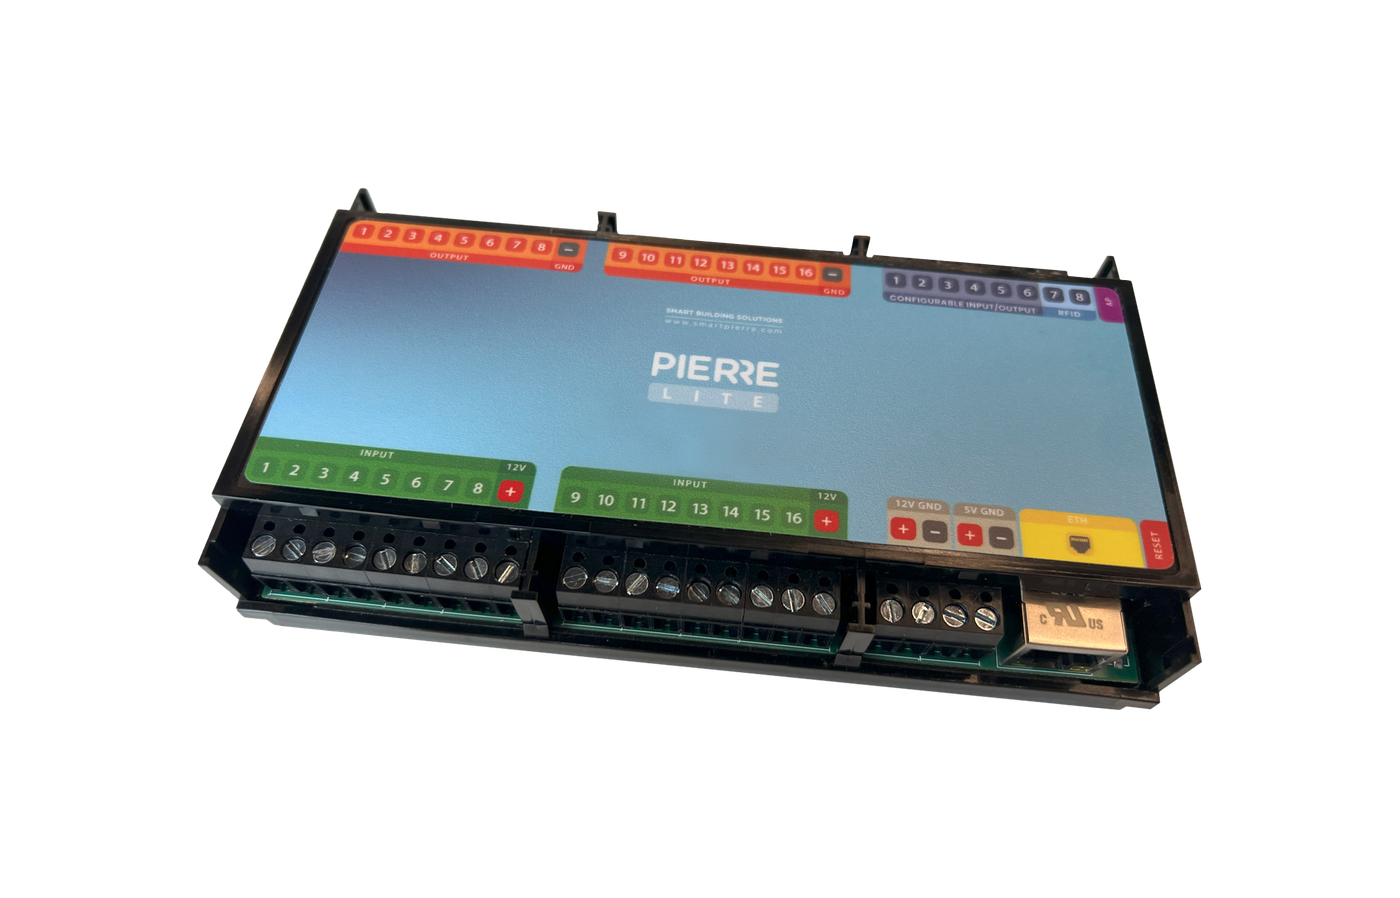
A Light is a controller output that switches a lighting circuit through a relay. The fixture itself does not need to be a smart device – any standard luminaire can be controlled this way. Dimmable lights, RGB and RGBW strips are separate types and are covered in their own lessons.
Before You Start
- The relay for the circuit is wired: controller output to the relay coil input, common GND, and the mains side L to COM and NO to the luminaire. See the On/Off Light Control solution lesson for the cable table.
- Any wall push button for the circuit is a dry contact wired to a controller input.
- The controller is online in the PIERRE Partner app and has a free output. A controller has 16 outputs.
Step by Step: Add the Light
- Open the PIERRE Partner app and tap the Controller the circuit is wired to.
- Open the Outputs tab. The list of existing outputs is shown.
- Tap Add and choose Light from the list of types.
- Fill in the form:
- Name – as it will appear on the Dashboard, for example "Kitchen Ceiling".
- Dashboard – the group of I/Os and scenarios the card is listed under.
- Role – the roles whose users may see and use the light. Tick one or more and confirm.
- Pin – the controller output wired to the relay. Tap the radio button next to the output number and confirm.
- Photo On and Photo Off – optional images for the two states of the card.
- Slide to confirm – switch on to be asked for confirmation before the light is switched, to avoid accidental actions.
- Identifier – the reference of the circuit in the electrical project, so the output can be matched to the drawing later.
- Timeout – in minutes and seconds, used in Auto mode: after the triggering condition ends, the light stays on for this time and then switches off. Leave 0 to follow the condition exactly.
- Hide Activity – switch on if the light's on/off events should not be listed in the Activity tab.
- Tap Submit and then Save. The light appears in the Outputs list and, for the selected roles, on the Dashboard of the Smart PIERRE app.
Step by Step: Link a Wall Button
- On the same controller open the Inputs tab, tap Add and choose Button.
- Fill in Name, Role and Pin (the input the button is wired to), then Save.
- Open the button. It shows three actions: Tap, Hold and Double.
- Open Tap, tap Toggle I/O, tick the light and Save. Each press now switches the light to the opposite state.
- Hold and Double can be assigned to other lights or scenarios in the same way.
Operation
The light card in the Smart PIERRE app has three states: Off, On and Auto. Off and On are manual. In Auto the light follows the automation rules set on it, with the timeout applied. The rules and the wall buttons run on the controller, so they keep working without an internet connection.
Automation
Rules are added in the Smart PIERRE app: hold the light card, open the Automation tab, switch Automation active on and tap Add. Three kinds of condition are available: New Time Condition, New Delay and Existing I/O. Typical uses:
- Switching on when a motion sensor detects movement, and off after the timeout once the movement has ended.
- Switching on a schedule, for example outdoor lights from 18:00 to 23:00.
- Switching on when a brightness sensor reads below a chosen value.
- Use as a target in scenarios, for example Leaving Home switches every light off.
Technical Notes
- Occupies one controller output. Lights that must always switch together can share one relay and one output; lights that must ever be controlled separately need separate outputs.
- On/off switching only. For dimming use the Dimmable Light type on a configurable I/O.
- Check that the load of the circuit is within the rating of the relay. LED drivers have a high inrush current at switch-on; size the relay for it or split the circuit.
- Give the Timeout a value when the light is driven by a motion sensor; without it the light goes off the moment the sensor no longer sees movement.
- Check the Used In tab in the Smart PIERRE app before deleting a light that scenarios or automations depend on.
Add the Light in PIERRE Partner
The screens below are the standard PIERRE Partner output flow. The fields of the form are described in the text above.
Choose Controller
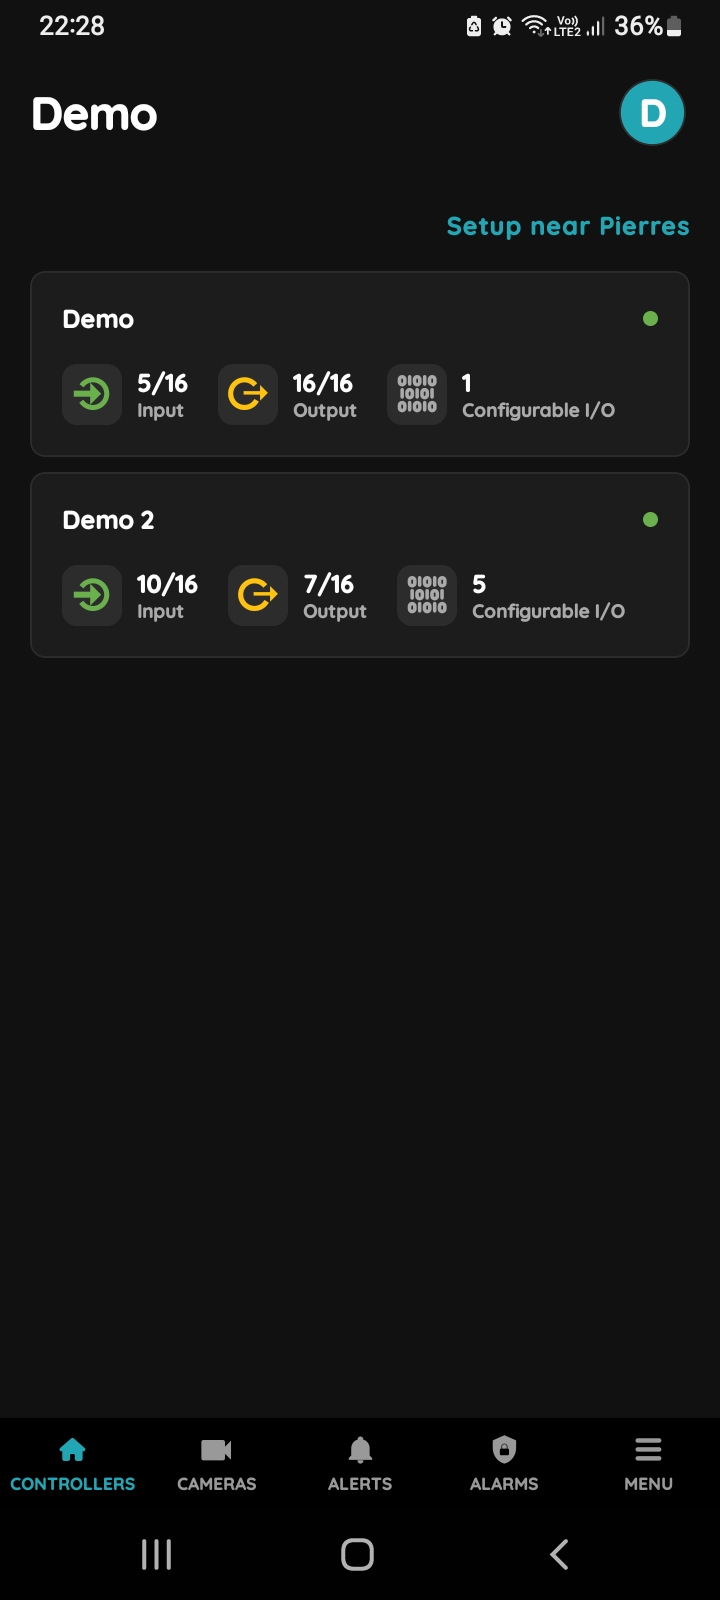
In the PIERRE Partner app, tap the Controller the lighting circuit is wired to.
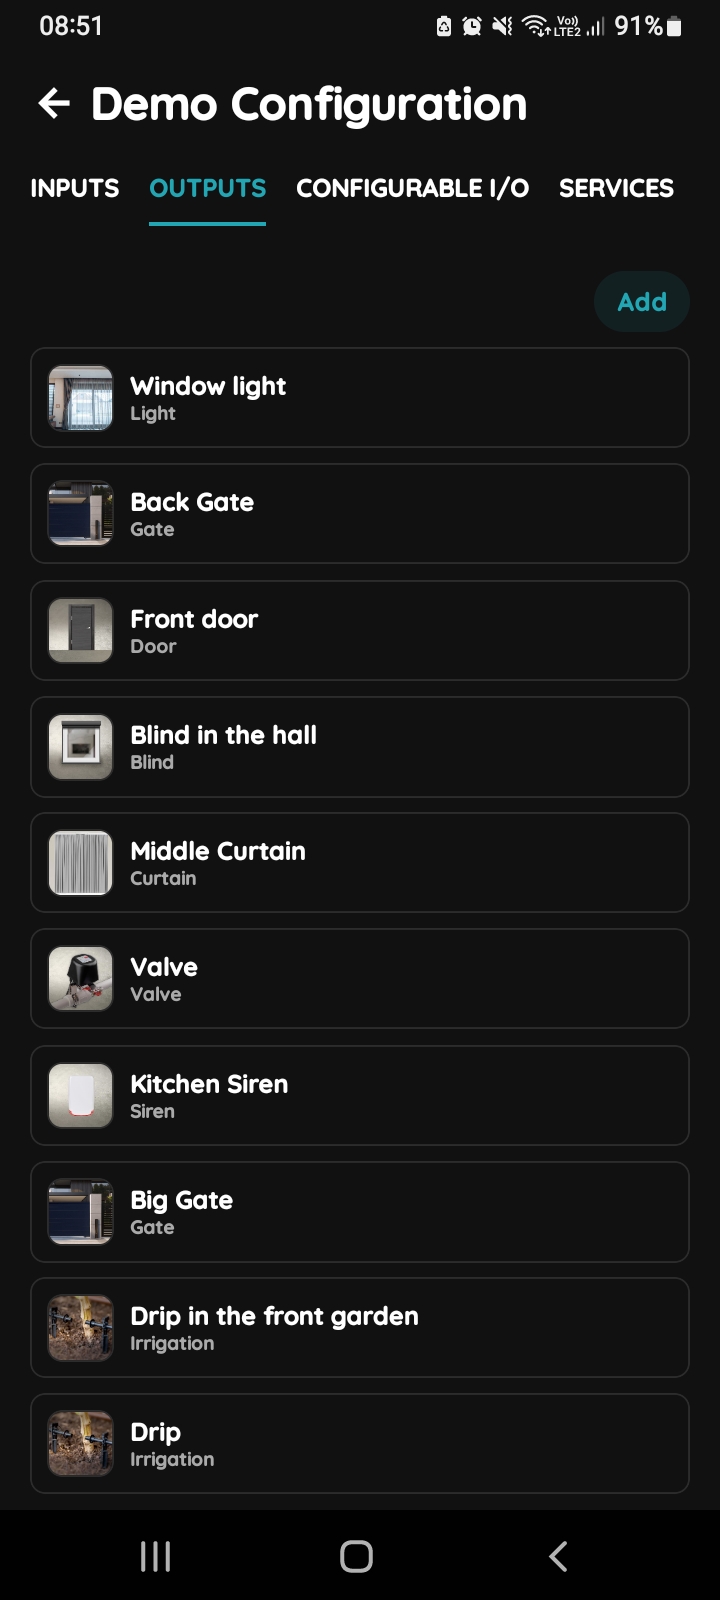
Outputs - Add button
Open the Outputs tab. The existing outputs are listed. Tap Add.
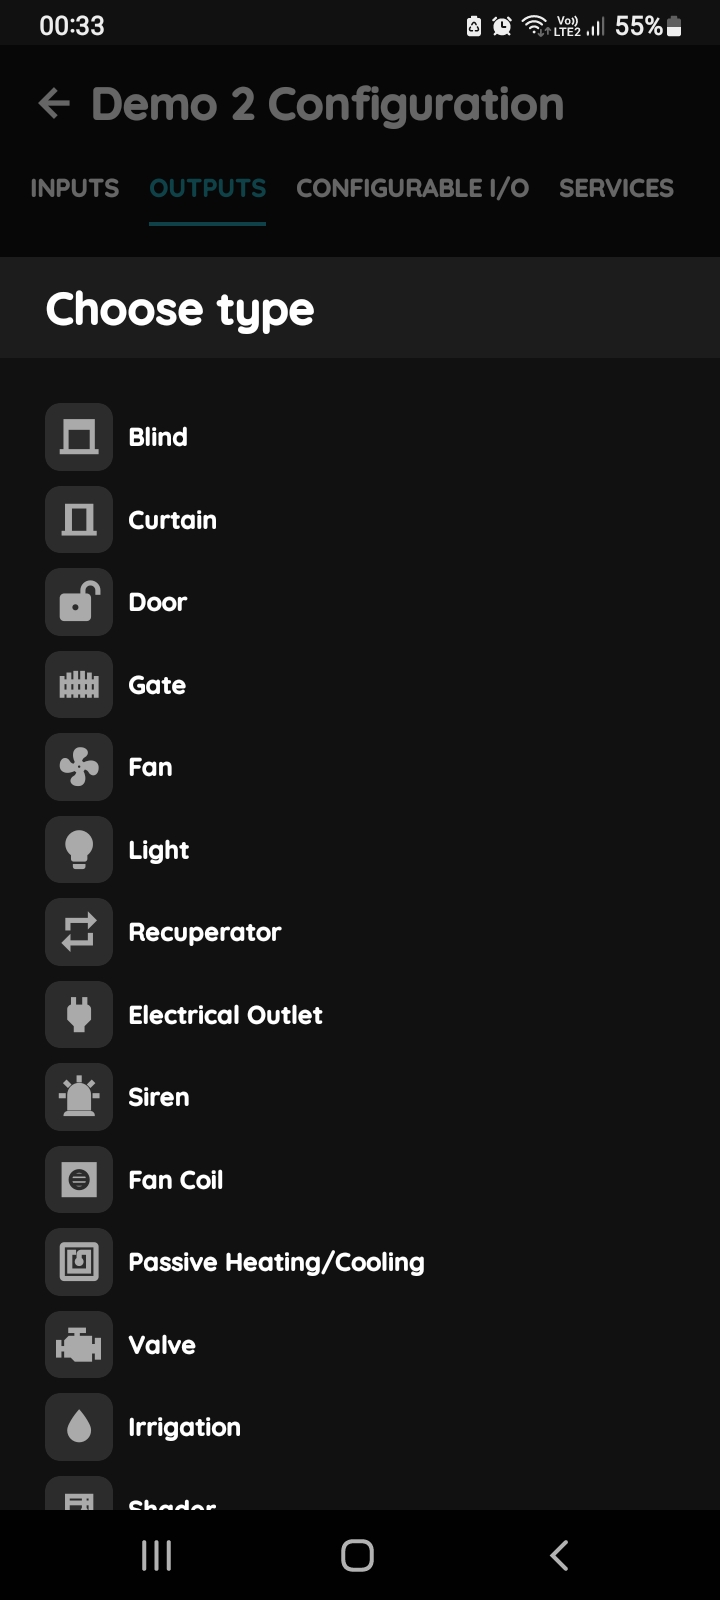
Choose type - Light
Pick Light from the list of types. Dimmable lights and RGB strips are separate types with their own lessons.
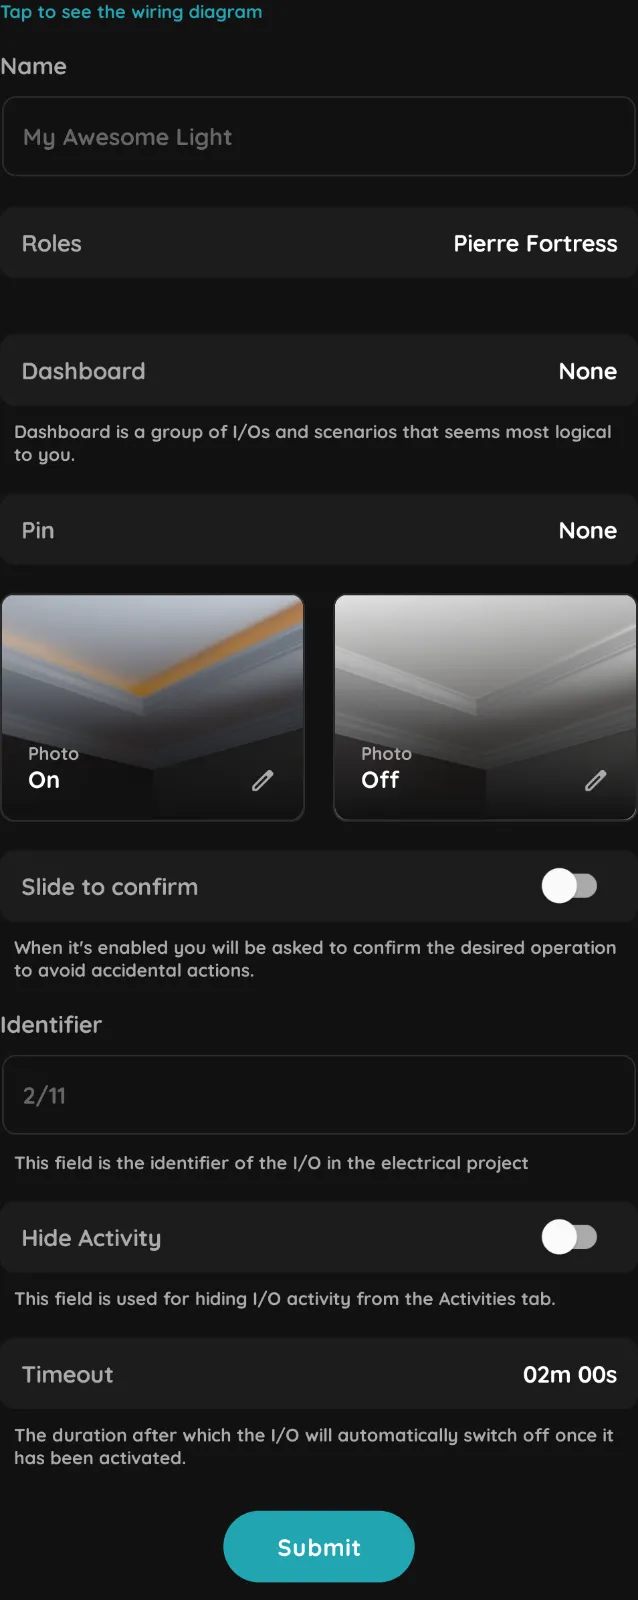
Fill in the form
Tap Tap to see the wiring diagram at the top if you need the wiring. Then fill in:
- Name – as it will appear on the dashboard, for example "Kitchen Ceiling".
- Roles – the roles whose users may see and use the light.
- Dashboard – the group of I/Os and scenarios the card is listed under.
- Pin – the controller output wired to the relay.
- Photo On and Photo Off – optional images for the two states of the card.
- Slide to confirm – ask for confirmation before switching, to avoid accidental actions.
- Identifier – the reference of the circuit in the electrical project.
- Hide Activity – keep the light’s on/off events out of the Activities tab.
- Timeout – the time after which the light switches off automatically once it has been activated. Leave it at zero to follow the condition exactly.
Tap Submit, then Save.
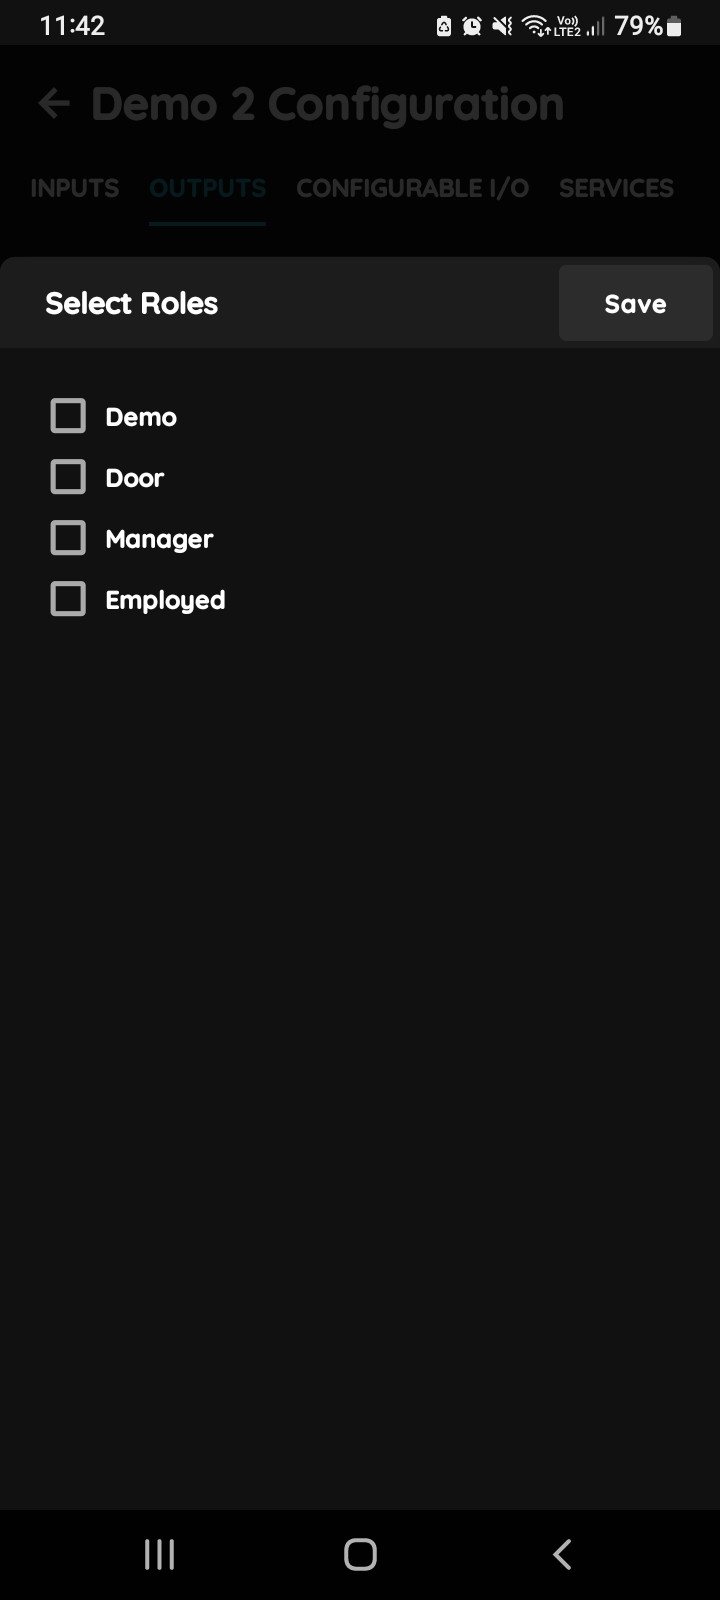
Select Roles
Tick the Role or roles whose users may see and use the light, then confirm.
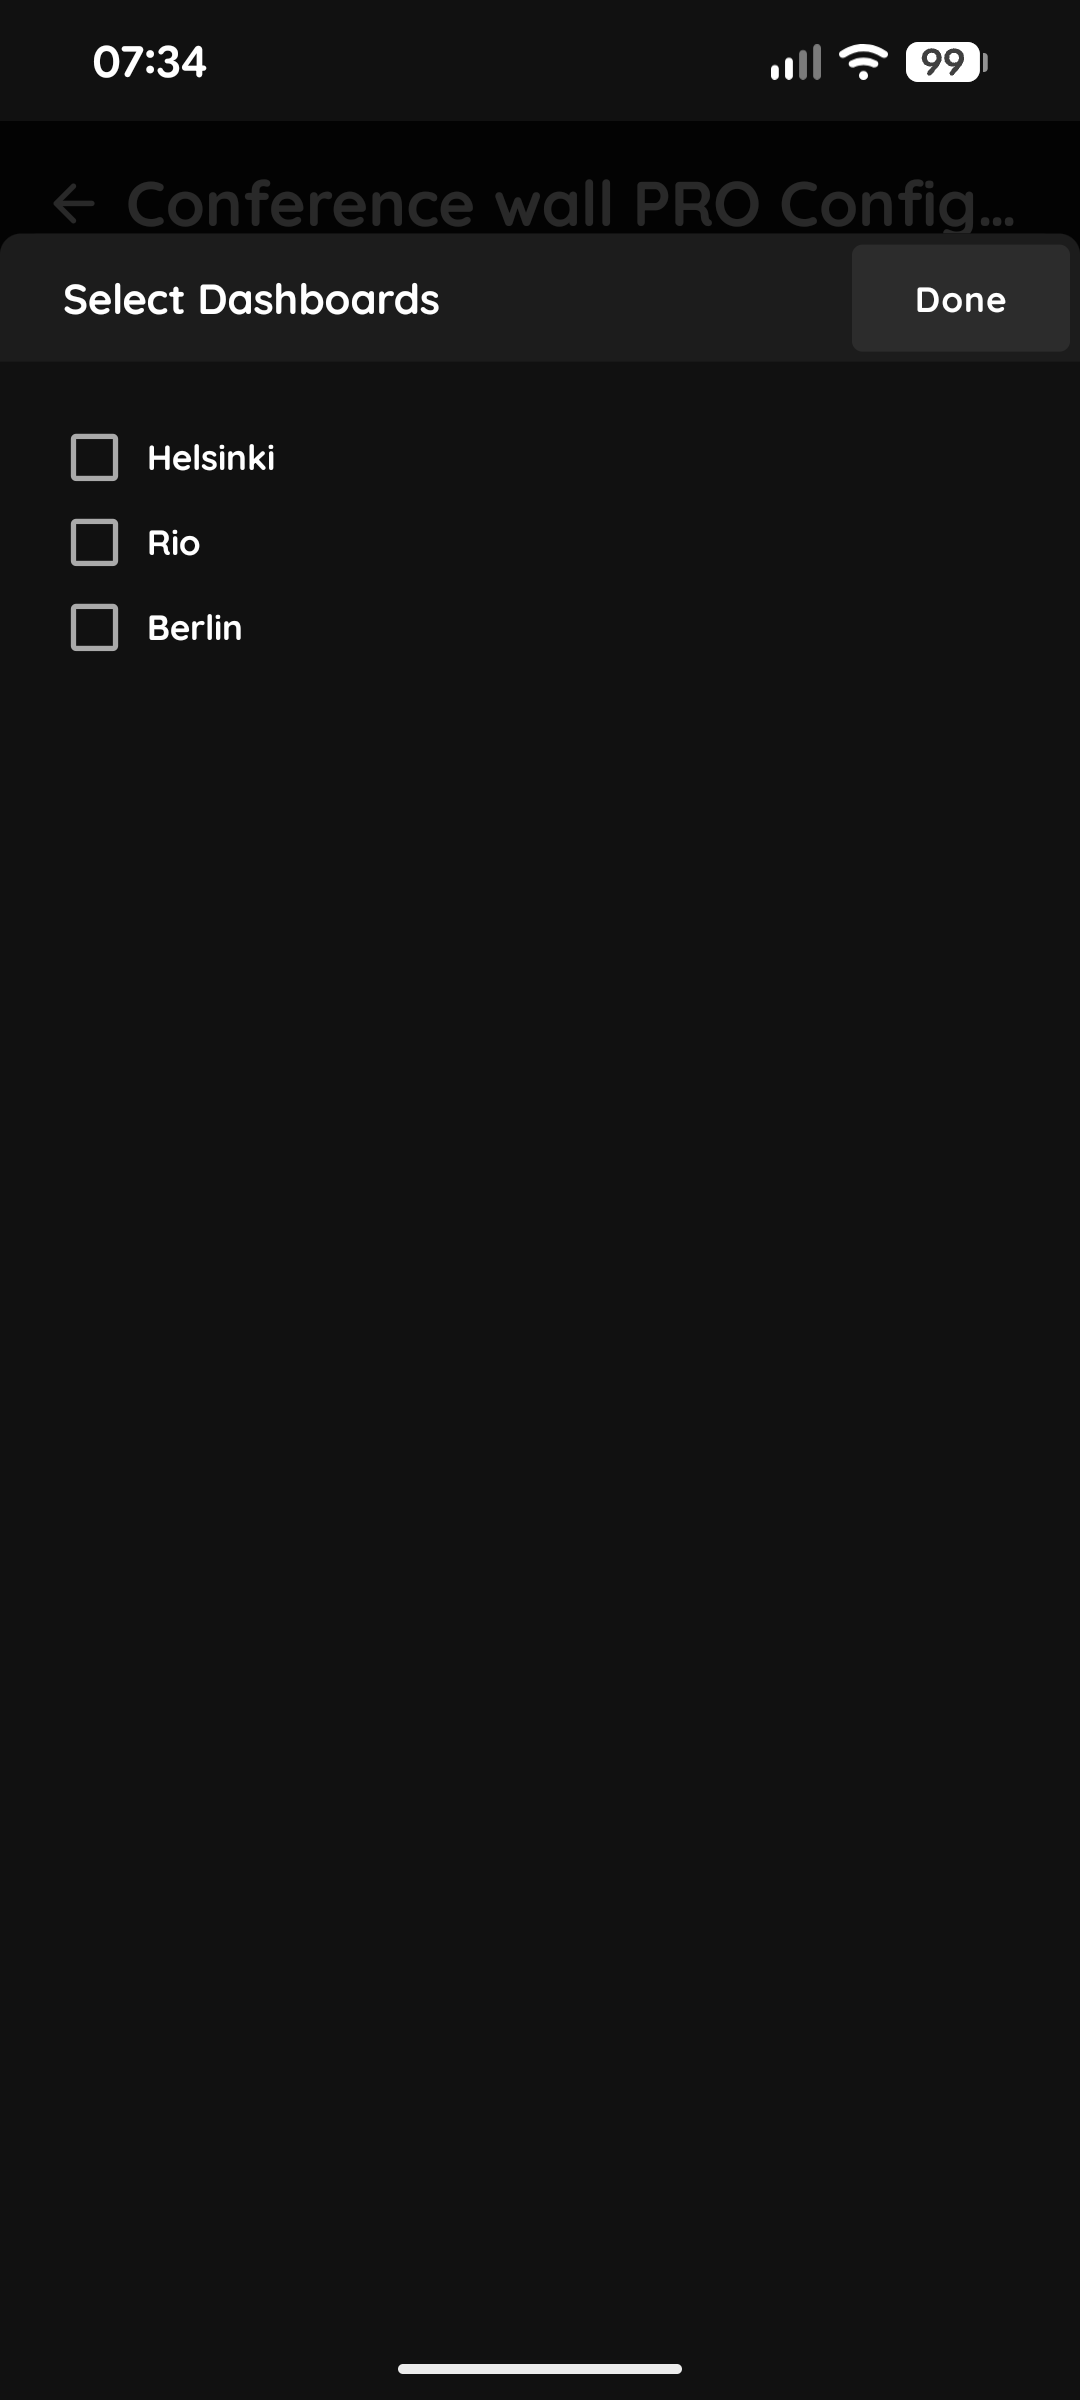
Select Dashboards
Select the Dashboard: the PIERRE display or displays the light appears on.
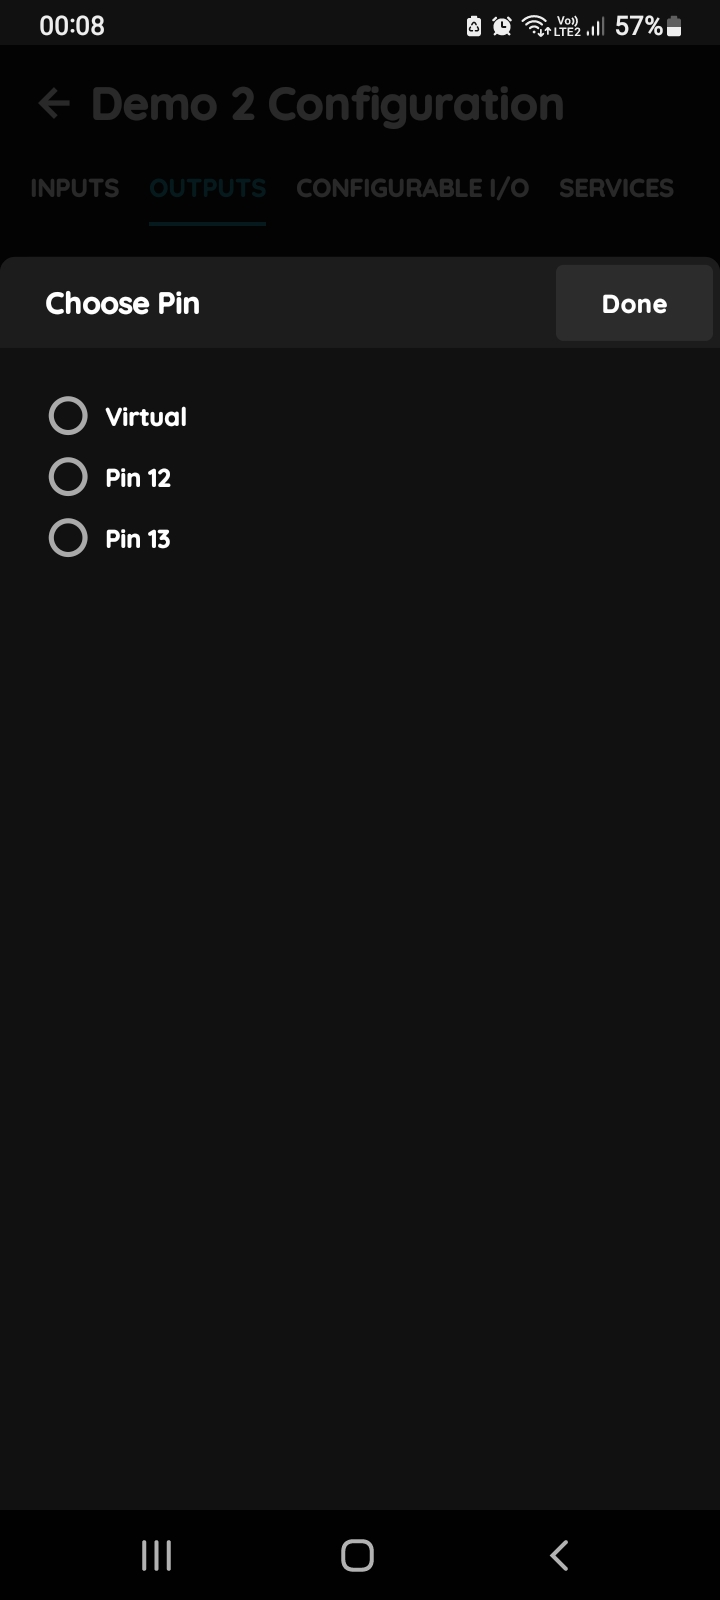
Choose Pin
Tap the radio button next to the controller output wired to the relay coil, then confirm. A controller has 16 outputs.
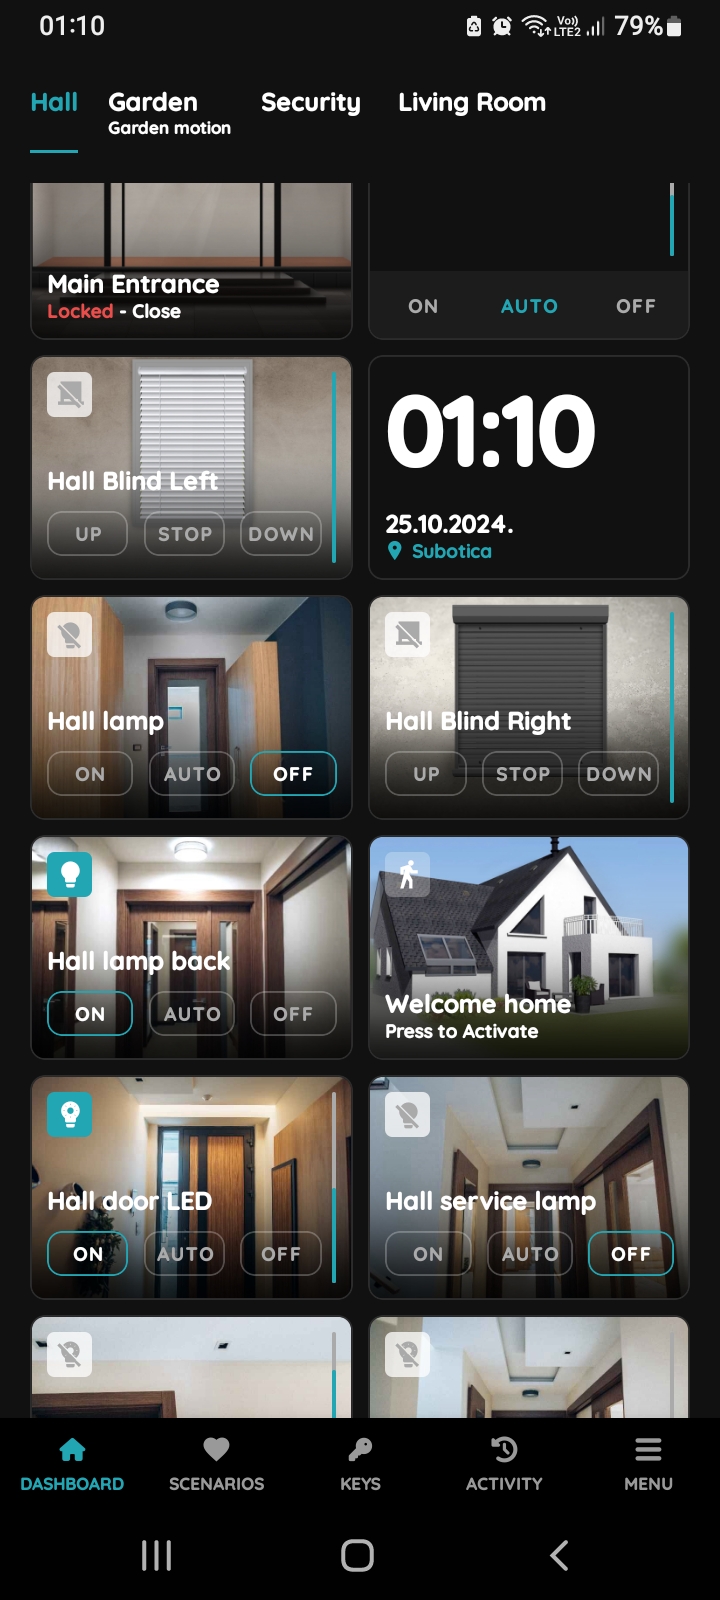
The result in the Smart PIERRE app
After Submit and Save, the light appears on the dashboard for the selected roles, with On, Off and Auto. See the lesson Smart PIERRE - Lights for the app side.