PIERRE Partner - Passive Heating and Cooling
Description
Passive Heating and Cooling controls an on/off heating or cooling device from a measured room temperature. The controller switches the device on and off around the target temperature set by the user, so it runs only when the room needs it. Typical devices: an underfloor heating valve, an electric heater, a heat pump contact, a cooling ceiling valve.
Before You Start
- The device is wired through a relay to a free controller output. See the On/Off wiring lessons for the cable table.
- A temperature sensor for the room is already configured on the same controller: a wired temperature sensor, a Modbus thermostat, a PIERRE display with a built-in sensor, or a Wave temperature sensor paired to a display of the same building. The output cannot be created without a sensor.
Step by Step: Add the Output
- Open the PIERRE Partner app and tap the Controller.
- Open the Outputs tab and tap Add.
- Choose Passive Heating/Cooling as the type.
- Fill in the form:
- Name, Roles and Dashboard – as for any output.
- Pin – the controller output wired to the relay.
- Temperature Sensor – the sensor whose reading drives the regulation. Pick the sensor of the room the device heats or cools.
- Season – Heating for a heating device, Cooling for a cooling device. It decides which way the regulation works and can be changed later from the Smart PIERRE app when the season changes.
- Regulation hysteresis – default 0.4 °C. How far the room may drift from the target before the device switches on.
- Turn off hysteresis – default 0 °C. How far past the target the room must go before the device switches off.
- Temperature Format – Celsius or Fahrenheit.
- Photo, Slide to confirm, Identifier and Hide Activity – optional, as for any output.
- Tap Submit and then Save. The device appears as a thermostat card in the Smart PIERRE app.
How the Regulation Works
With Season set to Heating:
- The device switches on when the room temperature is at or below target minus regulation hysteresis.
- The device switches off when the room temperature is at or above target plus turn-off hysteresis.
- Example with the defaults and a target of 22 °C: on at 21.6 °C, off at 22.0 °C.
With Season set to Cooling the same rules apply mirrored: the cooling device switches on above the target and off below it.
Setting both hysteresis values to zero makes the device switch exactly at the target, which causes frequent short cycling. Increasing the regulation hysteresis widens the band and reduces switching, at the cost of a larger temperature swing in the room. For a boiler or heat pump contact use a wider band, for example 0.5 and 0.5; for a fast electric heater the defaults are fine.
Operation
- The thermostat card in the Smart PIERRE app shows the measured temperature and the target, with plus and minus buttons and a mode switch.
- Off keeps the device off. On forces it on regardless of temperature. Auto regulates to the target as described above.
- Automation rules can be added on the Automation tab, for example a time condition or a window contact. In Auto the device then heats only while the rule is true and the temperature calls for it.
- If the sensor reading becomes invalid, the device is switched off and the card shows an error until a valid reading returns.
- The regulation runs on the controller and keeps working without an internet connection.
Technical Notes
- Occupies one controller output.
- Requires a temperature sensor configured on the same controller or delivered to it from another bridge in the building.
- Regulation is on/off; it does not modulate the output. For 0–10 V or Modbus-controlled units use the fan coil types instead.
- Place the sensor away from the device it controls and out of direct sun, otherwise the band is never reached correctly.
- A display with a built-in sensor measures at the display position; correct it with the sensor offset or use a separate room sensor where the wall is warmed or cooled.
Add the Output in PIERRE Partner
The screens below are the standard PIERRE Partner output flow. The form itself is described in the text above.
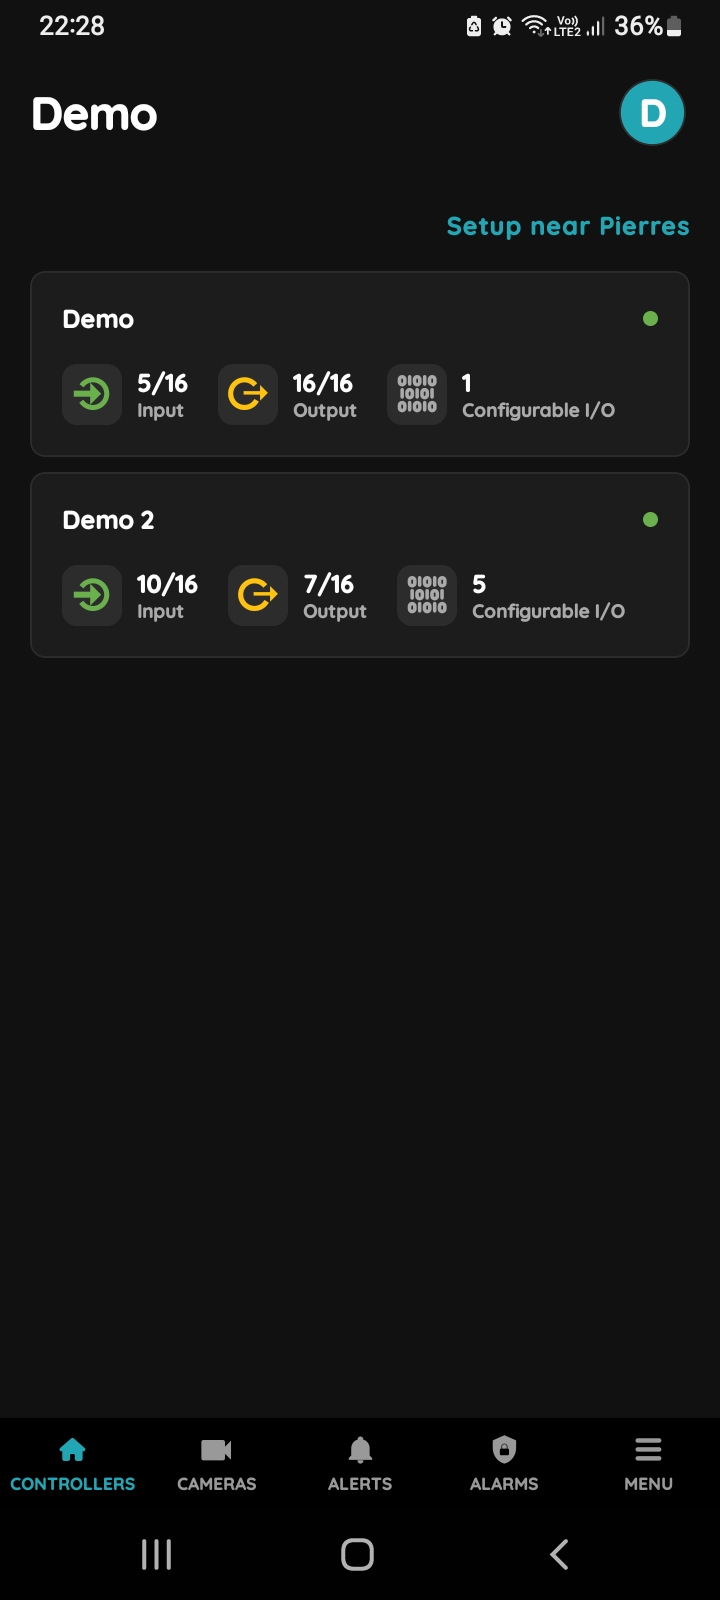
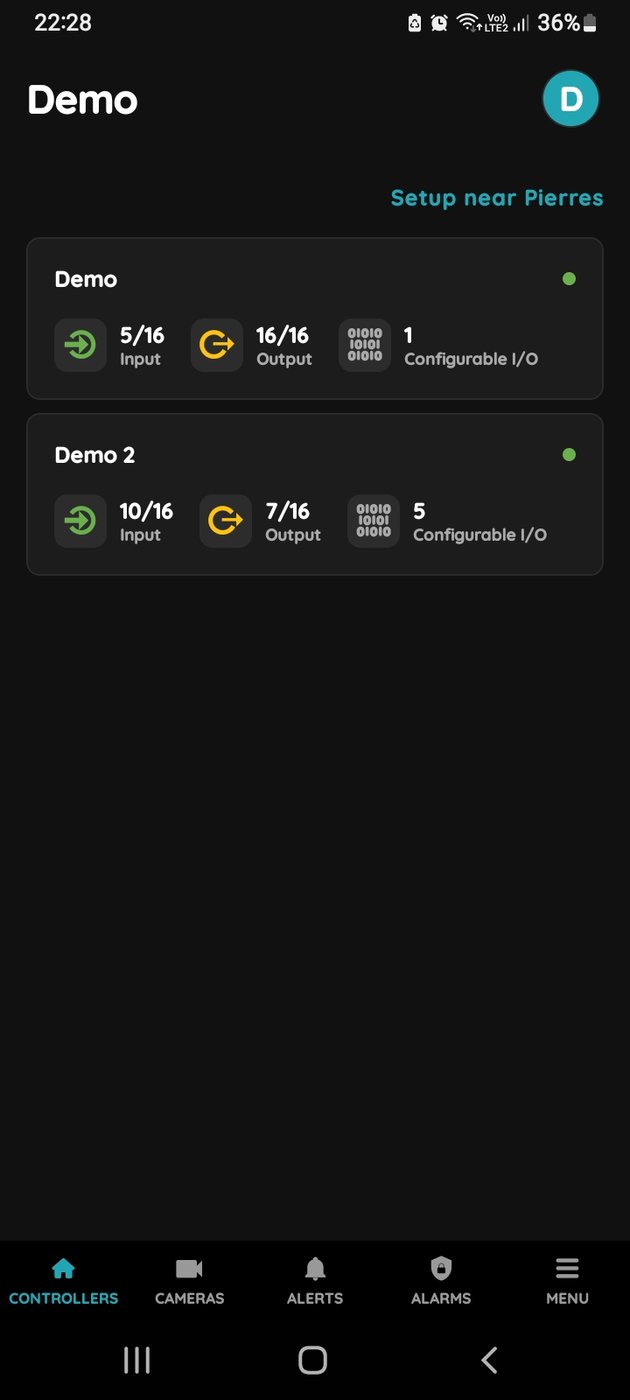
Choose Controller
In the PIERRE Partner app, tap the Controller the heating or cooling device is wired to.
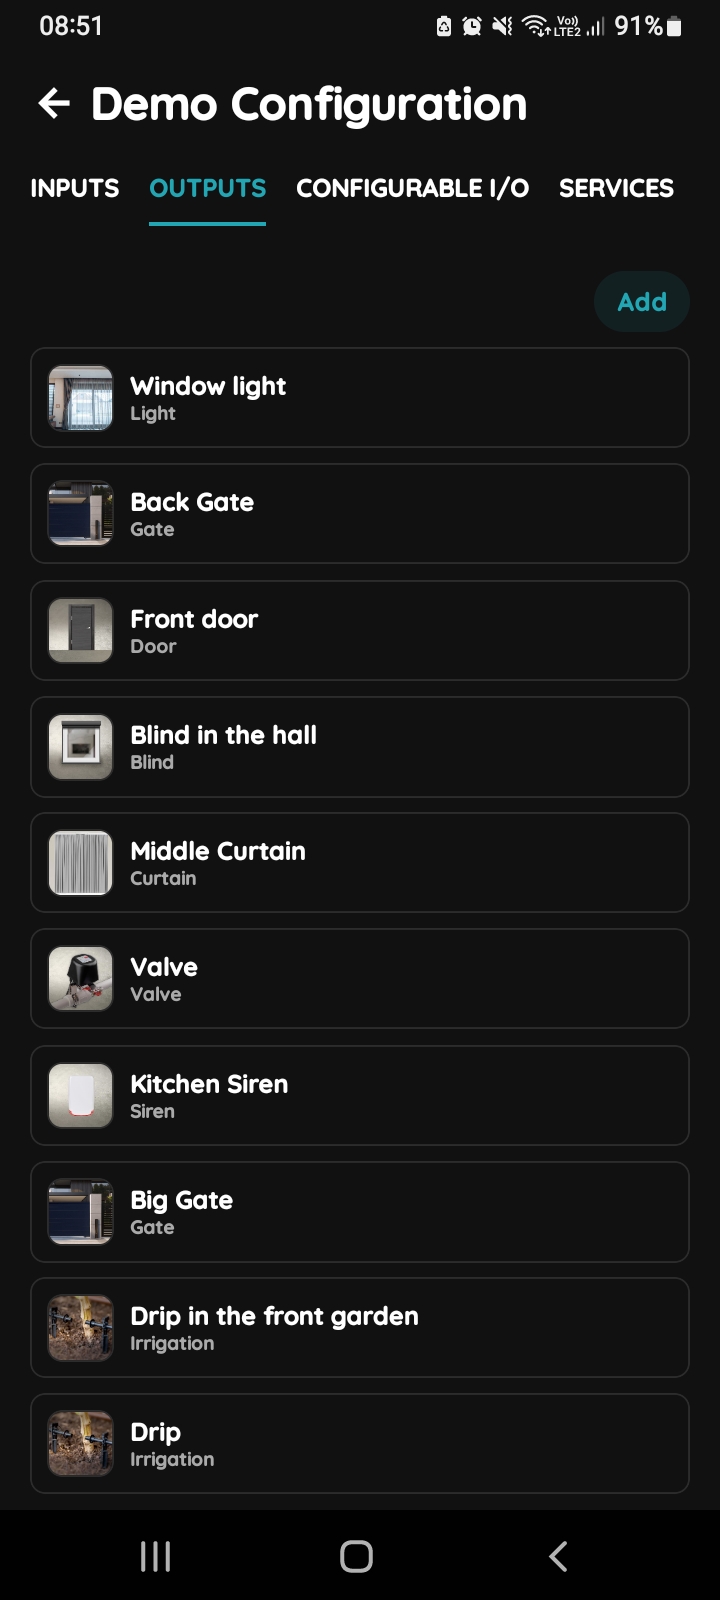
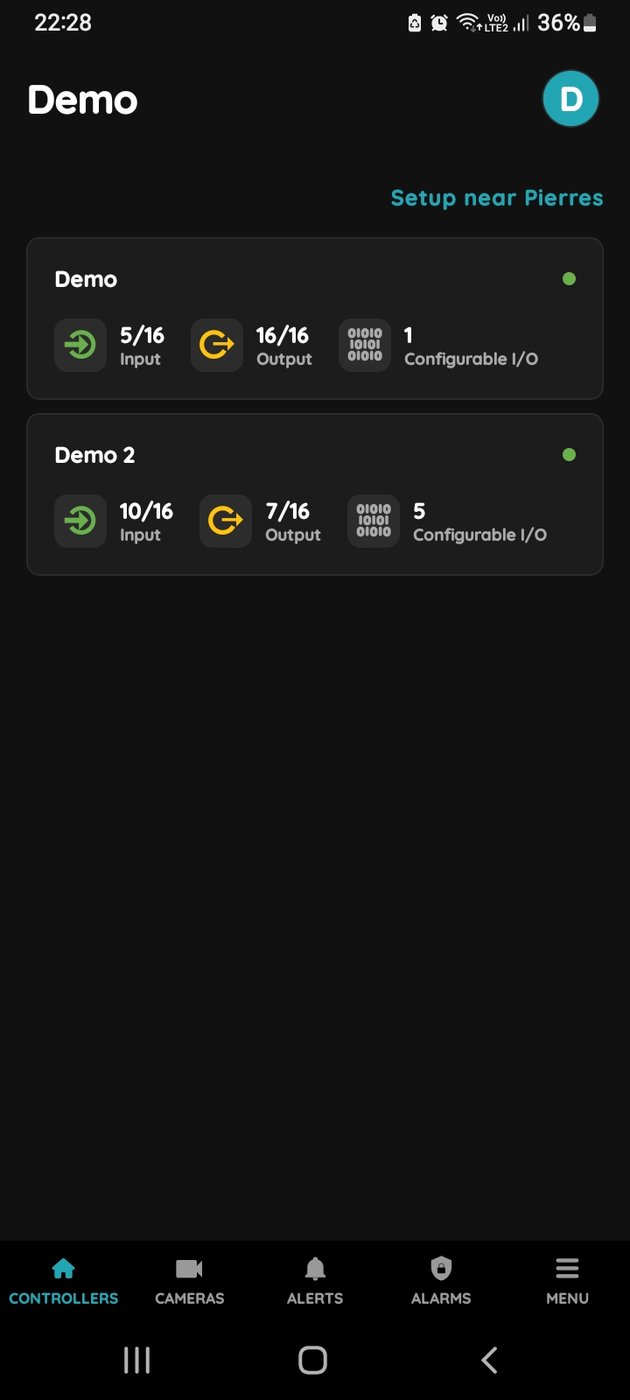
Outputs - Add button
Open the Outputs tab at the top and tap Add.
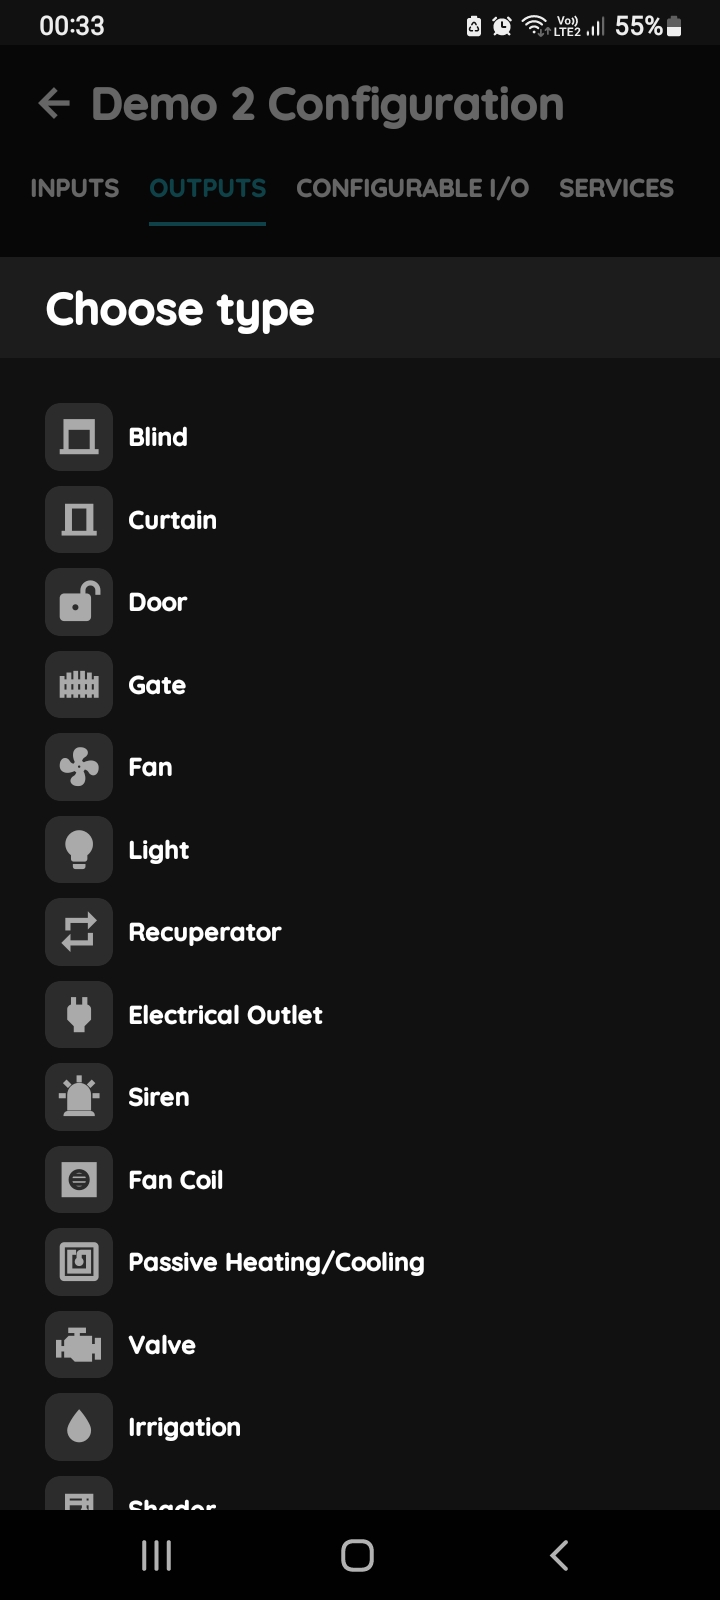
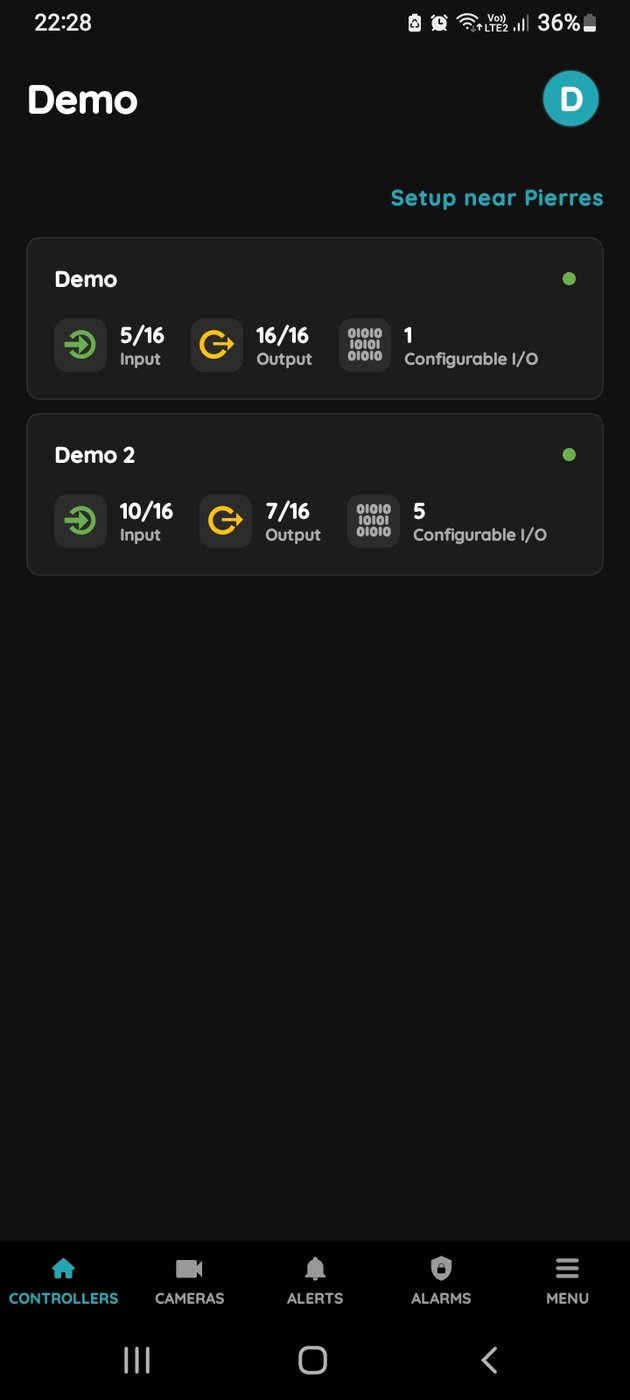
Choose type - Passive Heating/Cooling
Pick Passive Heating/Cooling from the type list.
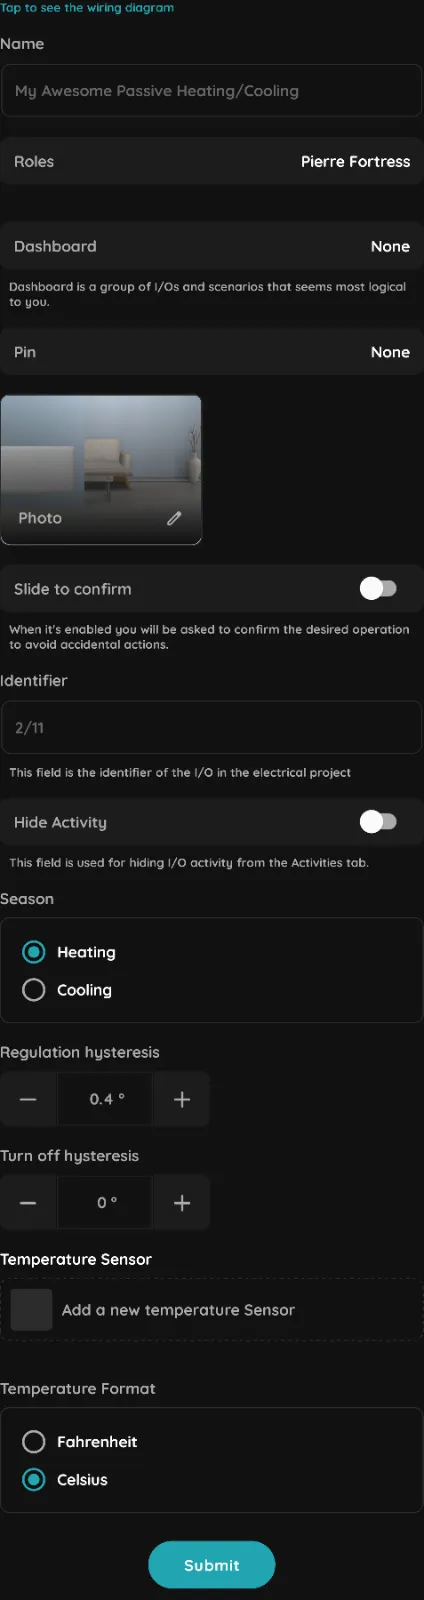
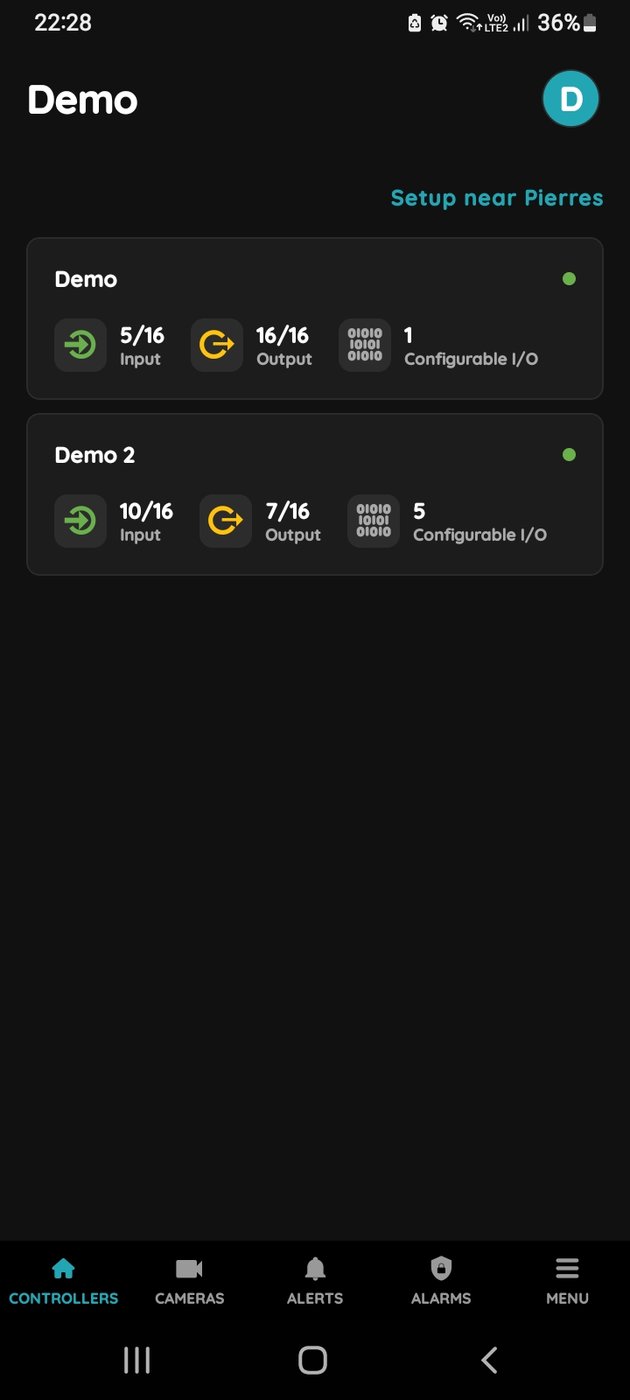
Fill in the form
Tap Tap to see the wiring diagram at the top if you need the wiring. Then fill in:
- Name, Roles, Dashboard and Pin – the controller output the relay is wired to.
- Season – Heating for a heating device, Cooling for a cooling device.
- Regulation hysteresis – default 0.4 °C. How far the room may drift from the target before the device switches on.
- Turn off hysteresis – default 0 °C. How far past the target the room must go before the device switches off.
- Temperature Sensor – the sensor whose reading drives the regulation.
- Temperature Format – Celsius or Fahrenheit.
- Photo, Slide to confirm, Identifier and Hide Activity – optional, as for any output.
Tap Submit, then Save.
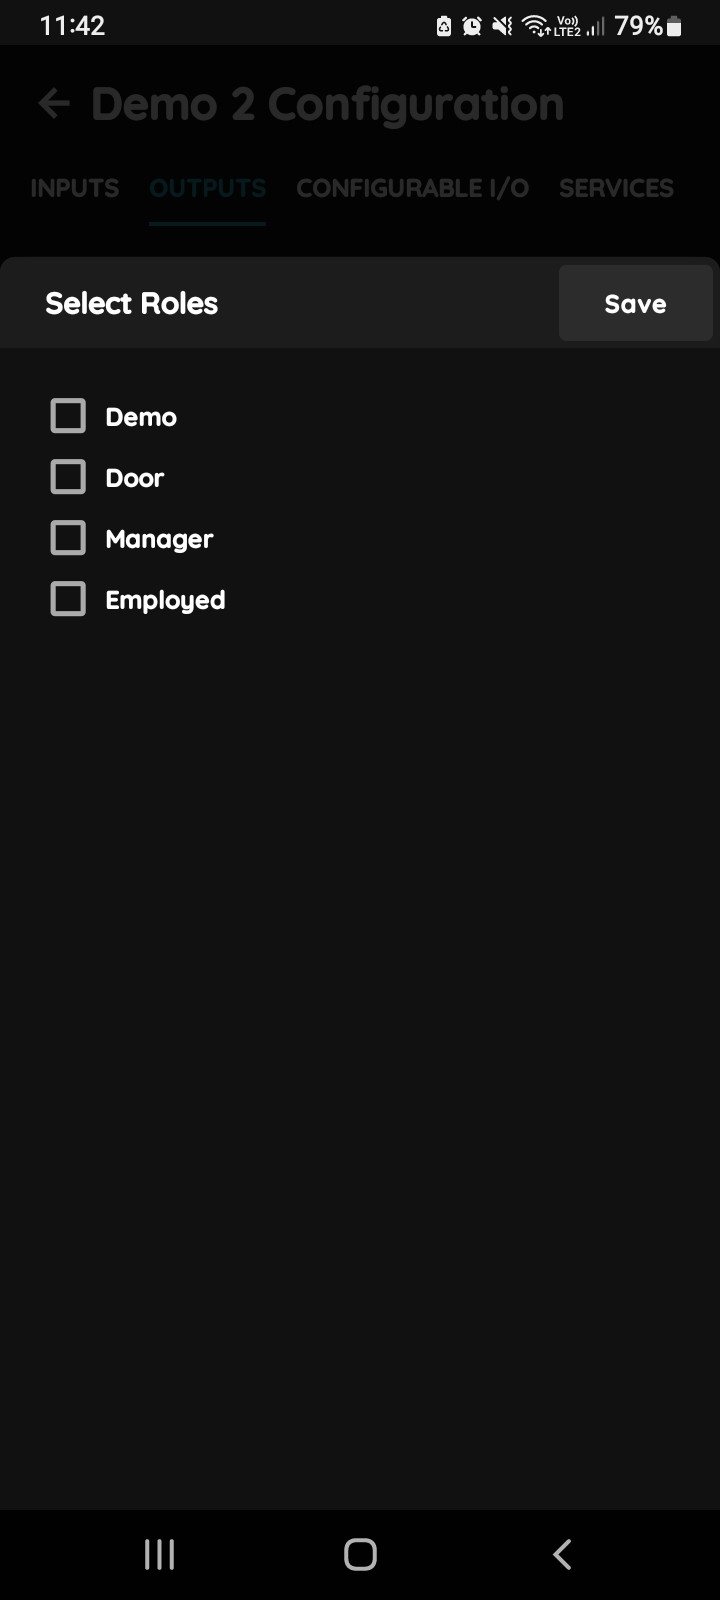
Select Roles
Select the Role or roles that may use the output. Multiple choice.
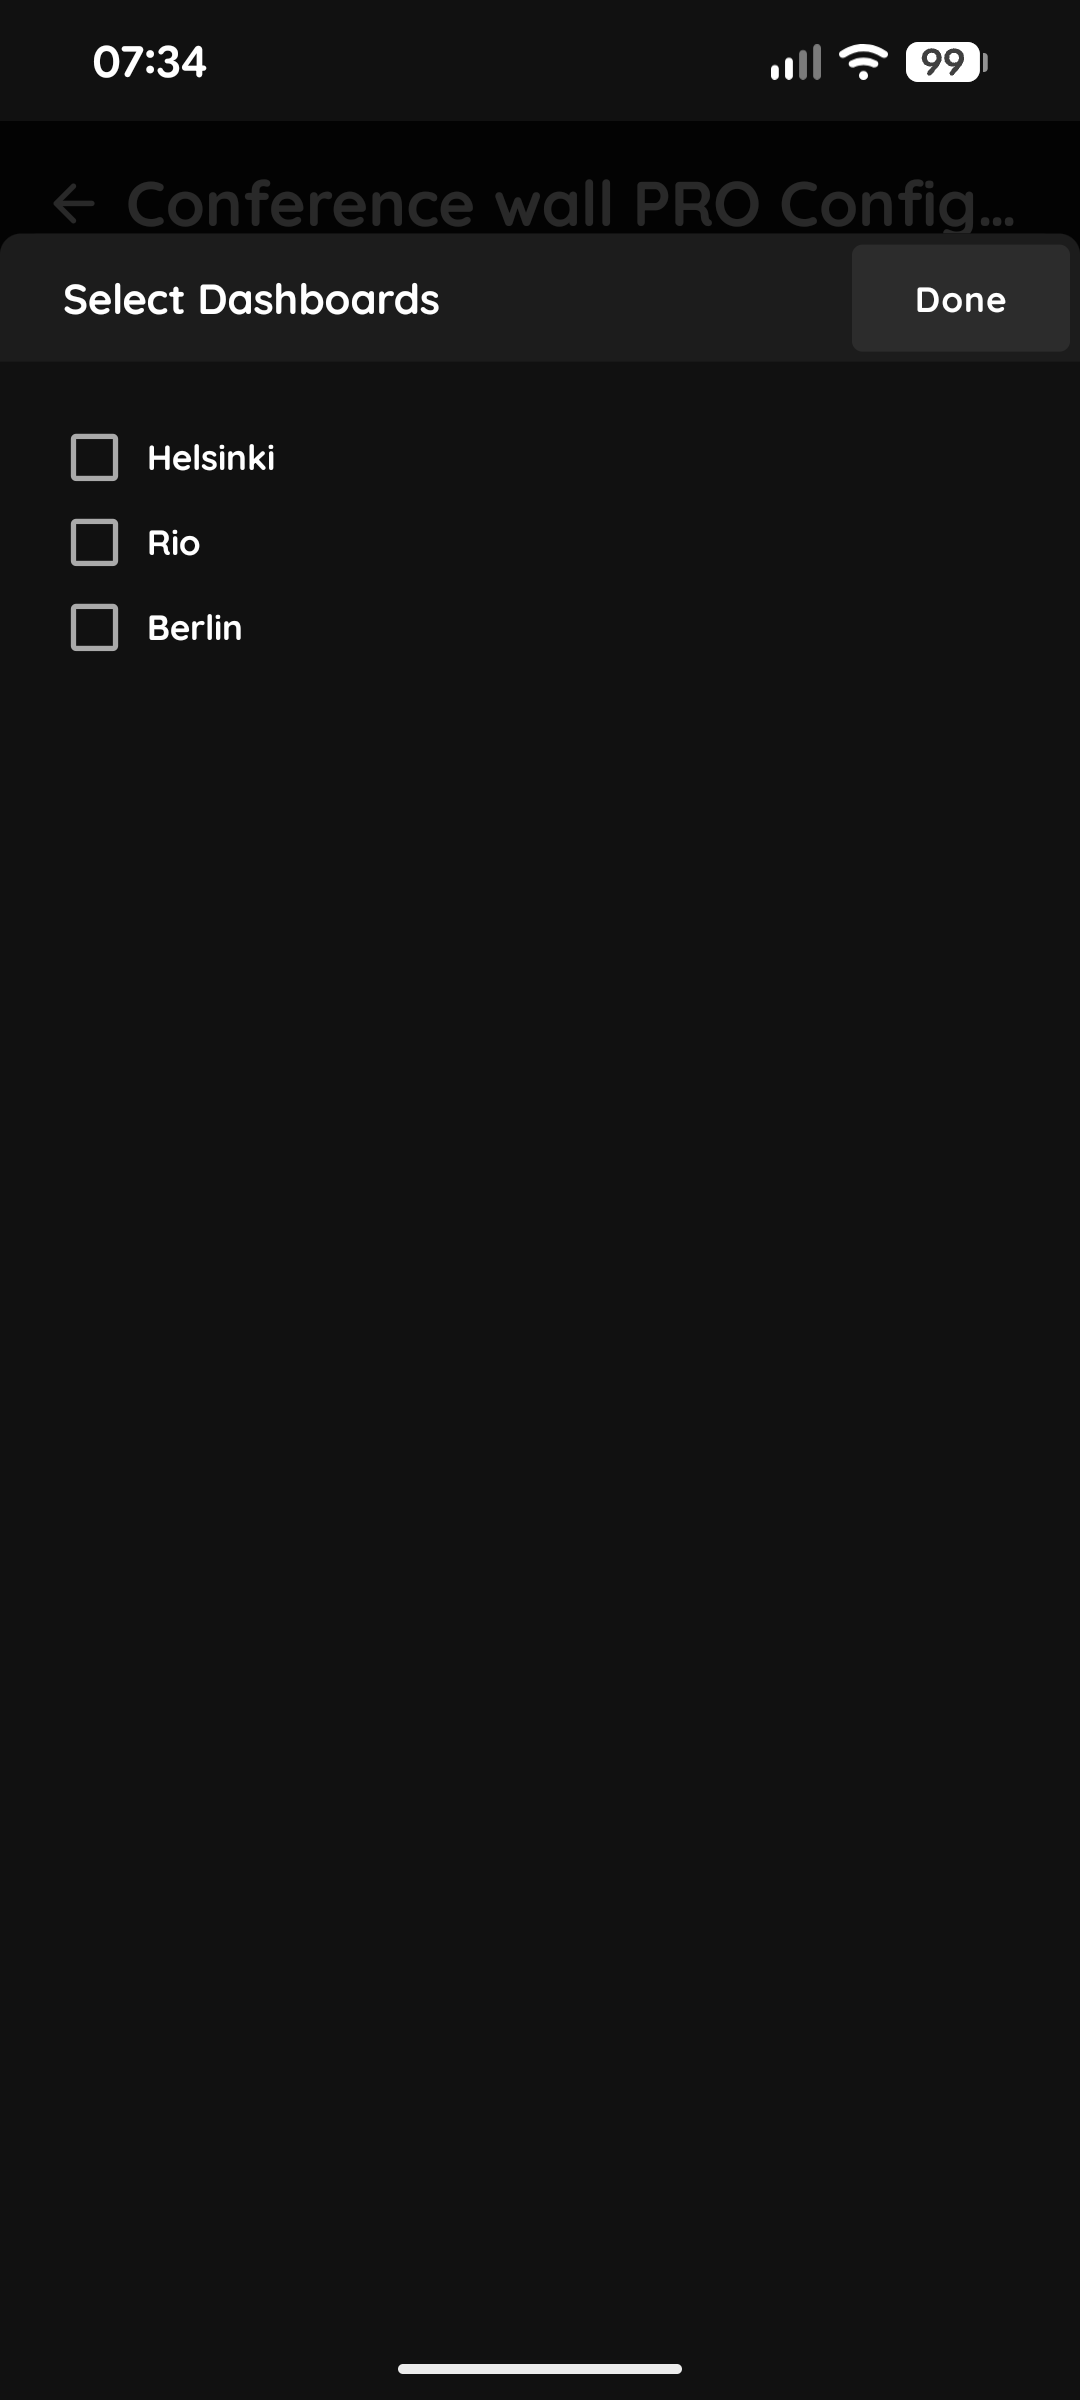
Select Dashboards
Select the Dashboard: the PIERRE display or displays the output appears on.
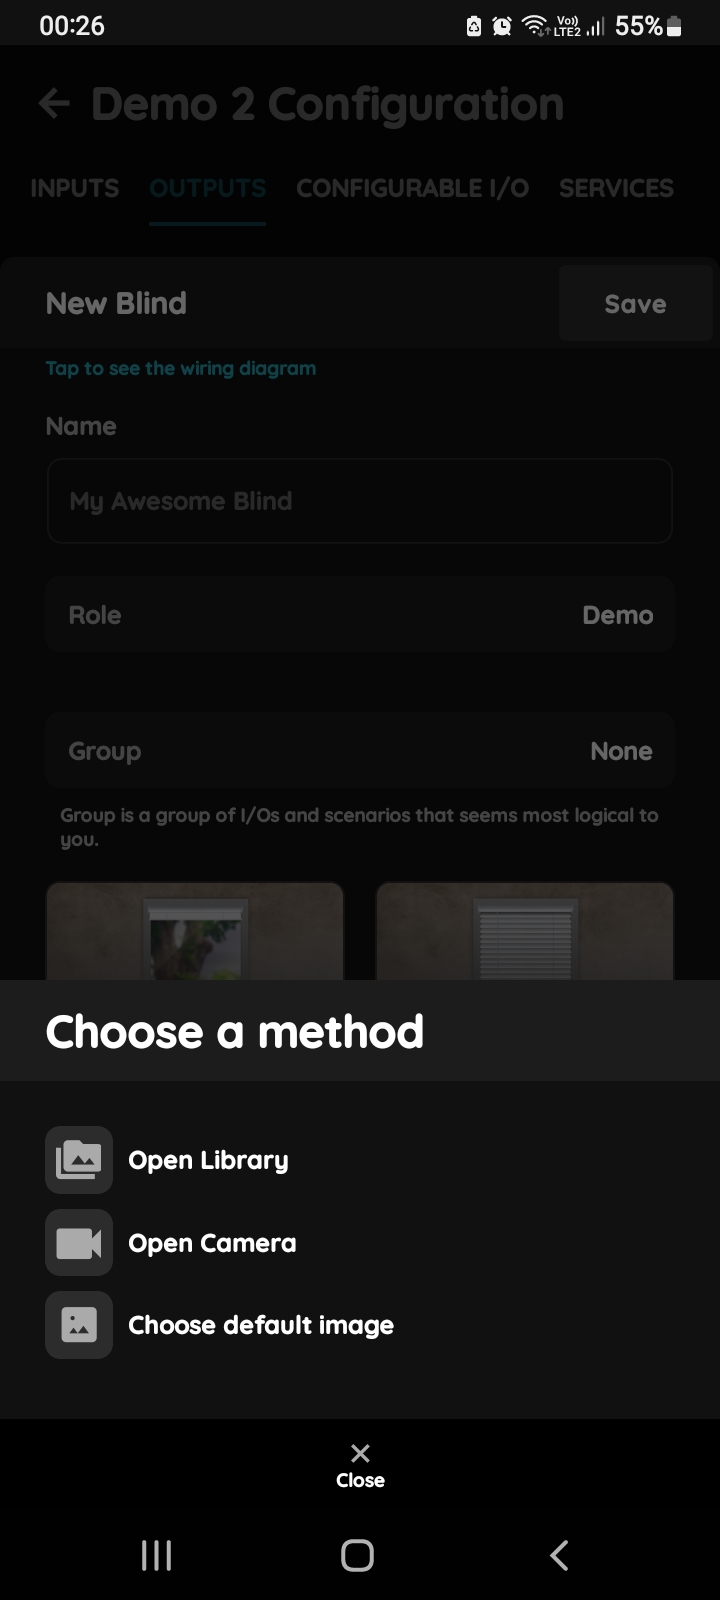
Change photo
Optional. Tap the photo to choose one from the library, take a new one, or pick a PIERRE icon.
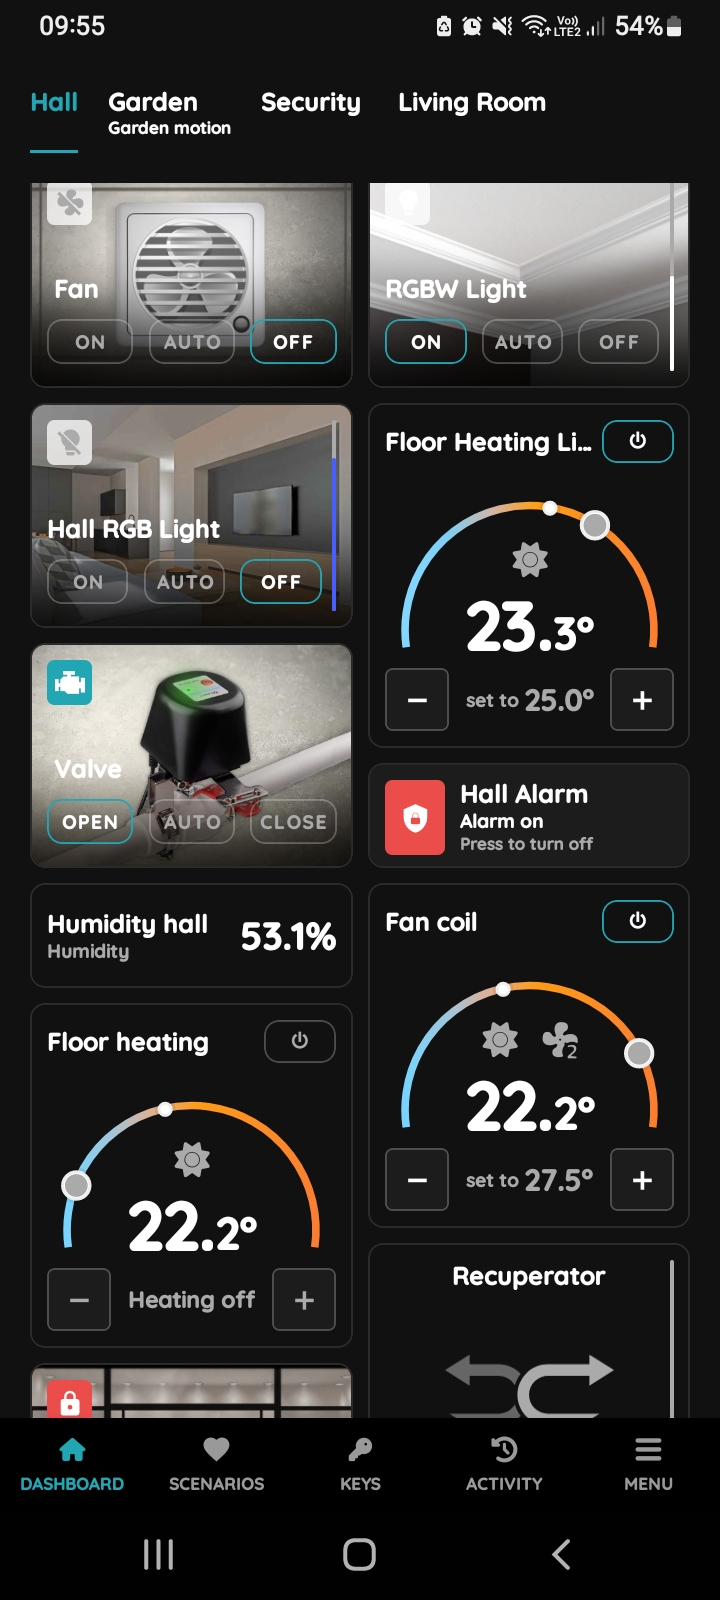
The result in the Smart PIERRE app
After Submit and Save, the output appears as a thermostat card on the dashboard. The user sets the target with + and −. See the lesson Passive Heating and Cooling for the app side.