PIERRE Partner - Siren
Description
The Siren output type is used to control indoor and outdoor sirens within the PIERRE system.
Sirens can be activated manually, through automations, or by sensor events.
Configuration
To add a Siren:
-
Select the desired Controller.
-
Open the Outputs tab.
-
Press Add.
-
Select Siren as the output type.
-
Configure the required parameters.
-
Press Submit and Save.
Available parameters:
-
Name
-
Group
-
Role
-
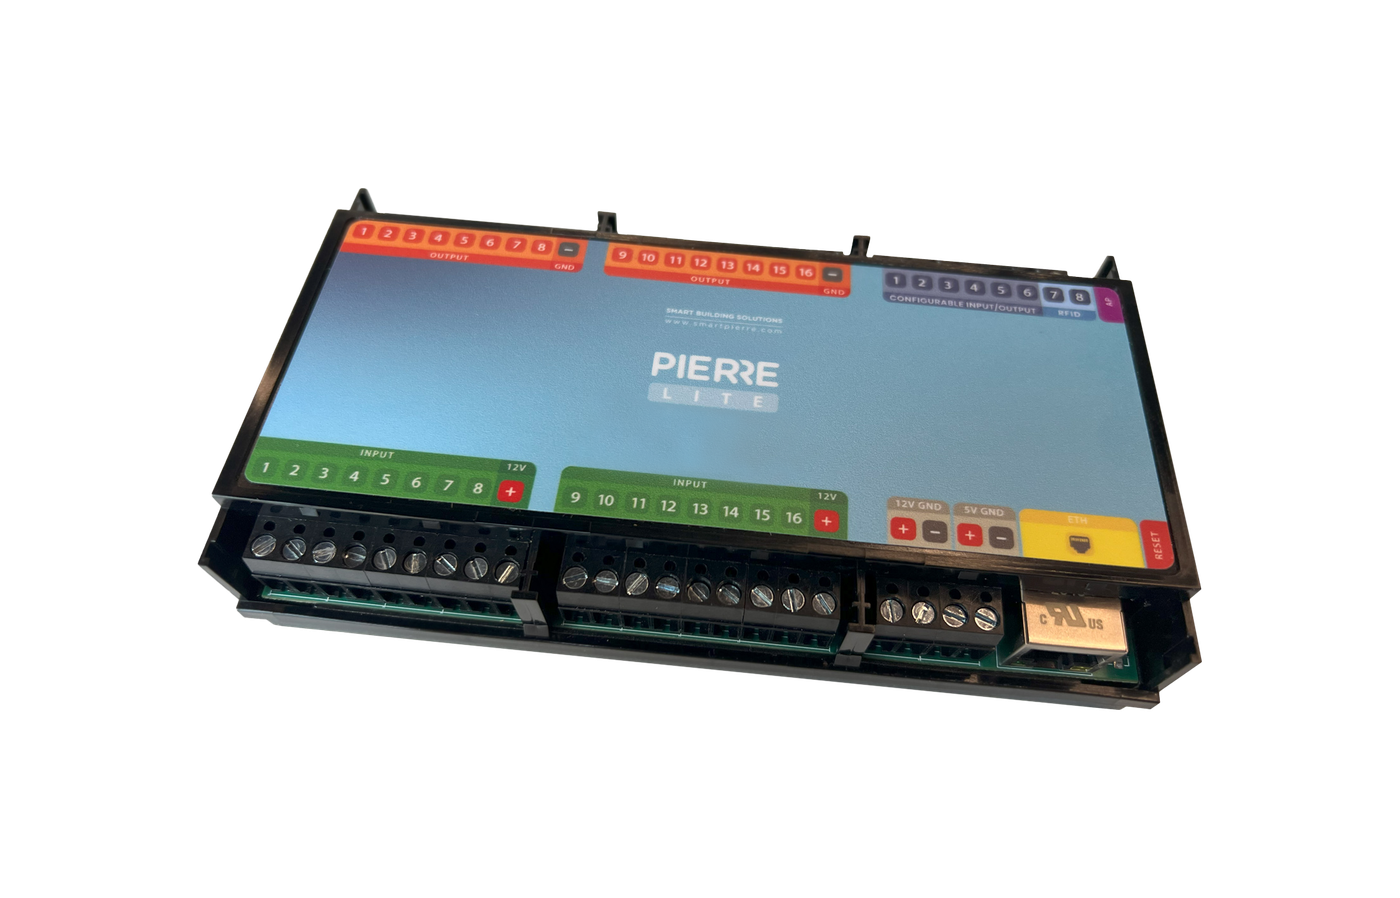
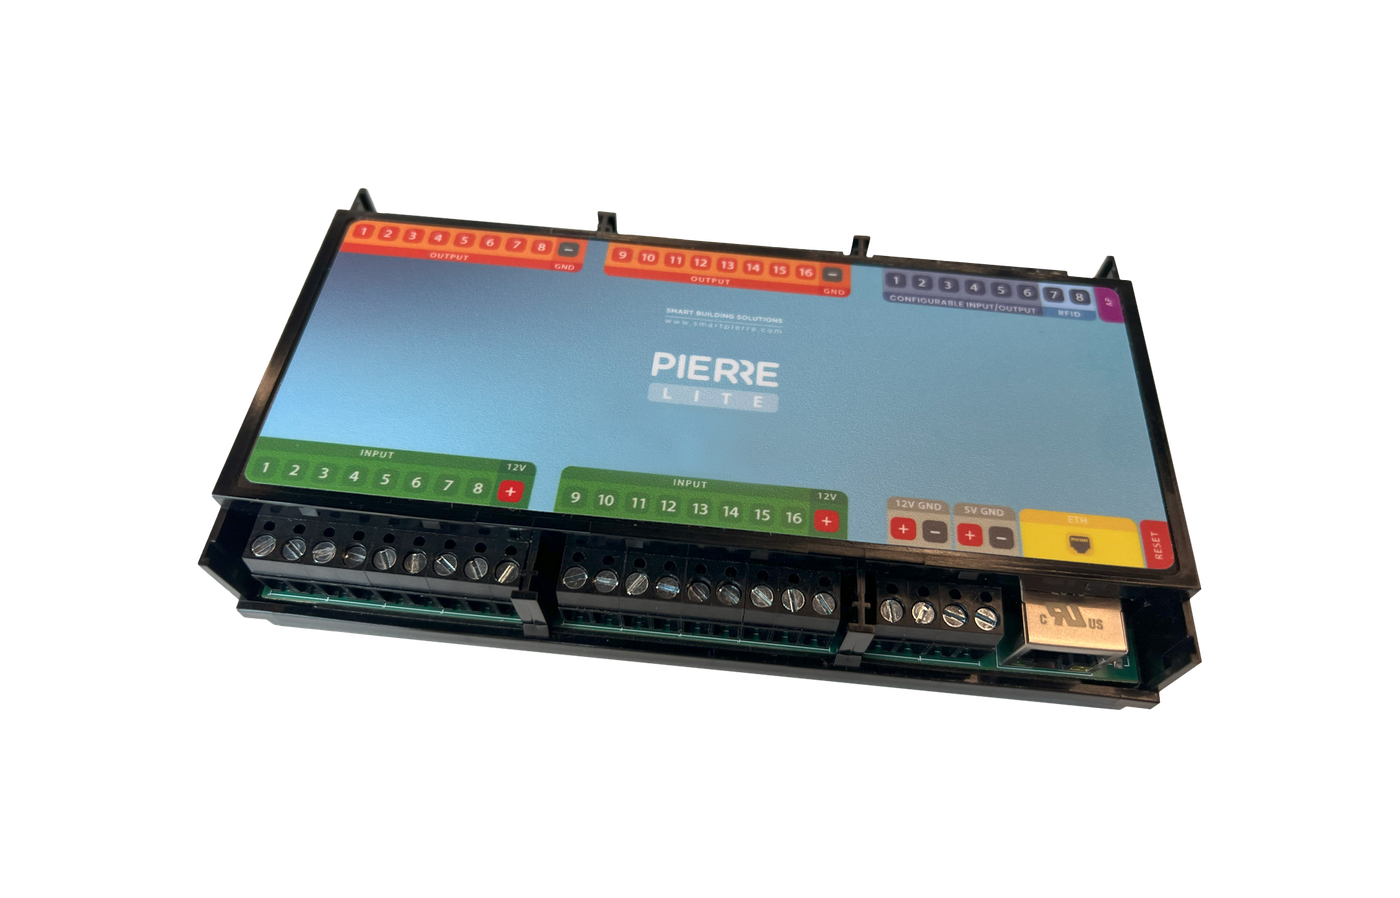
Pin
-
ON Image
-
OFF Image
-
Slide to Confirm
-
Timeout
-
Hide Activity
Editing
To edit an existing Siren:
-
Select the Controller.
-
Open the Outputs tab.
-
Select the Siren from the list.
-
Modify the required parameters.
-
Press Submit and Save.
Timeout
Defines the delay before the Siren switches off after the triggering condition is no longer active.
Default value: 1 second.
Slide to Confirm
When enabled, user actions must be confirmed with a slide gesture before activation or deactivation.
Automation Integration
Sirens can be included in:
-
Security automations
-
Safety-related automations
-
Emergency procedures
-
Sensor-based automations
Examples:
-
Activate a siren when a Motion Sensor detects movement.
-
Trigger an alarm when a Contact Sensor is activated.
-
Activate a siren when a Safety Detector enters an alarm state.
-
Generate an audible warning when a Leakage Sensor detects water.
Used In
The Used In tab displays all Scenes and Automations that use the selected Siren.
This provides a quick overview of where the Siren is used within the system.
Technical Notes
-
Supports indoor and outdoor sirens.
-
Multiple sirens can be activated simultaneously.
-
Sirens can be combined with notifications, lighting, and other automation actions.
-
The siren output can be controlled manually or automatically through the PIERRE system.
Add Siren to the Controller
A new Siren can be adde in a few steps.
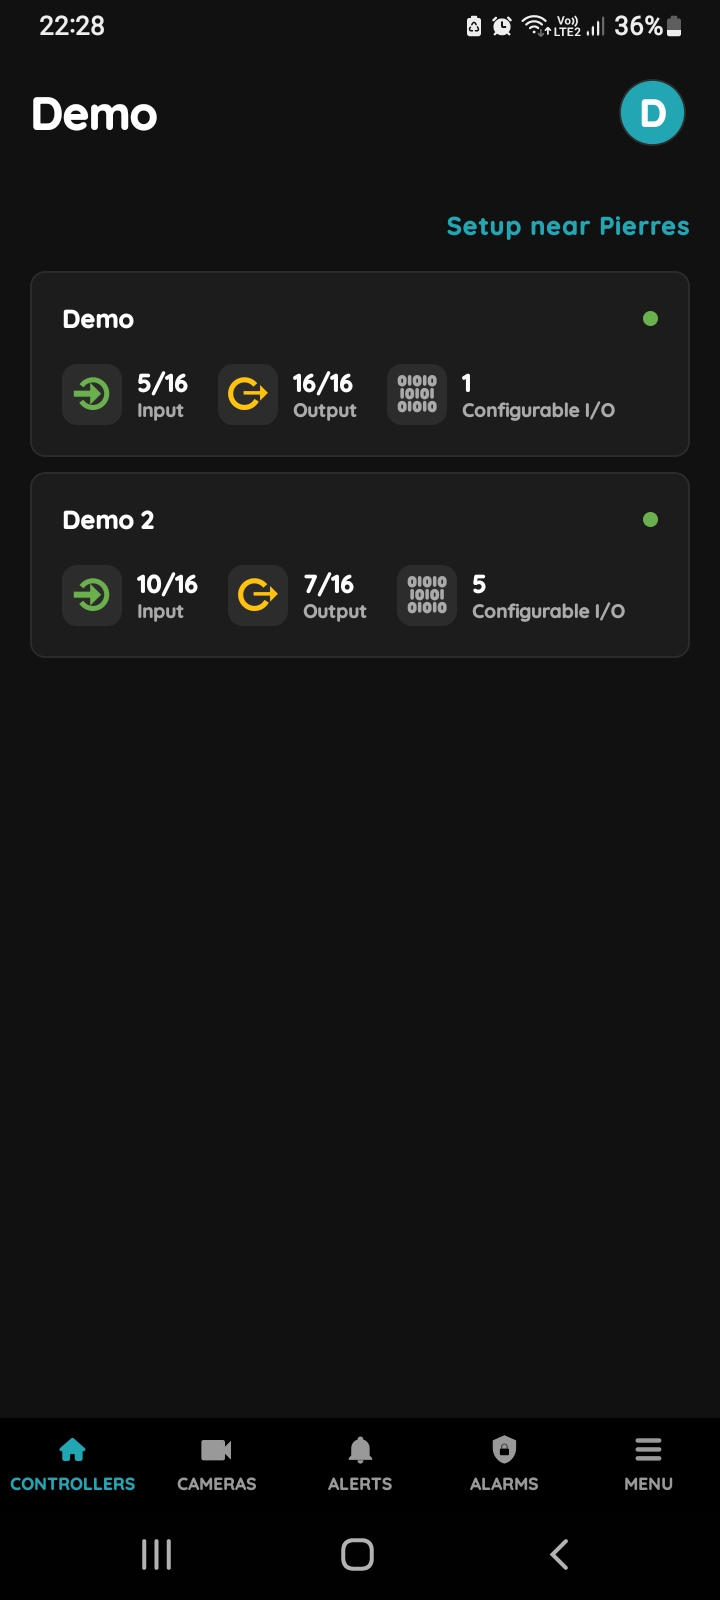
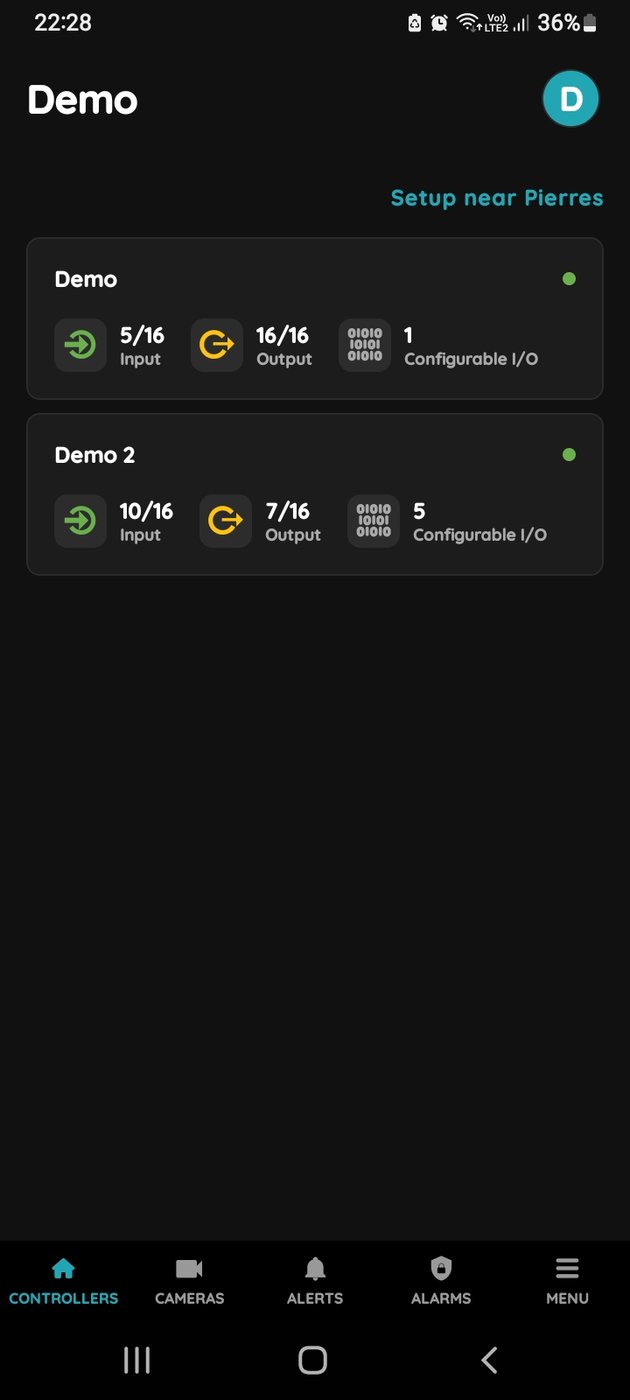
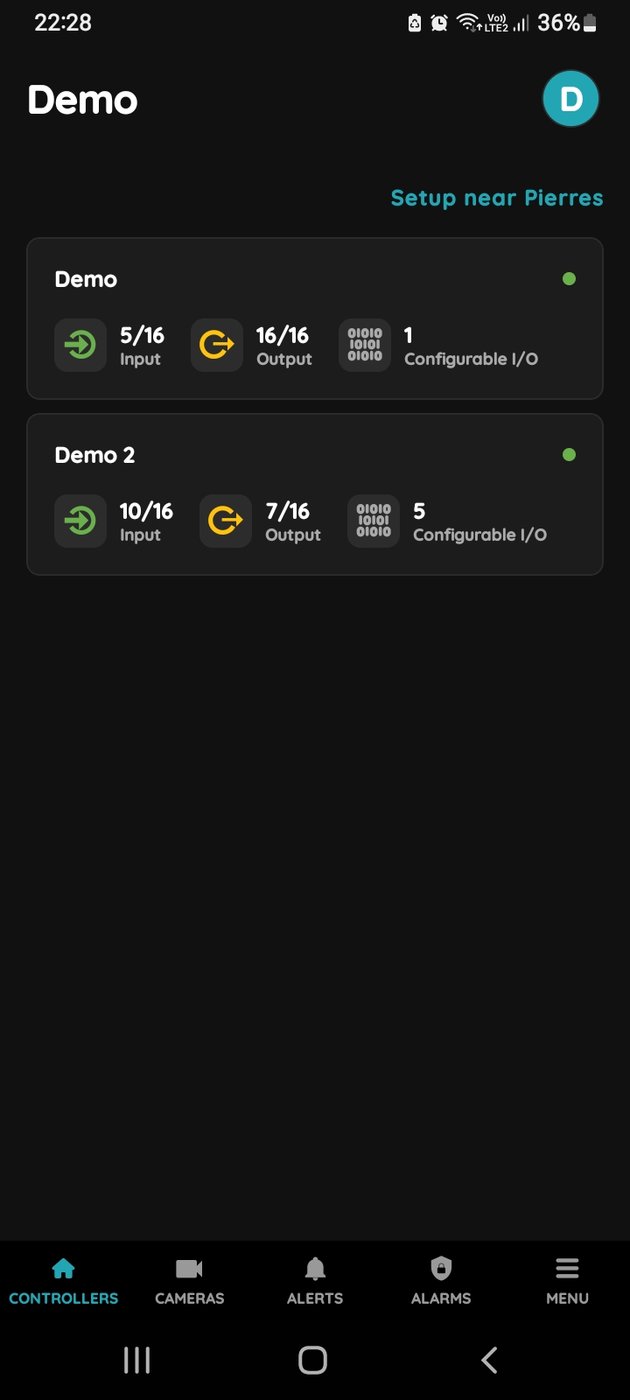
Choose Controller
Tap on the Controller that you would like to add new I/O to.
To edit the I/O, click on the Controller to which the I/O is added.
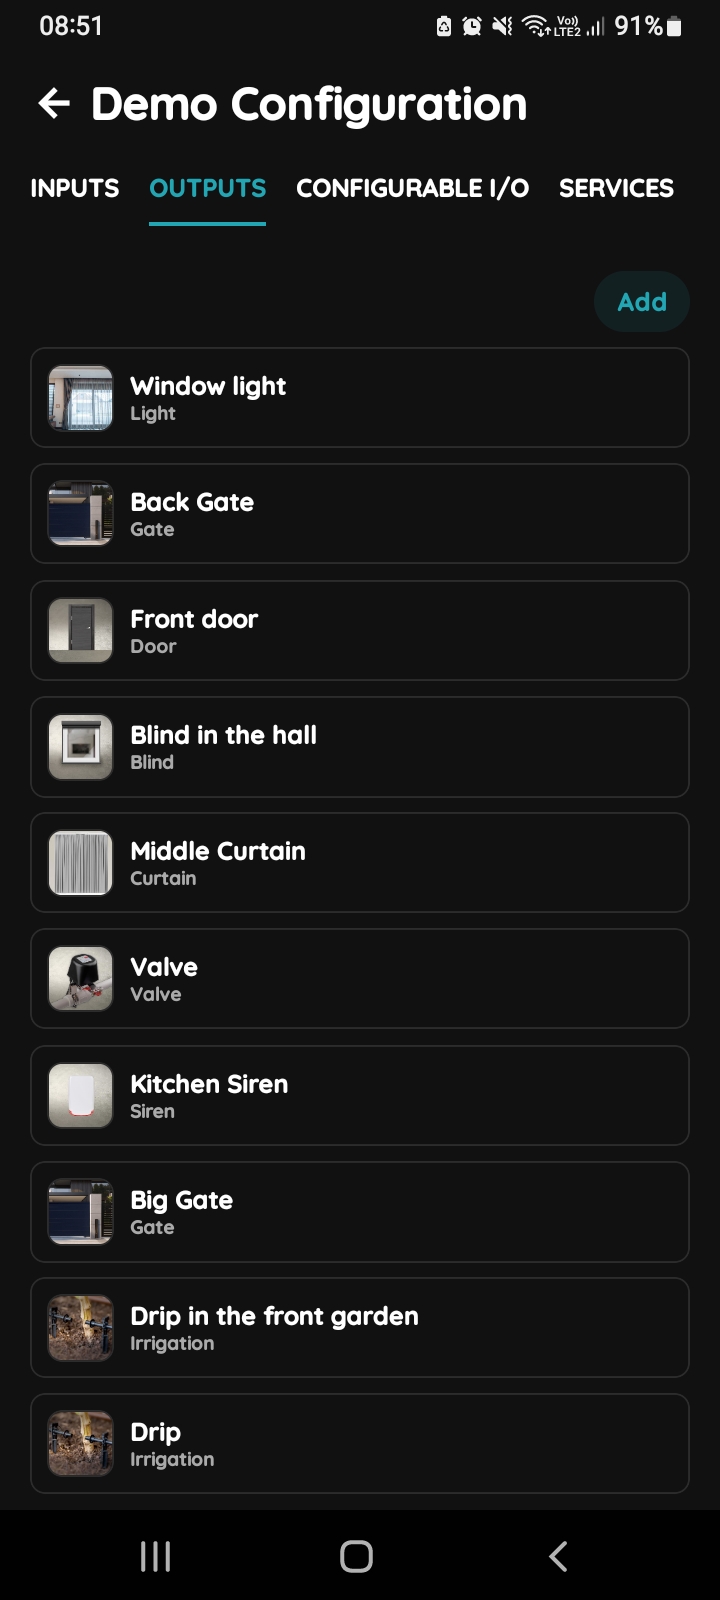
Outputs - Add button
Tap on the Outputs at the top and tap on the button Add.
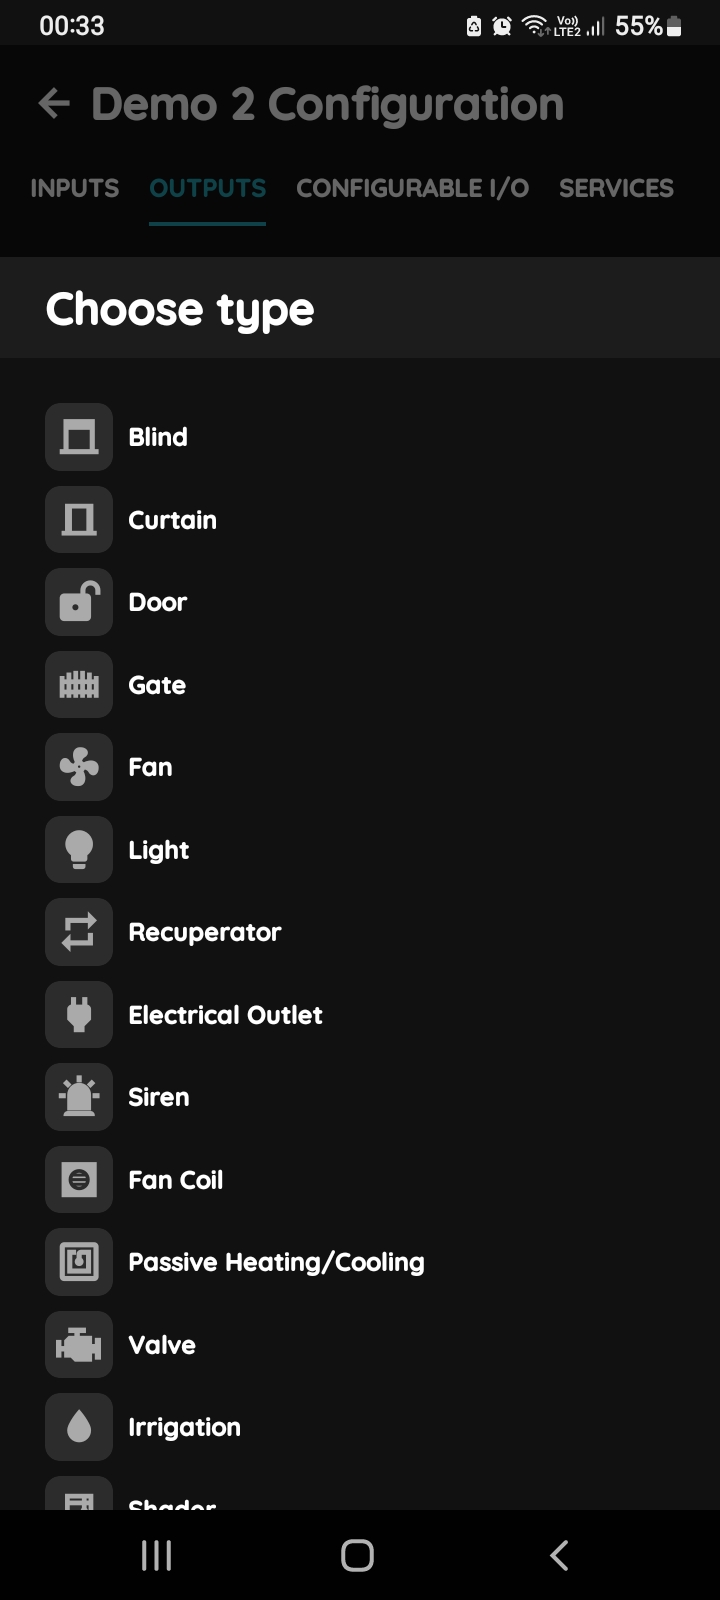
Choose type - Outputs
Tap on the type of the desired I/O that you would like to add.
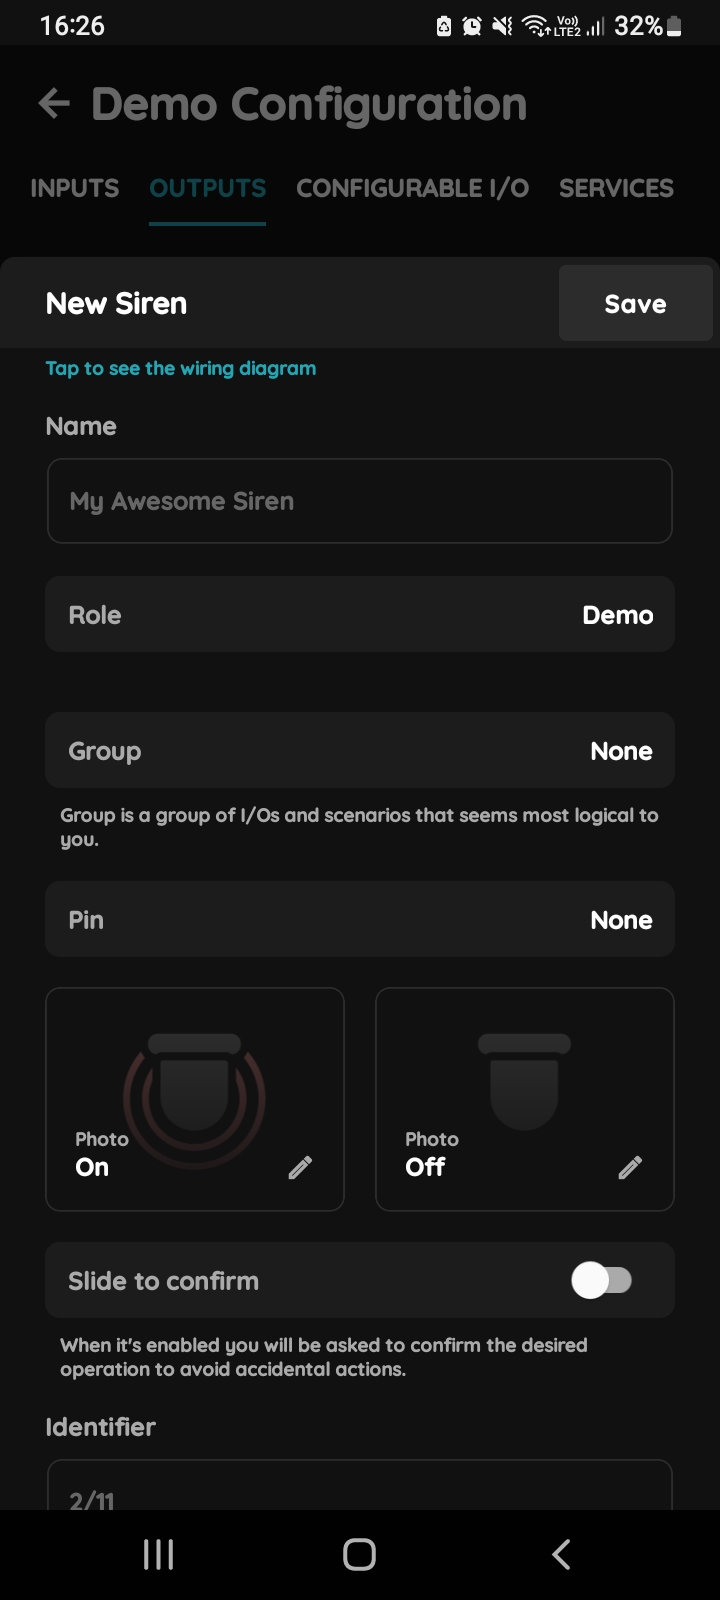
New Siren
Fill the following form:
- Name - Enter the name of the Siren.
- Role - Select the appropriate Role from the list.
- Group - Choose a Group from the list that logically organizes the I/O and scenarios.
- Pin - Select the Pin, which corresponds to the physical location on the Controller where the device will be added.
- Photo - Choose or change the photo for the Siren to represent its On and Off statuses.
- Slide to Confirm - When enabled, you will be asked to confirm the desired operation to prevent accidental actions.
- Identifier - Enter the identifier for the I/O as specified in the electrical project.
- Hide Activity - Use this option to hide the I/O activity from the Activity tab.
- Timeout - It is the duration for which the Siren will remain turned On in auto mode.
- Clear Timeout - Immediately stops the Siren and resets its timer to its default settings when deactivated.
When you want to confirm your choice tap on Submit and Save.
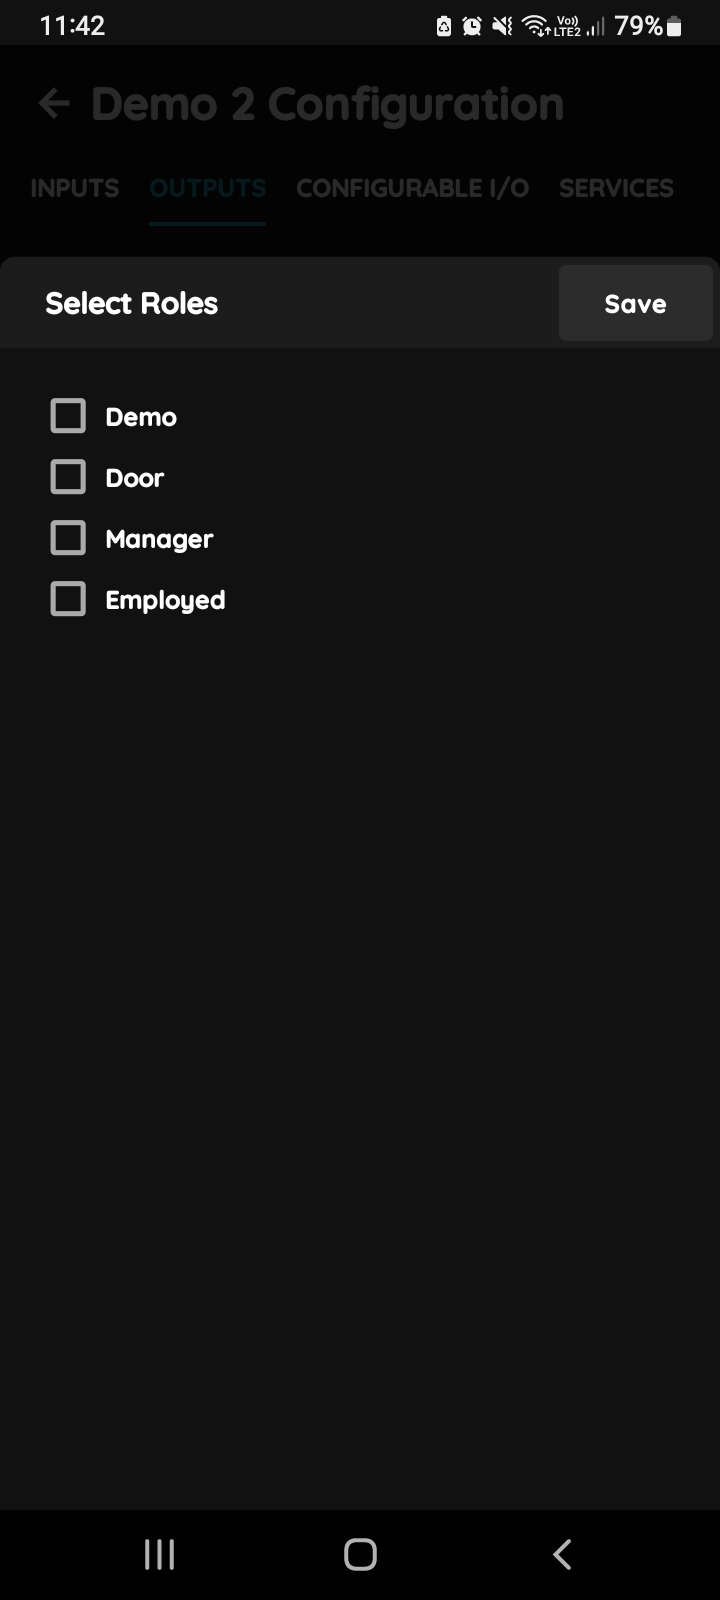
Select Roles
You can select desired Role or Roles - multiple choice if you tap on the checkboxes next to them.
Tap on Save/Done.
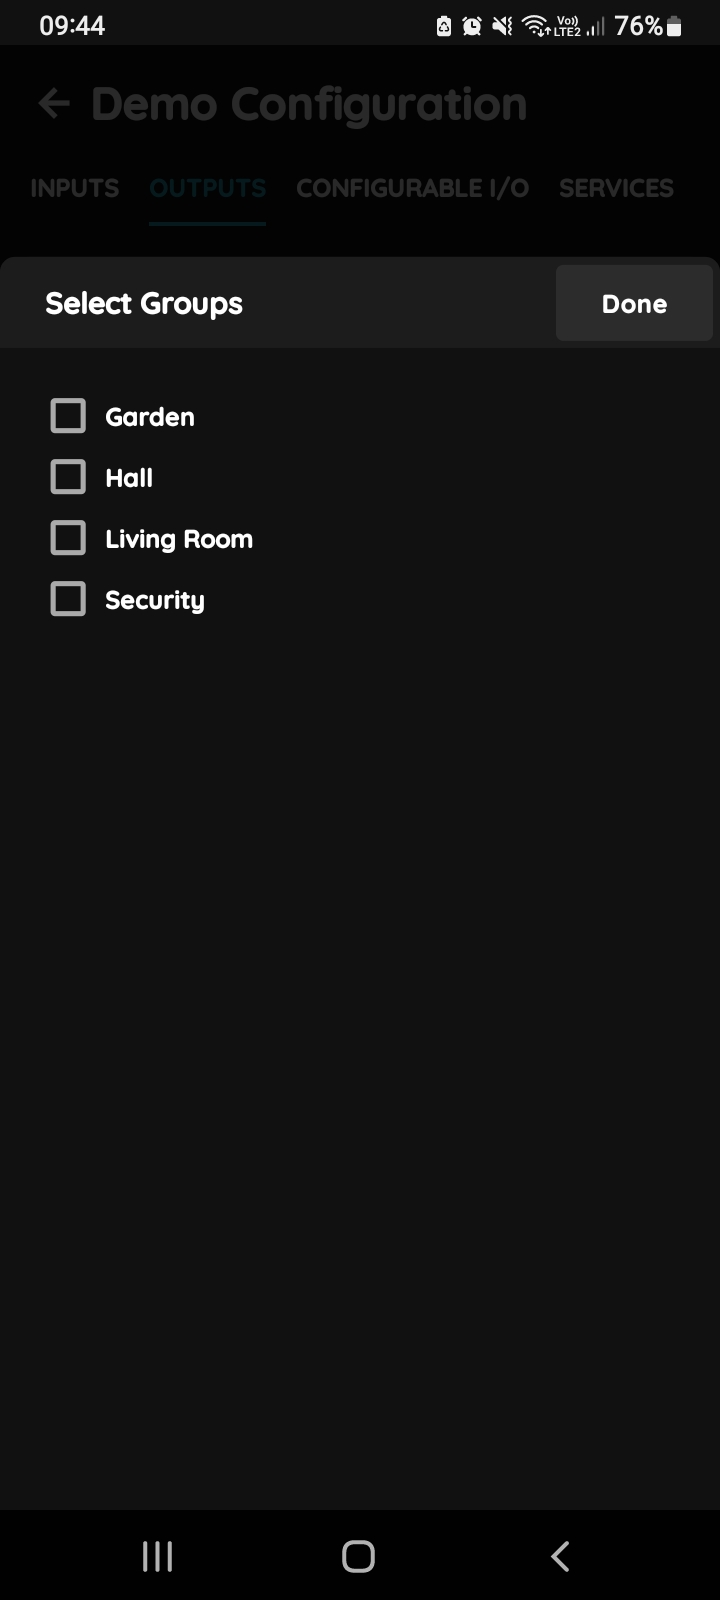
Select Dashboards
In this step, you need to select one or more Dashboards.
Select the checkbox/checkboxes next to the Dashboards that you want to associate with the I/O.
Once selected, the I/O will appear in the chosen Dashboards on the Dashboard.
Tap Save/Done to confirm your selection.
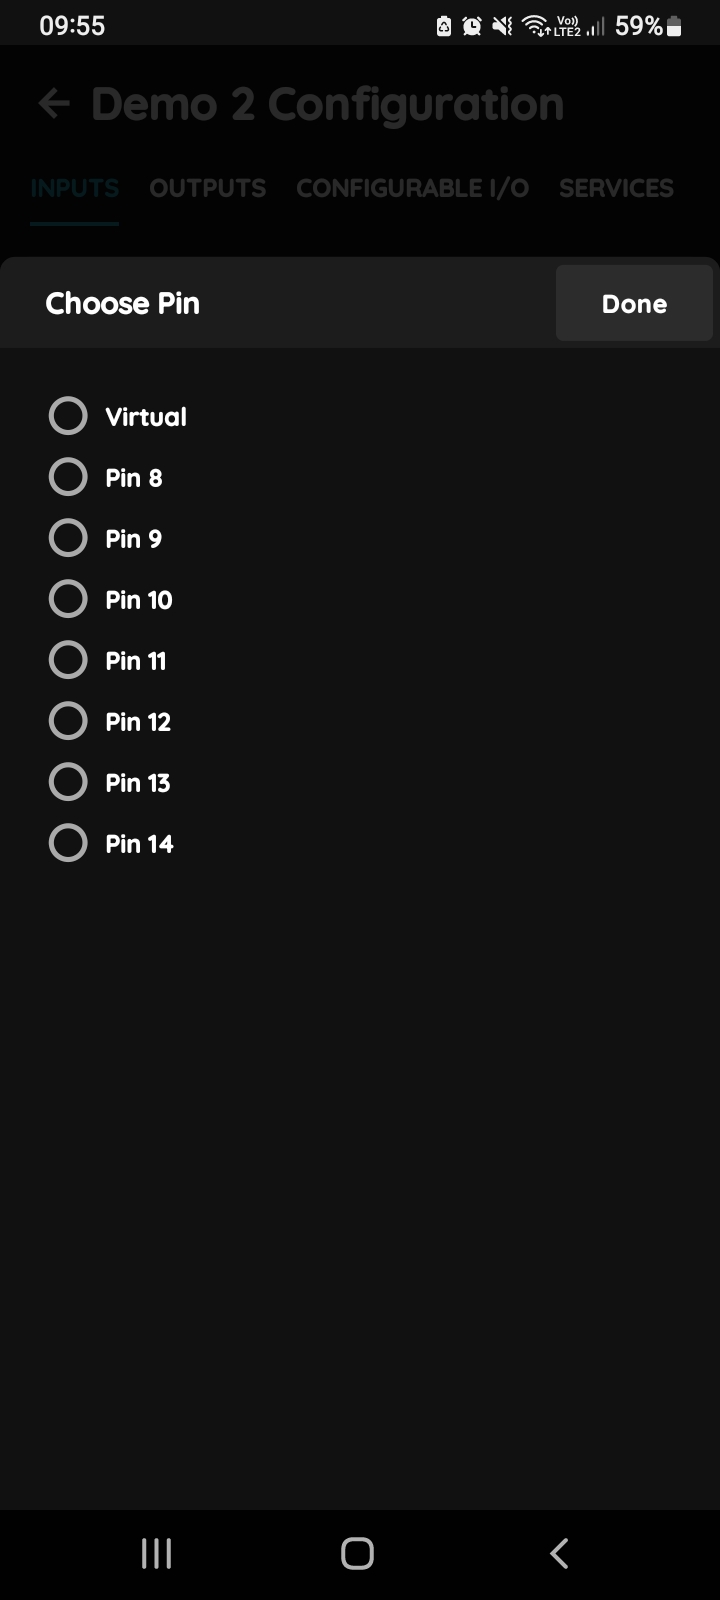
Choose PIN
Tap on the radio button next to the Pin that you would like to choose.
To confirm selection tap on Save/Done.
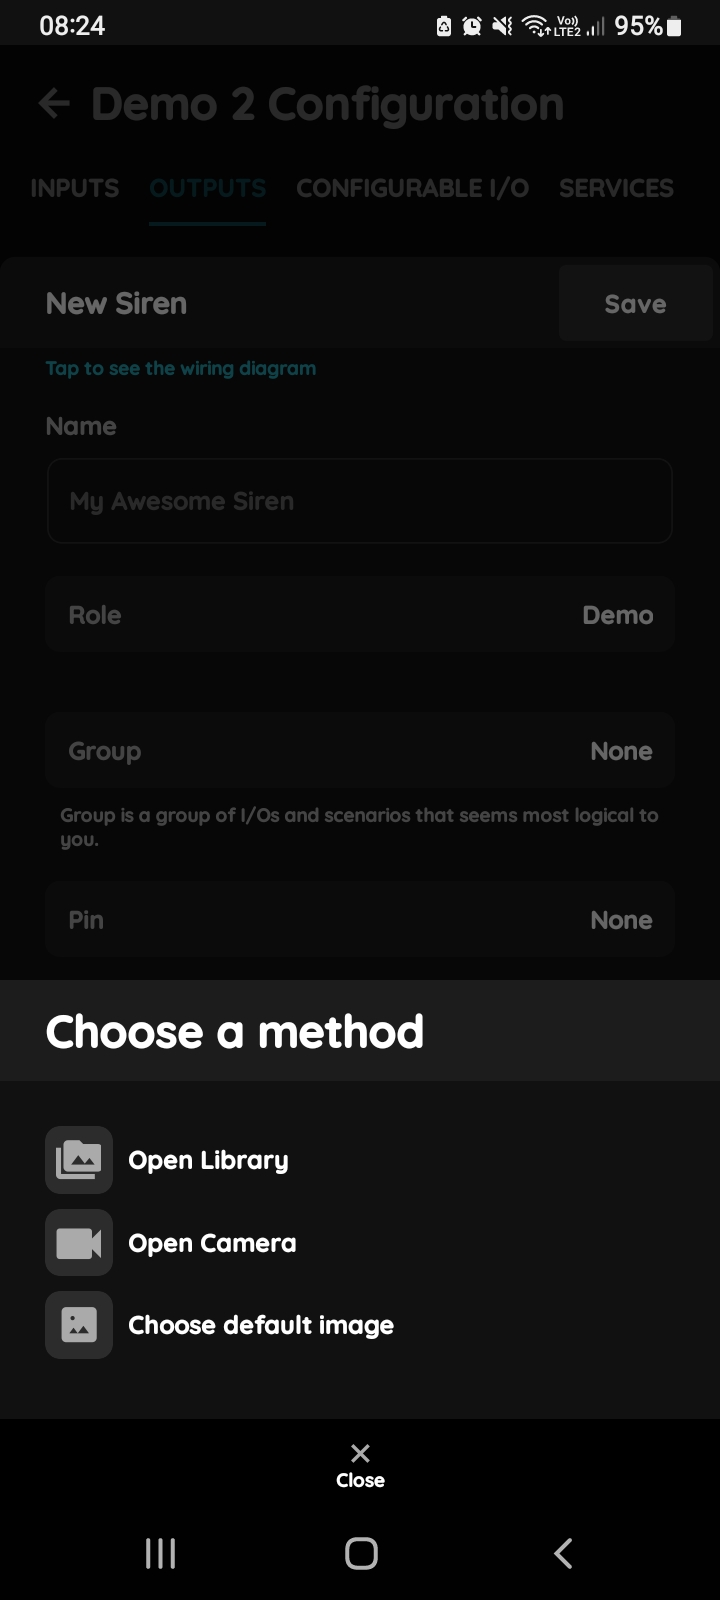
Change photo - Siren
There are three sources of photos (for both statuses):
- Open Library - It will open Library from your phone.
- Open Camera - You can take picture by your phone.
- Choose default image - Choose default image. These images are prepared in advance in order to provide a complete and seamless experience.
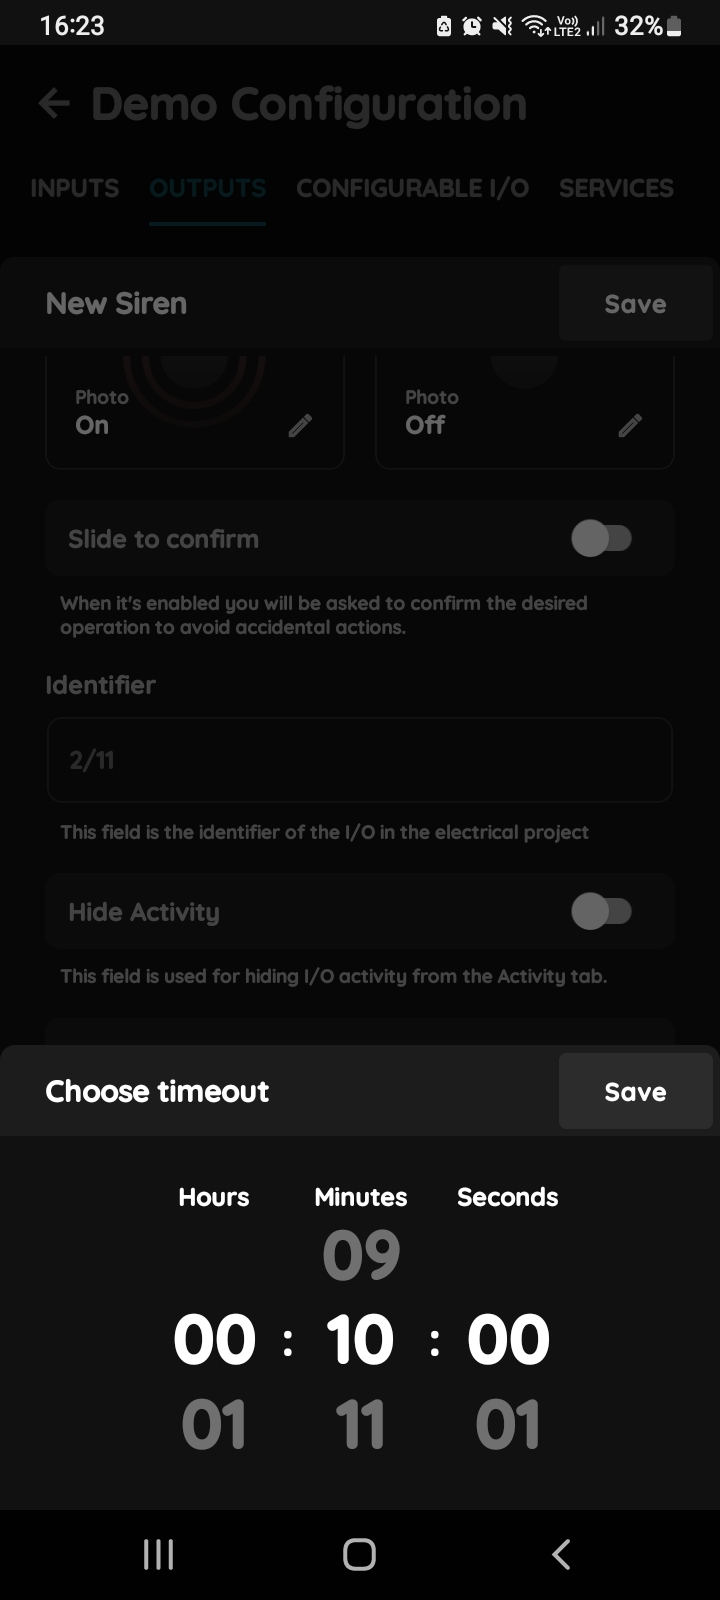
Select timeout-Siren
Scroll each of the columns (hours, minutes, seconds) to set Timeout and tap button Save.
Defines the delay before the Siren switches off after the triggering condition is no longer active.
Default value: 1 second.
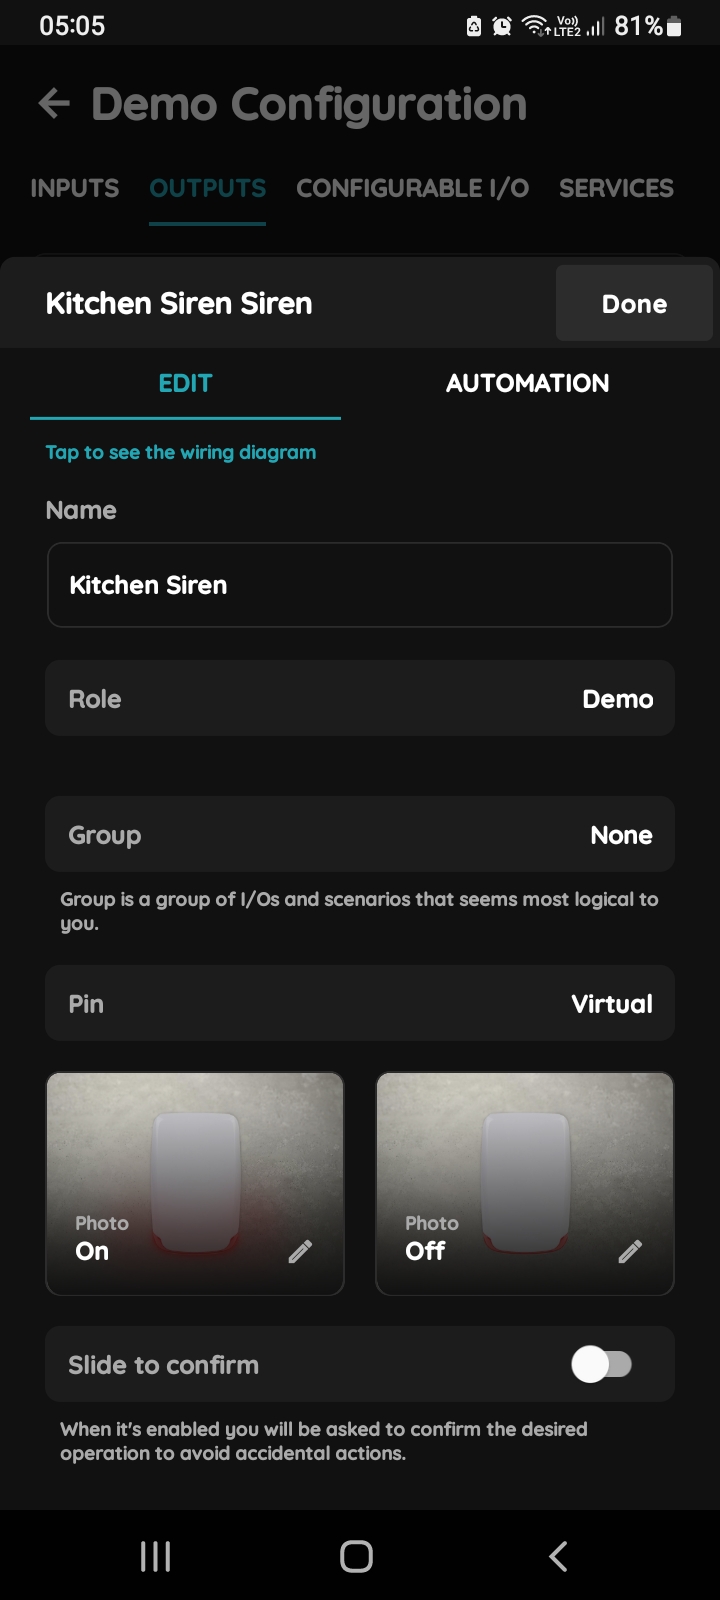
Edit Siren settings
Edit the Siren settings, select the Controller, and then tap the Output associated with the siren.
- Name - Edit the name of the Siren.
- Role - Select the appropriate Role from the list.
- Dashboard - Choose a Dashboard from the list that logically organizes the I/O and scenarios.
- Pin - Select the Pin, which corresponds to the physical location on the Controller where the device will be added.
- Photo - Choose or change the photo for the Siren to represent its On and Off statuses.
- Slide to Confirm - When enabled, you will be asked to confirm the desired operation to prevent accidental actions.
- Identifier - Enter the identifier for the I/O as specified in the electrical project.
- Hide Activity - Use this option to hide the I/O activity from the Activity tab.
- Timeout - It is the duration for which the Siren will remain turned On in auto mode.
- Clear Timeout - Immediately stops the Siren and resets its timer to its default settings when deactivated.
When you want to confirm your choice tap Submit and Done. Or if you would like to Delete the Siren tap on the button Delete.