PIERRE Partner - Valves
Description
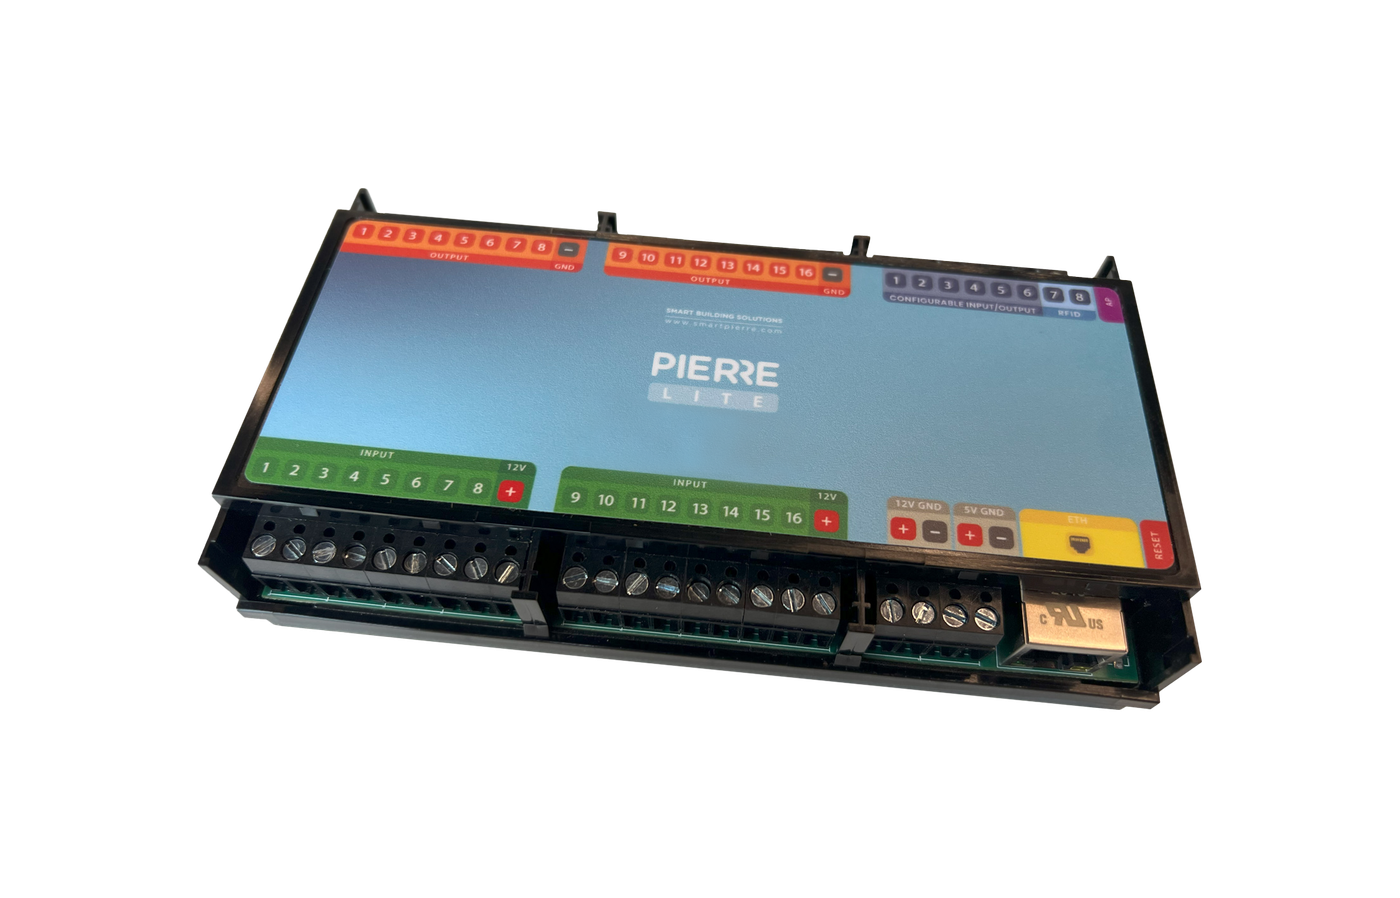
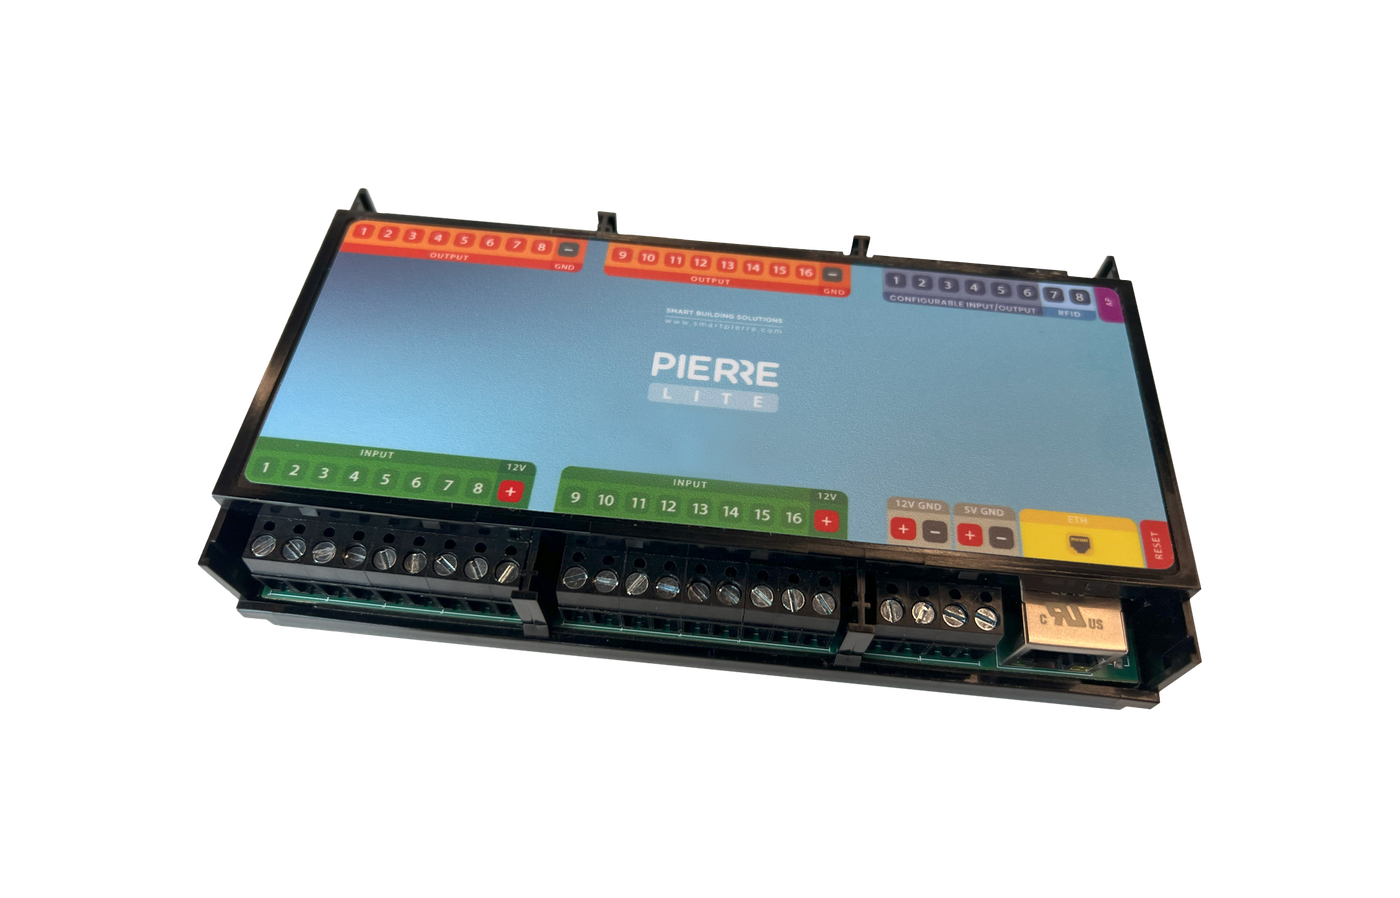
The Valves category in the PIERRE Partner application is used to create and configure electrovalves connected to the system. The valves can be assigned to the appropriate output of the PIERRE controller and can be used, among other applications, to open and close heating and cooling circuits, as well as the water supply.
Applications
Heating and Cooling Systems
Electrovalves can be used in heating and cooling systems to open and close water flow. They can be used, for example, to control individual rooms, zones, fan coil units, underfloor heating circuits, or other heating and cooling circuits.
Water Leak and Flood Protection
Electrovalves can also be used for water leak and flood protection. If a PIERRE Water Leak Sensor is connected to the system, the PIERRE system can automatically close the corresponding valve when a water leak is detected.
Configuration
When creating or editing a valve, the following parameters can be configured:
Name – The name of the valve used to identify it within the PIERRE system.
Image – An optional icon or image used to represent the valve.
Role – Defines the function of the valve within the system and determines who can access it.
PIN Assignment – Defines the PIERRE controller output to which the valve is connected. Correct output assignment is required for proper valve control.
Automation
Configured valves can be used in PIERRE automations, scenarios, and schedules. This allows valve operation to be linked to the status of other devices, sensor events, or predefined conditions.
Add Valve
Valve can be added in a few steps.
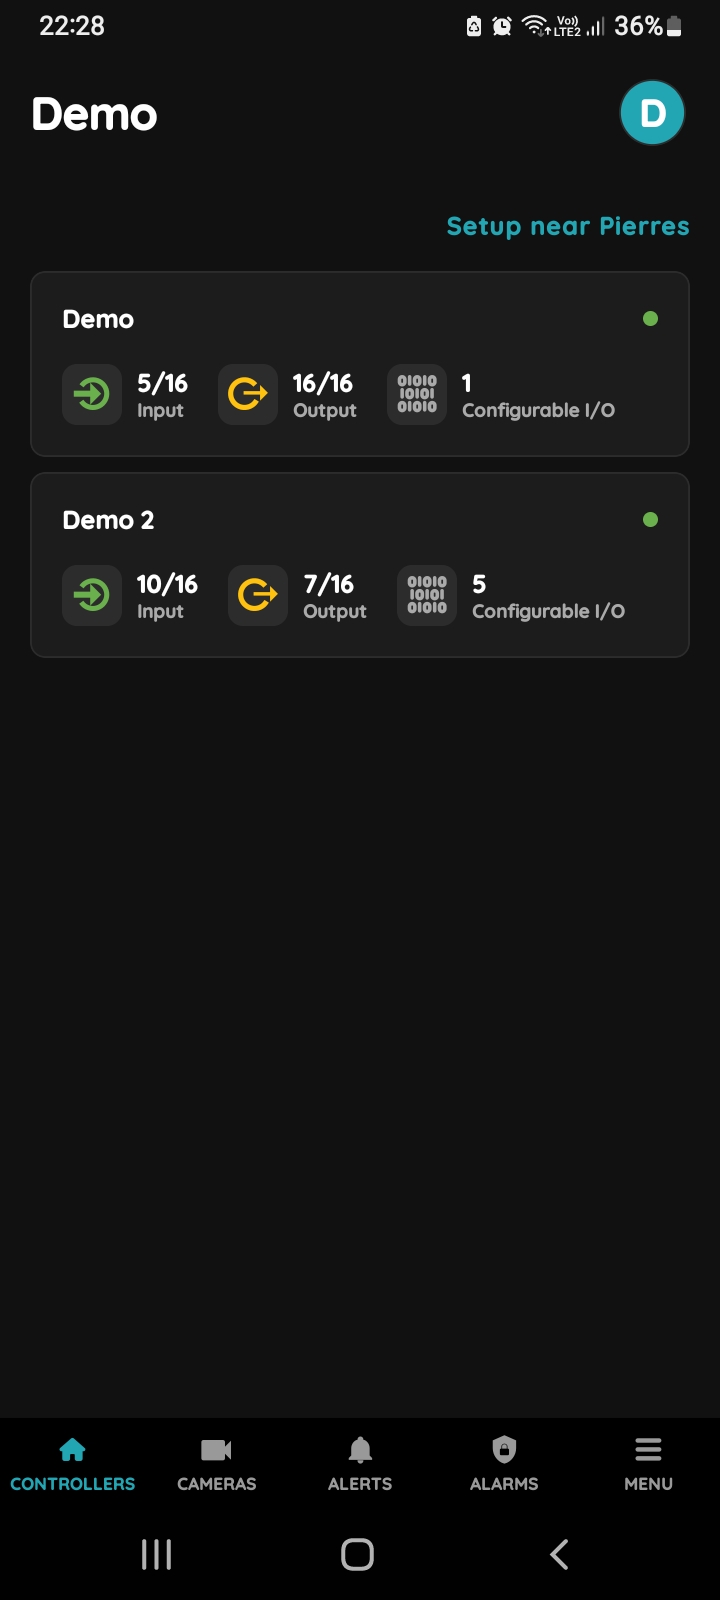
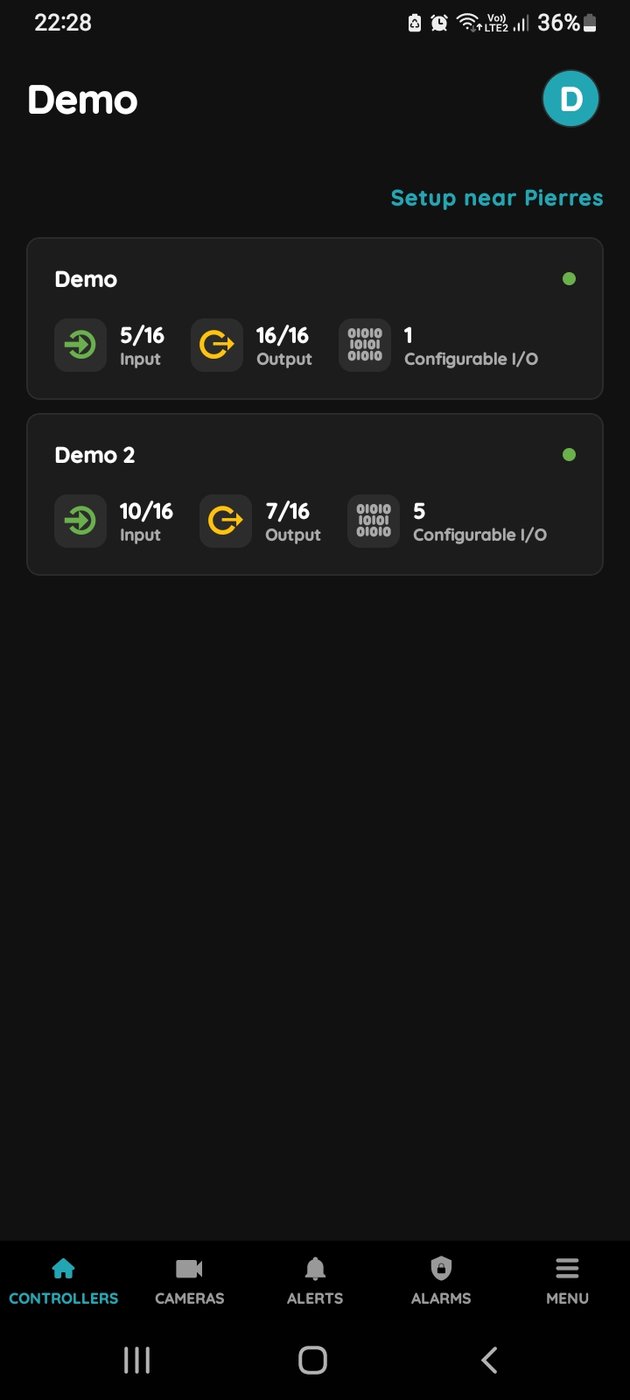
Choose Controller
Tap on the Controller that you would like to add new I/O to.
To edit the I/O, click on the Controller to which the I/O is added.
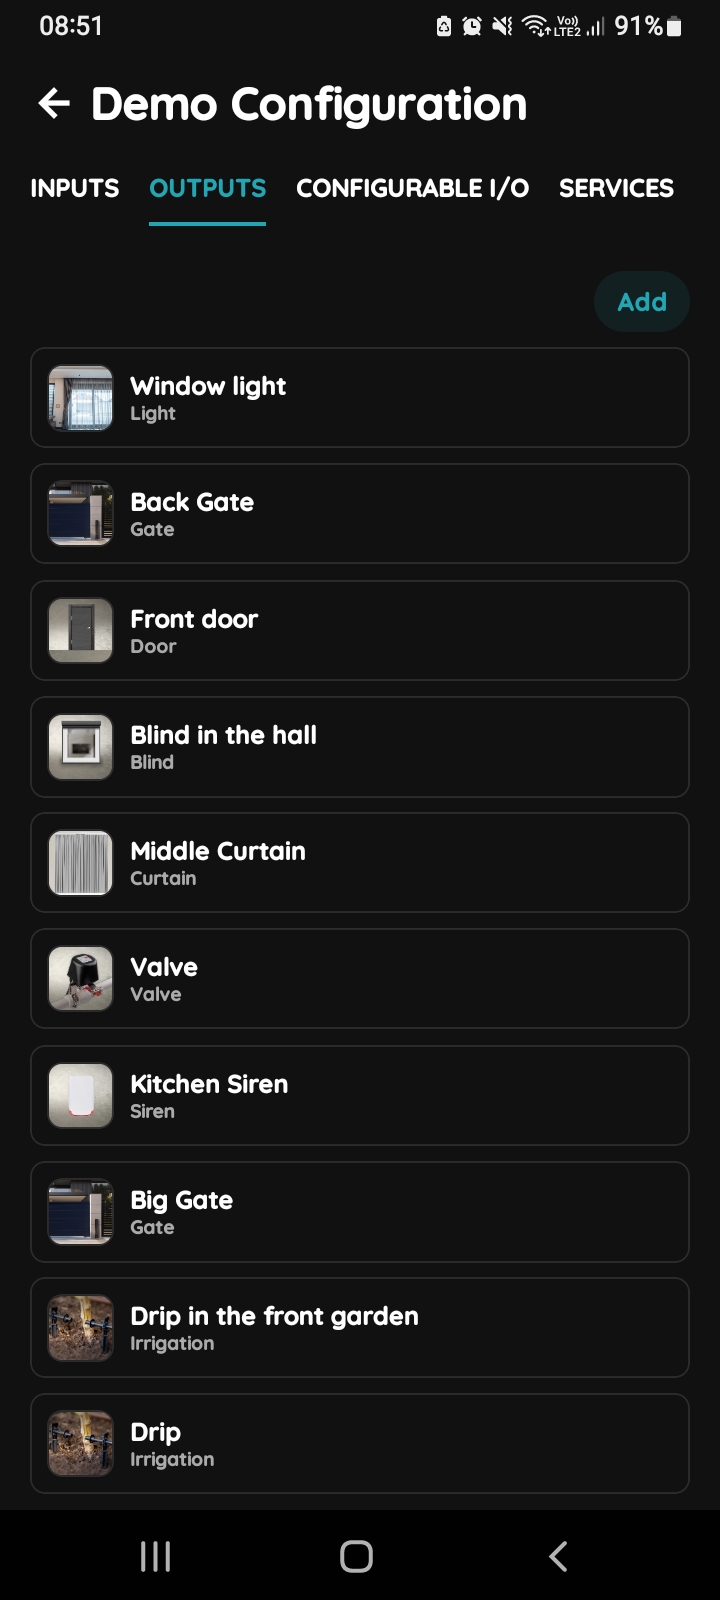
Outputs - Add button
Tap on the Outputs at the top and tap on the button Add.
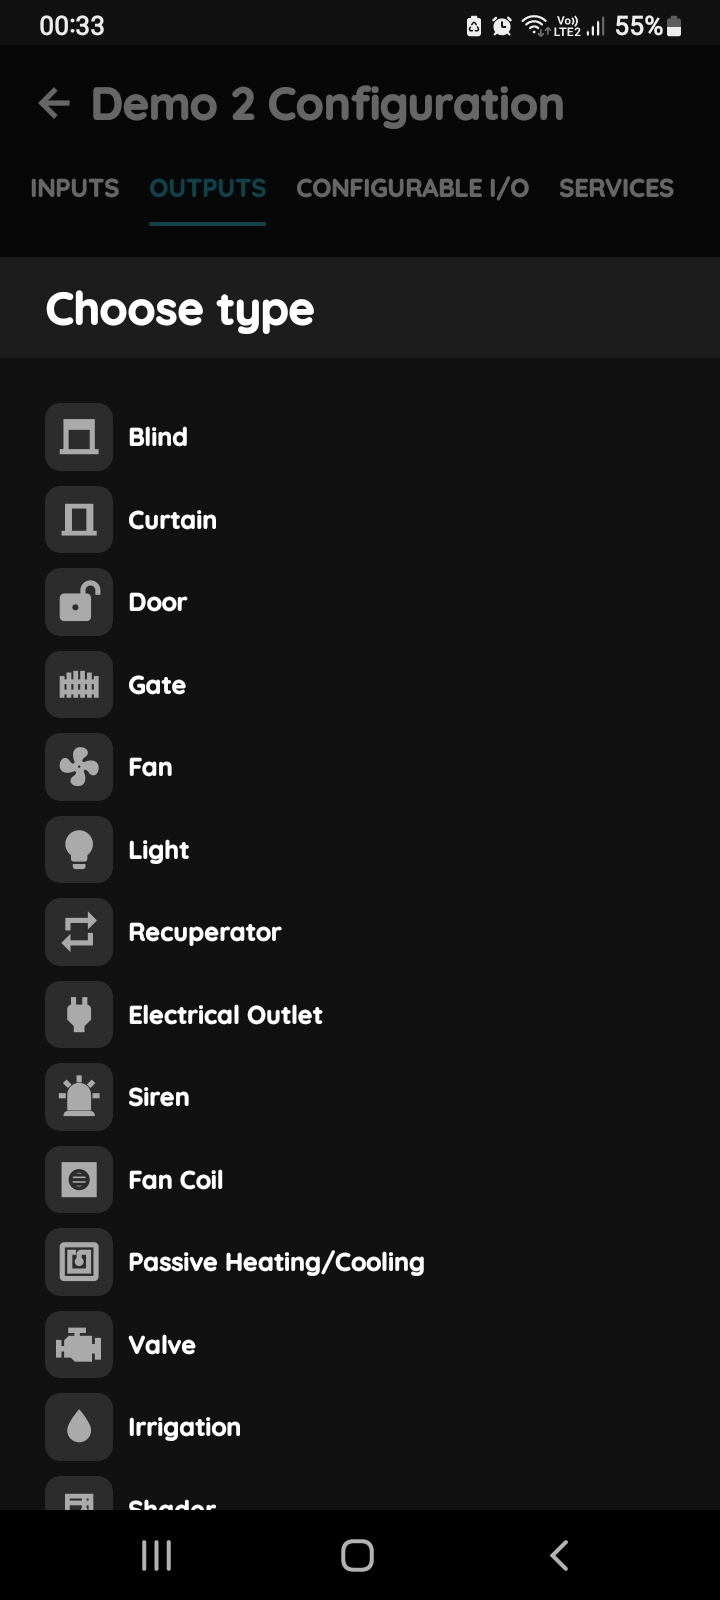
Choose type - Outputs
Tap on the type of the desired I/O that you would like to add.
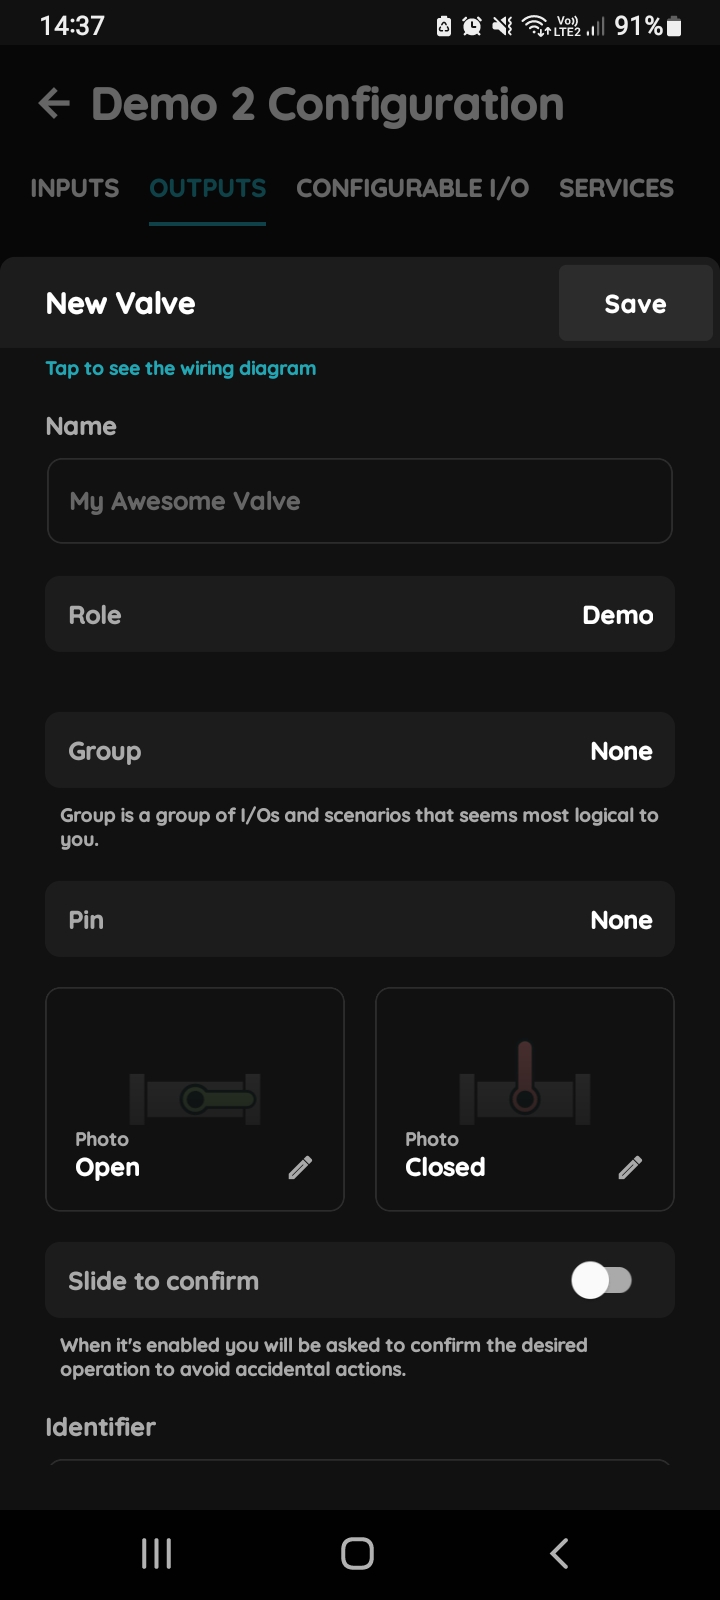
New Valve
Fill following form:
- Name - Enter the name of the Valve.
- Role - Select the appropriate Role from the list.
- Dashboards - Choose Dashboards from the list. Dashboards are group of I/Os and scenarios that seems most logical to you.
- Pin - Select the Pin, which is the physical location where the I/O connects to the Controller.
- Photo - Choose a photo for the Valve representing both the On and Off statuses.
- Slide to confirm - When enabled, you will be asked to confirm the desired operation to prevent accidental actions.
- Identifier - This field is the unique identifier for the I/O in the electrical project.
- Hide Activity - Use this option to conceal I/O activity from the Activity tab.
- Timeout - It is the duration of time the Valve will remain Open in auto mode.
Once you have completed these entries, tap the Submit and Save to confirm your choices.
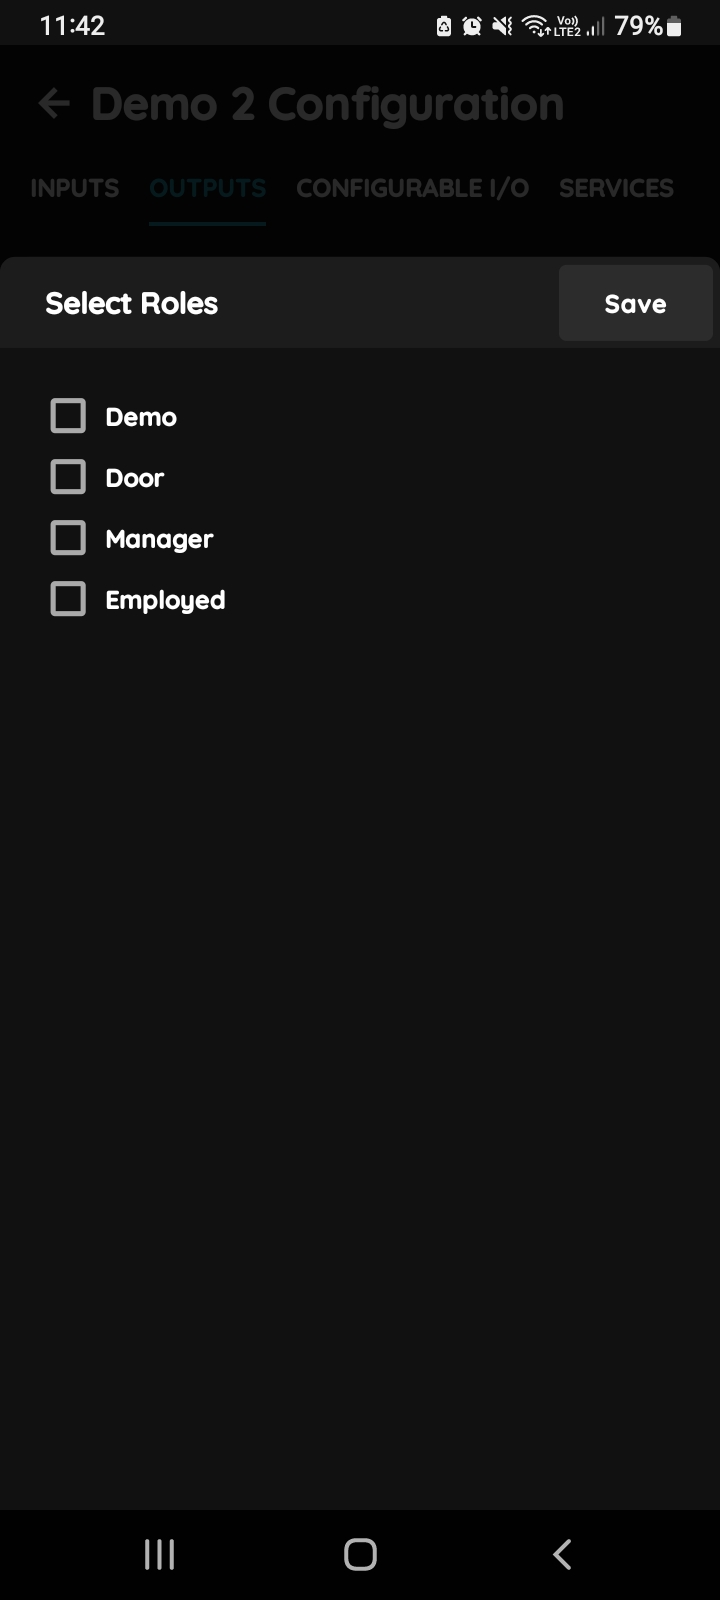
Select Roles
Tap in the field Role and after tap on the checkbox/checkboxes to select Role/Roles - multiple choice.
Tap Save/Done.
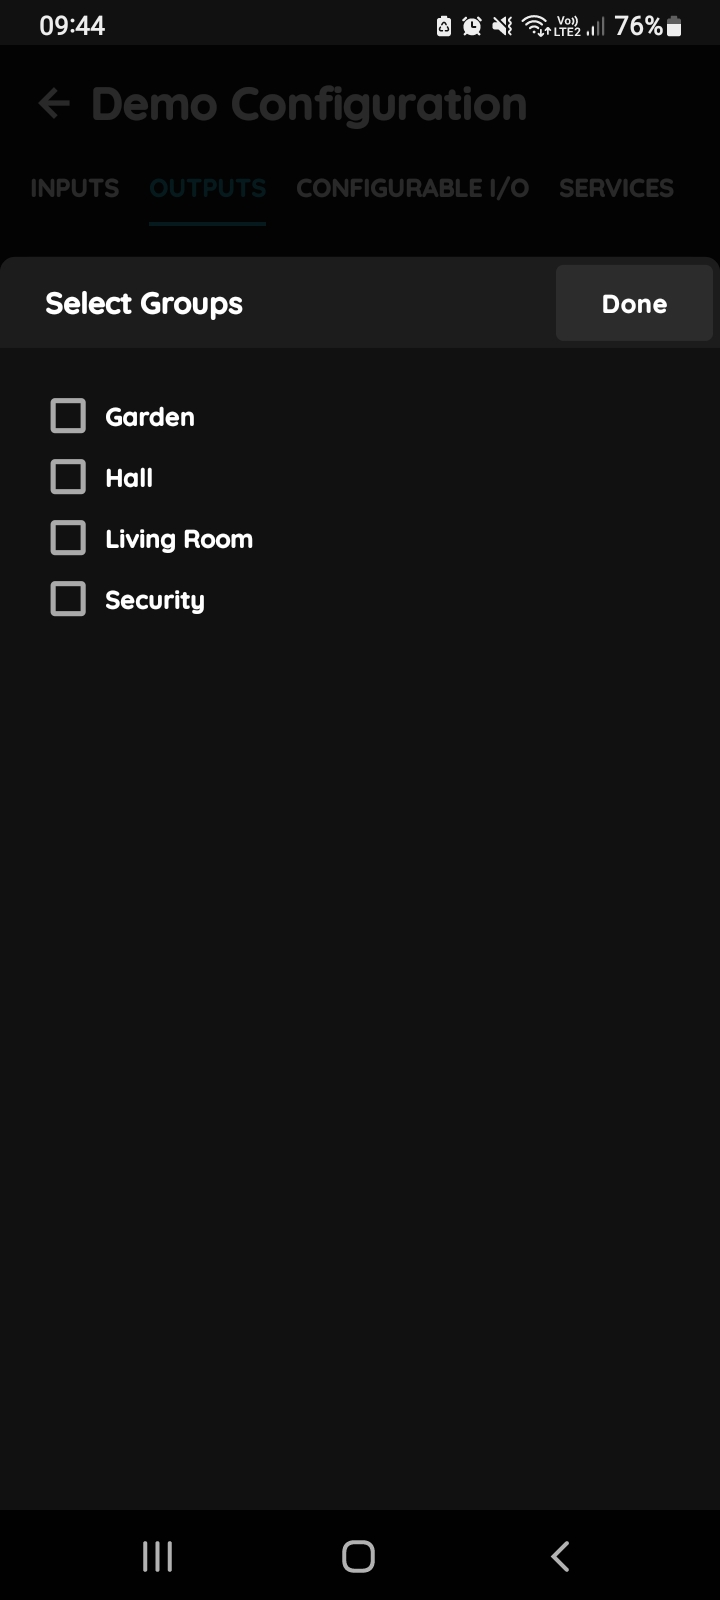
Select Dashboard
In this step, you need to select one or more Dashboard.
Select the checkbox/checkboxes next to the Dashboard that you want to associate with the I/O.
Once selected, the I/O will appear in the chosen Dashboard.
Tap Save/Done to confirm your selection.
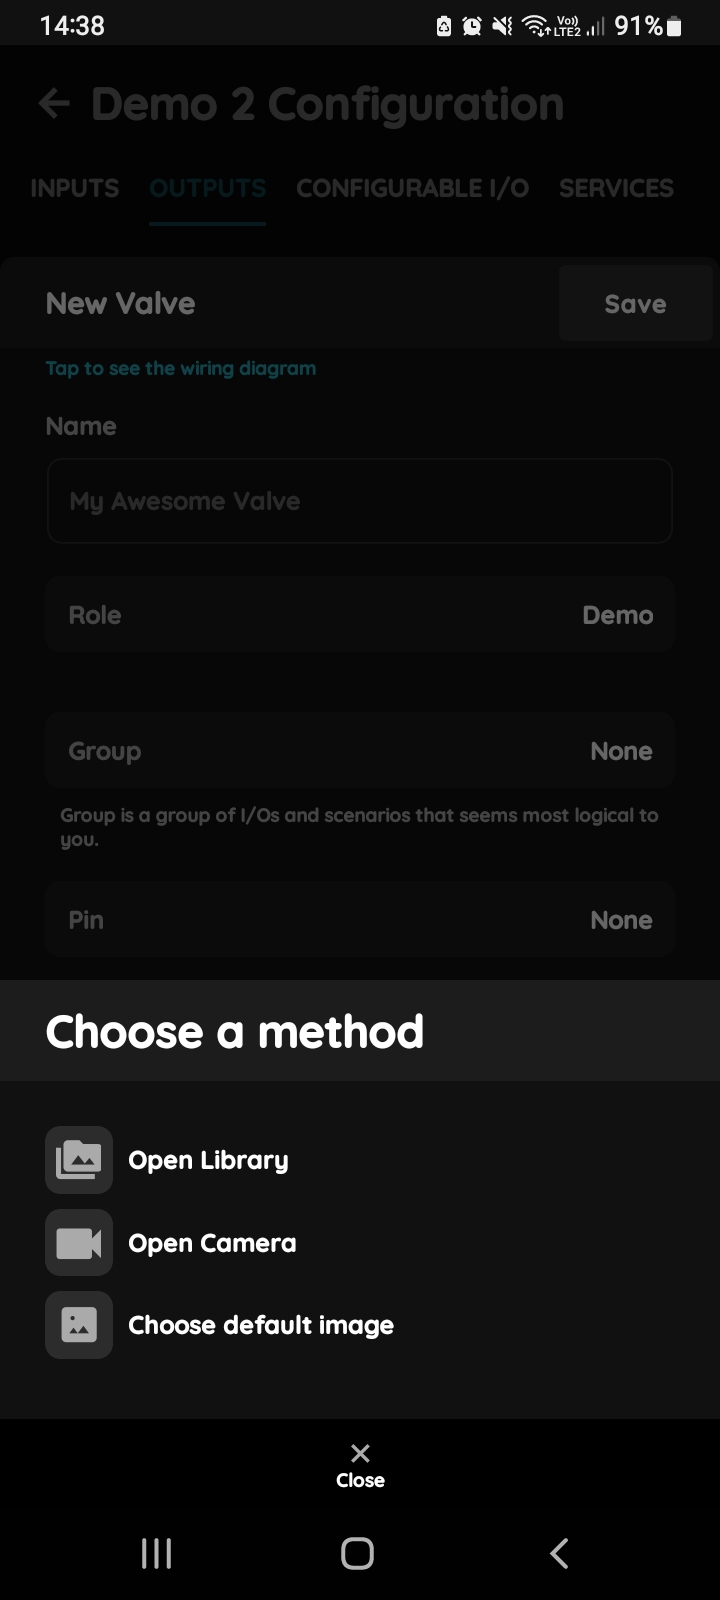
Change photo - Valve in PIERRE Partner app
You have three sources for the picture:
- Open Library - It will open Library from your phone.
- Open Camera - You can take picture by your phone.
- Choose default image - Choose default image. These images are prepared in advance in order to provide a complete and seamless experience.
When you want to confirm your choice tap button Done.
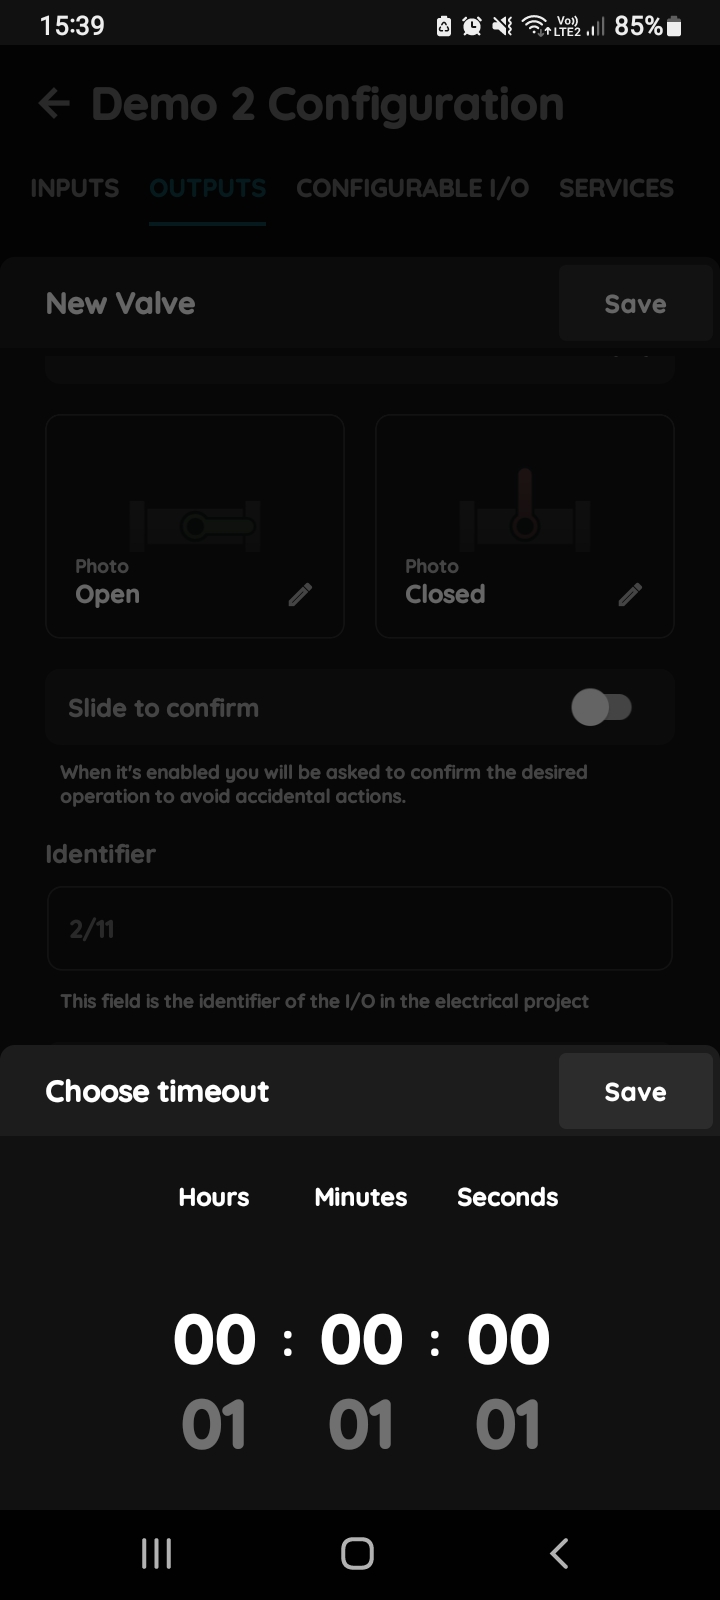
Timeout - New Valve
The duration after which the I/O will automatically switch off once it has been activated.