Smart PIERRE - Automations
Description
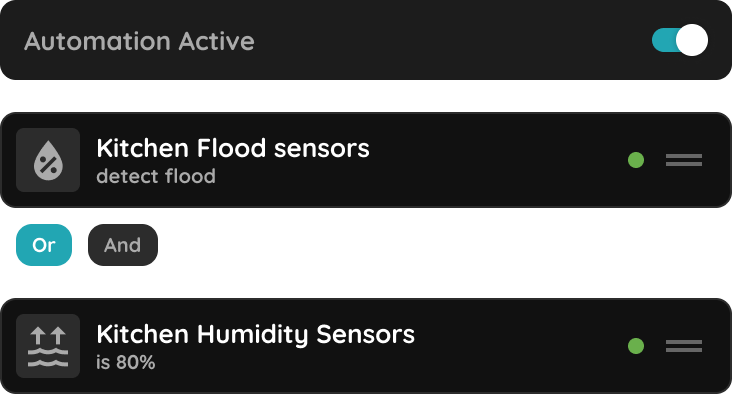
Automation is what turns a set of controllable devices into a system. An automation is a logical sequence: when the configured conditions are met, the configured actions run, without anyone operating anything.
Simple Automations
Most automations are short and set up in a few steps — switching lighting from a motion or presence sensor, running a schedule, or switching the heating off when a window opens. No technical background is needed to build these.
Complex Automations
Several conditions and actions can be combined. For example, office door automation where:
- The doors are locked by default outside office hours.
- During working hours, the first person to unlock a door keeps it unlocked.
- The doors lock again automatically at the end of the day.
This is the level at which automation replaces a routine somebody would otherwise have to remember.
What Automations Can Use
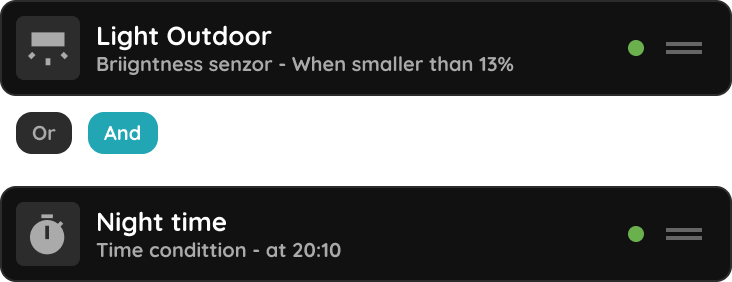
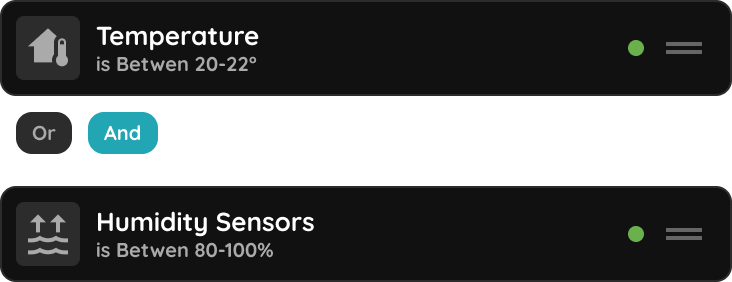
- Sensor values — temperature, humidity, light level, moisture.
- Device states — a door open, a light on, an alarm armed.
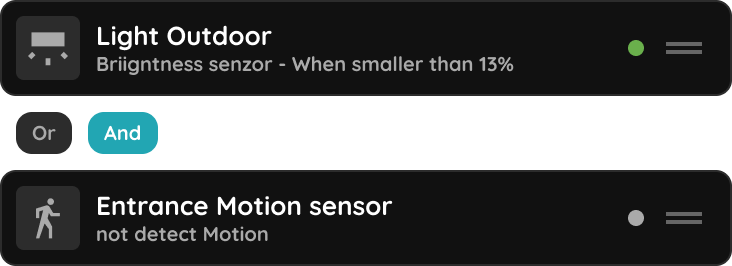
- Presence and motion detection.
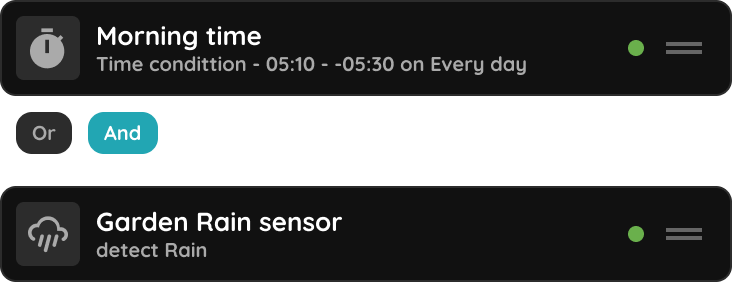
- Time schedules and day periods.
- Access events, such as a recognised credential.
Technical Notes
- Build automations from what the customer actually does every day, and confirm the routine with them before configuring it.
- Check for rules that act on the same device from opposite directions; conflicting automations are the usual cause of behaviour that looks like a fault.
- Always leave a manual override on anything automated.
- Write down at handover what runs automatically. An unexplained automation is indistinguishable from a malfunction.
Automation
If you want to change the status of the I/O based on the sensor or a trigger, it needs to be set here. If any I/O needs to be automated it should be set up here.
Create Automation according to next steps.
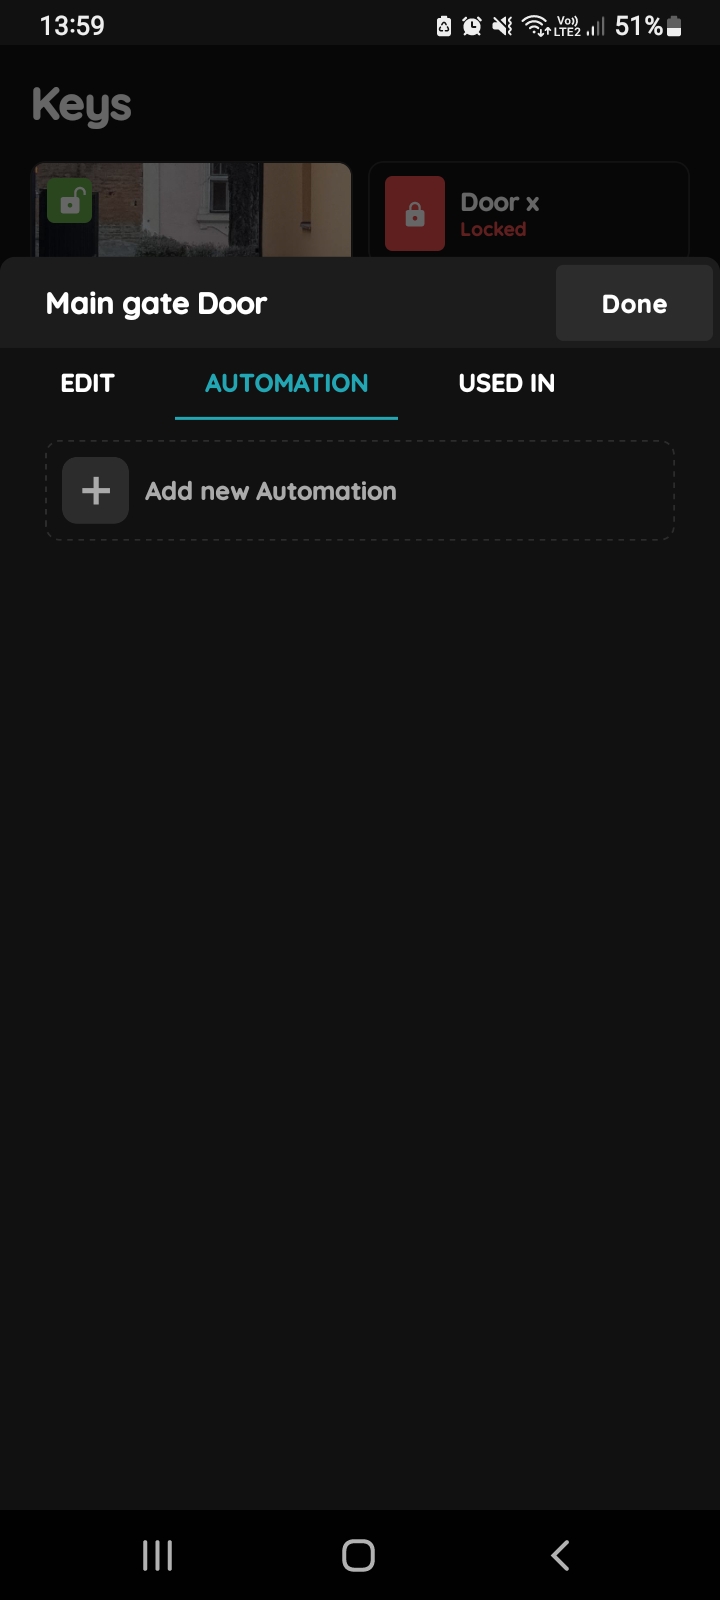
Add new Automation
Tap on the tab Automation and on +Add new Automation.
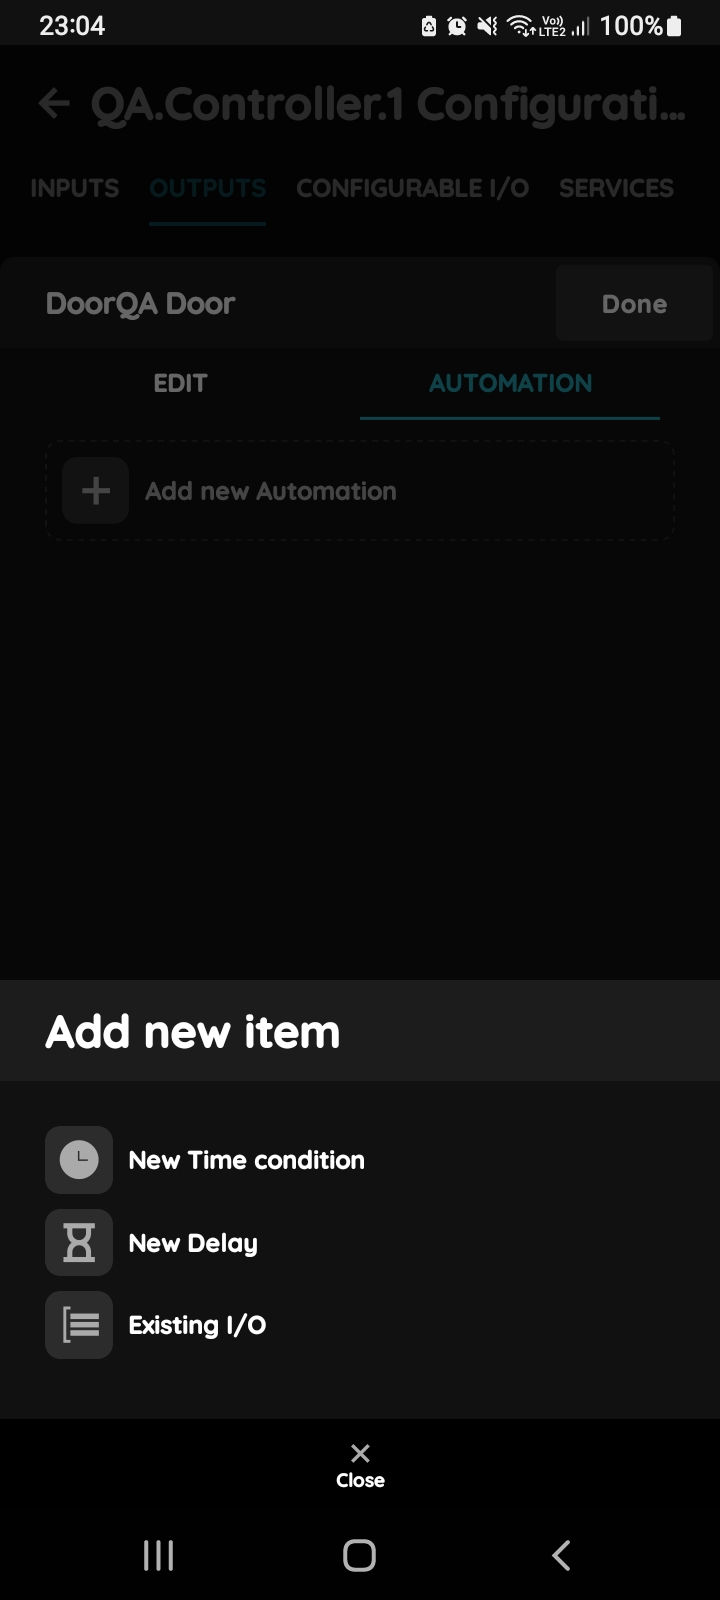
Add new item
There is possibility to add:
New Time condition,
New Delay and
Existing I/O.
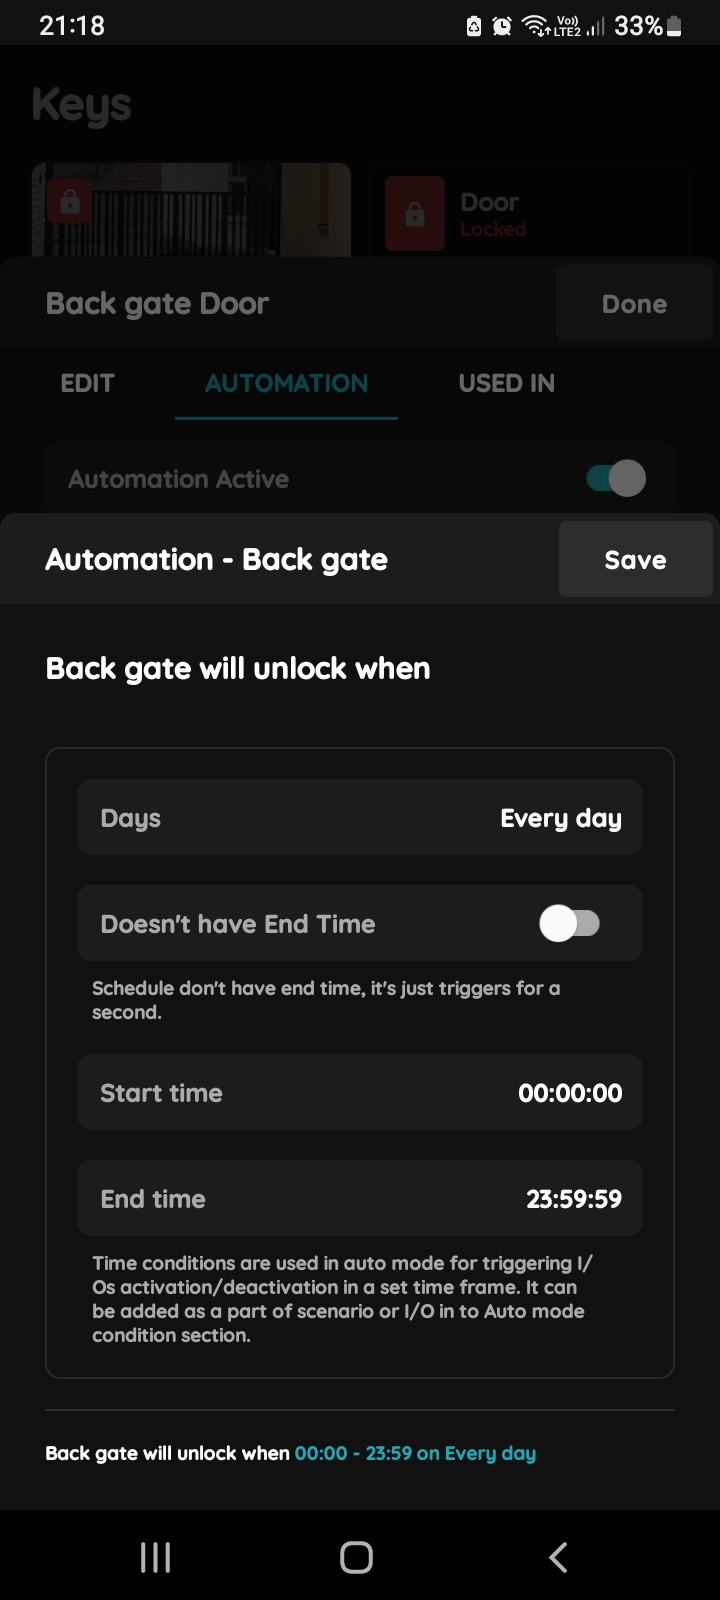
Add New Item - New Time Condition
You should fill these fields:
Days - Select days.
Doesn't have End Time - Schedule don't have end time, it's just triggers for a second.
Start time - Choose start time.
End time - Choose end time.
Time conditions are used in auto mode for triggering I/Os activation/deactivation in a set time frame. It can be added as a part of scenario or I/O in to Auto mode condition section.
When you wan to confirm your choice tap on button Save.
Follow next steps for more details.
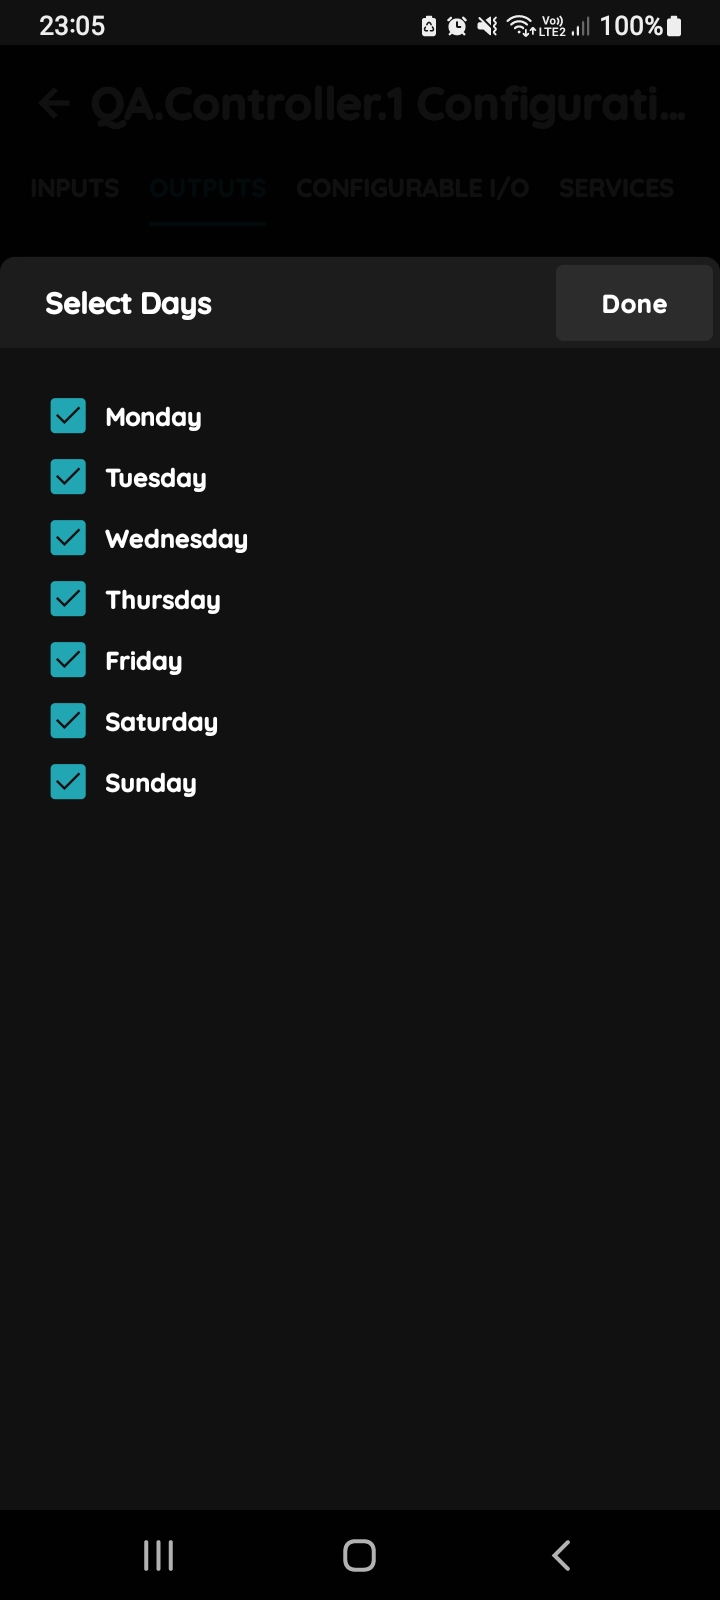
Days
Select Days when the I/O will be active by tapping on the check box next to the days from the list.
When you are satisfied with your choice tap on the button Done.
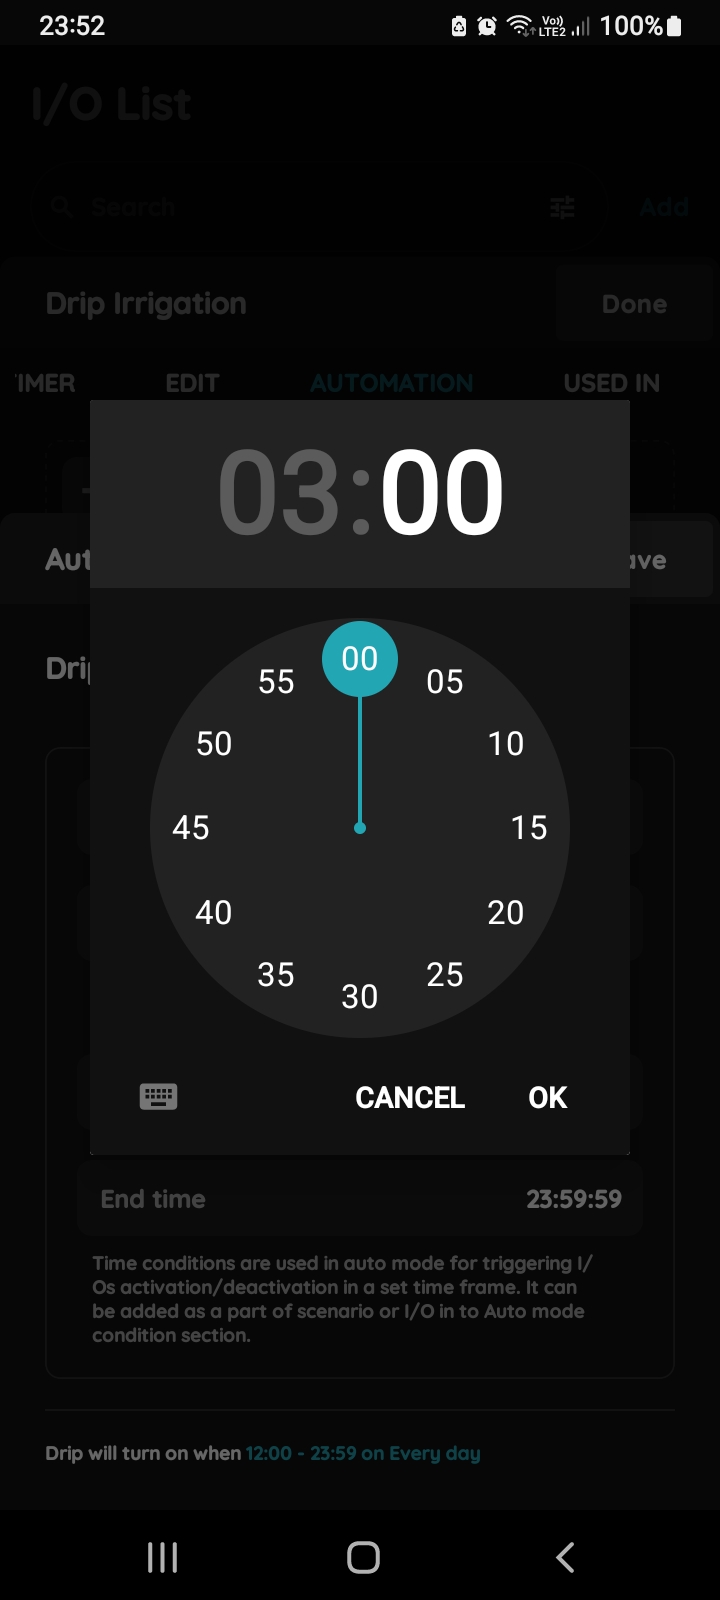
Start time and End time
Start time and End time fields will show you clock and icon of the keyboard in order to set these two parameters.
Tap the button OK. In case that you want to cancel it tap the button Cancel.
(Time conditions are used in auto mode or triggering I/Os activation/deactivation in a set time frame. It can be added as a part of the scenario or I/O in to Auto mode condition section.)
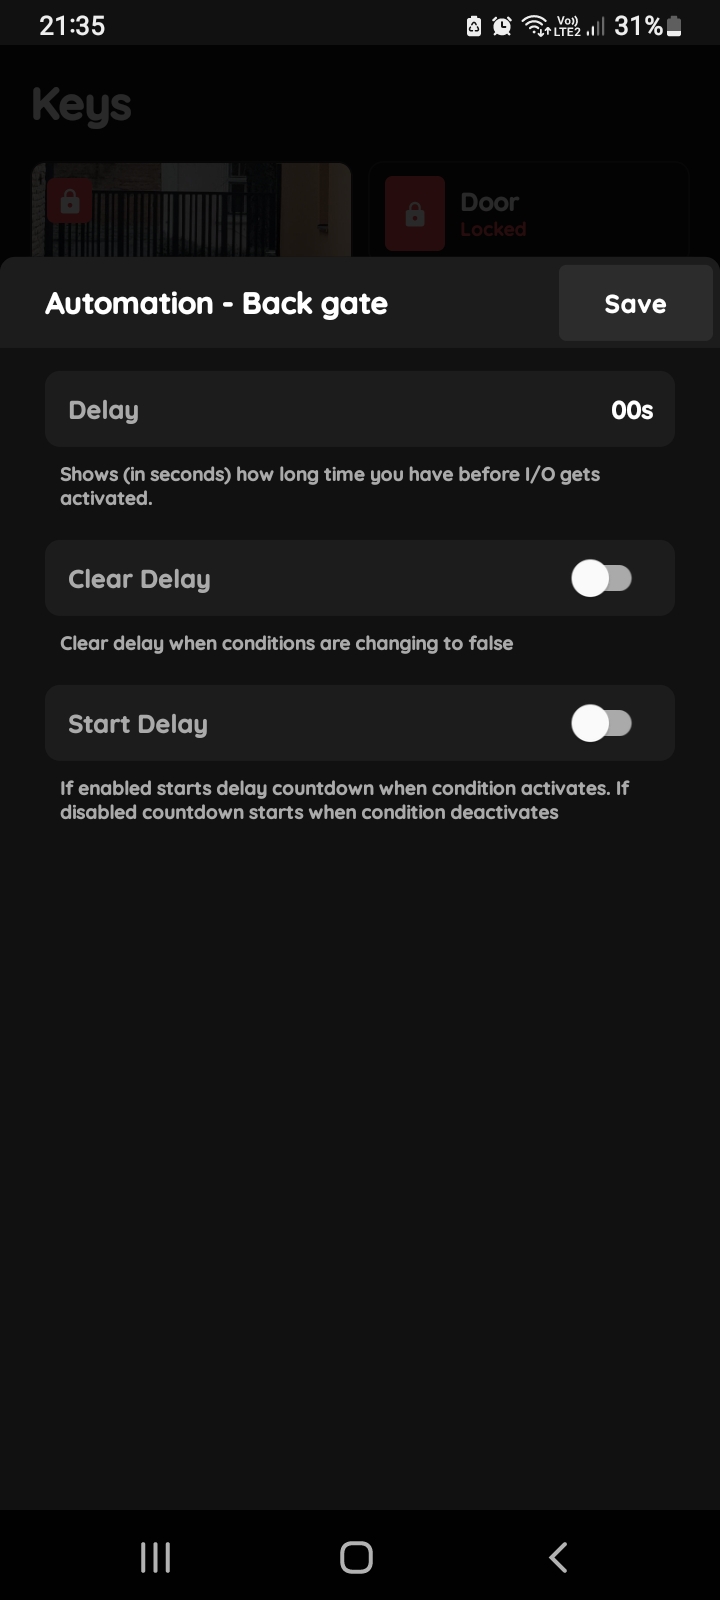
Add New Item - New Delay
In order to add New Delay set Delay field and enable sliders in these fields:
- Delay - Shows (in seconds) how long time you have before I/o gets activated.
- Clear Delay - When it is enabled it clears delay when conditions are changing to failure.
- Start Delay - When it is enabled it starts delay countdown when condition activates. If disabled countdown starts when condition deactivates.
When you are satisfied with your choice tap on the button Save.
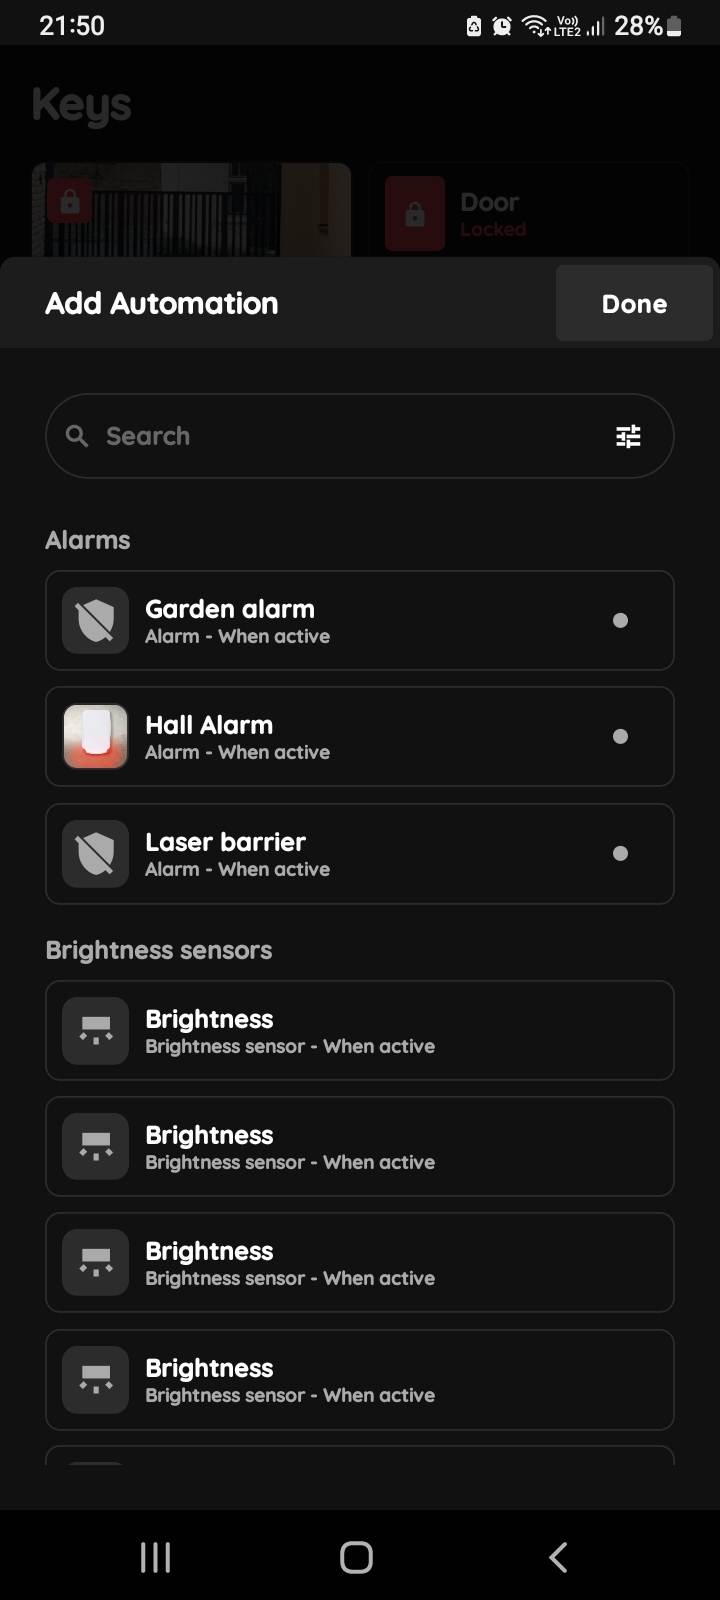
Existing I/O - Add automation
You should tap on the I/O that you want to add to the automation.
You can filter existing I/Os and Select Types (follow next steps).
When you are satisfied with your choice tap on the button Save.
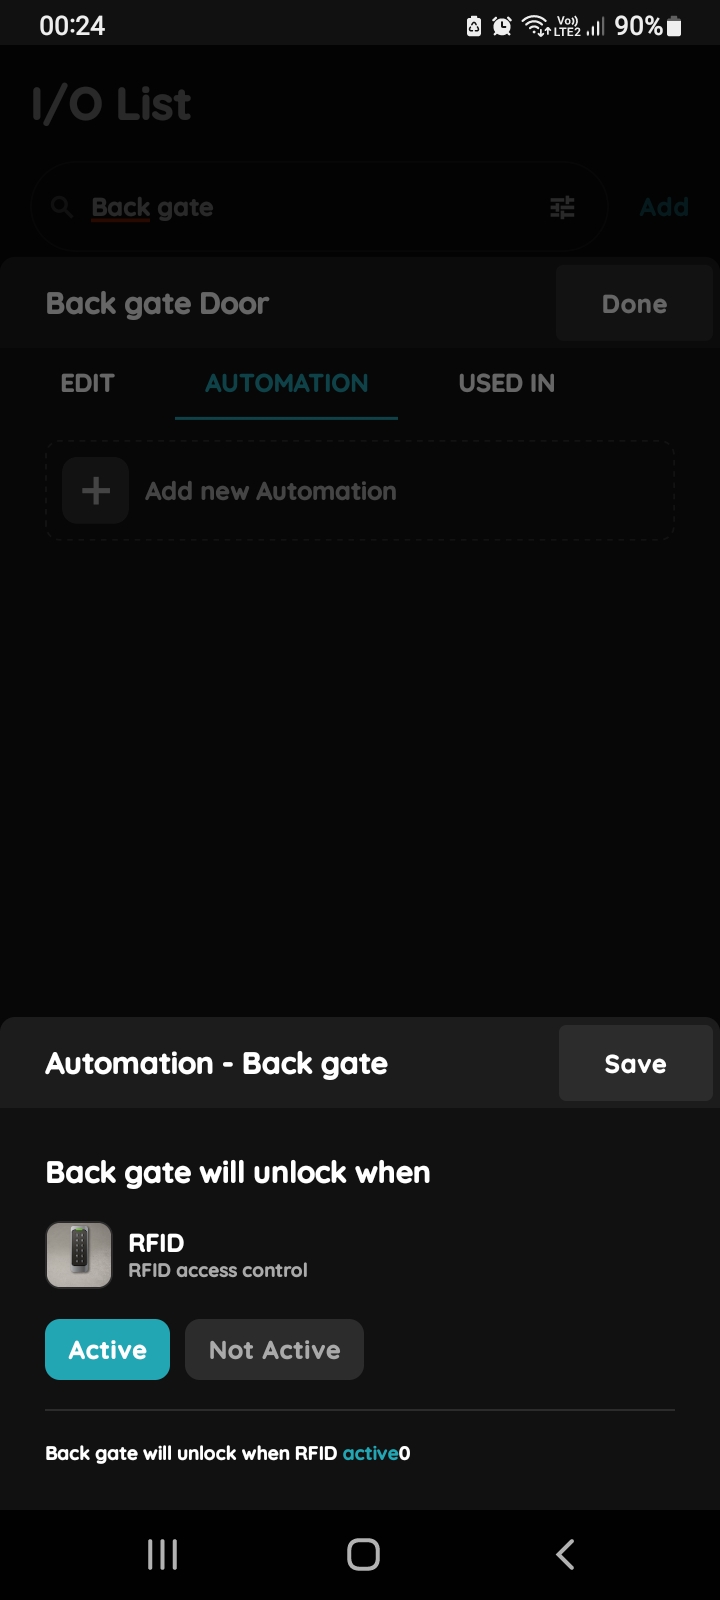
Set existing I/O to be Active/Not Active
Tap on the button Active or Not Active.
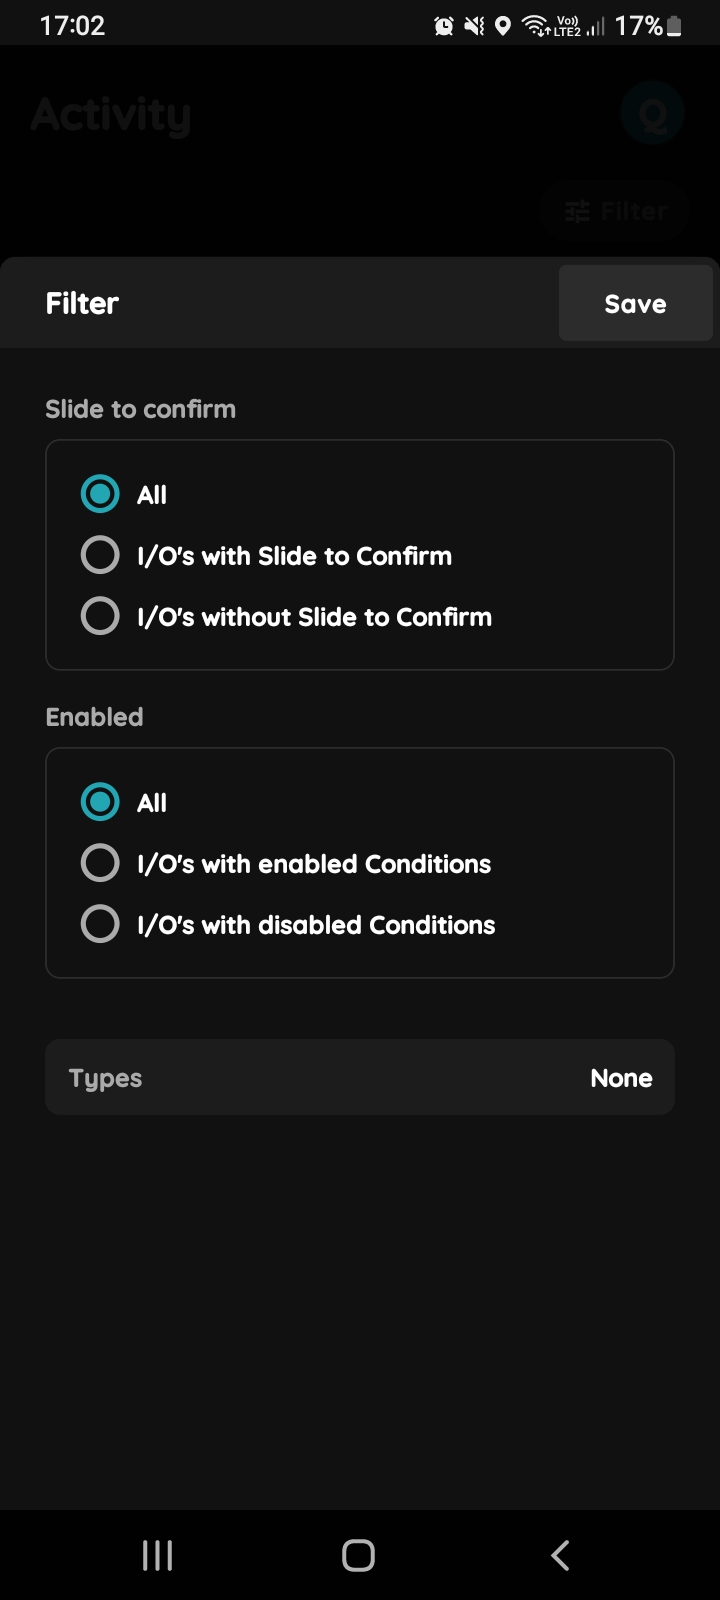
Filter I/O's
There are options to filter I/O's.
There are two groups of the I/O's - Slide to confirm and Enabled.
Also, you can choose Types of the I/O's here.
Tap on the button Save.
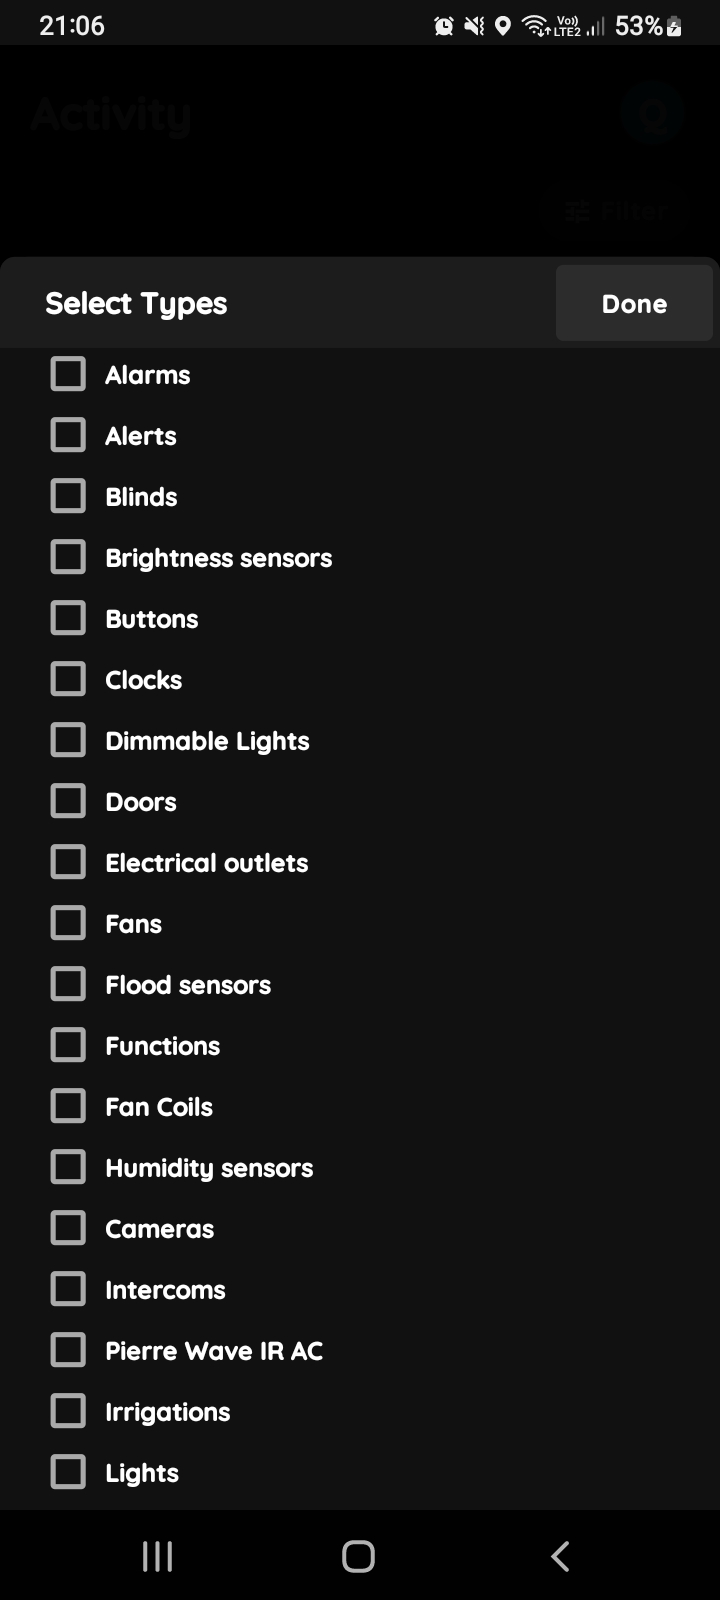
Select Types
You can select types of the I/Os by tapping in the check box/checkboxes - for multiple choice, next to the desired I/Os.
Tap on Save/Done.