
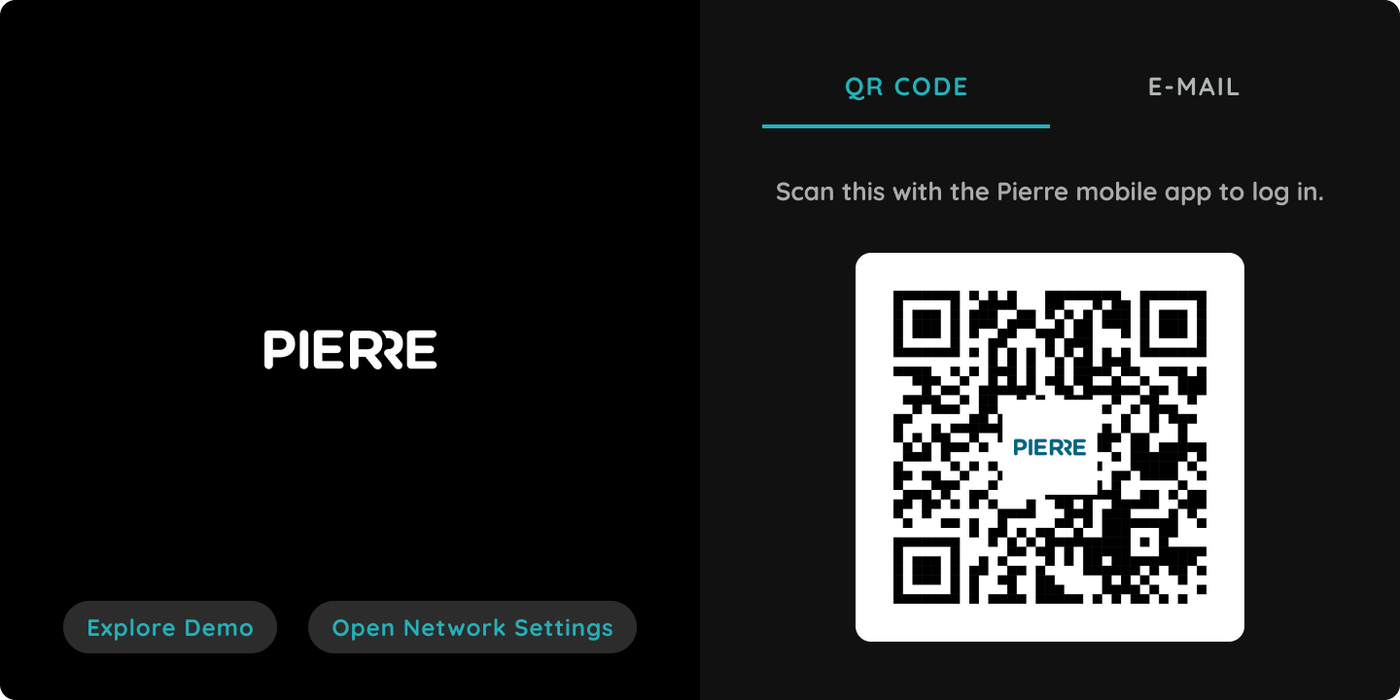
Smart PIERRE - Display Comissioning
Description
The PIERRE Display is an Android-based touch-screen interface running the PIERRE software environment. It provides centralized control and monitoring of the PIERRE system.
Commissioning
To add a Display:
-
Connect the Display to the network.
-
Open the Smart PIERRE application.
-
Navigate to Menu → Settings → Displays.
-
Select Add Display.
-
Scan the QR code displayed on the device.
-
Complete the required configuration fields.
Network Connection
The Display must be connected to the internet before commissioning.
Ethernet
-
Connect an Ethernet cable to the Display.
-
The network connection will be established automatically.
Wi-Fi
-
Open the status bar on the Display.
-
Select Wi-Fi.
-
Choose the desired wireless network.
-
Enter the password if required.
Configuration
The following parameters can be configured:
-
Name
-
Role
-
Access permissions
At least one Role must be assigned to the Display.
Building Assignment
A Display can be assigned to only one Building within the PIERRE system.
User Interface Settings
The visibility of the following interface elements can be configured:
-
Bottom Tabs
-
Group Picker
-
Building Picker
-
User Profile Management
Activity
Activity logs related to the Display can be viewed within the PIERRE application.
Add Display from the Menu
Follow next steps to add new Display.
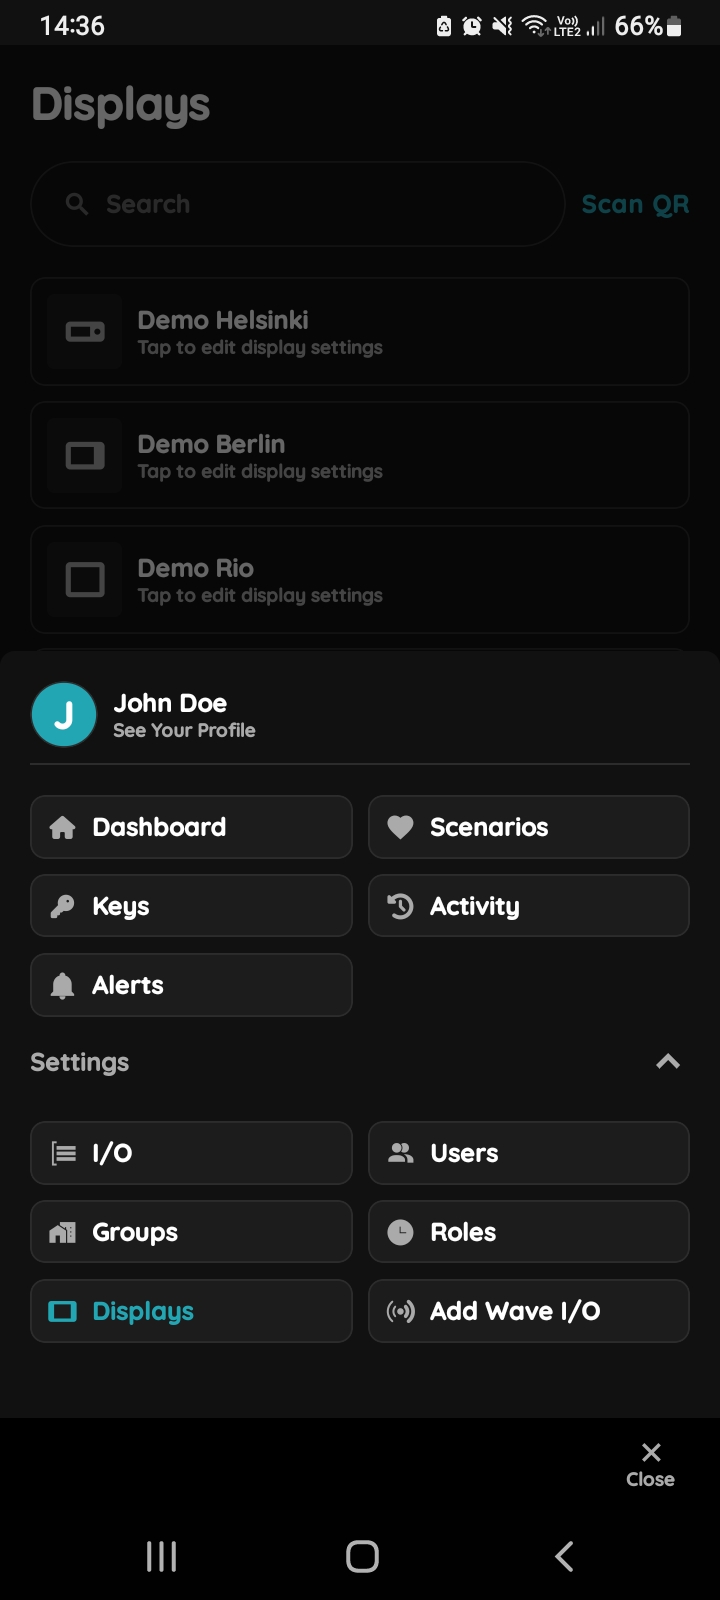
Open Displays
When you opened Menu, under Settings tap on Displays in order to add new Display.
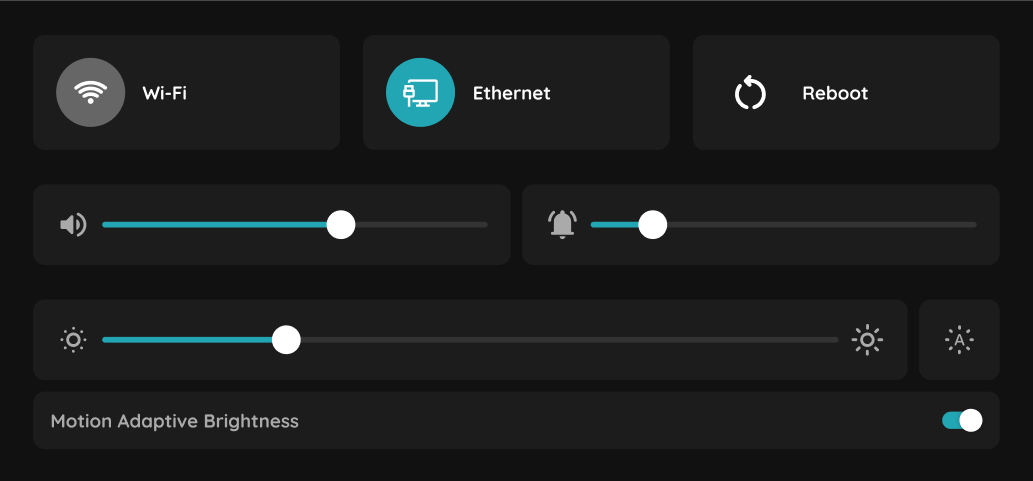
Connect display to the internet
The display must be connected to the internet. There are two ways to do this:
- Using an Ethernet cable – simply plug the cable into the display to establish a connection.
- Using Wi-Fi – pull down the status bar on the display and select Wi-Fi. Choose your network from the list and enter the password if required.
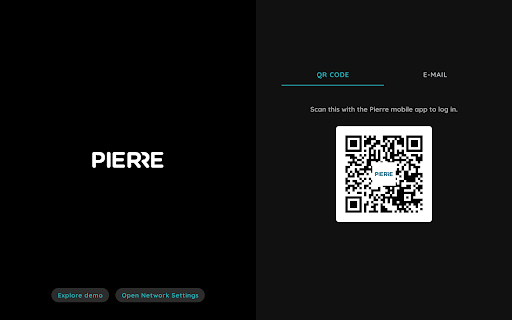
QR code
Scan QR code that is shown on the Display by your smartphone in order to add new Display and follow next steps.
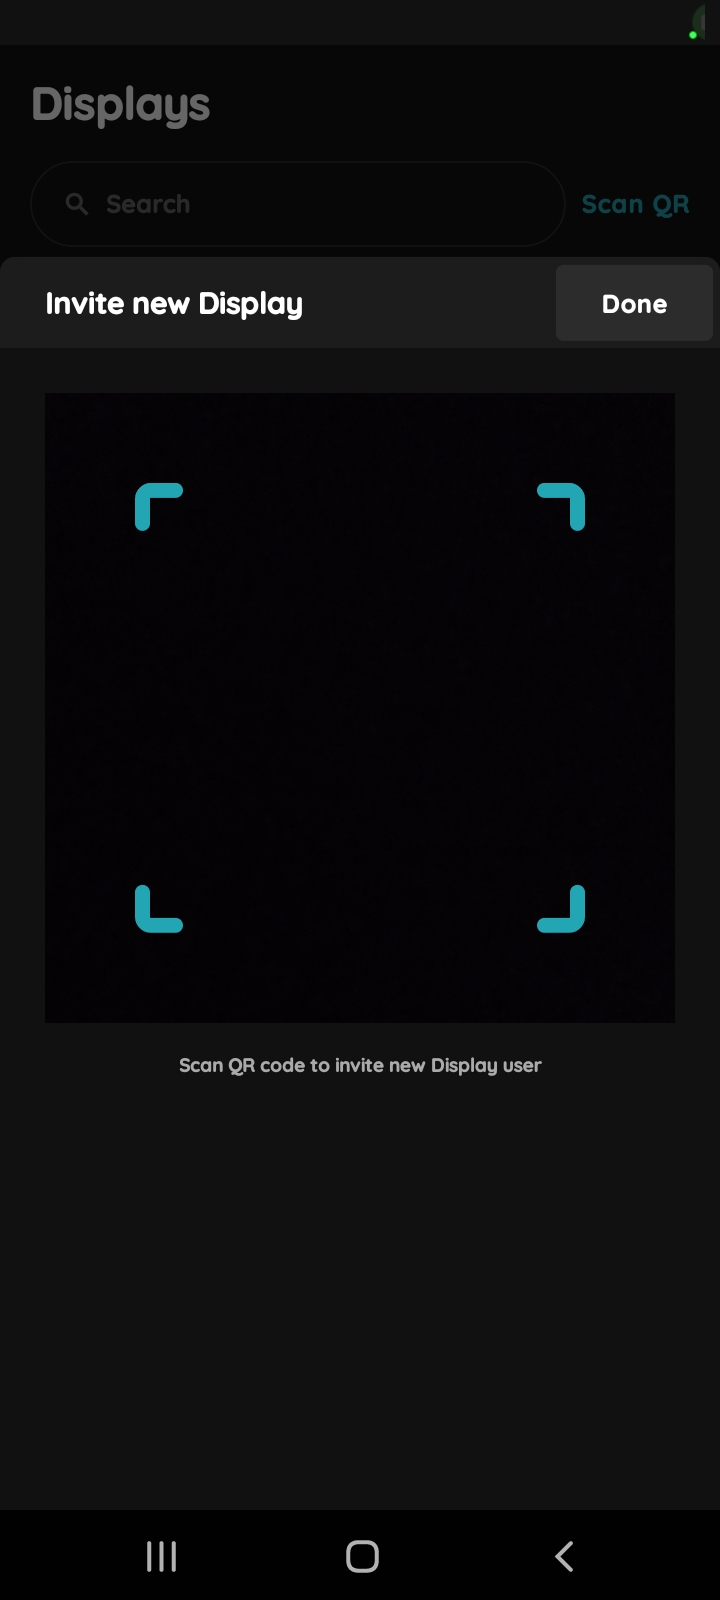
Invite New Display
Scanning QR code will invite new Display user.
To confirm tap on the button Done.
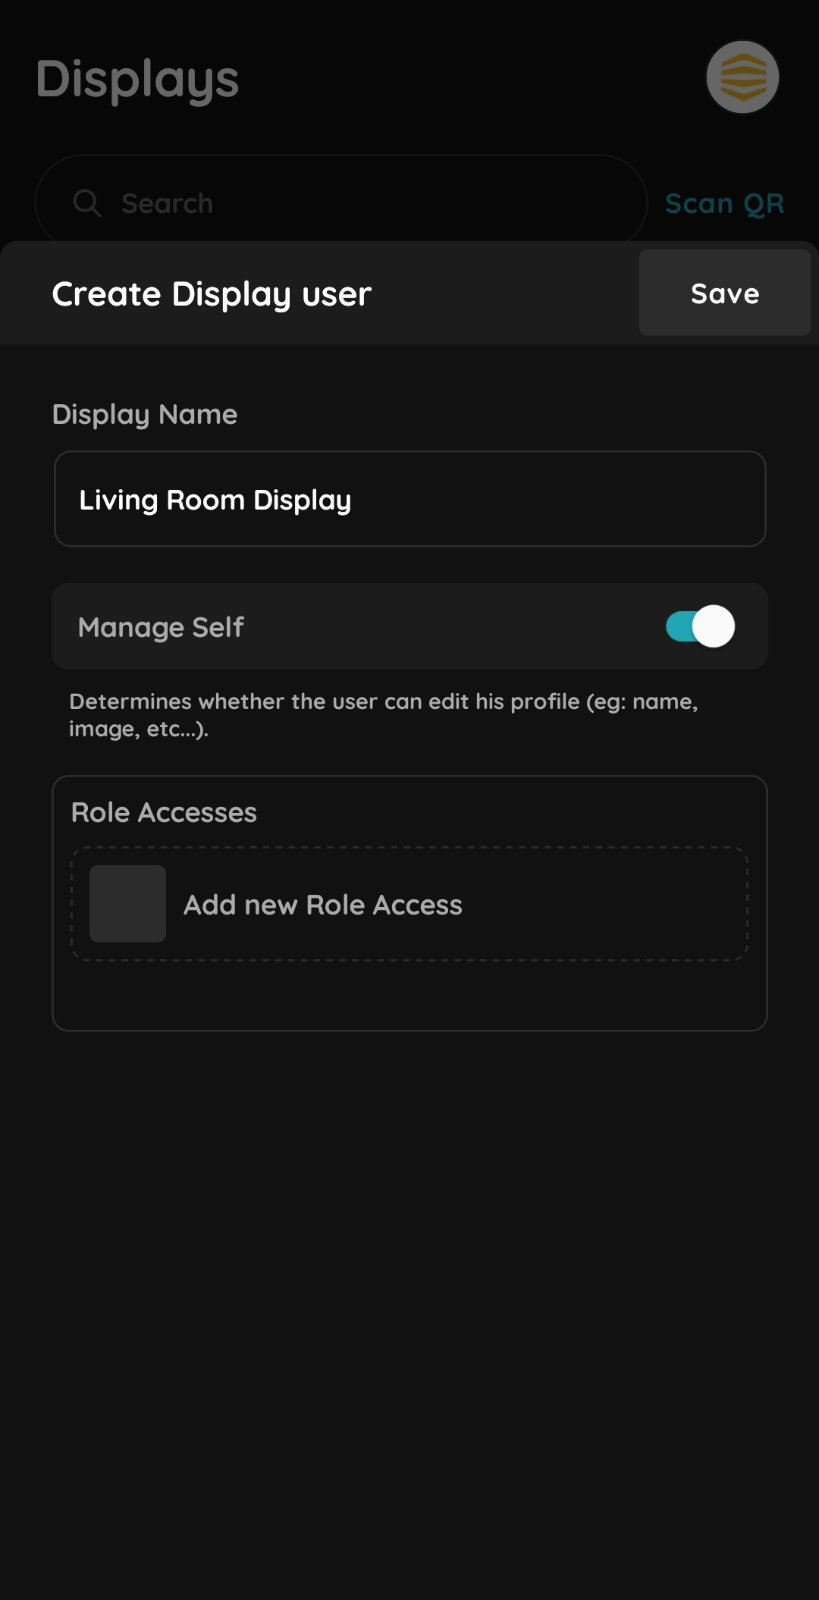
Fill the required fields
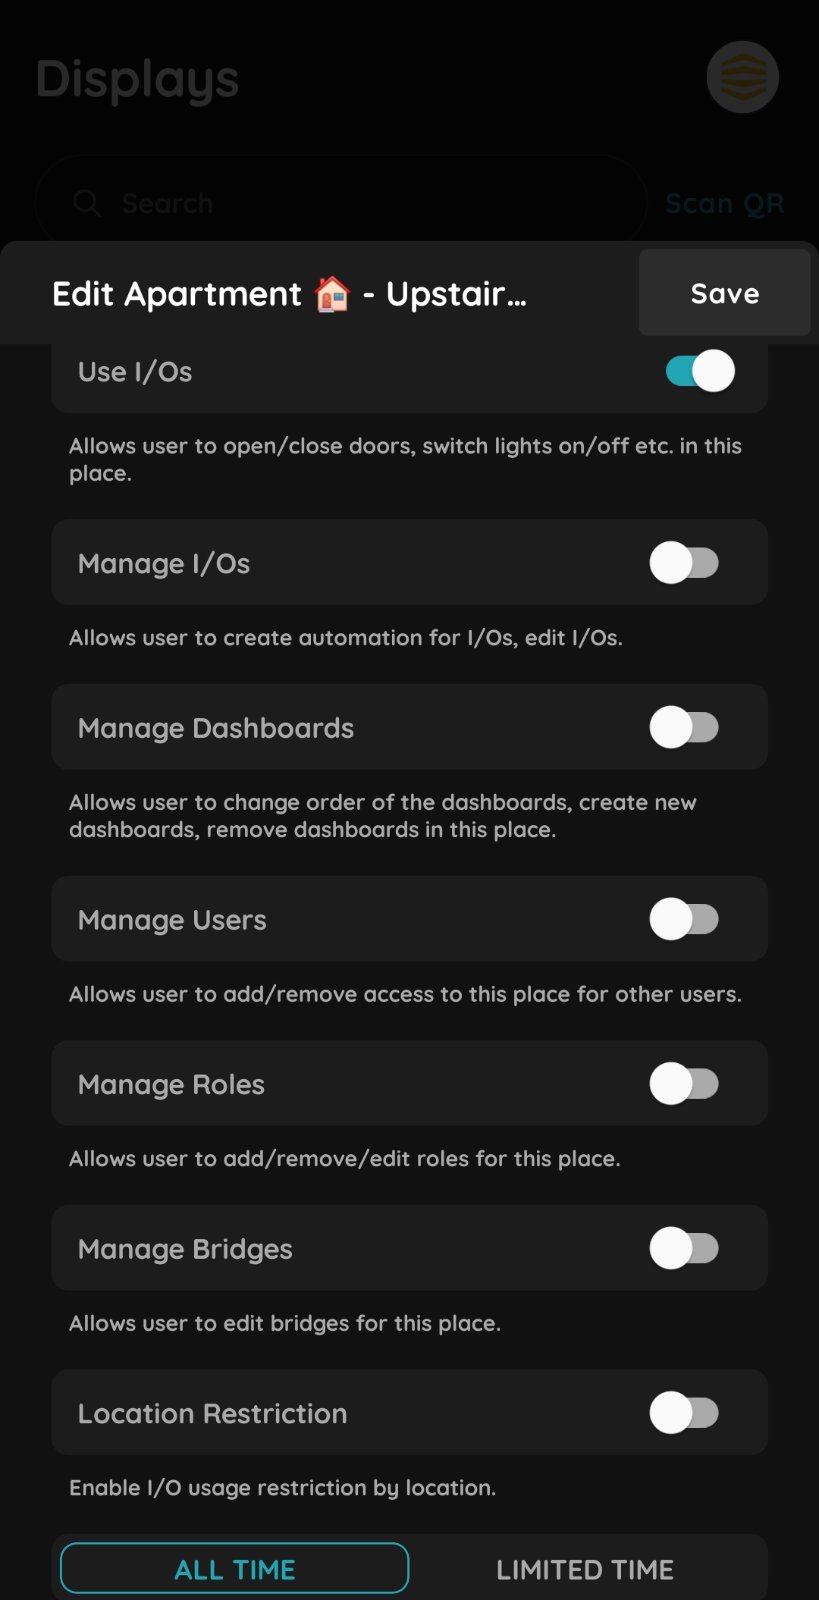
Role access settings
Available options:
- Use I/Os – Allows users to open/close doors, switch lights on/off, and control available devices in this place.
- Manage I/Os – Allows users to create automations and edit I/O settings.
- Manage Dashboards – Allows users to create, remove, and reorder dashboards.
- Manage Users – Allows users to add or remove access for other users.
- Manage Roles – Allows users to create, edit, or remove roles for this place.
- Manage Bridges – Allows users to edit bridge settings.
- Location Restriction – Restricts I/O usage based on the user’s location.
- All Time / Limited Time – Defines whether the role is active all the time or only during a specific time period.