Smart PIERRE - Magnet Contact Sensor
Description
The Contact sensor section of the Smart PIERRE app shows whether a door or window is open or closed. Sensors are available from the Dashboard and from the Menu.
Status
- Green dot — the door or window is open.
- Grey dot — it is closed.
Settings
A long press on the sensor card opens two tabs:
- Edit — change the name and the photo.
- Used In — every automation the sensor takes part in.
Automation
- Switch off the air conditioning or heating when a window is reported open, so the system does not work against an open window.
- Switch on lighting when a door is opened.
- Send an alert when an opening changes state while the property should be empty.
- Use the state as a condition in a security scenario.
Technical Notes
- Check the sensor's rest state during commissioning. A sensor configured the wrong way round reports open when the window is closed, and every rule built on it behaves backwards.
- Keep the magnet gap within specification; on a door that settles over time the gap grows and the sensor starts reporting open.
- Test each sensor physically at handover, opening and closing the actual door or window.
Use of the Magnet Contact Sensor
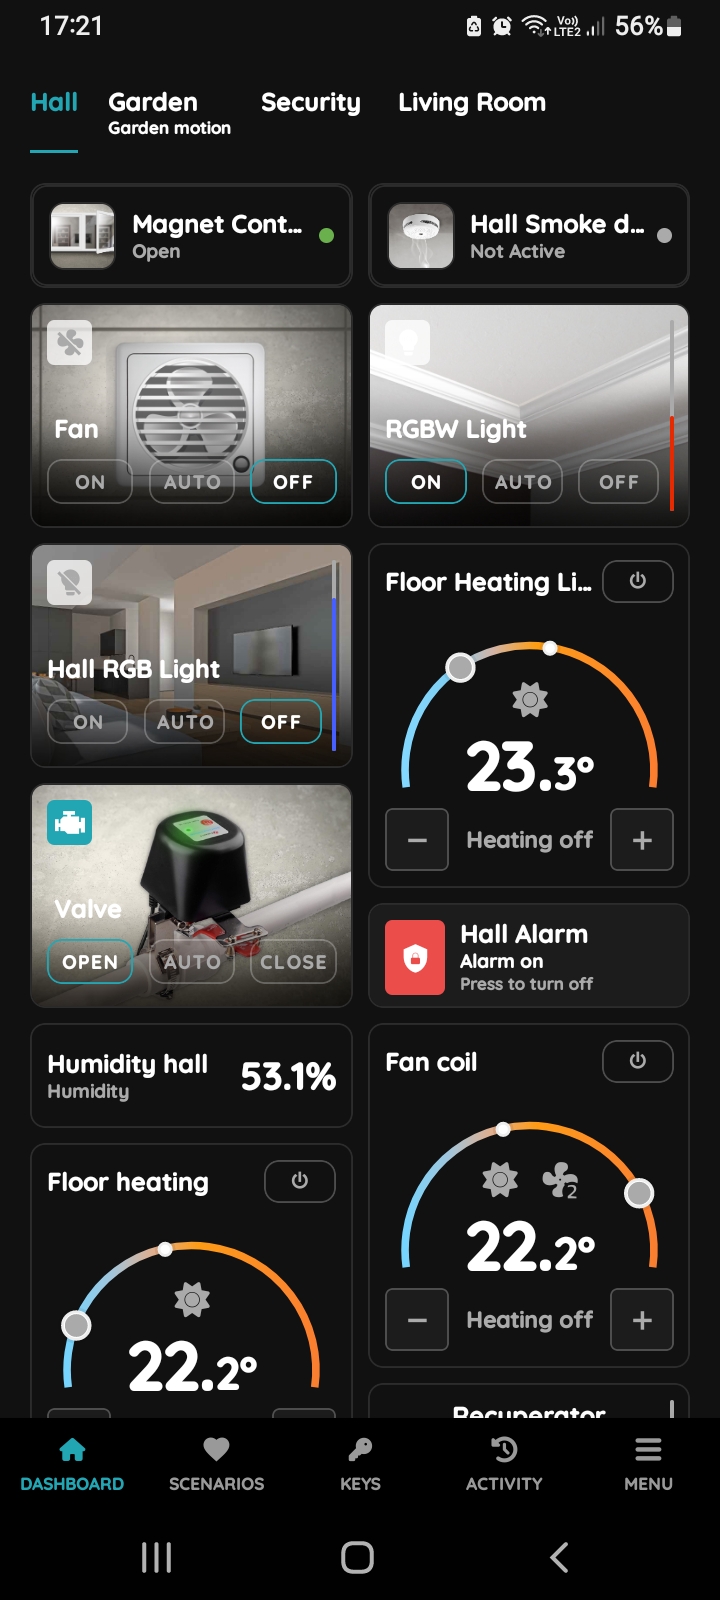
Magnet Contact sensor got two status indicators.
Magnet Contact sensor - Open
When door/window is open, green dot as an indicator of this status is visible next to the Magnet Contact sensor, because this sensor shows status Open.
In this case Magnet Contact sensor - Door has green dot.
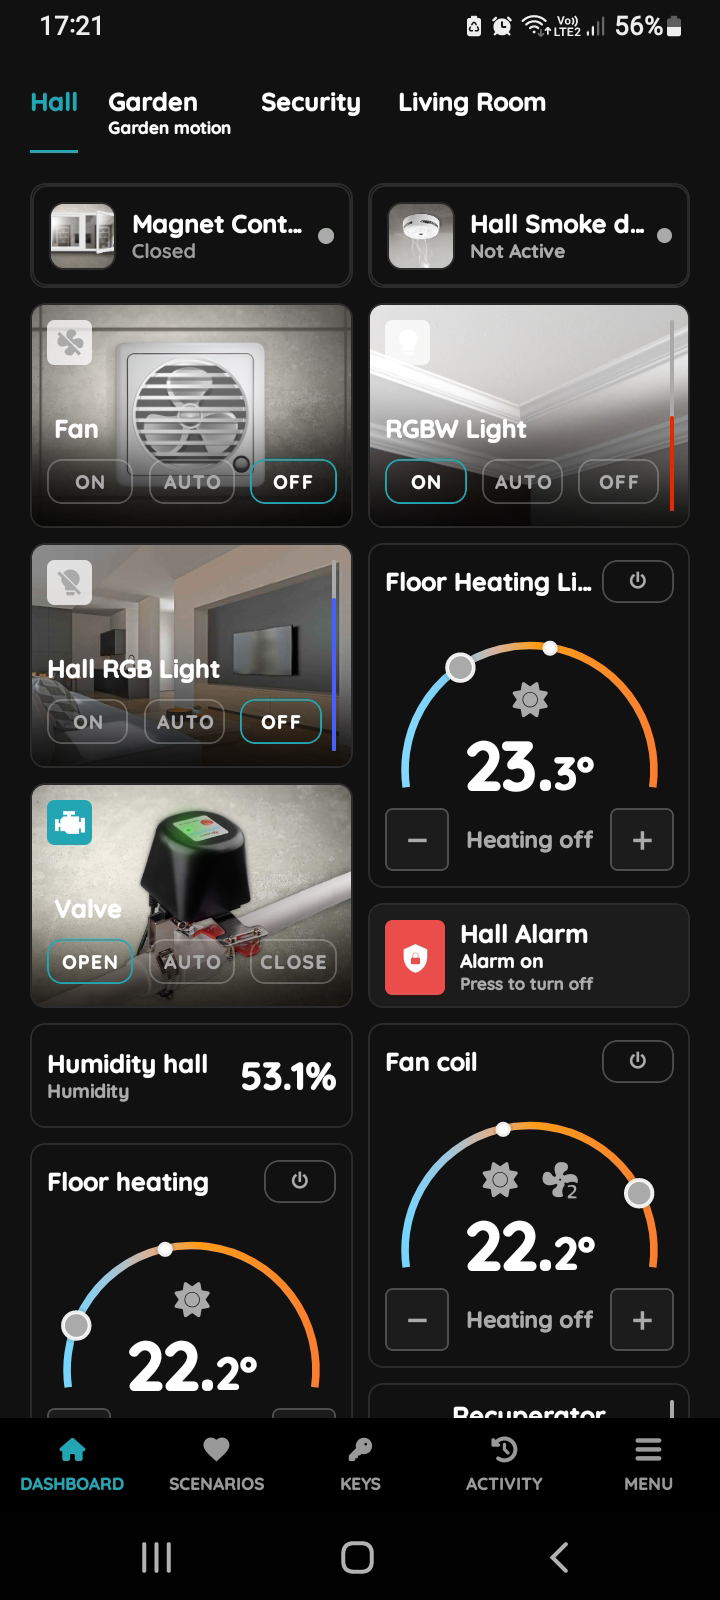
Magnet Contact sensor - Closed
When door/window is closed, grey dot as an indicator of this status is visible next to the Magnet Contact sensor, because this sensor shows status Closed.
In this case Magnet Contact sensor - Door has grey dot.
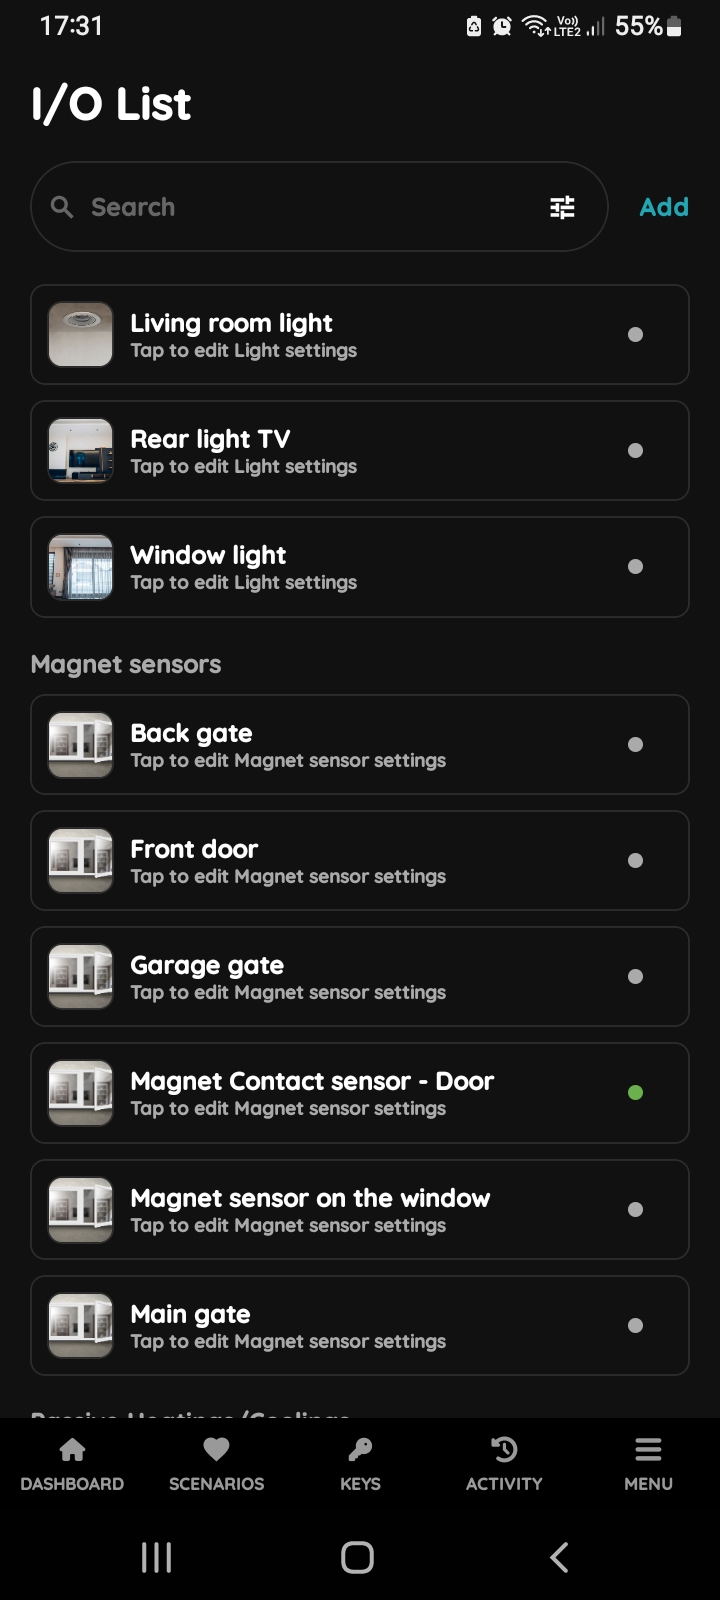
I/O list - Magnet Contact sensor
To edit the Magnet Contact sensor settings, follow next steps.
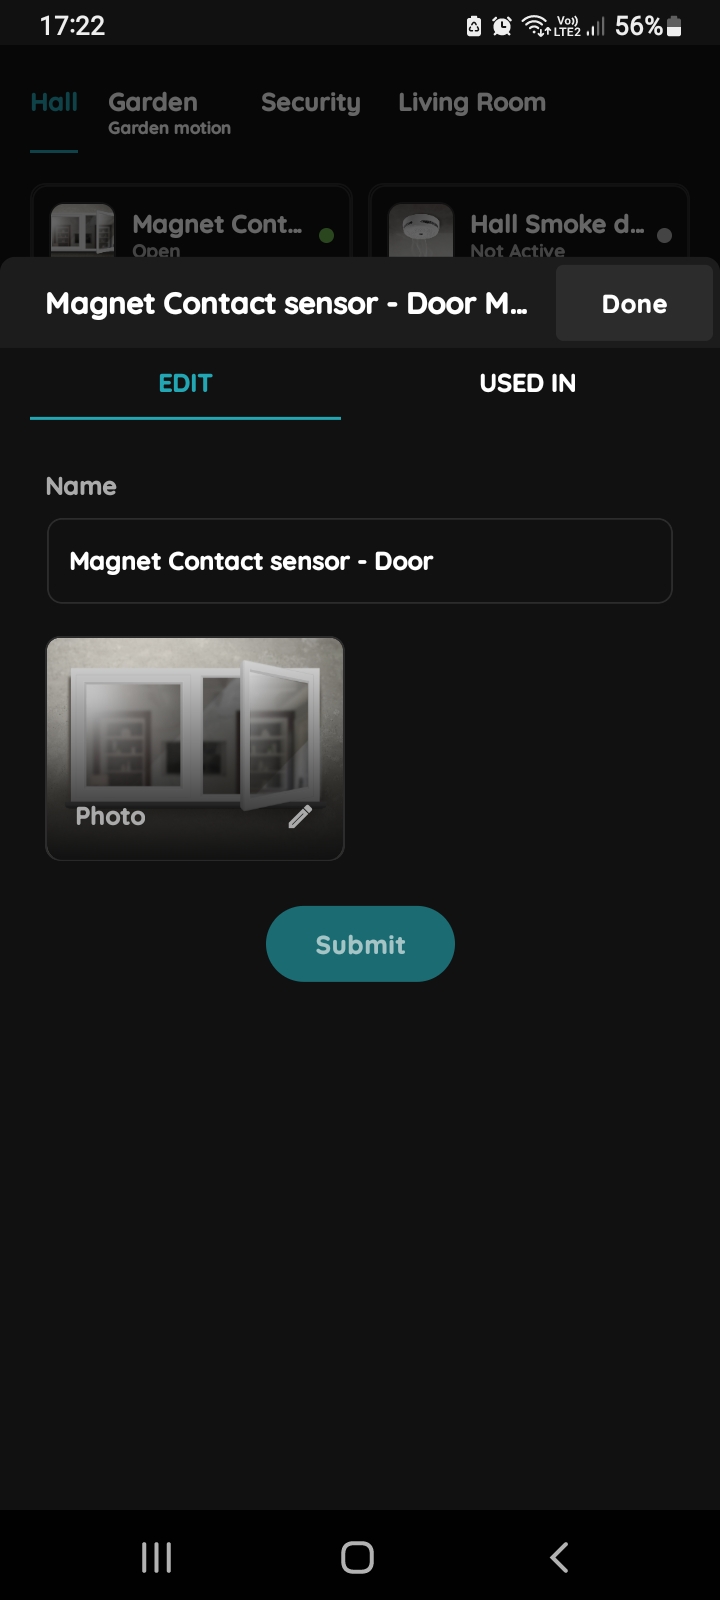
Edit Magnet Contact sensor
Edit following form:
- Name - Edit name of the Magnet Contact sensor.
- Change photo - Select source of the picture for the Magnet Contact sensor.
Tap on Submit/Done.
GOOD TO KNOW:
Magnet Contact sensor can be edited by long-press the Magnet Contact sensor card on the Dashboard or tapping it in the I/O list.
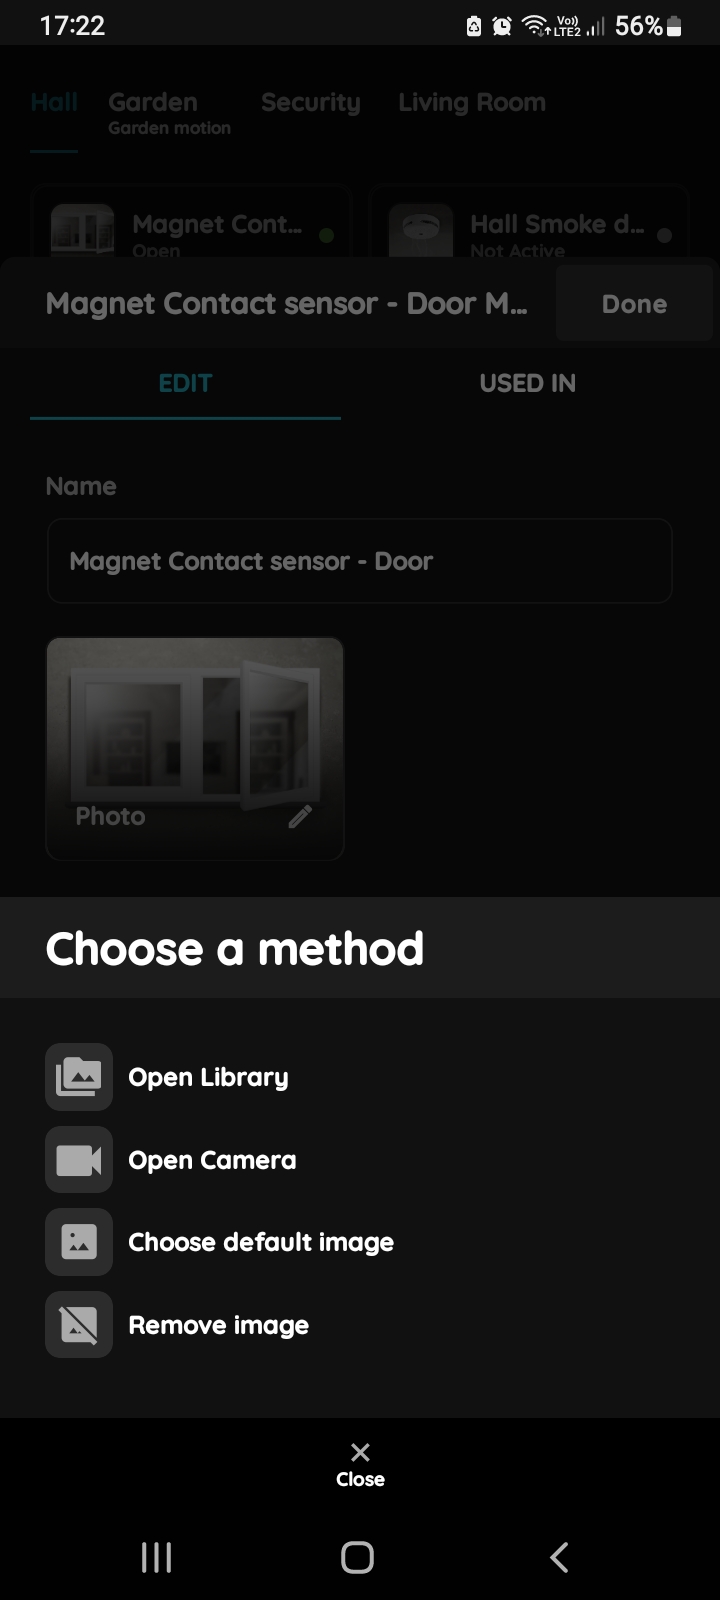
Change picture - Magnet Contact sensor
You have four options:
Open Library - The phone’s Library will open.
Open Camera - You can take a picture using your smartphone. .
Choose default image - These images are prepared in advance in order to provide a complete and seamless experience.
Remove image - Removes existing image.
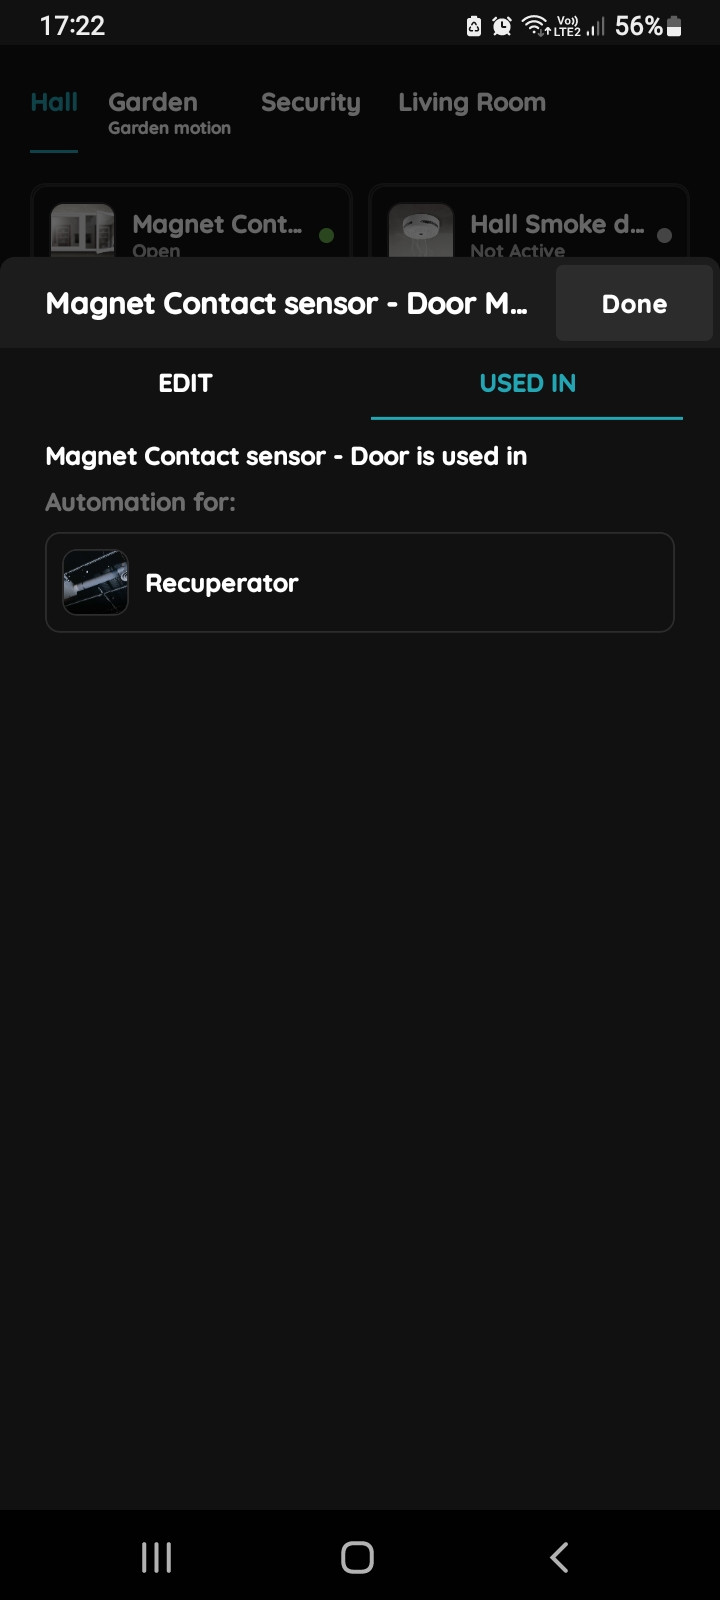
Used in - Magnet Contact sensor
The Used In tab shows all the scenarios and automations where Magnet Contact sensor is applied, making it easy to see where this I/O is used without the need to search manually. If it isn't used in any, the list will be empty, and a message will display: "This I/O is not in use anywhere." This feature is particularly useful as it consolidates all relevant information in one place.
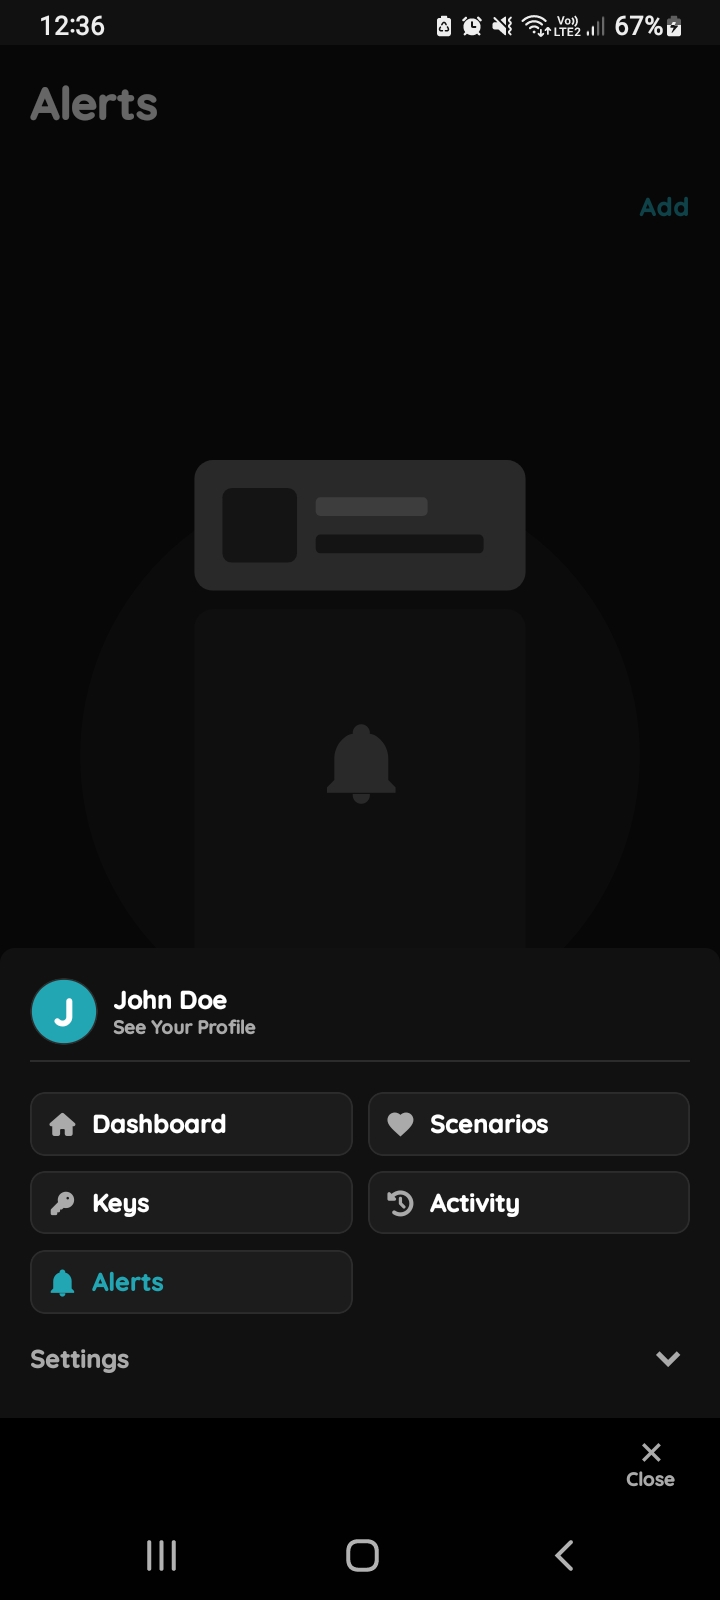
Open Alerts from the Menu
If you want to Alert be send based on a sensor or trigger, it needs to be set here. If any I/O needs to be automated, it should be set up here.
When Magnet Contact sensor shows status Open for door/window Alert will be sent.
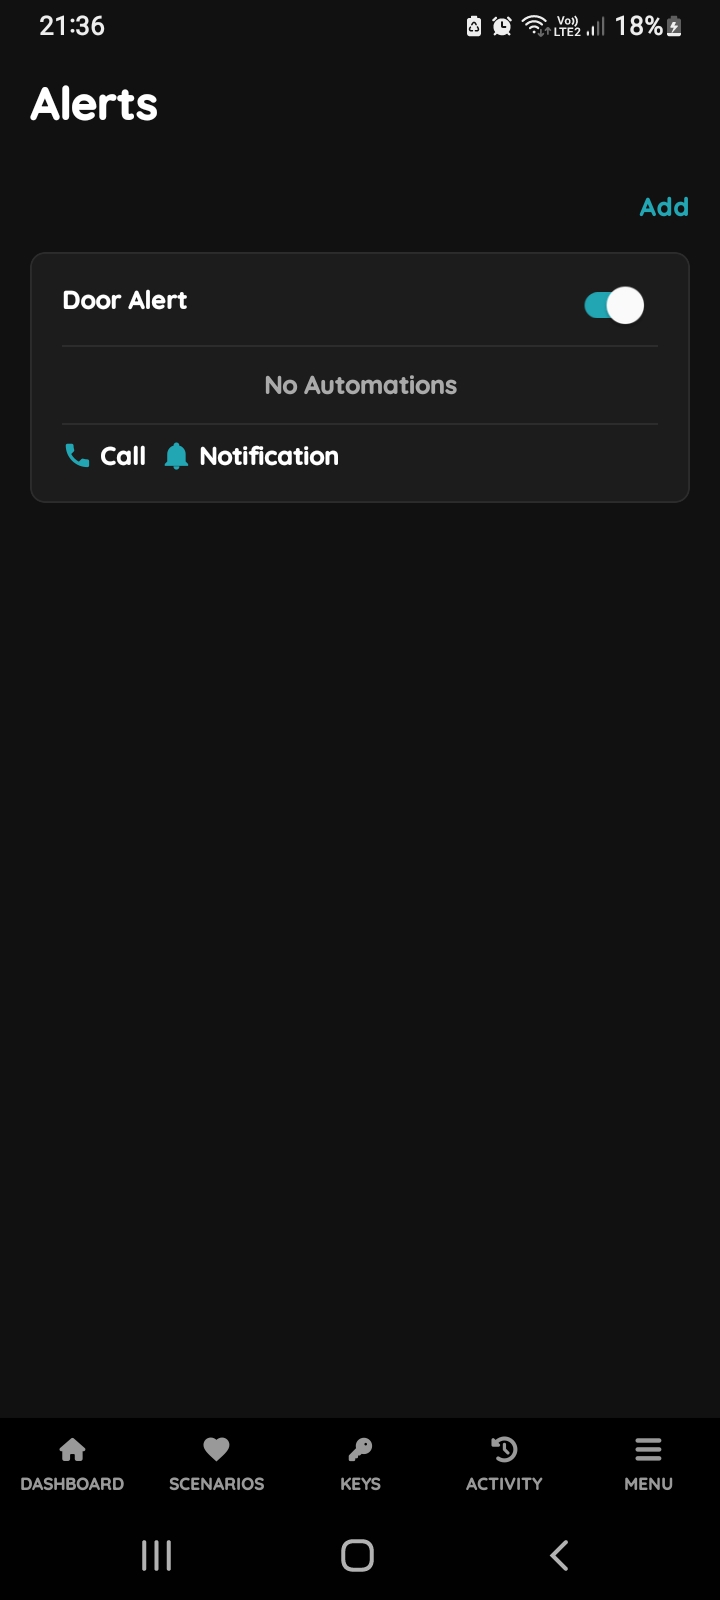
Choose Alert
Tap on the Alert from the list in order to create automation for it. In this case tap on the Door Alert.
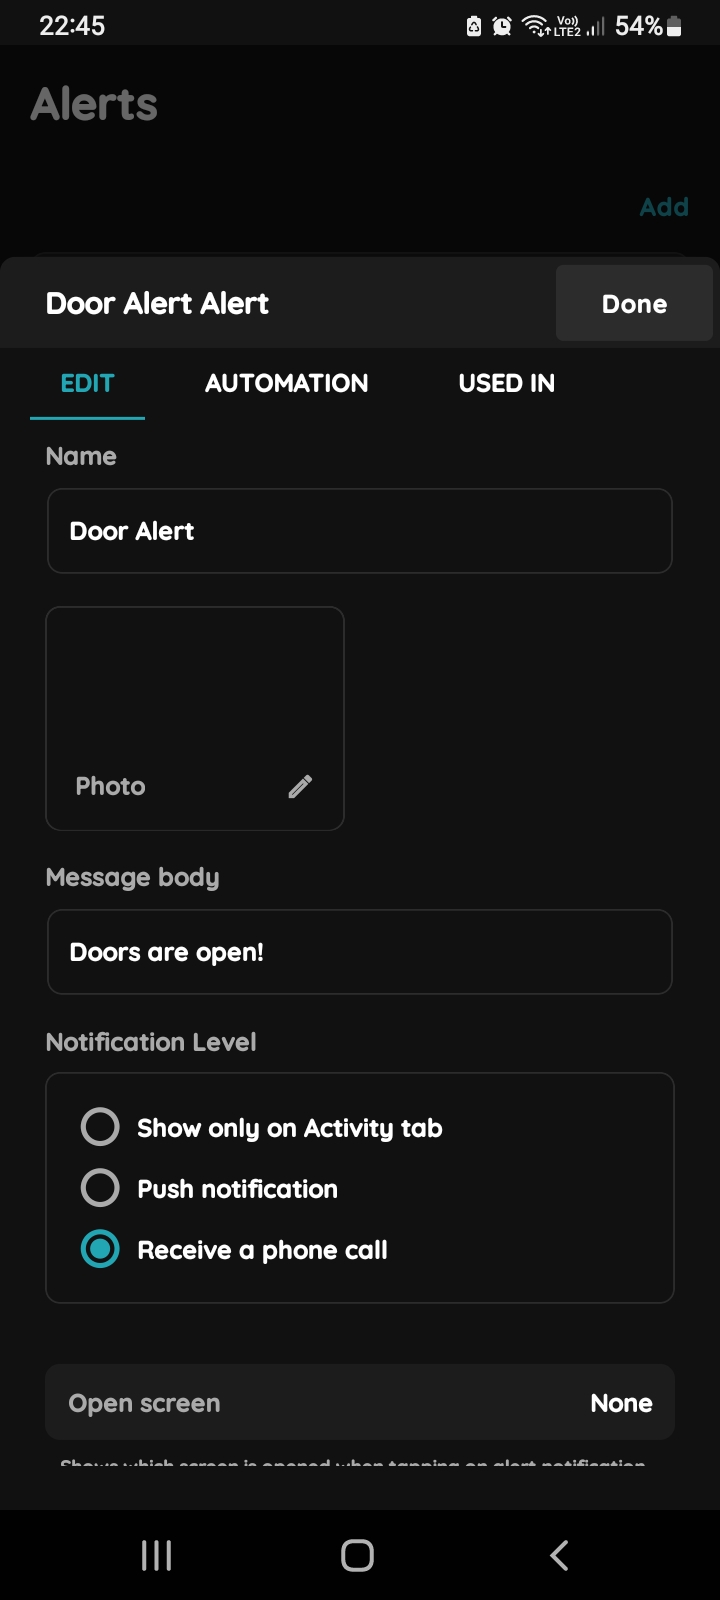
Edit, Automation, Used In - Alert
Tap on the tab Automation.
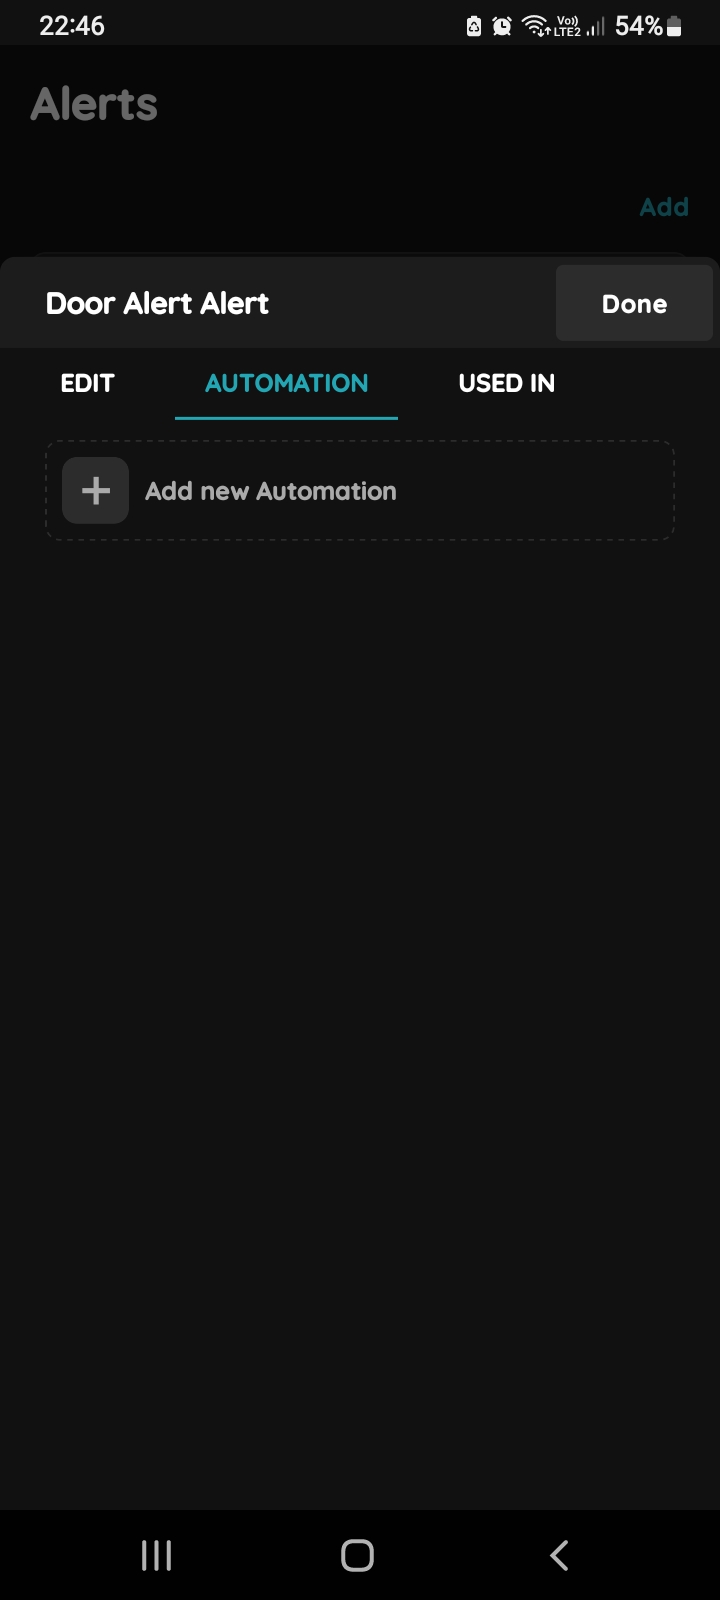
Add new Automation - Alert and Magnet Contact sensor
Tap on the + Add new Automation.
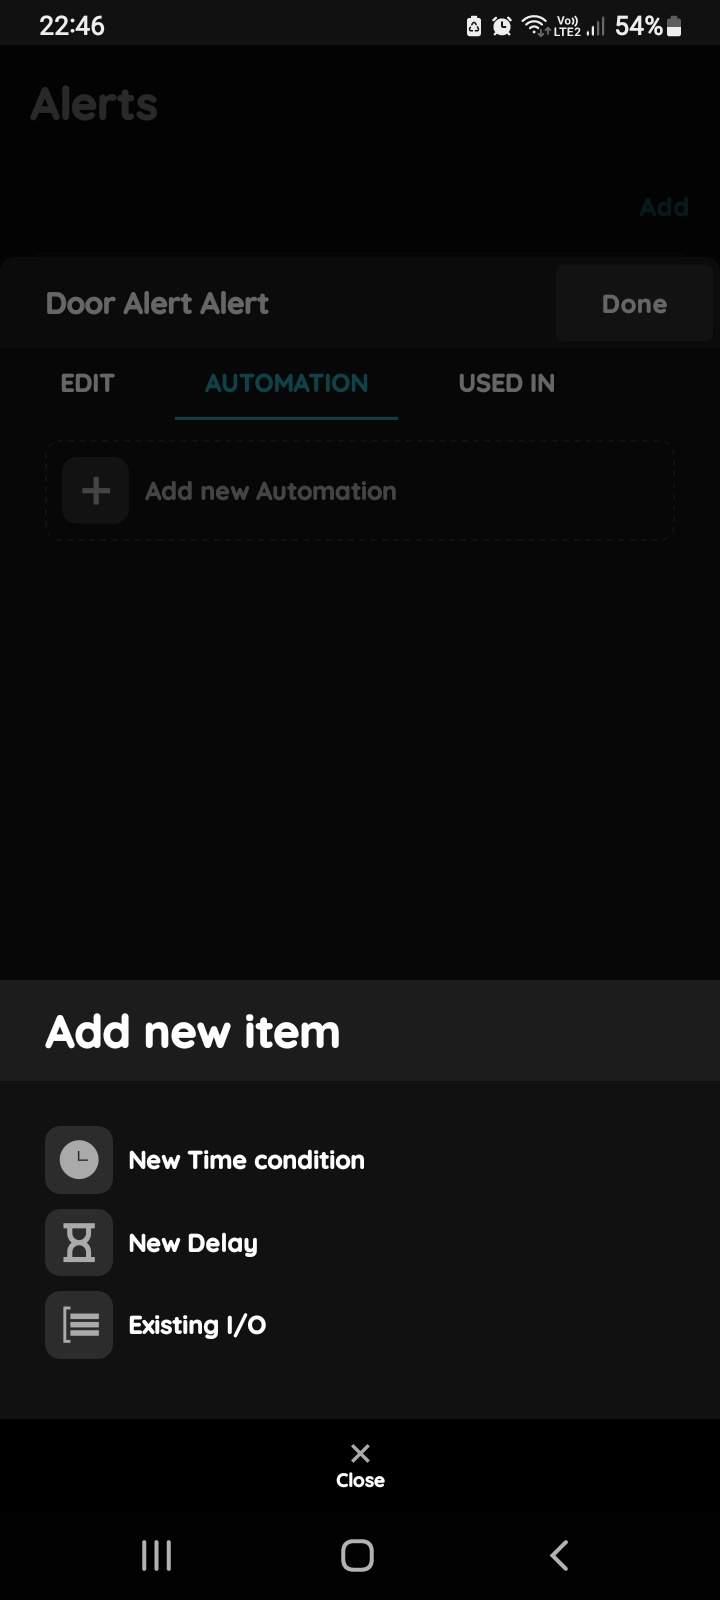
Add new item for the Alert
There is possibility to add:
- New Time condition,
- New Delay,
- Existing I/O.
Tap on the Existing I/O from the list.
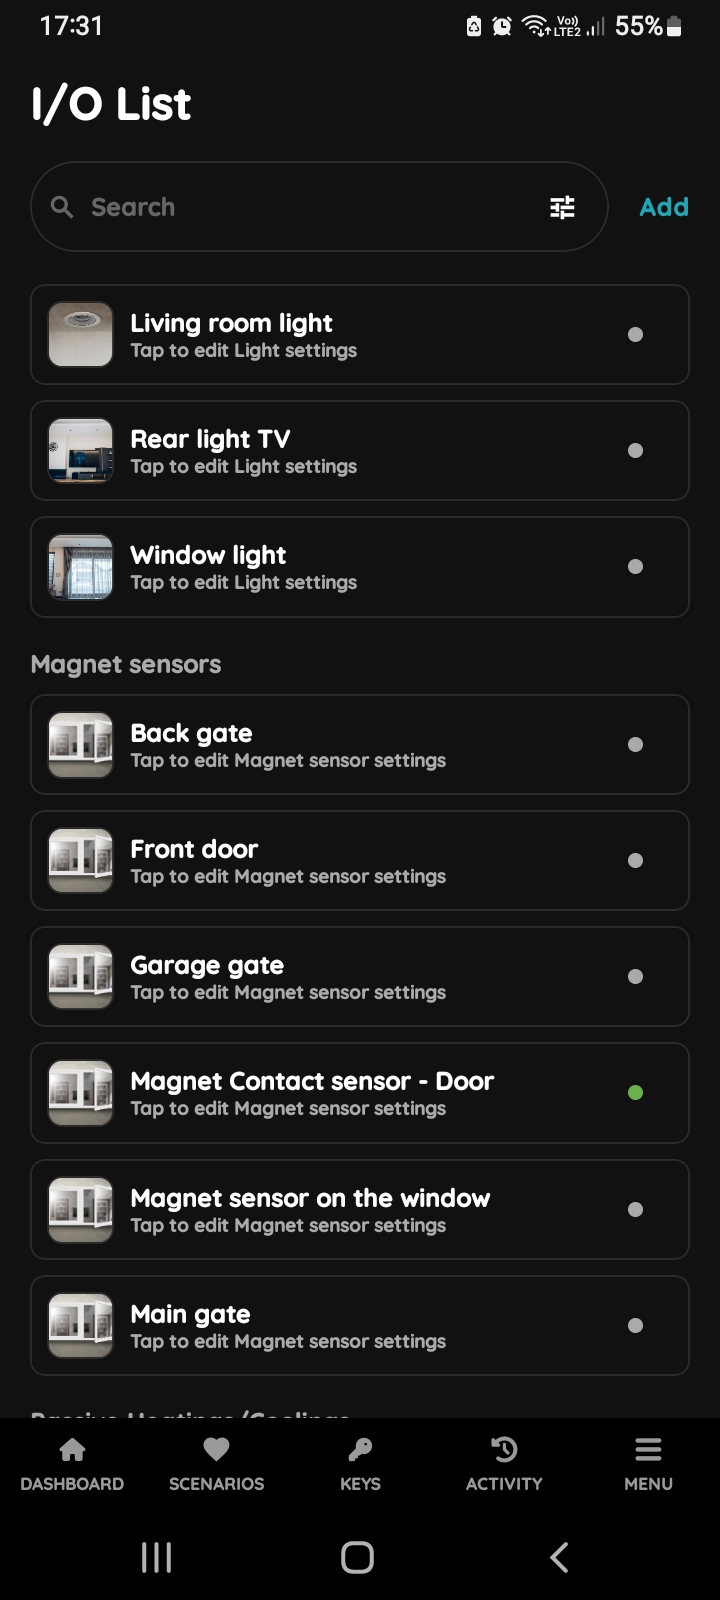
I/O list - Magnet Contact sensor
Open I/O list, scroll to the Magnet Contact sensors and tap on the card of the of the desired Magnet Contact sensor, in this case on the Magnet Contact sensor - Door.
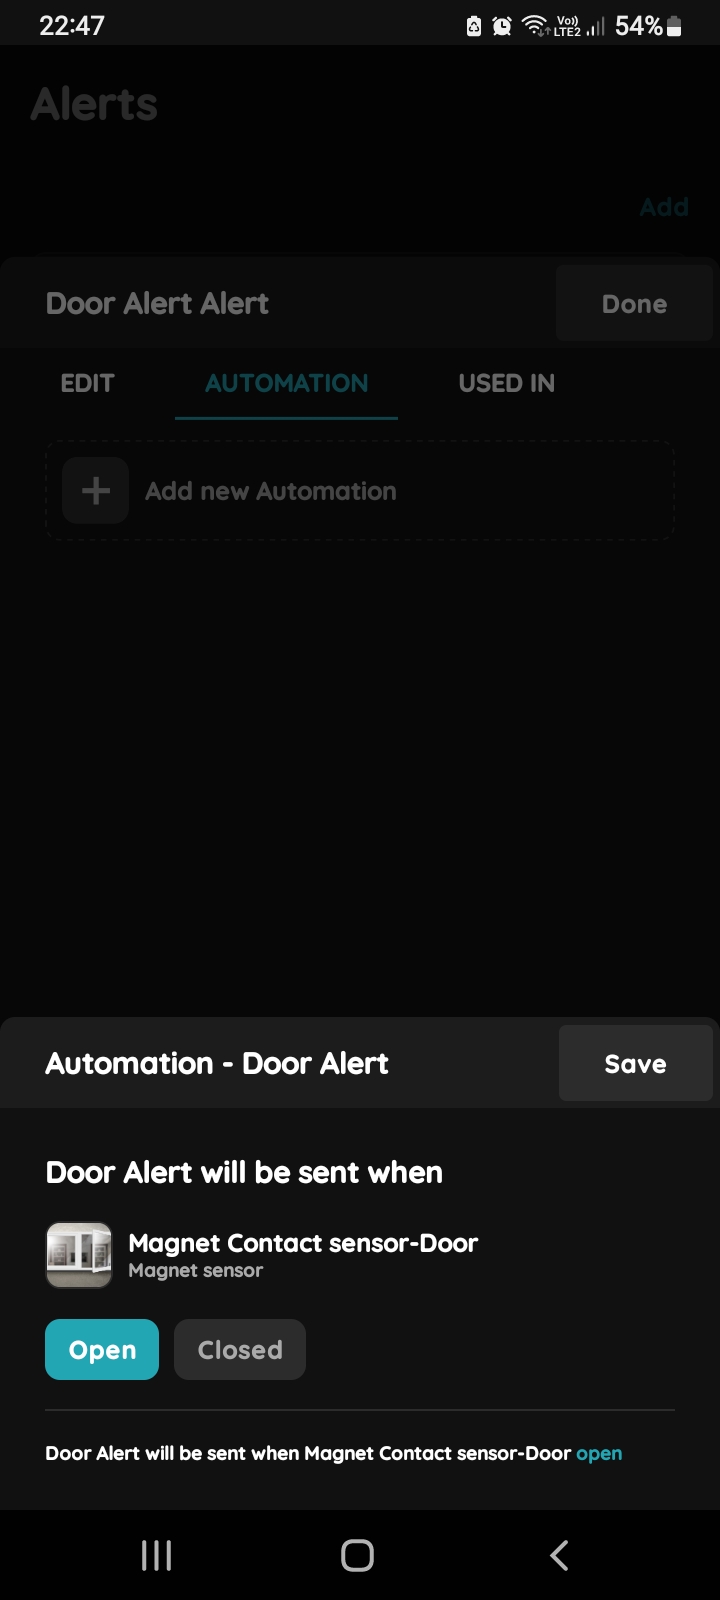
Automation - Alert and Magnet Contact sensor
Door Alert will be sent when Magnet Contact sensor - Door is Open.
Tap on Open.
Tap on the button Save.
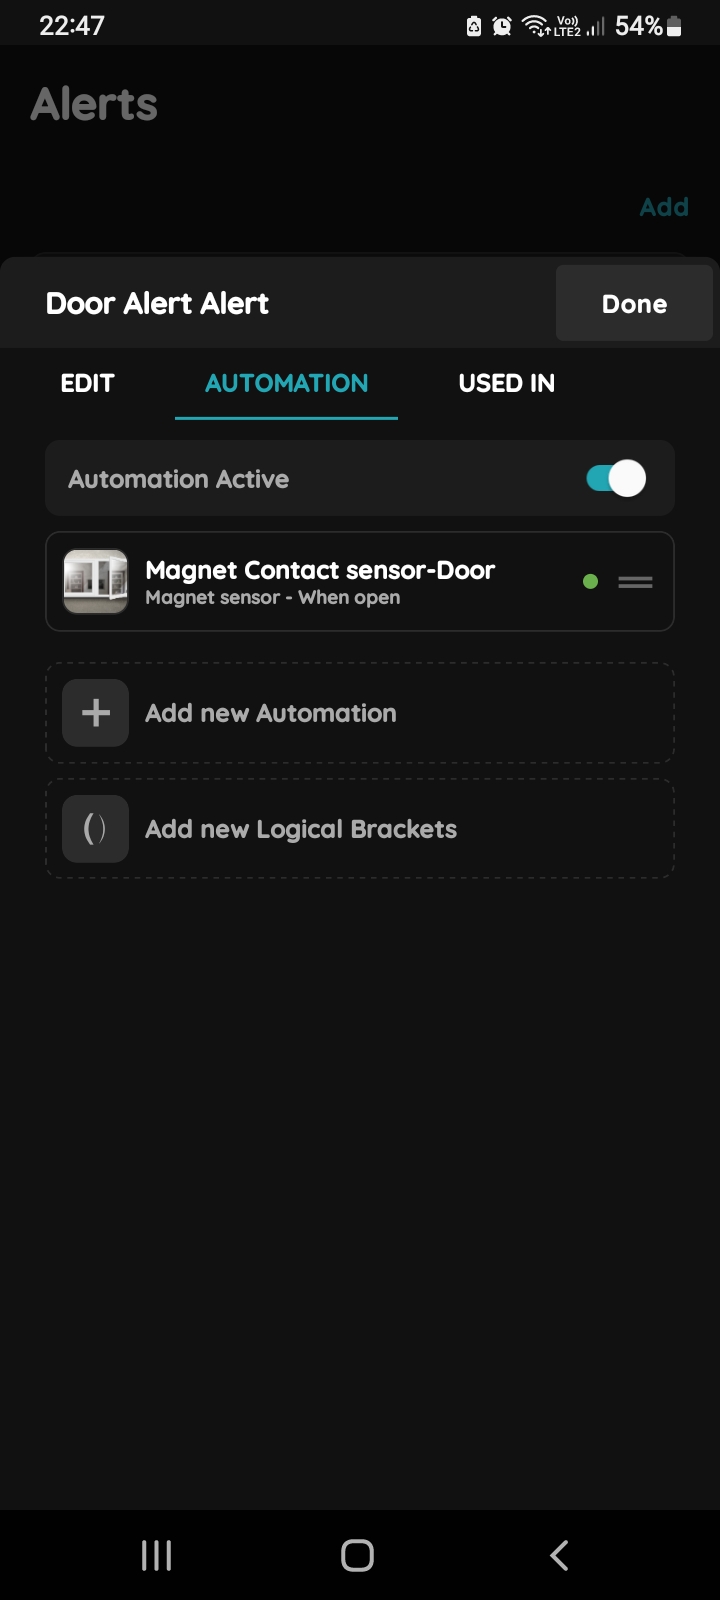
Confirm automation settings for Alert and Magnet Contact sensor
Confirm automation settings for Alert and Magnet Contact sensor and tap on the button Done.
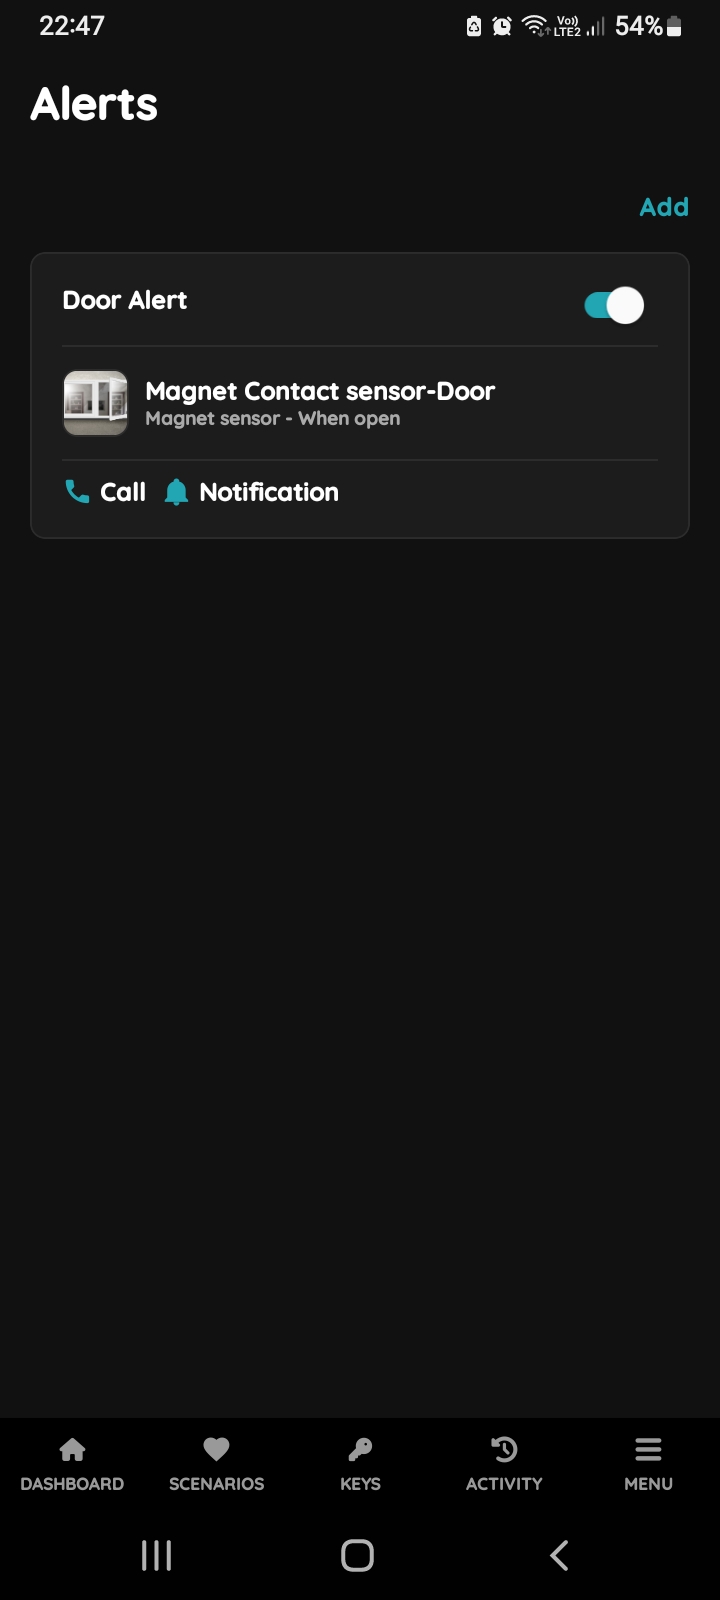
List of Alerts and automations
It is shown list of Alerts and automations for them.