Smart PIERRE - RGBW Lights
Description
The RGBW Lights section of the Smart PIERRE app controls connected RGBW lighting. RGBW lights appear on the Dashboard and in the I/O list.
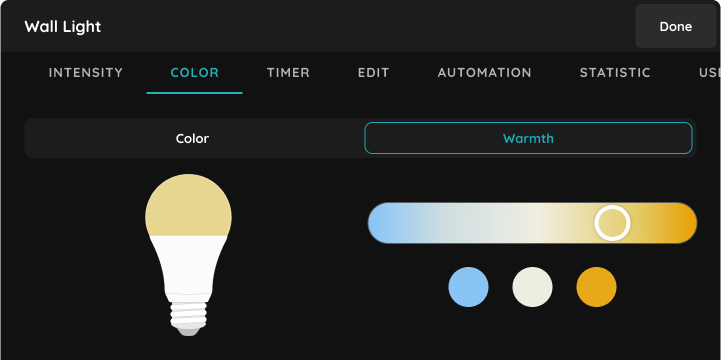
Colour and Warmth
- The colour and the warmth are set with a picker.
- A long press on the picker allows finer adjustment.
- An RGBW light has a separate white channel in addition to red, green and blue, so it produces a real white as well as colours. This is the difference from a plain RGB light.
Dashboard Control
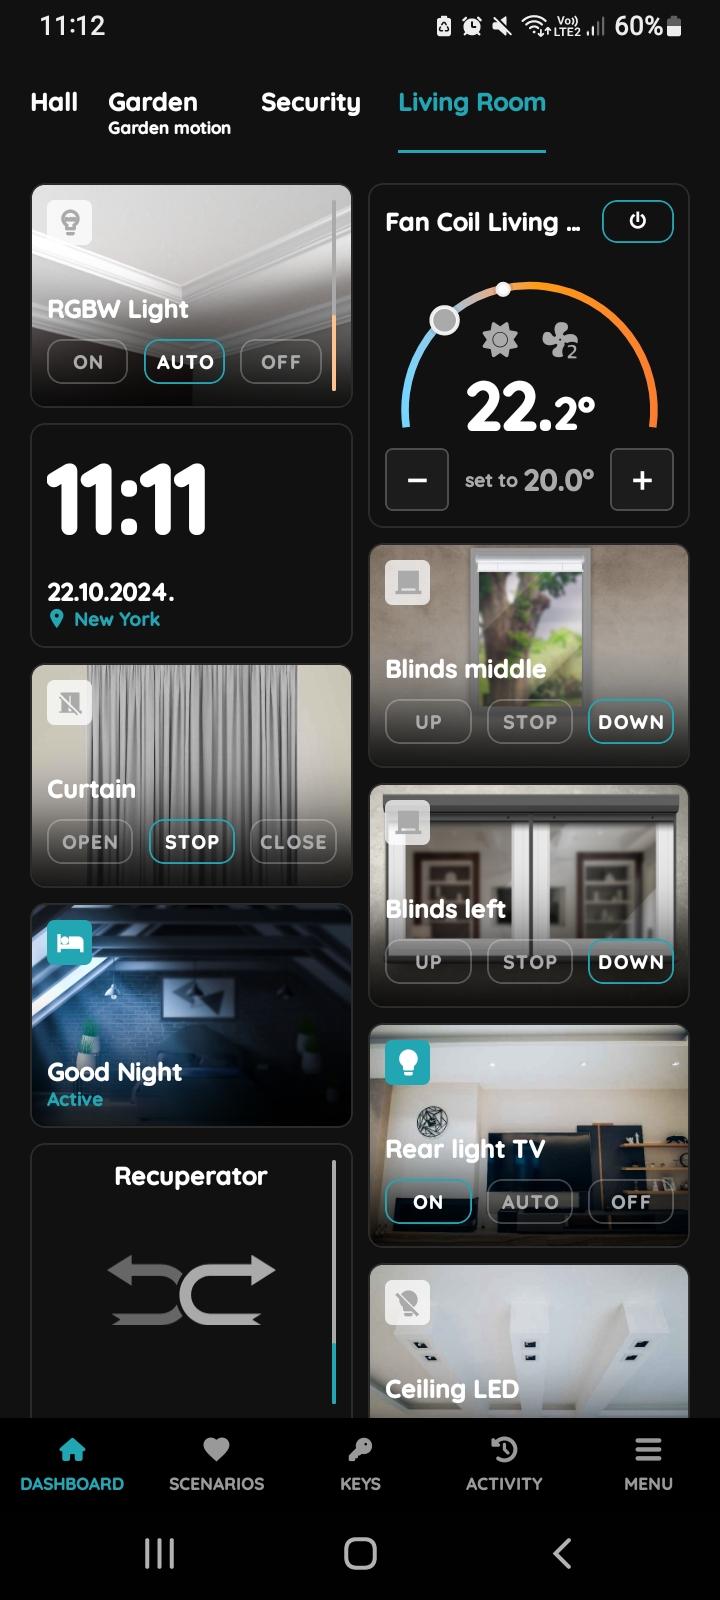
The light is controlled from the Dashboard with On, Off and Auto. The icon and the picture change with the state, so the current status is visible at a glance.
Scenarios and Automation
RGBW lights can be part of scenarios, so their colour and warmth are set automatically by a condition or an event.
Technical Notes
- Use the white channel for general lighting and the colour channels for effect. White mixed from RGB looks different and consumes more.
- Colours set by a scenario stay until something else changes them; a scenario does not restore the previous state.
- Check the Used In tab before renaming or removing a light.
Control of the RGBW Light
Controlling the RGBW Light is simple and efficient, with everything managed directly from the Dashboard.
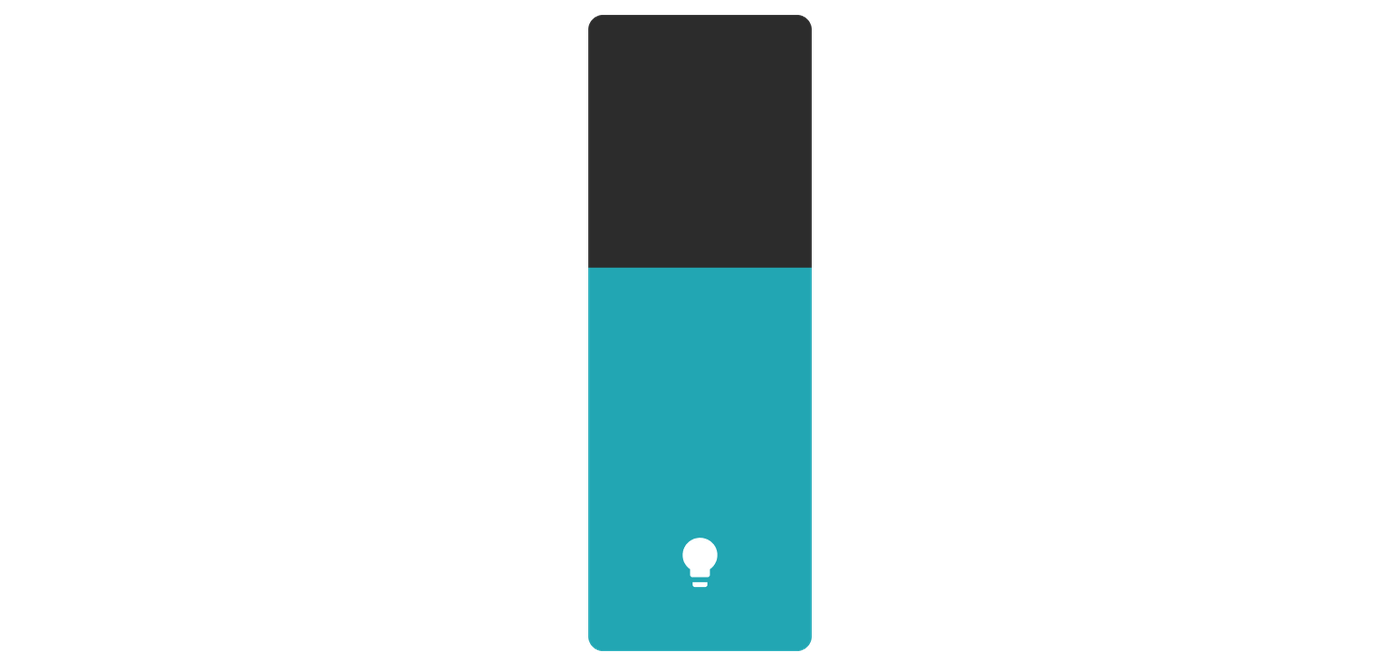
A slider displaying the Intensity level of the selected color is shown on the right side of the RGBW Light card.
Follow the example of the RGBW Light.
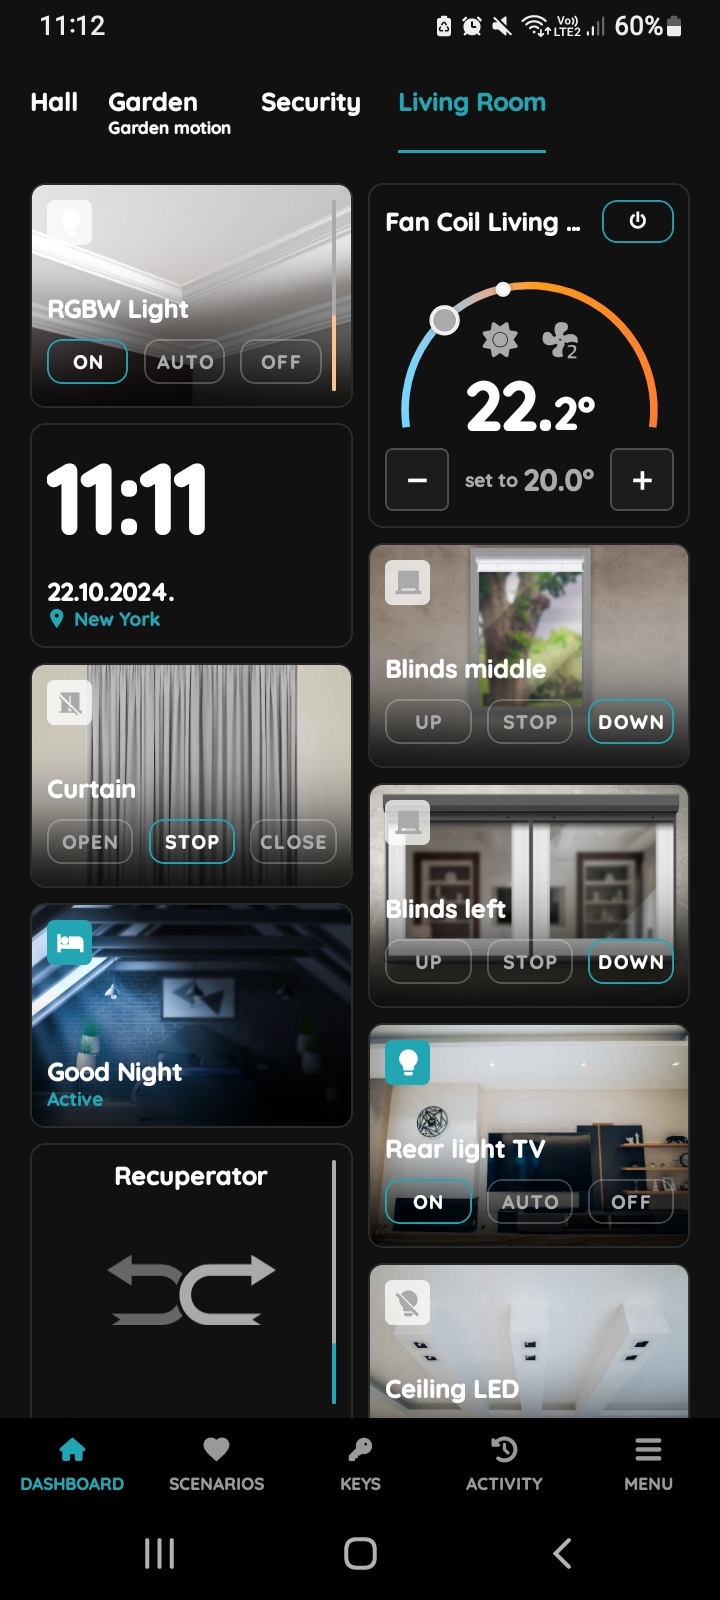
On, Off, Auto - RGBW Light
There are three buttons for controlling the RGBW Light:
- On - Tap this button to turn On the RGBW Light.
- Off - Tap this button to turn Off the RGBW Light.
- Auto - If you tap the Auto button, the automation RGBW Light will activate when the conditions are met.
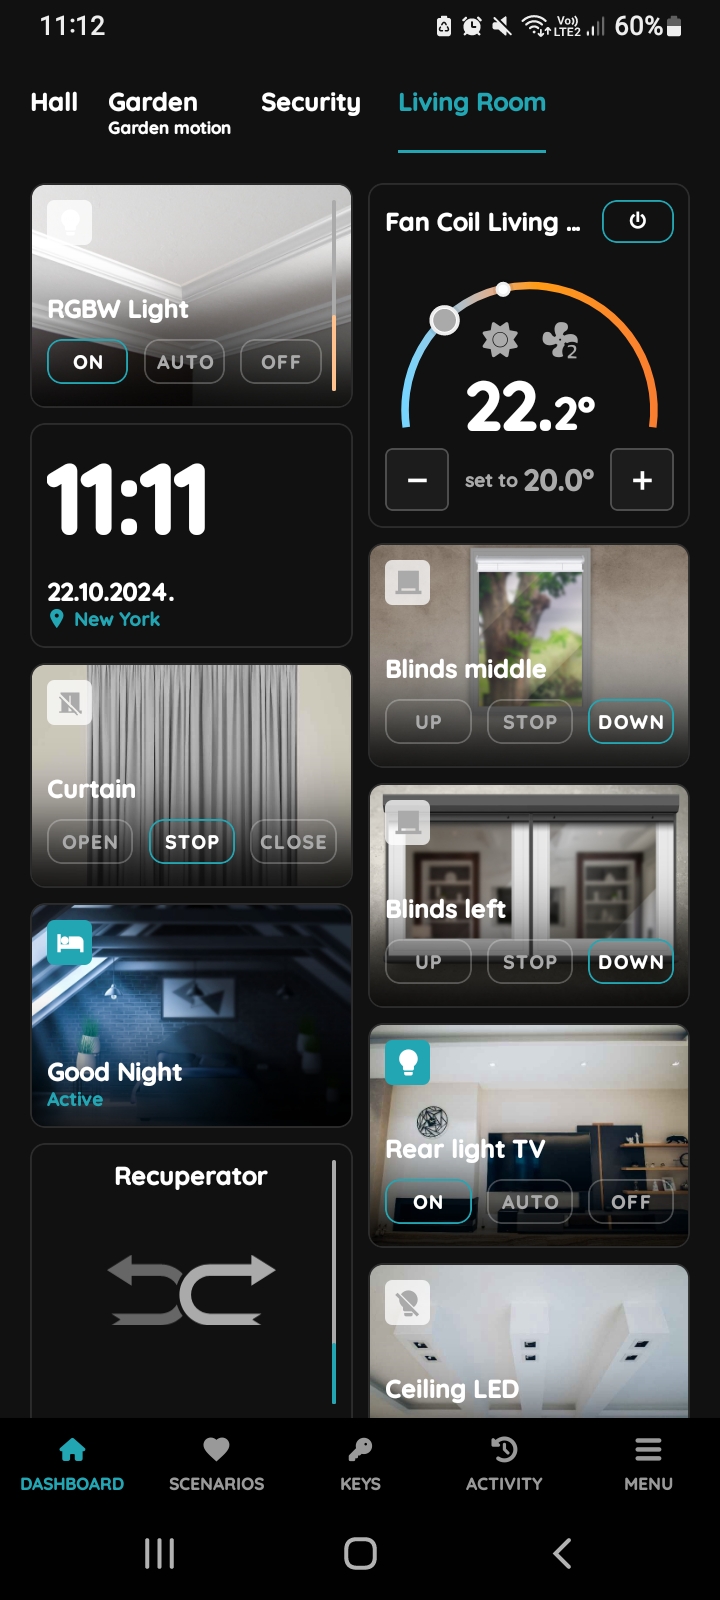
Turn the RGBW Light On
To turn the RGBW Light On, tap the On button.
The icon and picture of the RGBW Light will change, indicating it has been turned On.
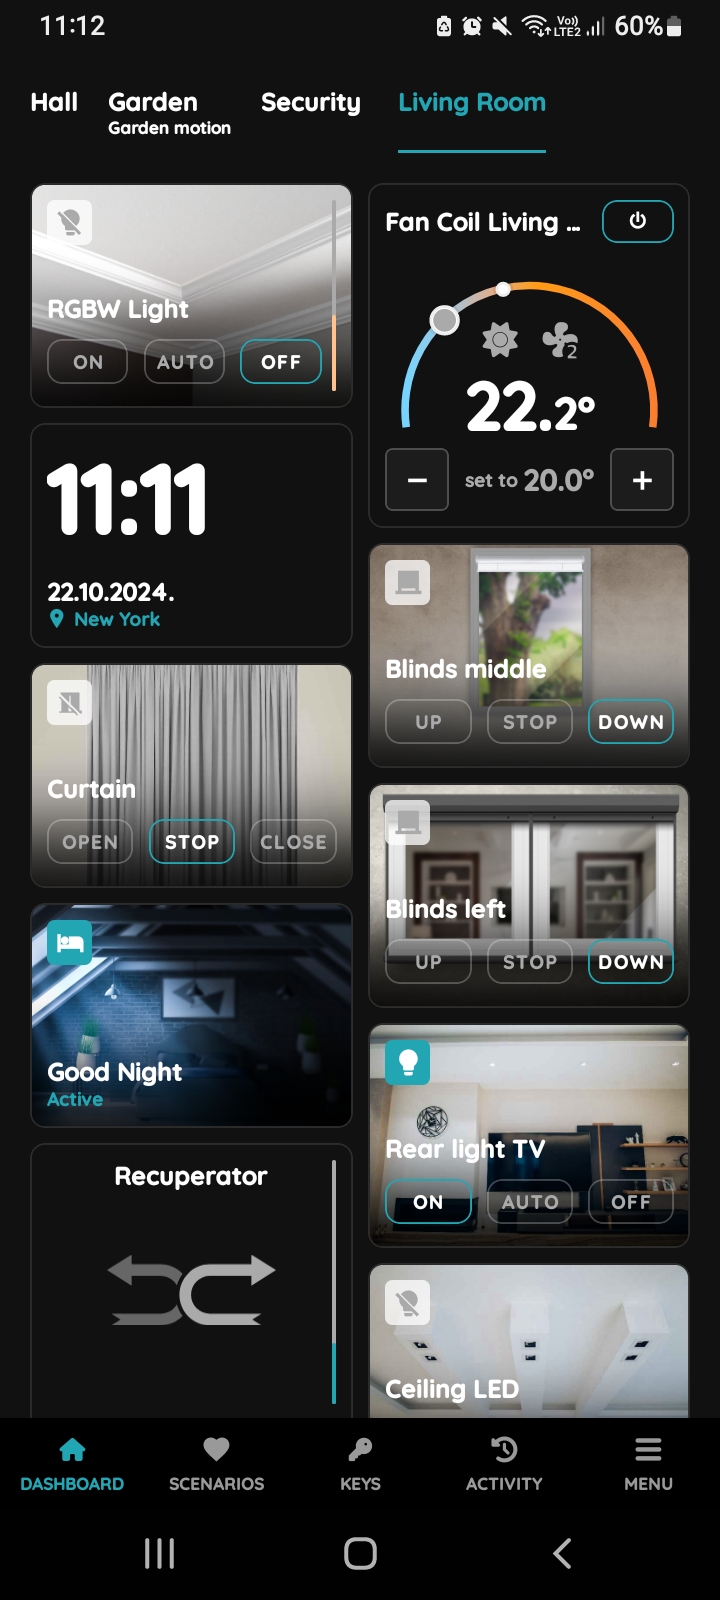
Turn the RGBW Light Off
To turn RGBW Light Off, tap the Off button.
The icon and picture of the RGB Light will change, indicating it has been turned Off.
Set RGBW Light to Auto Mode
If you tap the Auto button, the previously created automation for the RGBW Light will be activated if all conditions are met. The icon of the RGBW Light and picture will update to reflect the On status.
If you tap the Auto button and some conditions from the automation are not met, the RGBW Light will not activate. The icon and the picture will change to reflect the Off status. All conditions must be fulfilled for the automation to work.
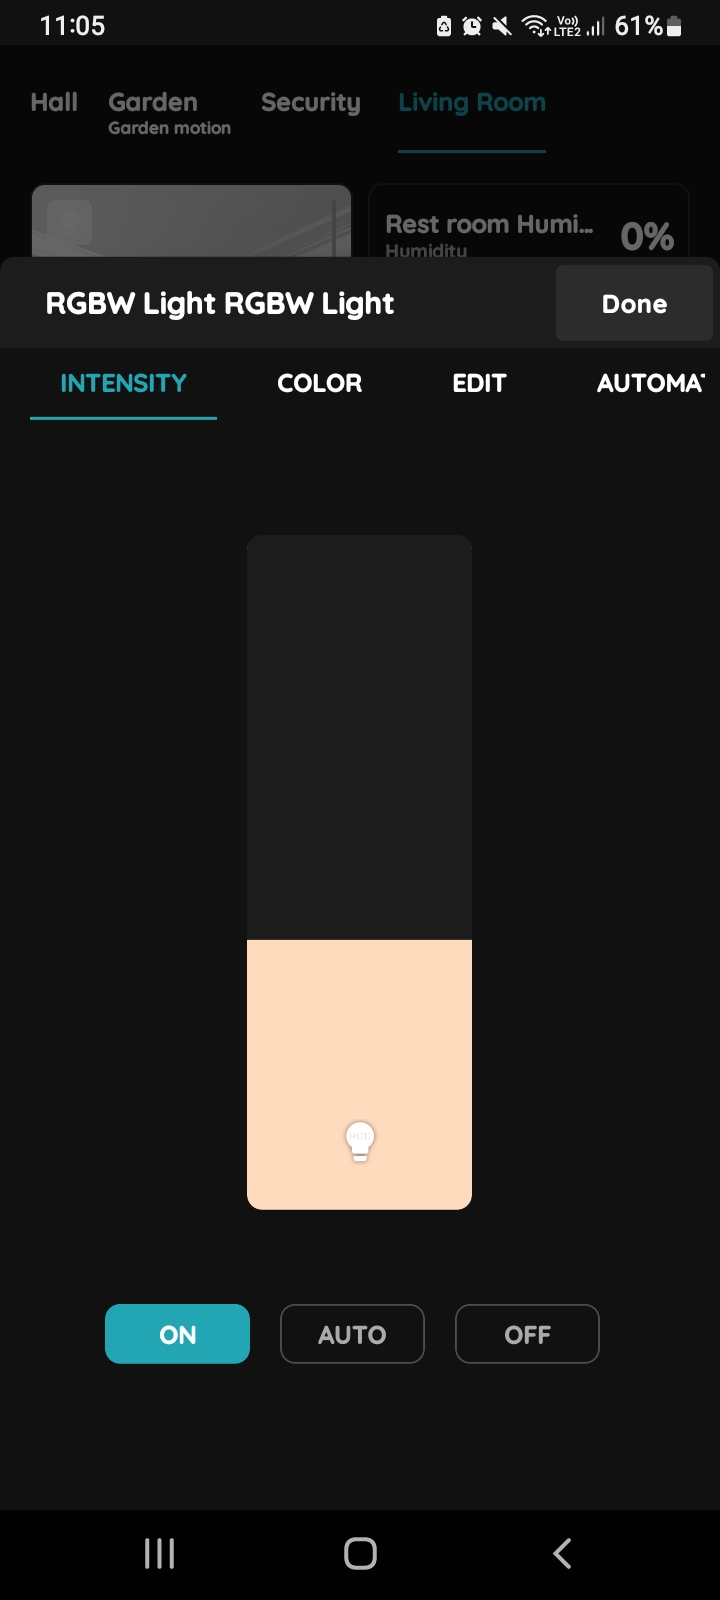
Intensity - RGBW Light
Long press the card of the RGBW Light.
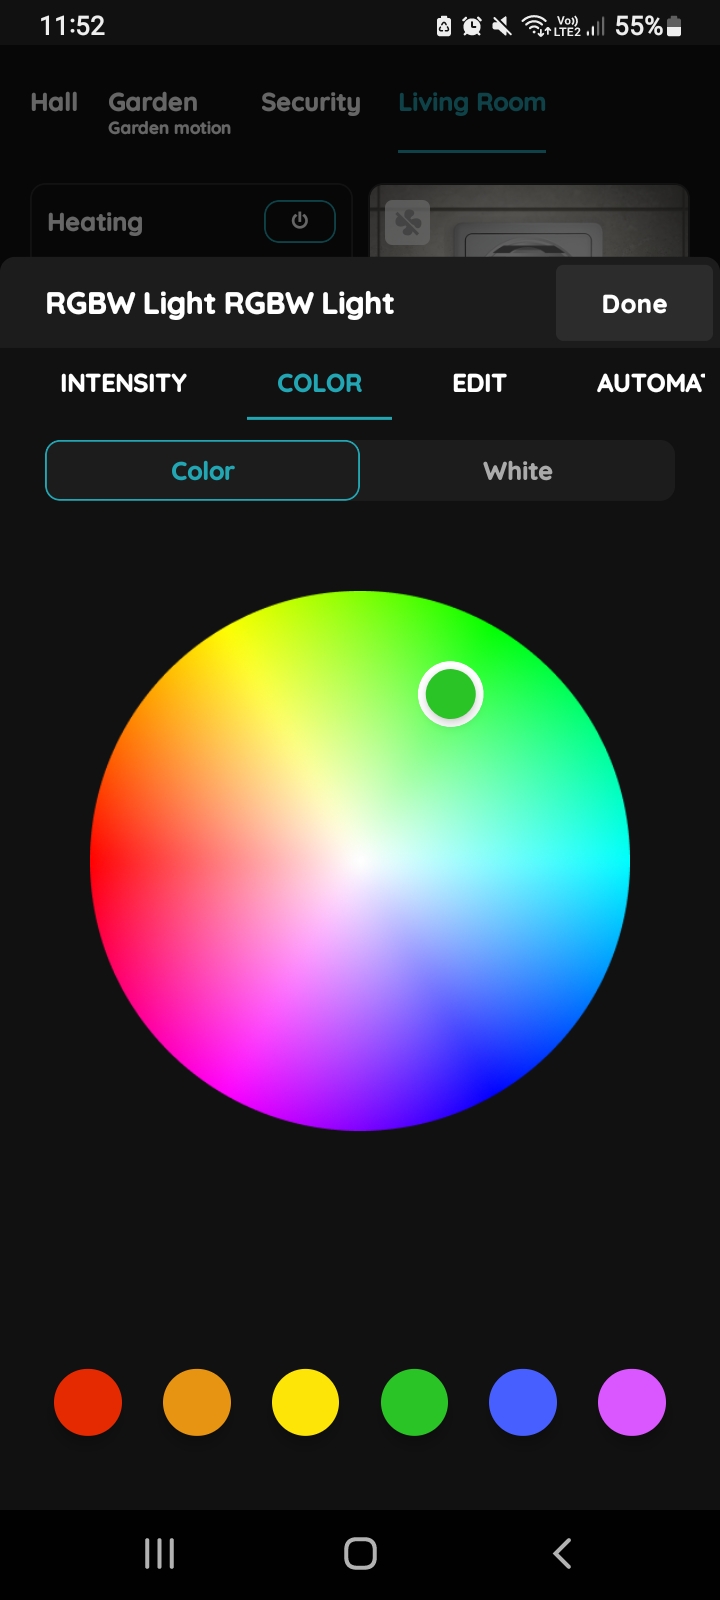
Color - RGBW Light
You can adjust both the color and white levels in the Color tab.
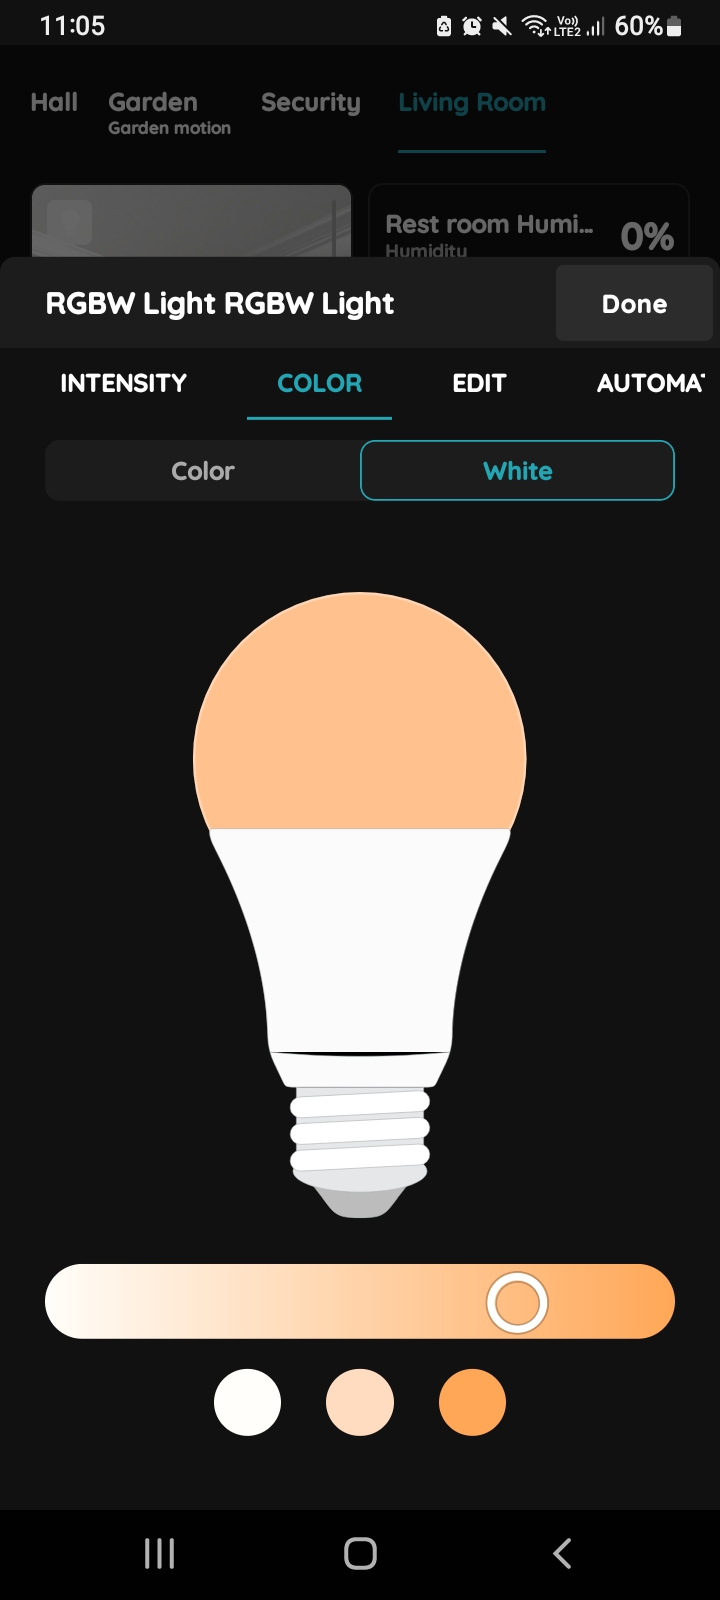
White - RGBW Light
Tap on the tab White.
Slide your finger from left to right on the slider to adjust the warmth of the white color.
You can also select the warmth of the white color by tapping on one of the tree Presets that represent three levels of white (warm white - yellowish light; neutral/daylight white - neutral, bright white; cool white - bluish - white light) shown beneath the slider.
To confirm tap button Done.
The level of warmth of the white color will be shown on the slider on the right side of the RGBW Light card on the Dashboard, when this Light is part of a group displayed on the Dashboard.
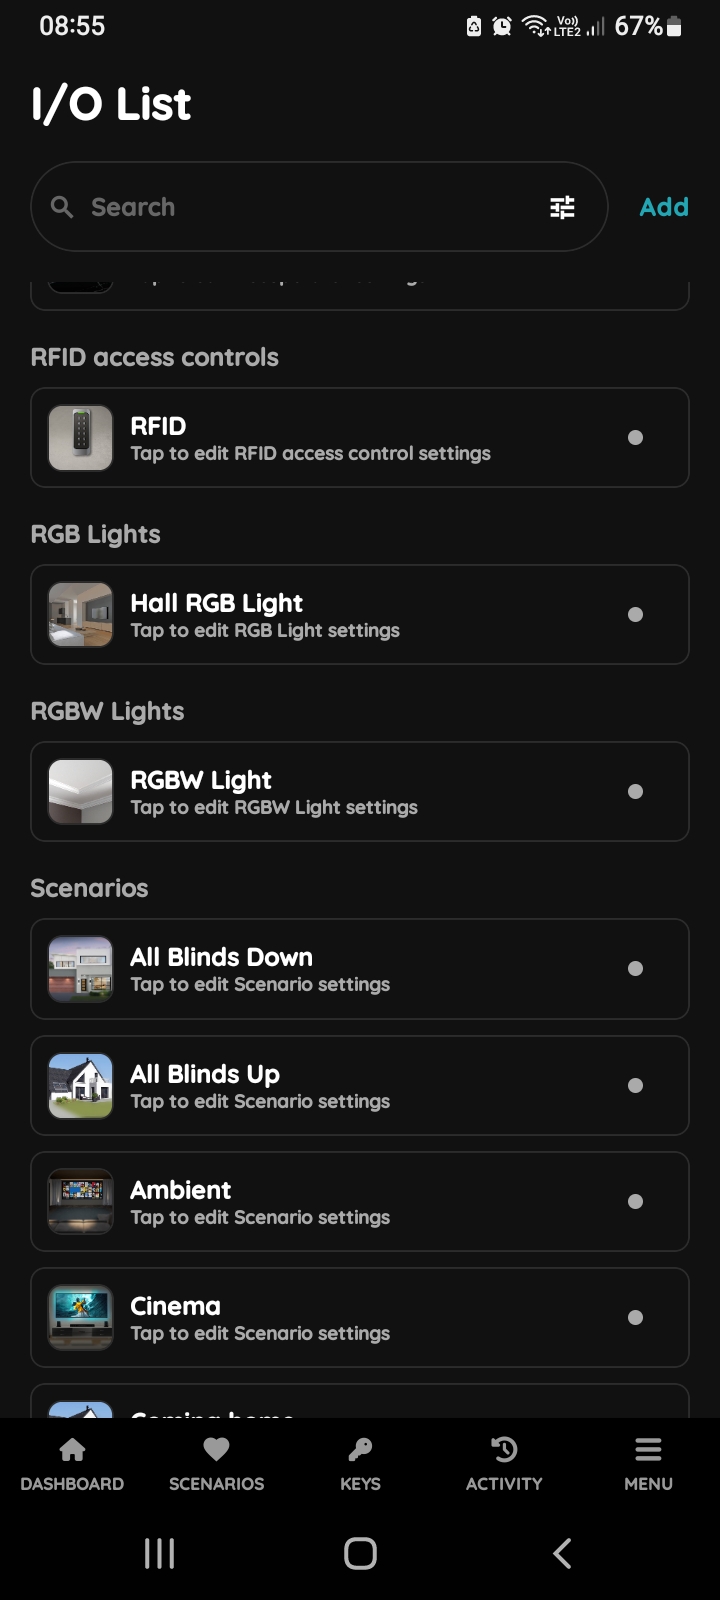
Open I/O list - RGBW Light
RGBW Light can be edited in just a few steps.
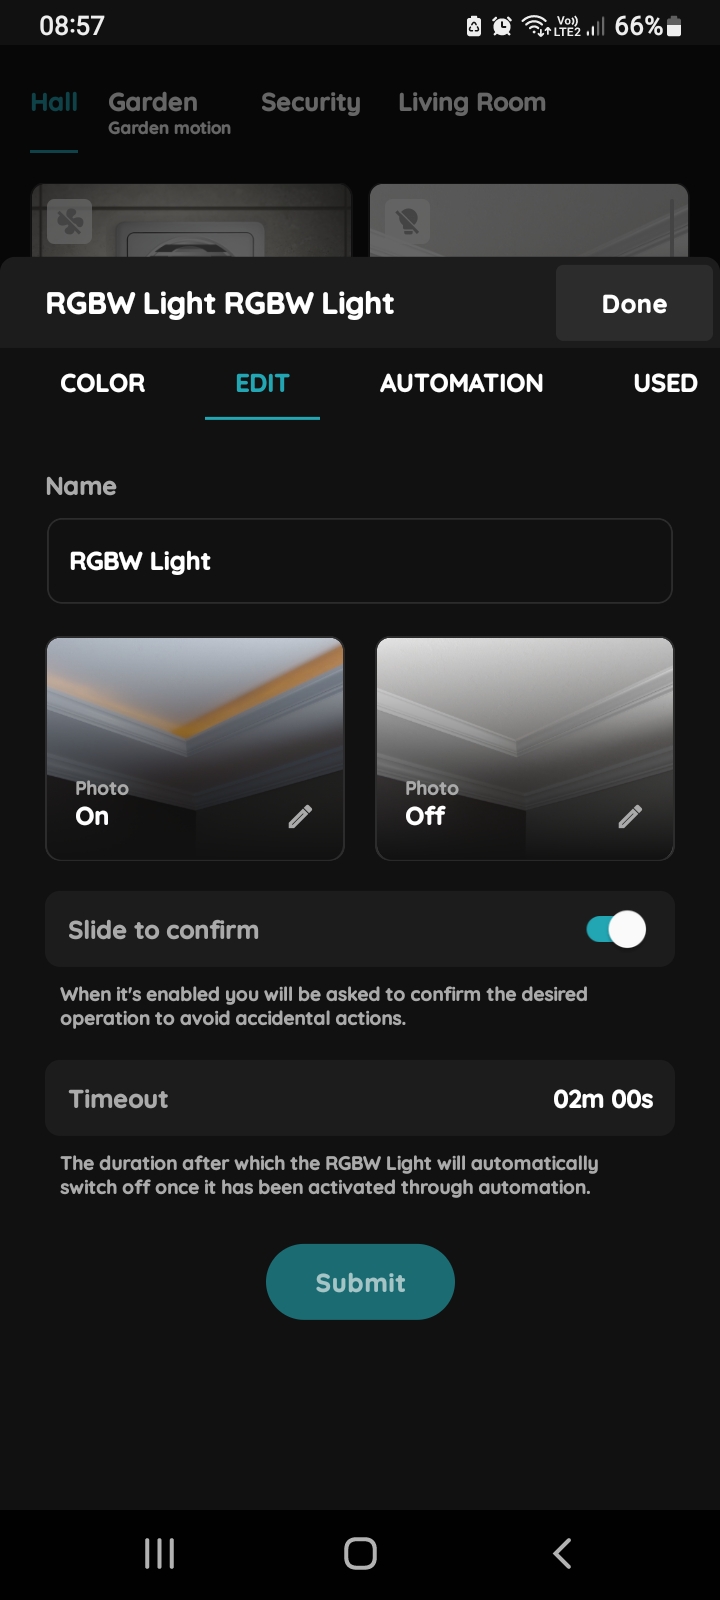
Edit RGBW Light
Tap on the Edit tab.
Fill out the following form:
- Name - Edit the name of the RGBW Light.
- Photo - Choose the source of the photo for both On and Off statuses.
- Slide to confirm - When enabled, you'll be asked to confirm the operation to avoid accidental actions.
- Timeout - Set the duration for how long the RGBW Light will be turned On in auto mode.
Tap Submit/Done to save the changes.
GOOD TO KNOW:
The RGBW Light can be edited by long-pressing the RGBW Light card on the Dashboard or by tapping it in the I/O list.
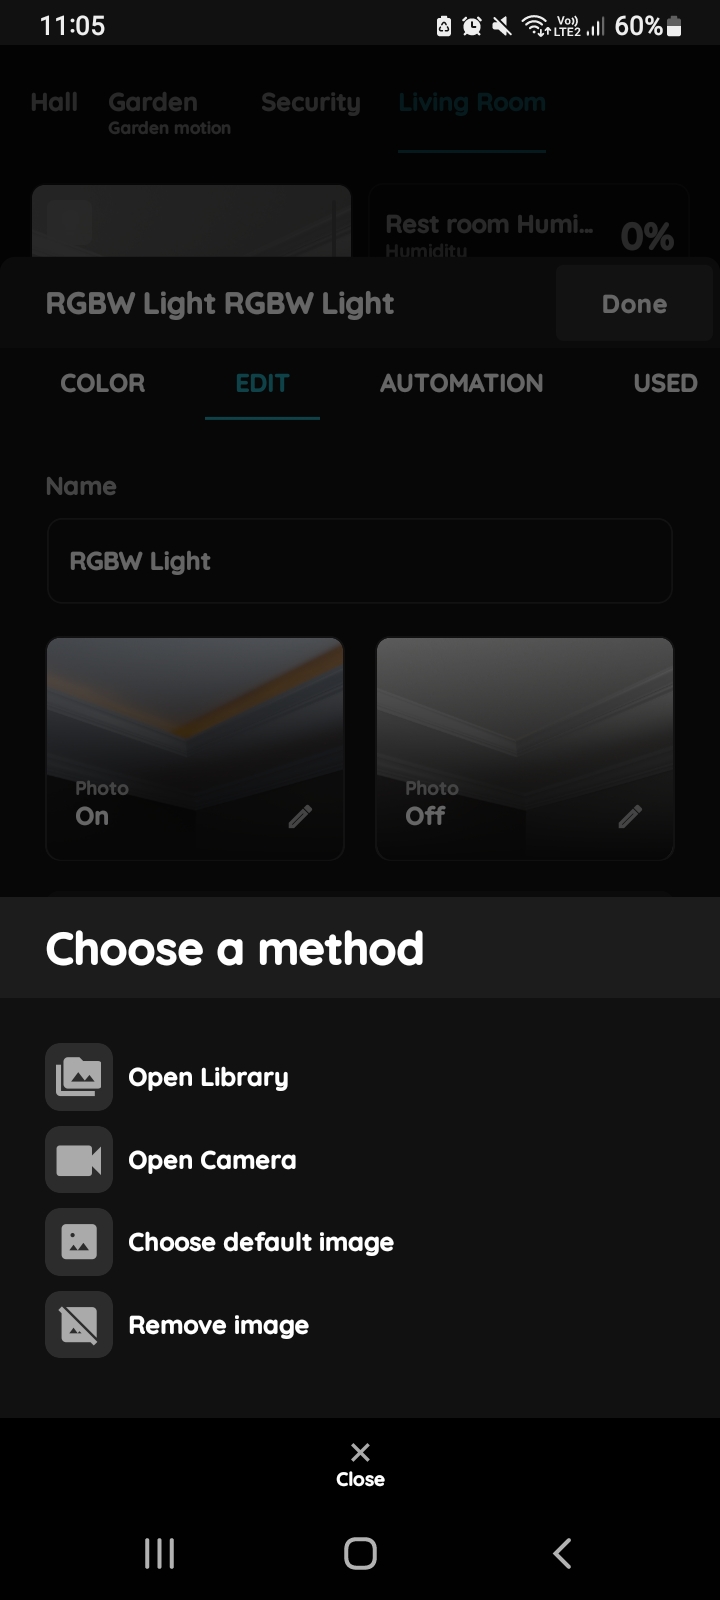
Change photo - RGBW Light
Tap the photo of the RGBW Light. You have four options:
- Open Library - The phone’s Library will open. It is recommended to take pictures from the same angle for both RGBW Light statuses to achieve a complete and consistent view.
- Open Camera - You can take a picture using your smartphone. For a complete and consistent view, it’s recommended to capture both RGBW Light statuses from the same angle.
- Choose default image - These images are prepared in advance to provide a seamless experience.
- Remove image - Removes the existing image.
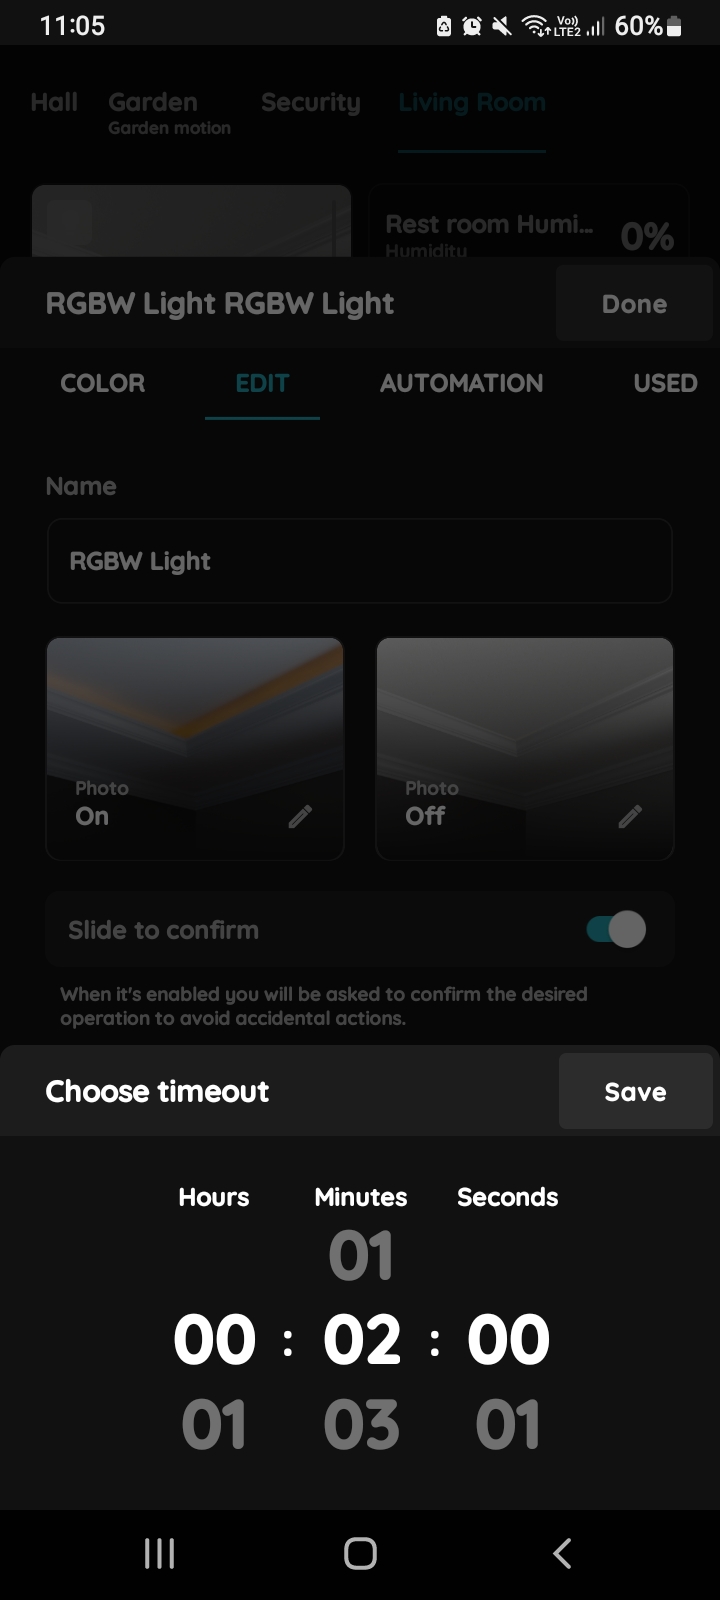
Timeout - RGBW Light
Choose Timeout - scroll through columns for the Hours, Minutes, Seconds.
In this case, Timeout is set on 2 minutes.
Tap Save button.
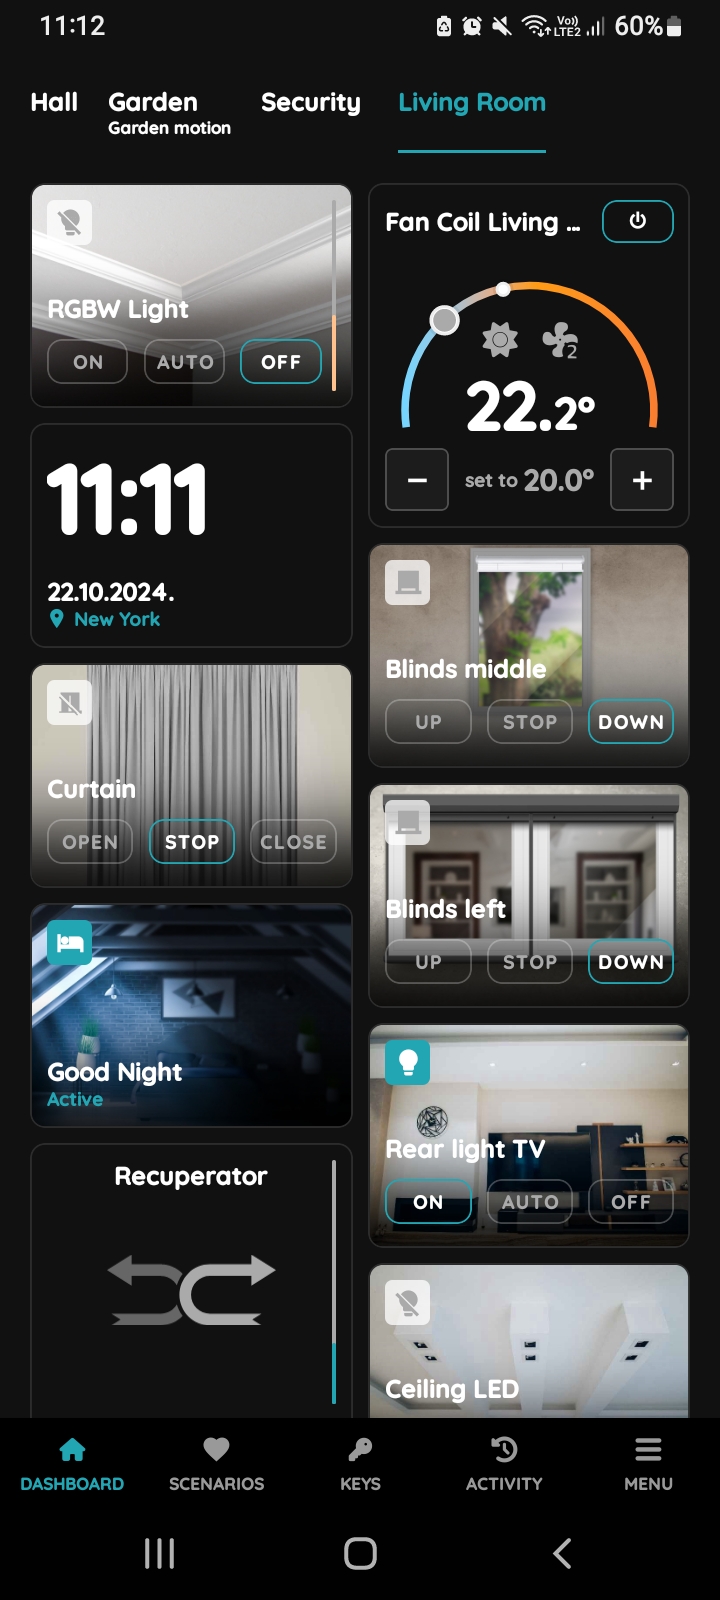
Find the RGBW Light on the Dashboard
Set the RGBW Light to activate based on the hallway's Motion sensor and the time of day. When motion is detected between 7:00 PM and midnight, the RGBW Light in the hallway will automatically turn On at 70% intensity with a warm white color, creating a welcoming atmosphere. If no further motion is detected for over 15 minutes, the light will gradually dim to 30% before turning Off, conserving energy. This automation ensures the RGBW Light adapts to your arrival and adjusts seamlessly based on activity in the space.
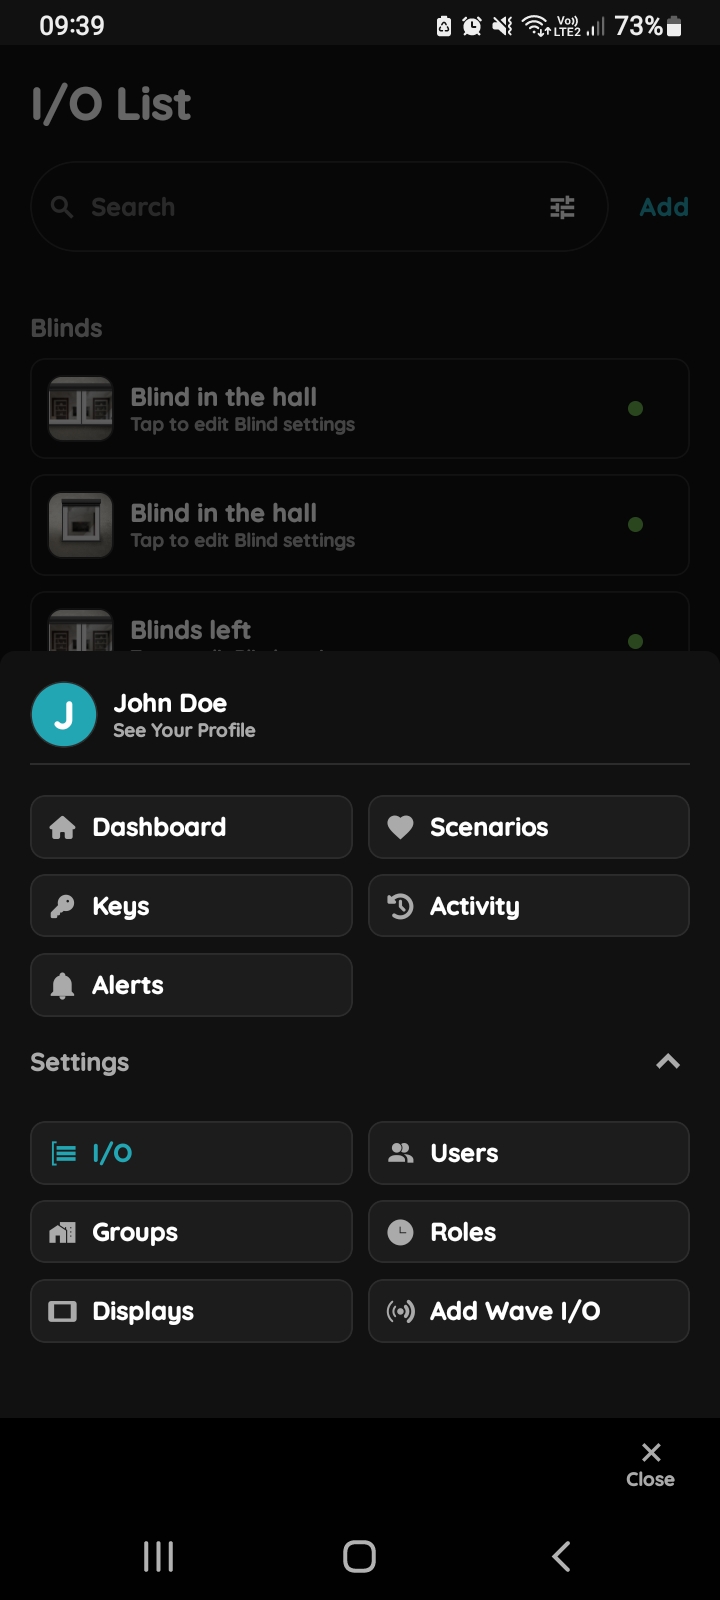
Open I/O
In the Menu, under Settings, tap on the I/O.
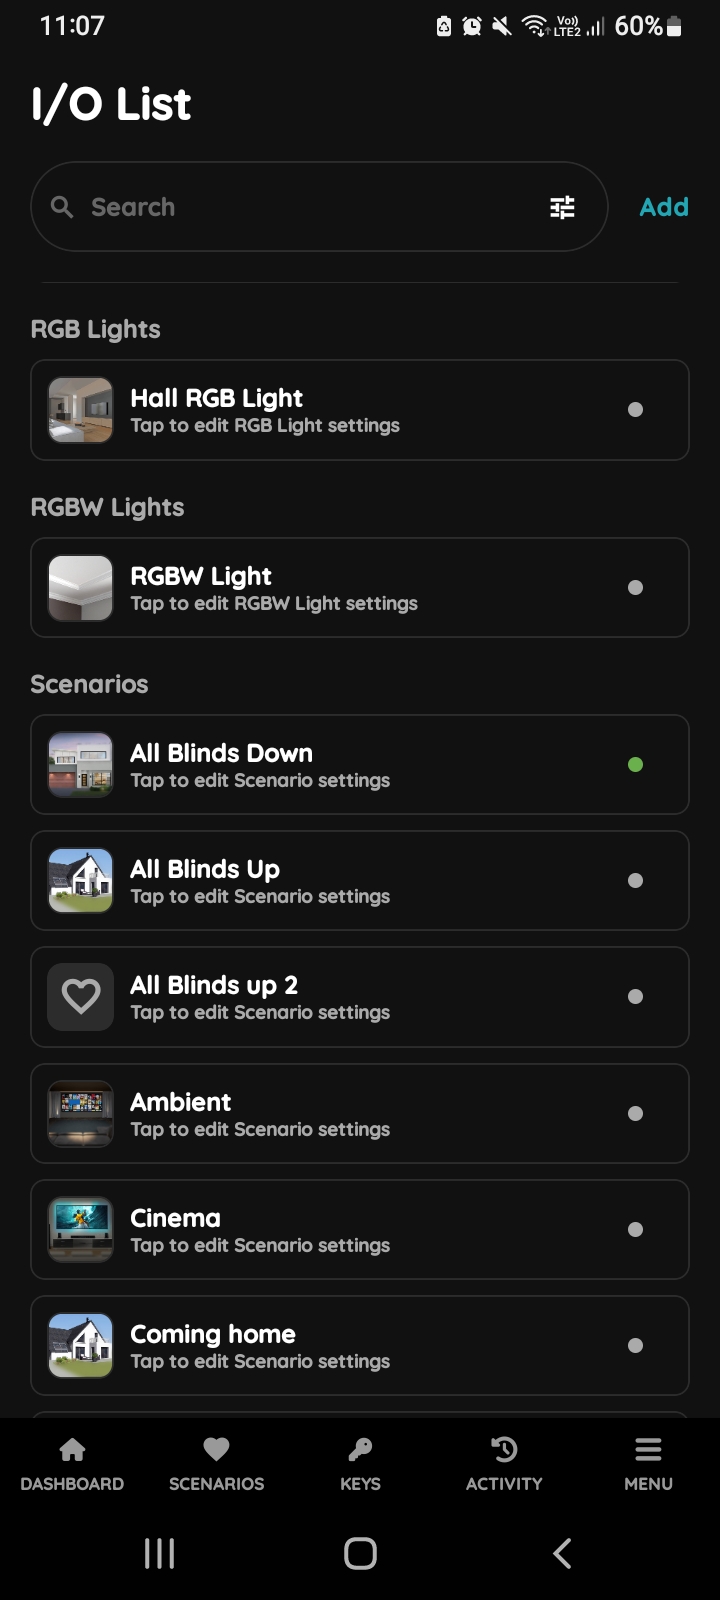
Open I/O list - RGBW Light
Scroll to the RGBW Lights and tap on the desired RGBW Light from the list.
In this case, RGBW Light.
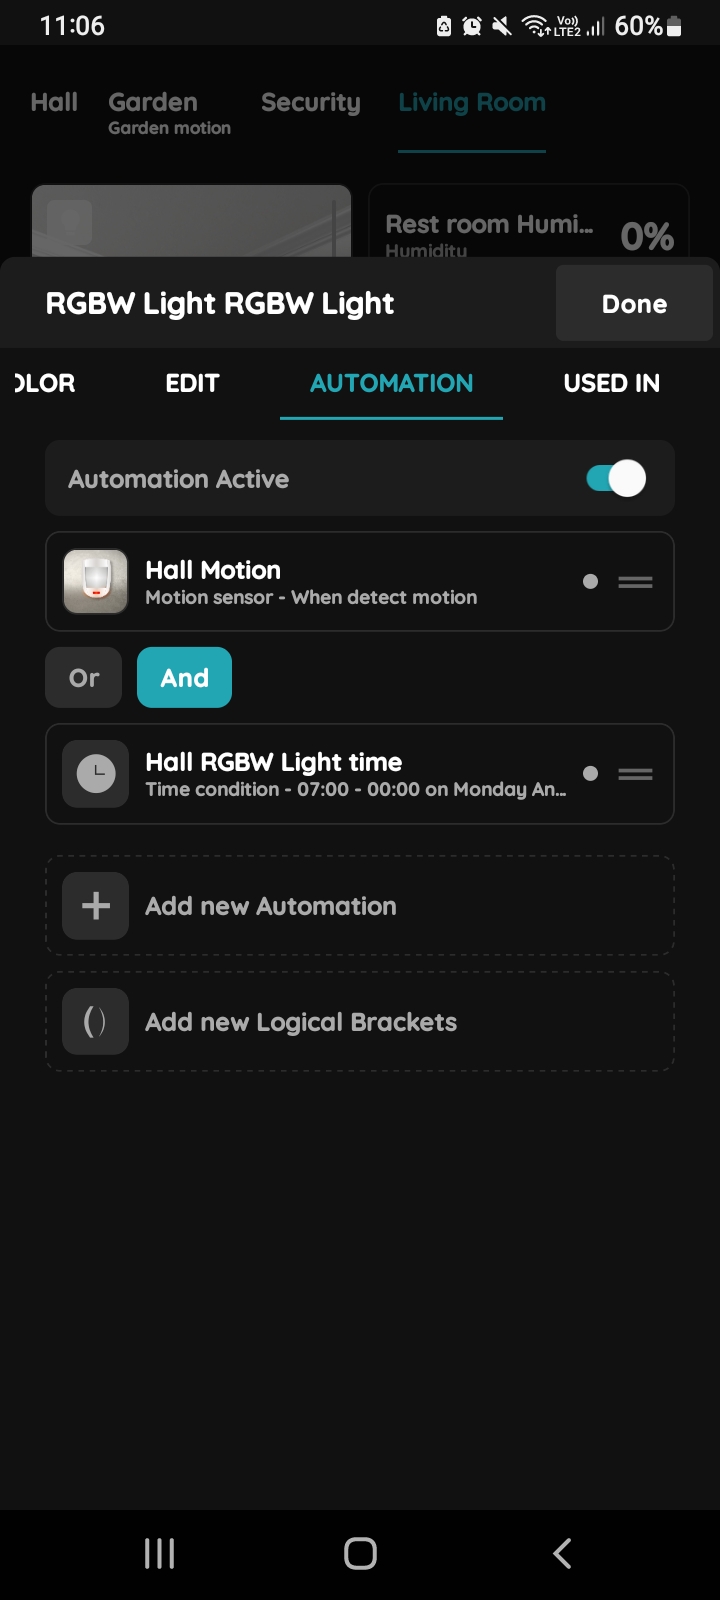
+ Add new Automation - RGBW Light
Tap on the tab Automation and than on the +Add new Automation.
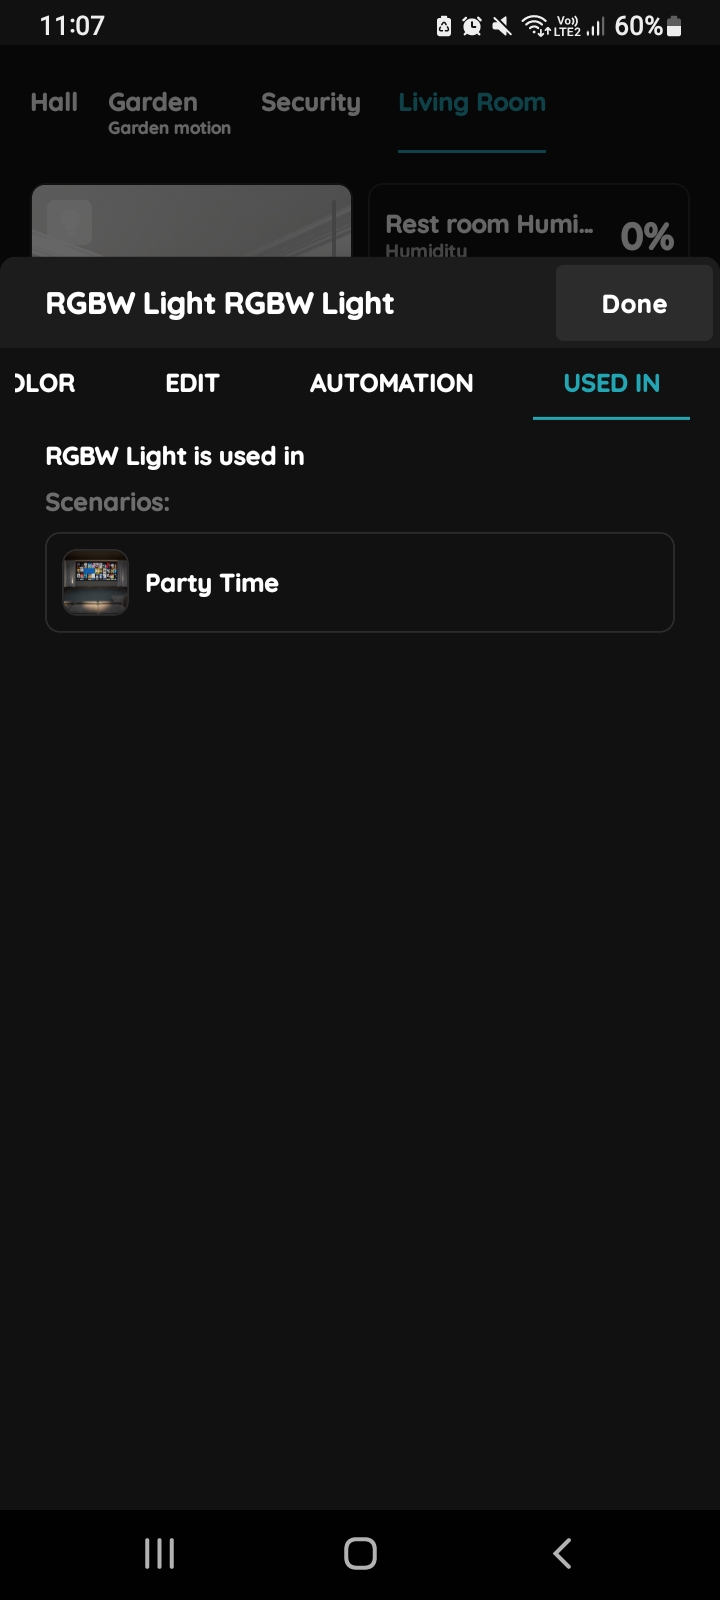
Used In - RGBW Light
The Used In tab shows all the scenarios and automations where the RGBW Light is applied, making it easy to see where this I/O is used without the need to search manually. If it isn't used in any, the list will be empty, and a message will display: "This I/O is not in use anywhere." This feature is particularly useful as it consolidates all relevant information in one place.