On this page
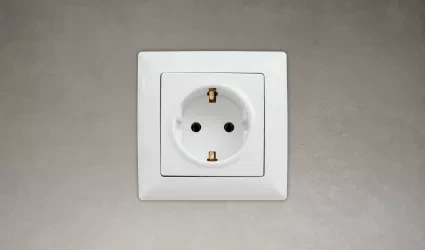
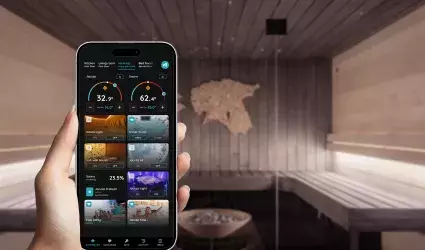
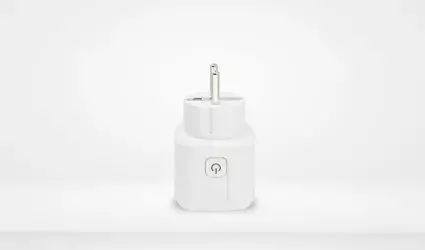
The Electrical Outlet section in the Smart Pierre app allows users to manage and control their connected outlets directly from the Dashboard or I/O list. It offers convenient control options, including the ability to remotely manage the outlet via mobile phone.
Key Features:
1. Dashboard Control:
- The outlet can be controlled with On, Off, and Auto buttons from the Dashboard, giving you instant access to manage the power supply to connected devices.
2. Remote Control:
- The outlet can also be controlled remotely via mobile phone, allowing users to turn it on or off even when away from home, providing added convenience and peace of mind.
3. Visual Status:
- The icon and picture of the outlet change according to its status, making it easy to see at a glance whether the outlet is active or inactive.
4. Automation:
- Electrical outlets can be automated and integrated into various scenarios. This ensures that connected devices can be automatically turned on or off based on predefined triggers, such as time or motion sensors.
The Electrical Outlet is particularly useful for remotely managing home appliances and devices, helping to prevent situations where something is accidentally left on, offering both convenience and security.
Electrical Outlet control is quick and simple, managed directly from the Dashboard.
Follow the example of the Hall Socket.

There are three buttons for control of the Electrical Outlet:
- On - Tap this button to turn On the Electrical Outlet.
- Off - Tap this button to turn Off the Electrical Outlet.
- Auto - If you tap the Auto button, the automation will activate when the conditions are met.

To turn On the Electrical Outlet, tap the On button.
The icon of the Electrical Outlet turns blue, and the picture will change according to the On status.

To turn Off the Electrical Outlet, tap the Off button.
The icon of the Electrical Outlet will change and the picture will change according to the Off status.

If you tap on the Auto button, the previously created automation for the Electrical Outlet will be activated if all conditions from the automation are fulfilled. The icon of the Electrical Outlet will turn blue, and the picture will change according to the On status.
If you tap on the Auto button when some of the conditions from the automation are not fulfilled, the Electrical Outlet will not be activated. The icon of the Electrical Outlet will turn grey, and the picture will change according to the Off status. All conditions must be fulfilled for the automation to be activated.
To edit the Electrical Outlet settings, follow next steps.

Open I/O list, scroll to the Electrical Outlets and tap on the card of the Electrical Outlet, in this case on the Hall Socket.

Edit following form:
- Name - Edit the name of the Electrical Outlet.
- Photo - (status On, Off) Choose the source of the photo.
- Slide to confirm - When enabled, you will be asked to confirm the desired operation to avoid accidental actions.
- Timeout - Set the duration of time that the Electrical Outlet will remain On in auto mode.
Tap Submit/Done.
GOOD TO KNOW:
The Electrical Outlet can be edited by long-pressing the Electrical Outlet card on the Dashboard or tapping it in the I/O list.

You have four options:
- Open Library - The phone’s Library will open. It is recommended to take pictures from the same angle for both Electrical Outlet statuses to achieve a complete and consistent view.
- Open Camera - You can take a picture using your smartphone. For a complete and consistent view, it’s recommended to capture both Electrical outlet statuses from the same angle.
- Choose default image - These images are prepared in advance in order to provide a complete and seamless experience.
- Remove image - Removes existing image.

The Slide to confirm feature adds an extra layer of security, preventing accidental actions.
It asks you to confirm your choice once more.
If you want the Electrical Outlet to turn Off, tap the Off button and Slide to Turn Off from left to right.

Set Timeout for the Electrical Outlet in hours, minutes and seconds (scroll through each column).
Tap Save button.
The Used In tab shows all the scenarios and automations where the Electrical Outlet is applied, making it easy to see where this I/O is used without the need to search manually. If it isn't used in any, the list will be empty, and a message will display: "This I/O is not in use anywhere." This feature is particularly useful as it consolidates all relevant information in one place.

Tap on the Used In tab to see the list of scenarios and automations where this I/O is used.
In this case, the Hall Socket is used in the scenario Good Night.
Automate your Electrical outlet in the PIERRE app by setting conditions based on the Motion sensor. This ensures the outlet powers On only when motion is detected in a room and if turns Off after set period of time. This helps save energy by activating the outlet only when someone is present, making it perfect for devices like lamps or appliances that don't need to stay on all the time.
Find Electrical Outlet on the Dashboard or on the I/O list.

Find Electrical Outlet on the Dashboard and long press on its card.

In the Menu, under Settings, tap on the I/O.

Open I/O list, scroll to the Electrical Outlet and tap on the Hall Socket.

Tap on the tab Automation.

Tap on +Add new Automation.

There is possibility to add:
- New Time condition,
- New Delay
- Existing I/O.
Tap on the Existing I/O.

Tap on the I/O from the list that you want to add into the automation. In this case Motion Hall.

Tap on the button Detect Motion.
Hall Socket will be turned On, when Motion Hall sensor detects motion and it will stay On for an hour.
Tap Save button.

To confirm automation conditions tap button Done.
Hall Socket will be turned on when Hall Motion sensor detects motion.
