Smart PIERRE - Dashboard
Description
The Dashboard is the main screen of the Smart PIERRE application. Devices (I/Os) are organised into tabs and groups, so the functions that matter to a given user are reachable in one step.
Tabs or Groups
I/Os are arranged into user-defined tabs or groups, for example by:
- Room
- Floor
- Device category
- Any custom grouping
I/O Control
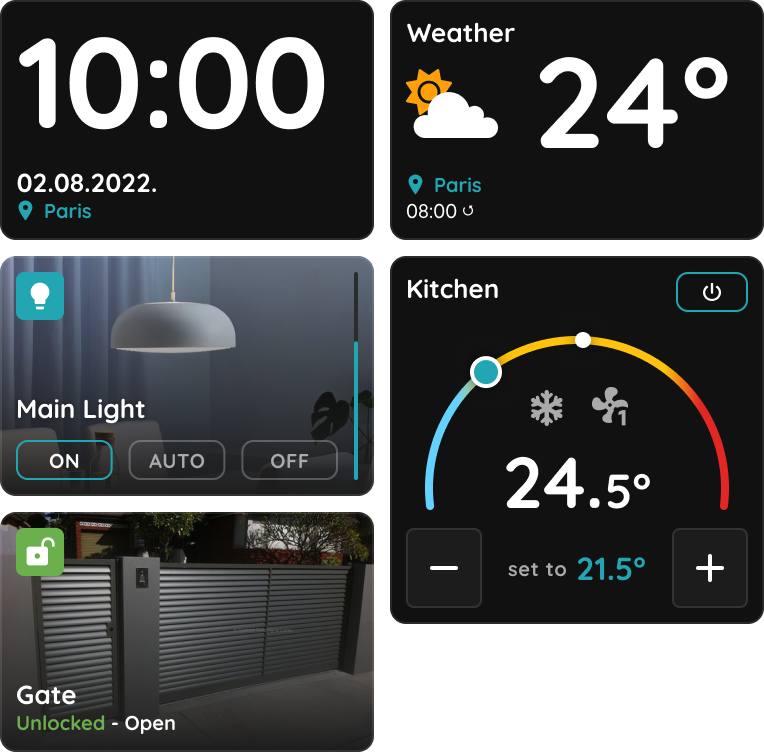
Most I/Os are controlled directly from the Dashboard, and changes are shown in real time:
- Lighting control.
- Heating and cooling control.
- Blind and shutter operation.
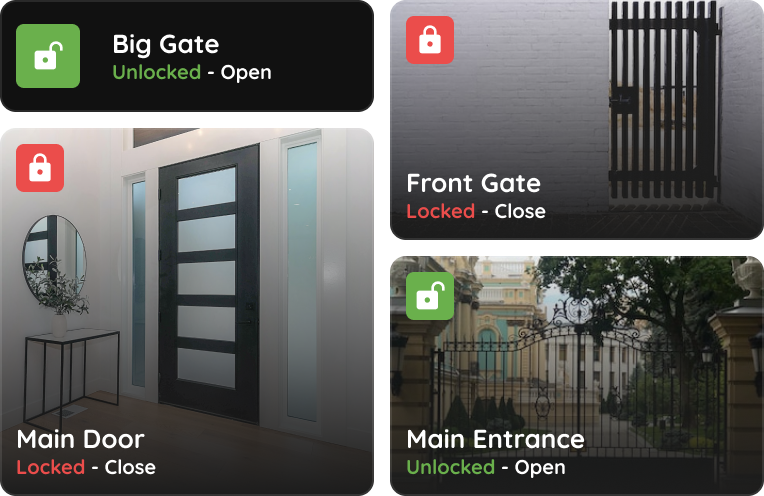
- Access control.
- Sensor monitoring.
- Scene activation.
A long press on an I/O card opens the configuration page of that device.
Dashboards and Roles
Dashboard visibility is controlled through the Role system, not by assigning dashboards to people directly.
Assignment Rules
- A Dashboard can be assigned to only one Role.
- A Role can contain one or more Dashboards.
- A User can have one or more Roles.
- A Display can have one or more Roles.
- Dashboards are not assigned directly to Users or Displays.
How It Works
- Create a Dashboard.
- Assign the Dashboard to a Role.
- Assign the Role to a User or a Display.
- The Dashboard becomes available to everyone holding that Role.
Example
If two Displays should show different I/Os:
- Create Role 1 and assign Dashboard 1; create Role 2 and assign Dashboard 2.
- Assign Role 1 to Display 1 and Role 2 to Display 2.
- Display 1 then shows the I/Os of Dashboard 1, and Display 2 those of Dashboard 2.
Technical Notes
- Plan the roles before building the dashboards. Because a Dashboard belongs to exactly one Role, a dashboard built first often has to be duplicated later.
- Build the dashboard around what the user actually operates daily, not around the full device list. A dashboard containing everything is as hard to use as no dashboard.
- Give the displays in different rooms their own dashboards; a panel in a bedroom does not need the whole building.
Dashboards
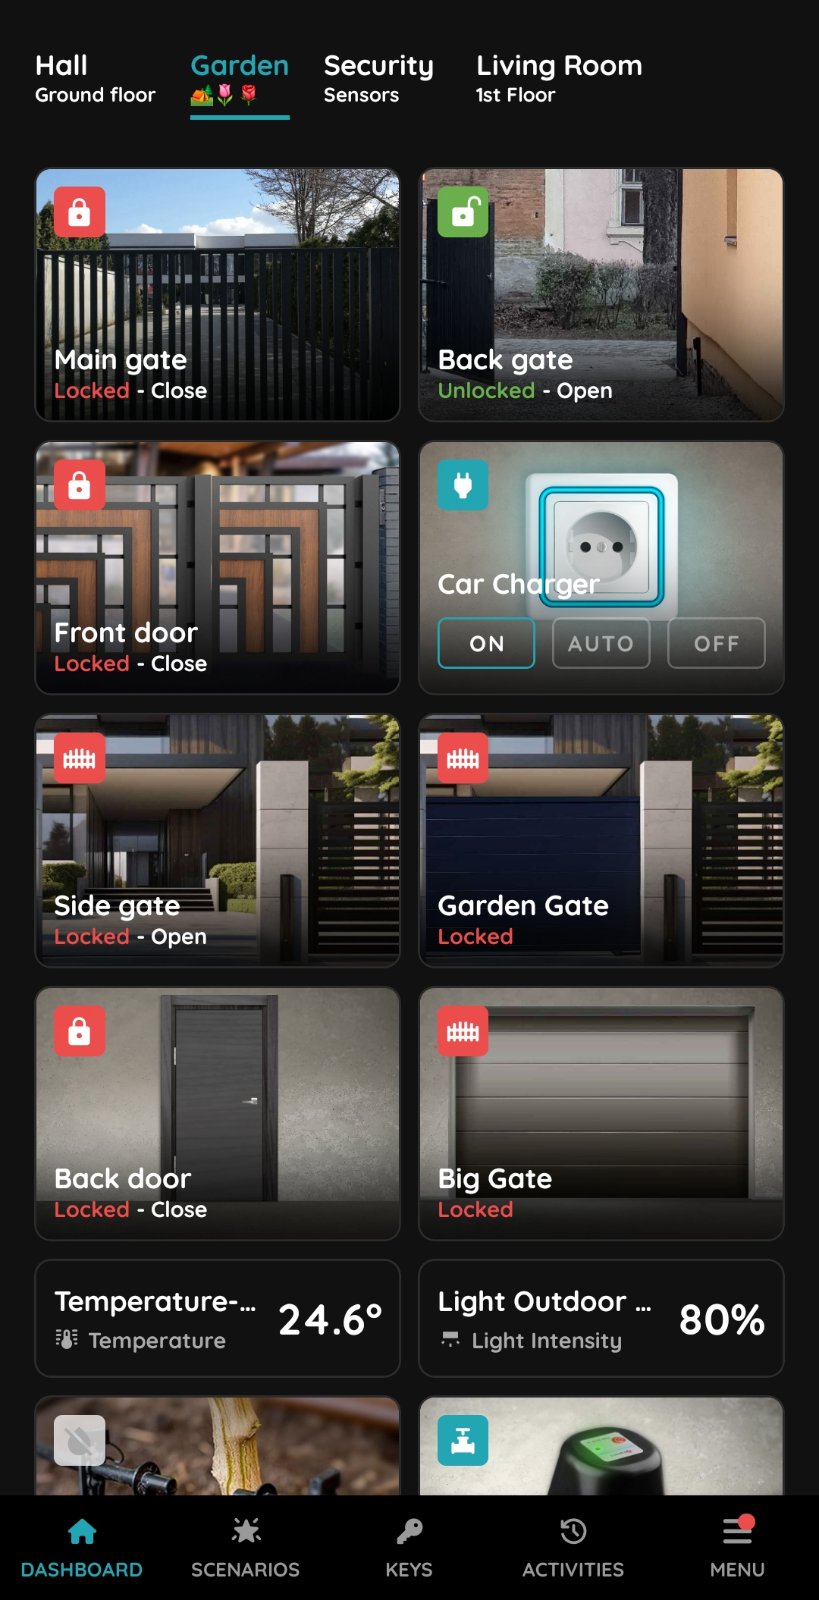
I/Os are organized into Dashboards displayed at the top of the Dashboard.
Dashboards can be switched by clicking on the name or by sliding left or right.
Dashboards
Simply tap on the desired Dashboard to view the I/Os assigned to it.
Create a new Dashboard
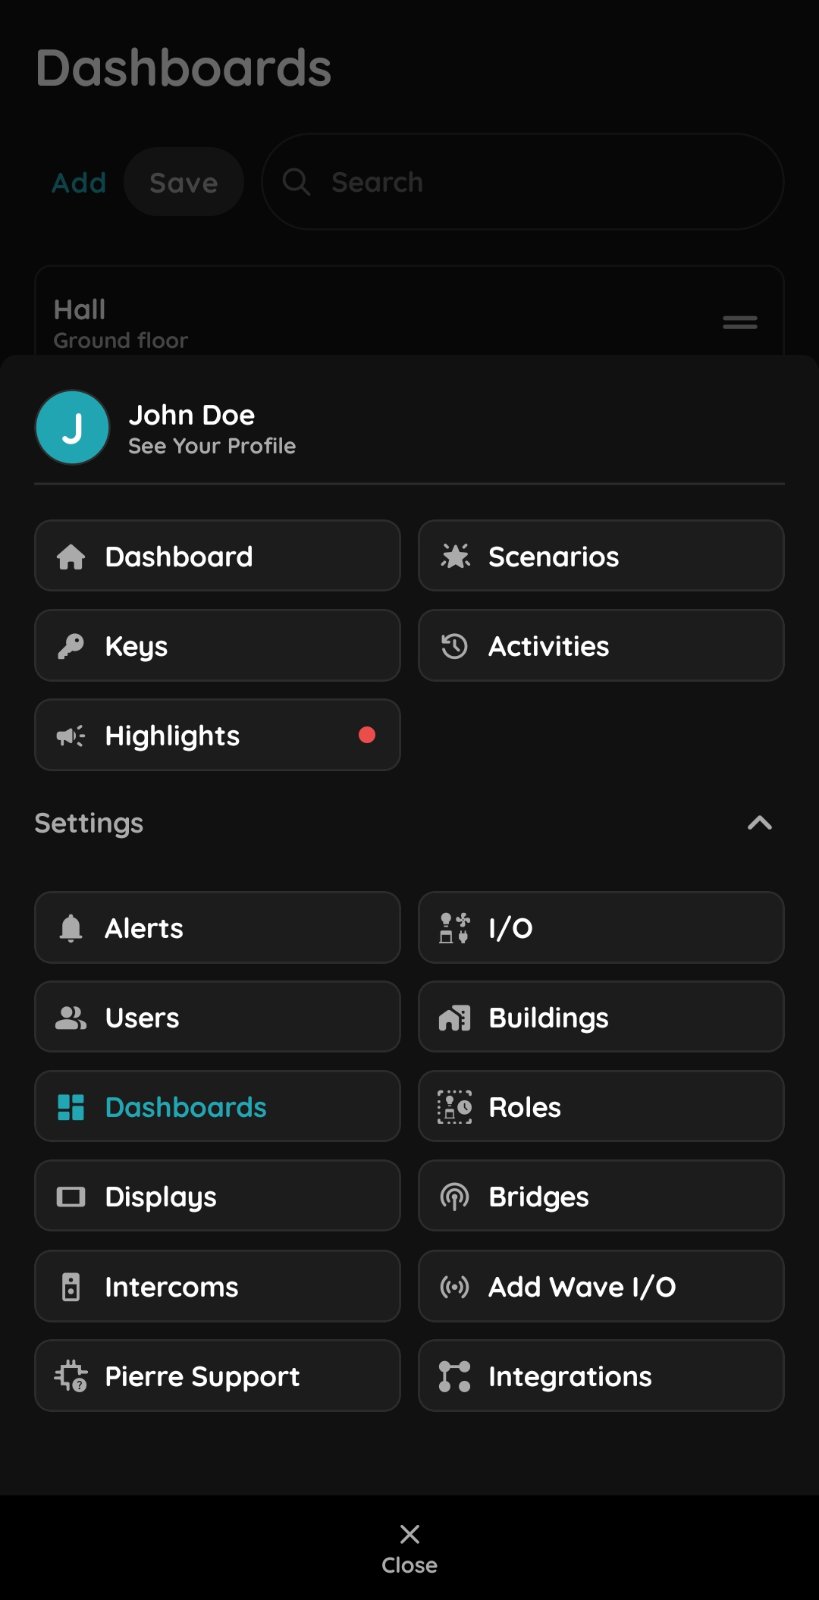
Tap Menu → Settings → Dashboards to create, edit, or rearrange Dashboards.
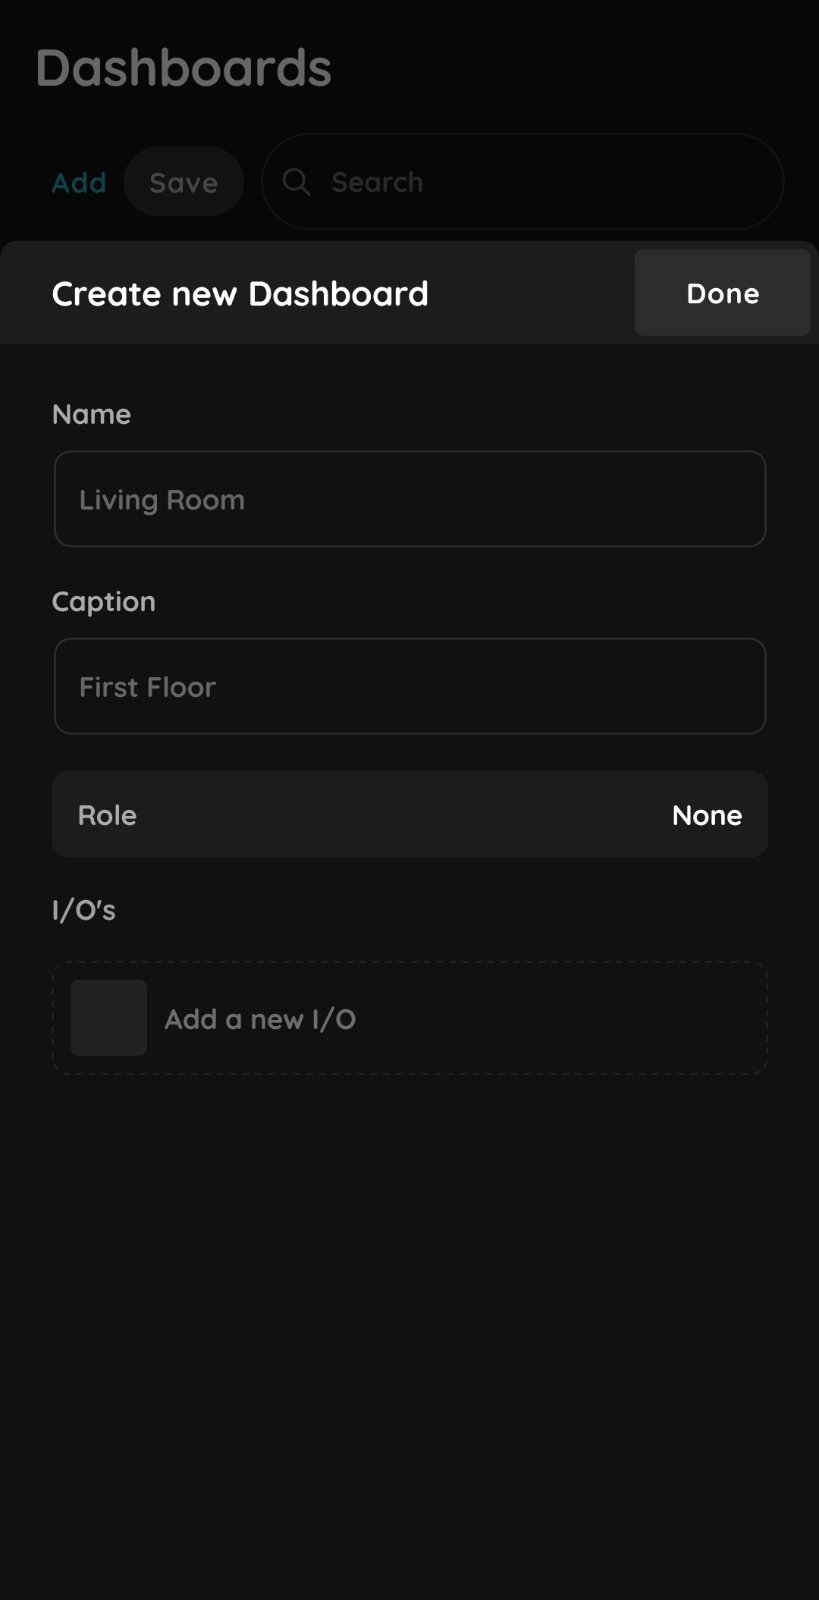
Dashboard settings
Tap Add and fill in the required fields.
- Name – Enter a name for the Dashboard to make it easy to identify.
- Caption – Enter a friendly caption to provide additional information, such as the floor or apartment number. You can also use emojis.
- Role – Select the appropriate Role for the Dashboard. All I/Os assigned to the selected Role can be displayed on the Dashboard. Unnecessary I/Os can be hidden if needed.
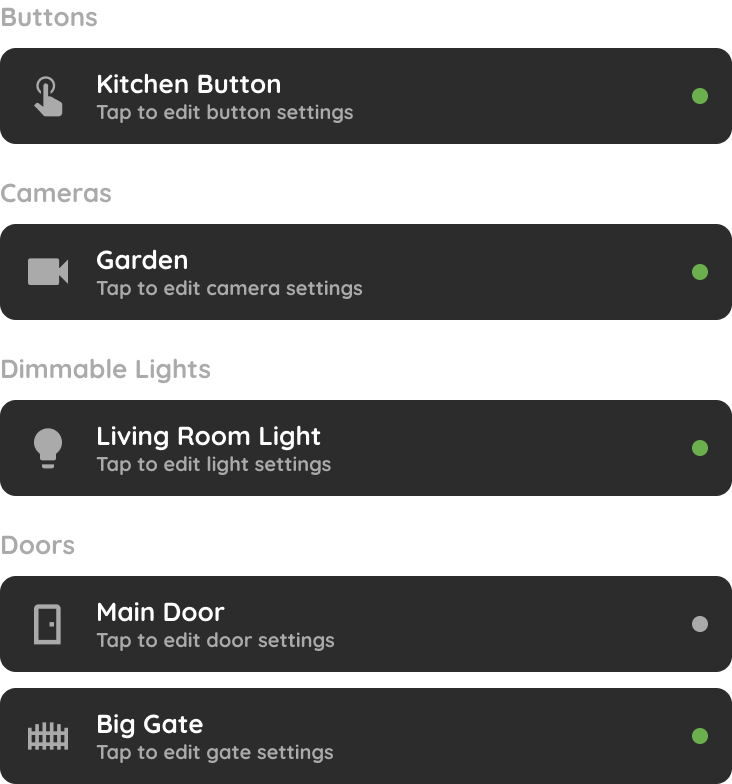
- I/Os – Select which I/Os should be displayed on the Dashboard.
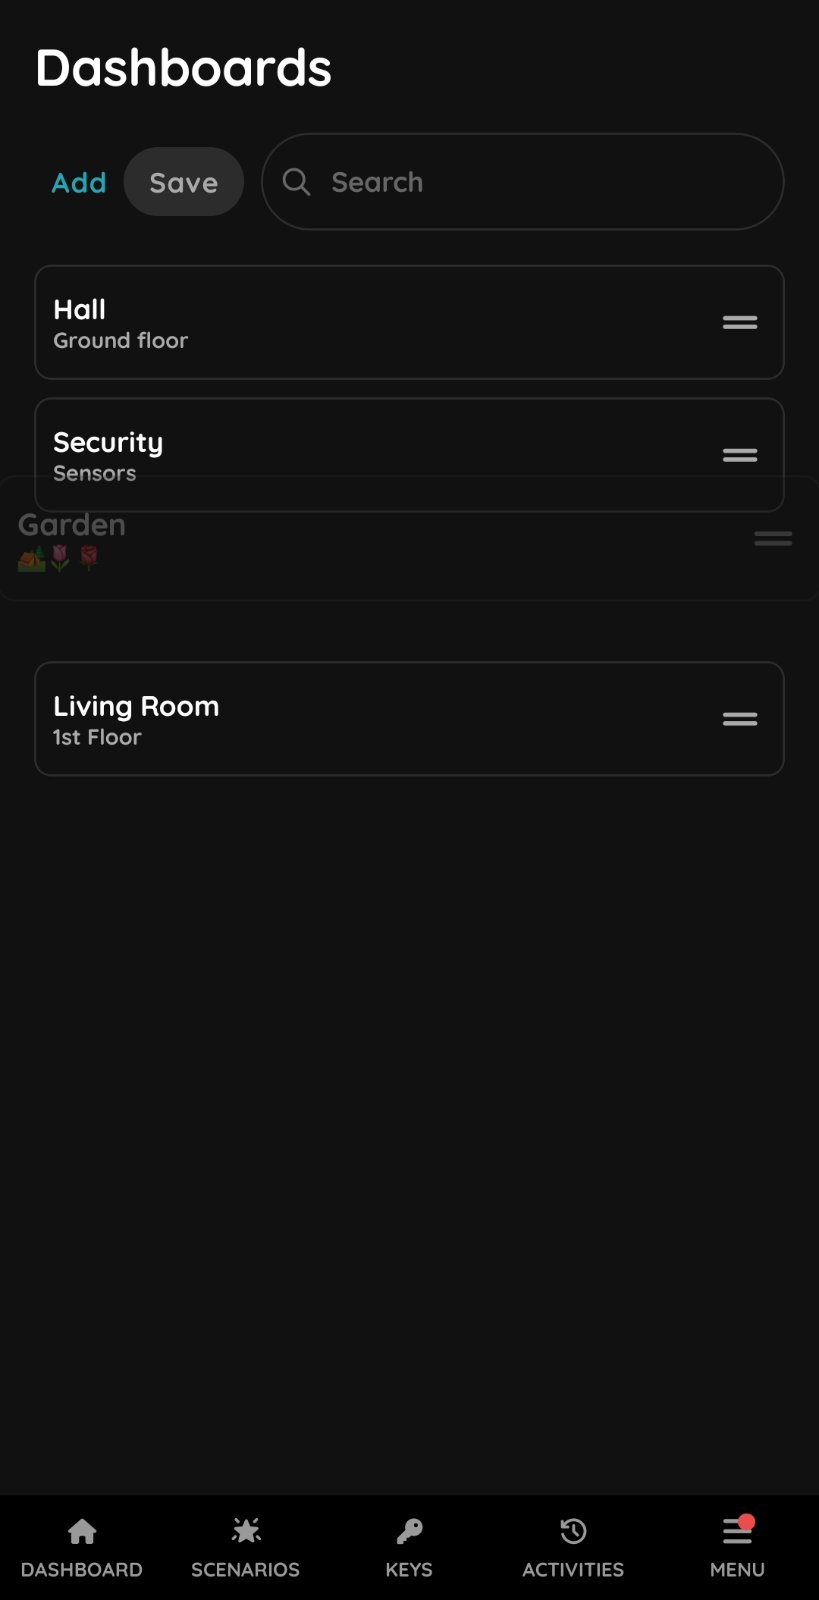
Edit Dashboards
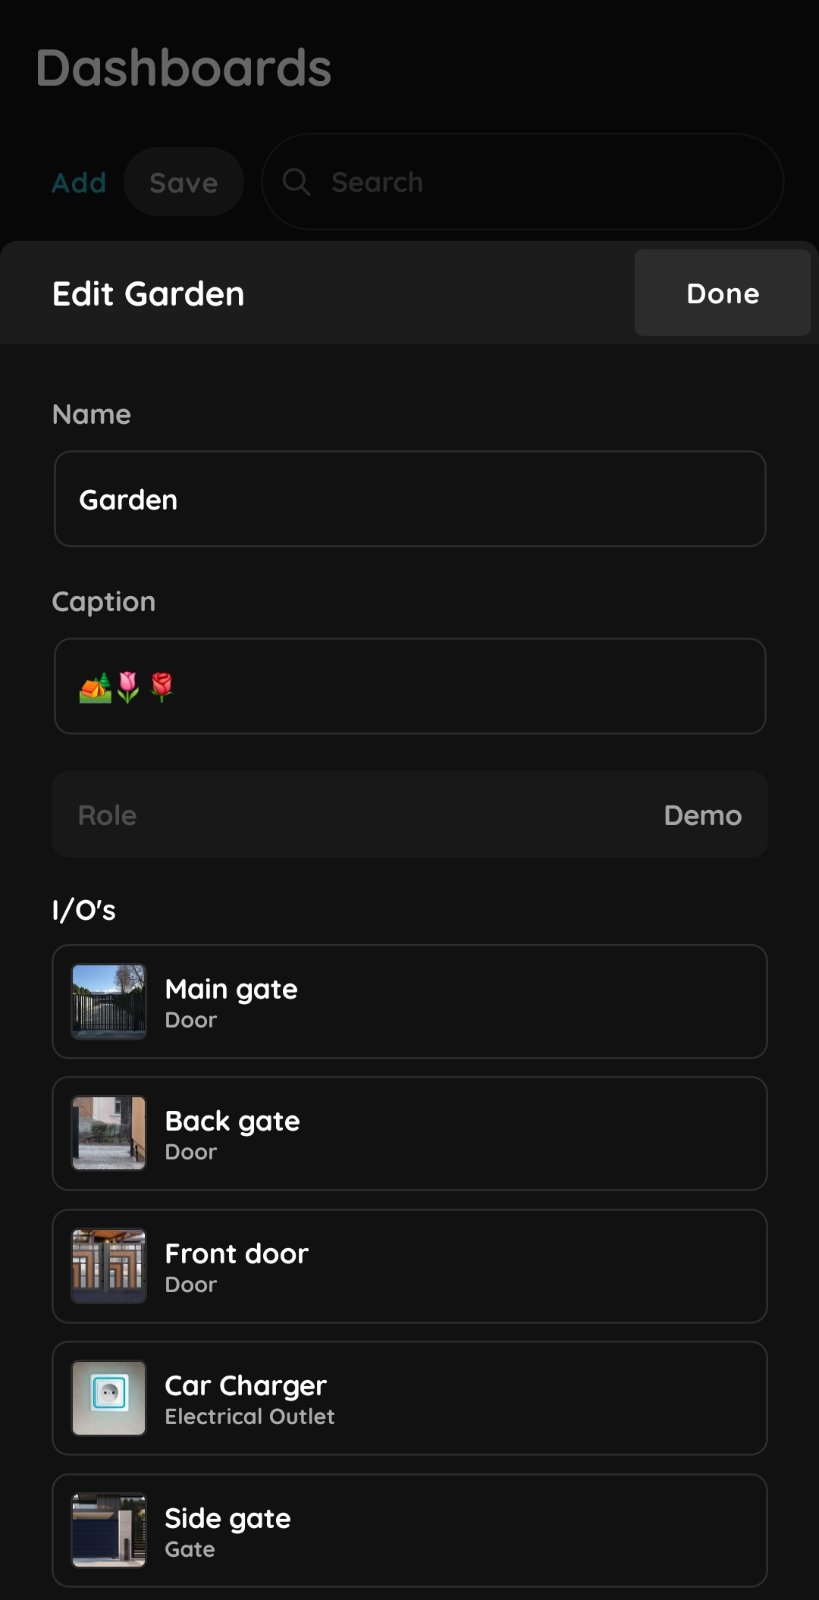
Edit Dashboards
Tap on the Dashboard you want to edit.
Change the Name or Caption if needed.
Tap I/Os, then select or deselect the I/Os you want to display on the Dashboard.