Smart PIERRE - I/O list
Description
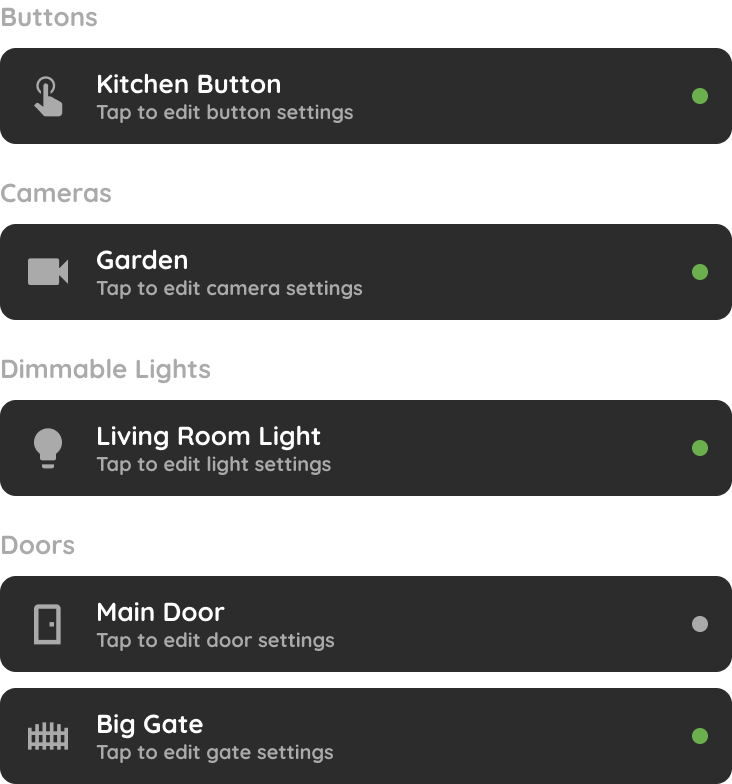
The I/O section in the Settings of the Smart PIERRE app lists every input and output device in the system, grouped by type.
Organised List
I/Os are grouped by device type — lights, sensors, switches and so on — so a specific device can be located without scrolling the whole system.
Search and Filter
The search bar and the filters narrow the list, which matters in larger installations where the device count runs into the hundreds.
Editing an I/O
Selecting an I/O opens its settings, where it can be renamed, its configuration adjusted, and its role in automations changed.
Adding an I/O
The Add button creates I/Os that are not physically wired into the system — virtual devices and wireless components — without needing the PIERRE Partner app.
Technical Notes
- Name devices consistently during commissioning, by room and function. The I/O list is only usable if the names mean something.
- Check the Used In tab of a device before renaming or removing it, so automations and scenarios that reference it are not left broken.
- Wired I/Os belong to the controller configuration and are set up in the PIERRE Partner app; this section is for managing them afterwards.
Open I/O List - Menu
I/O List can be open in a just a few steps.
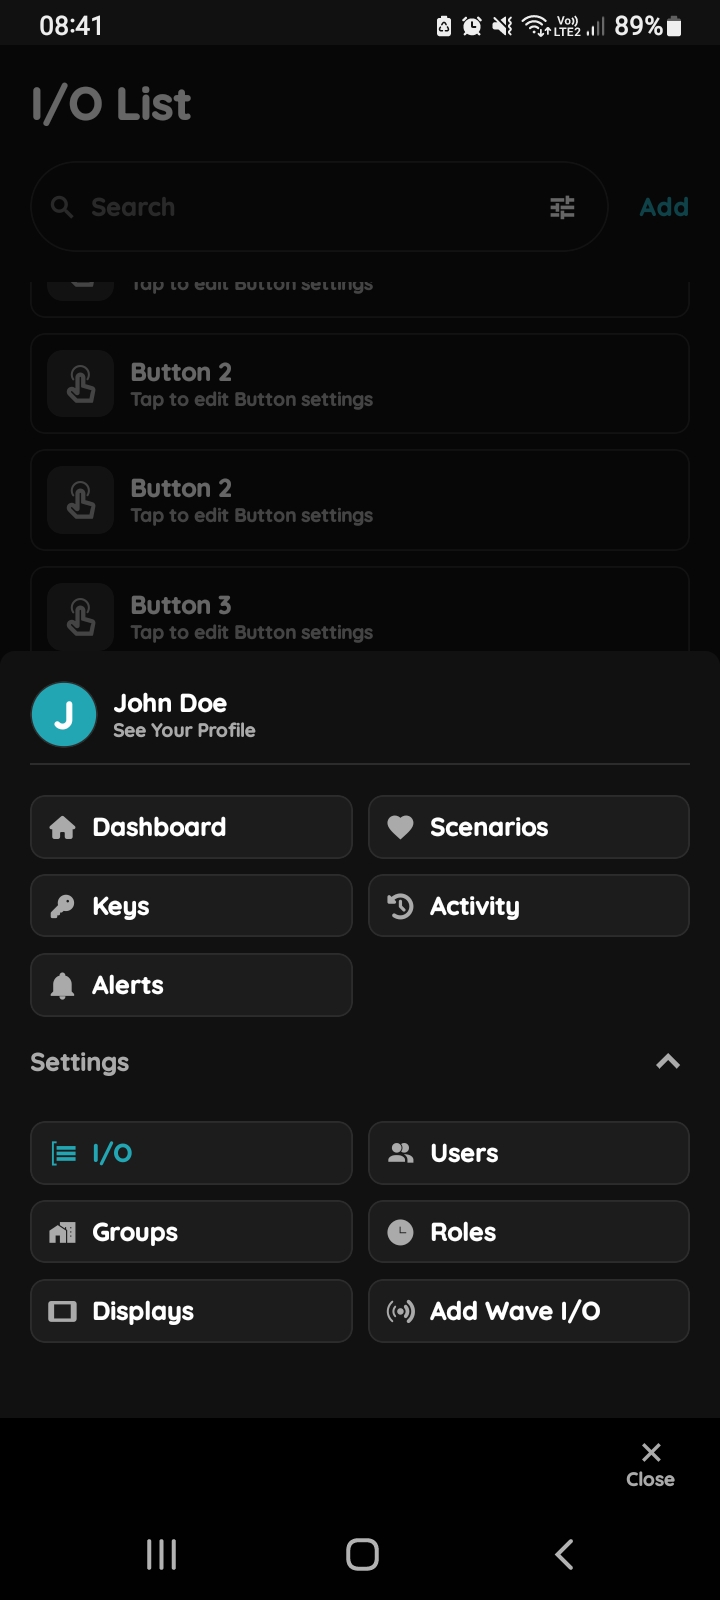
Open I/O List
Under Settings tap on the I/O from the Menu.
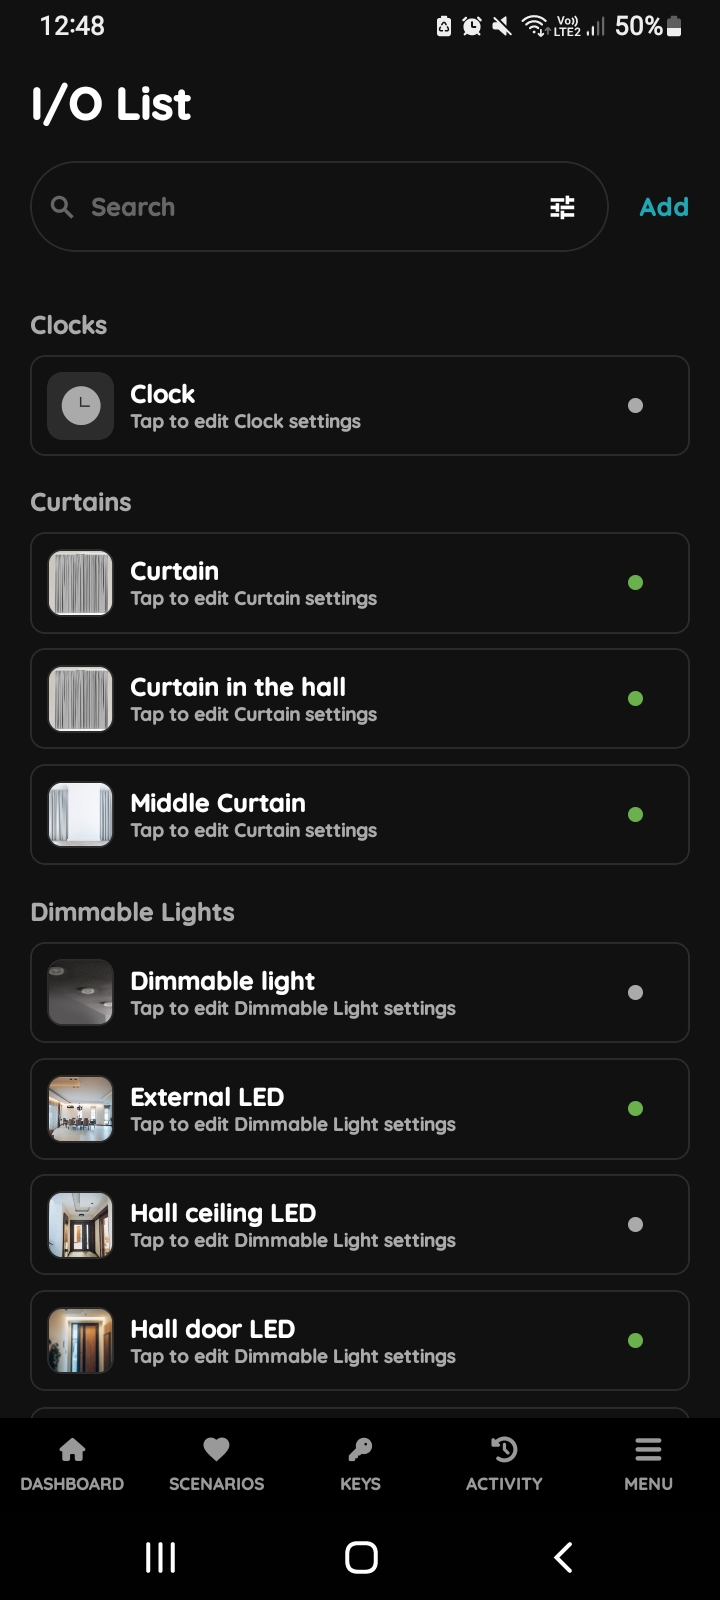
Search, Filter, Add - I/O List
The Search field allows for faster searching of I/Os by name, while the Filter provides an additional option to refine the search.
From this section, you can edit any I/O from the list or add a new I/O.
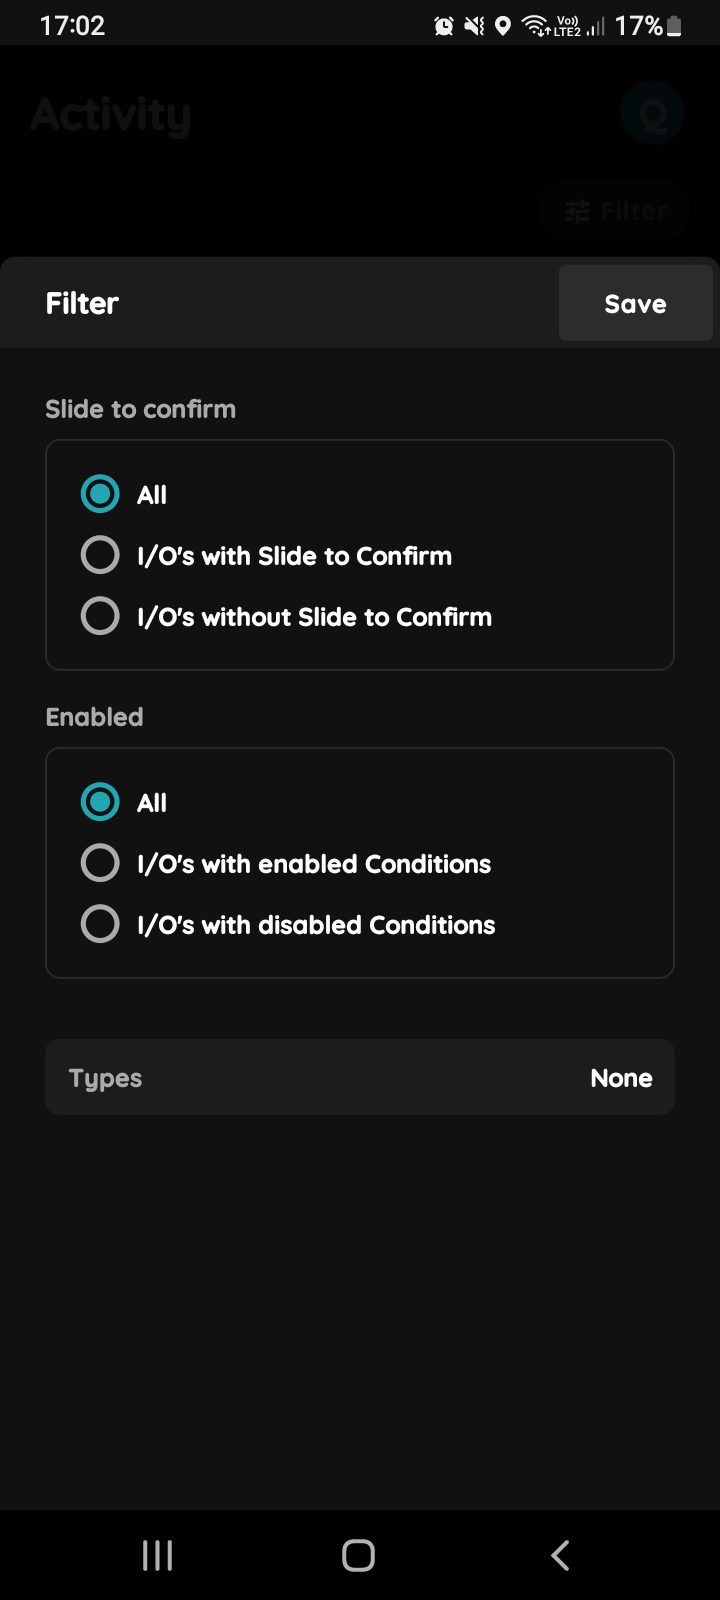
Filter I/O's
There are options to filter I/O's.
There are two groups of the I/O's - Slide to confirm and Enabled.
Also, you can choose Types of the I/O's here.
Tap on the button Save.
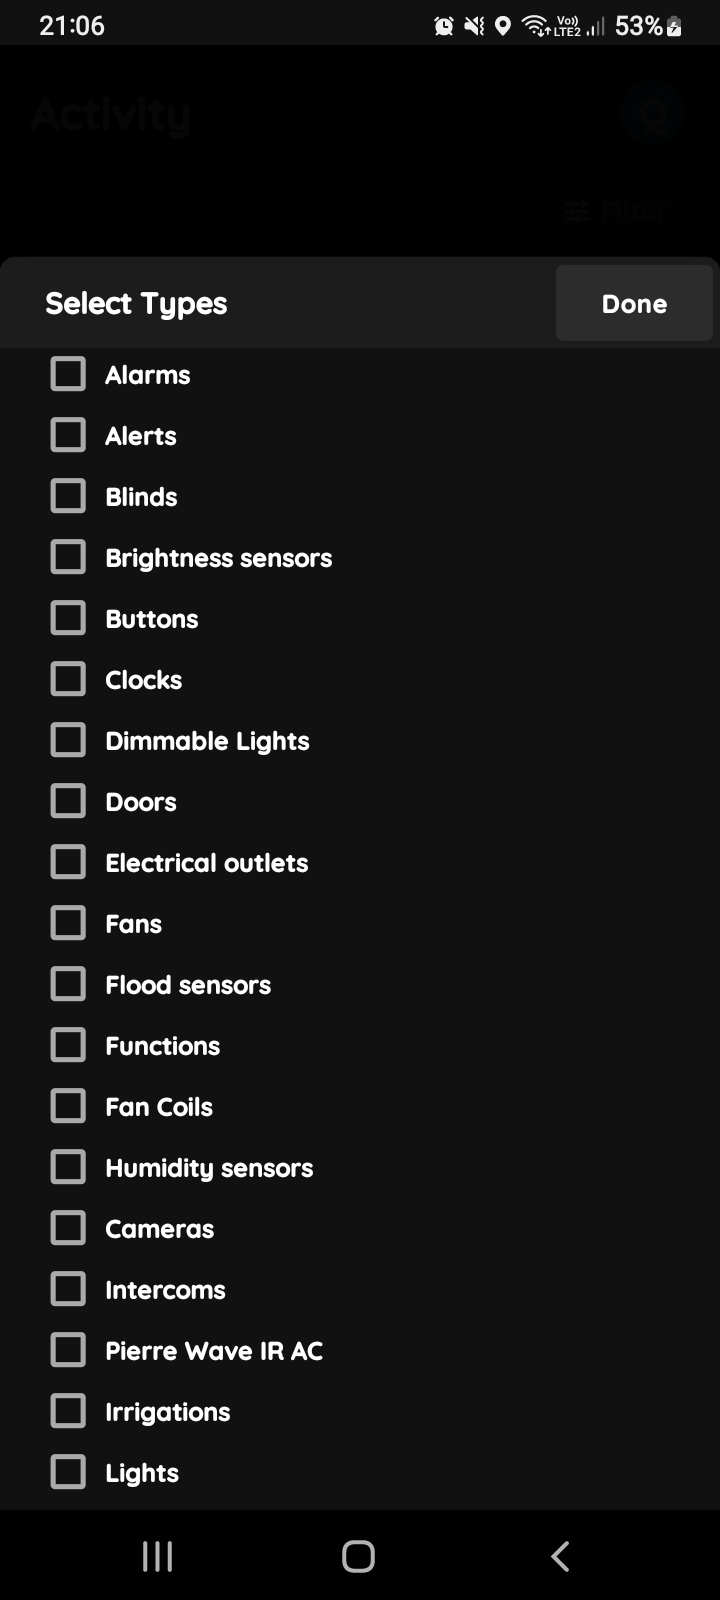
Select Types
You can select types of the I/Os by tapping in the check box/checkboxes - for multiple choice, next to the desired I/Os.
Tap on Save/Done.
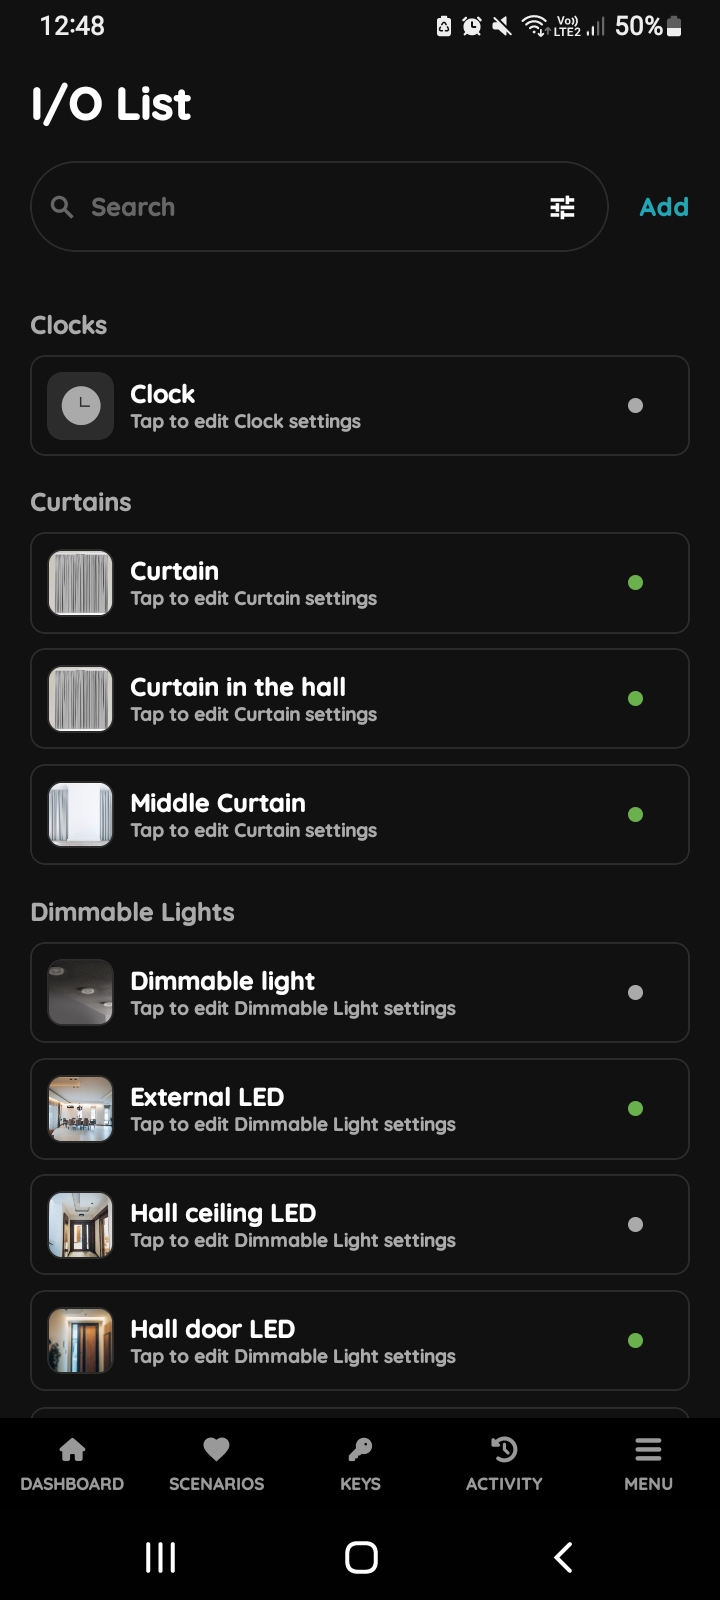
Add button - I/O List
Pro I/Os are added through the PIERRE Partner app.
By tapping the Add button here, you can add either virtual or Wave I/Os.
Follow next steps to add new I/O.
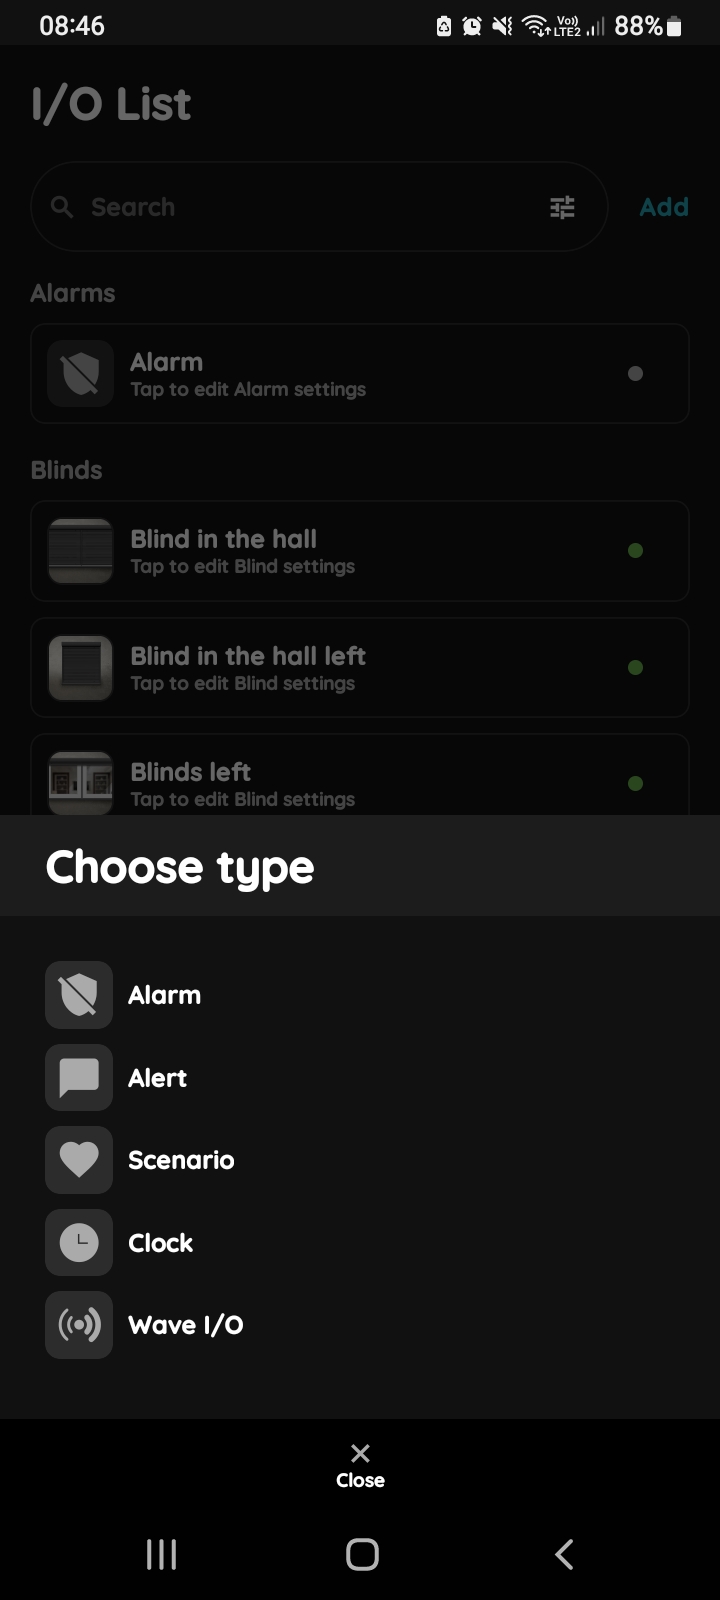
Choose type - I/O List
Tap on the type of the I/O that you would like to add, from the list.
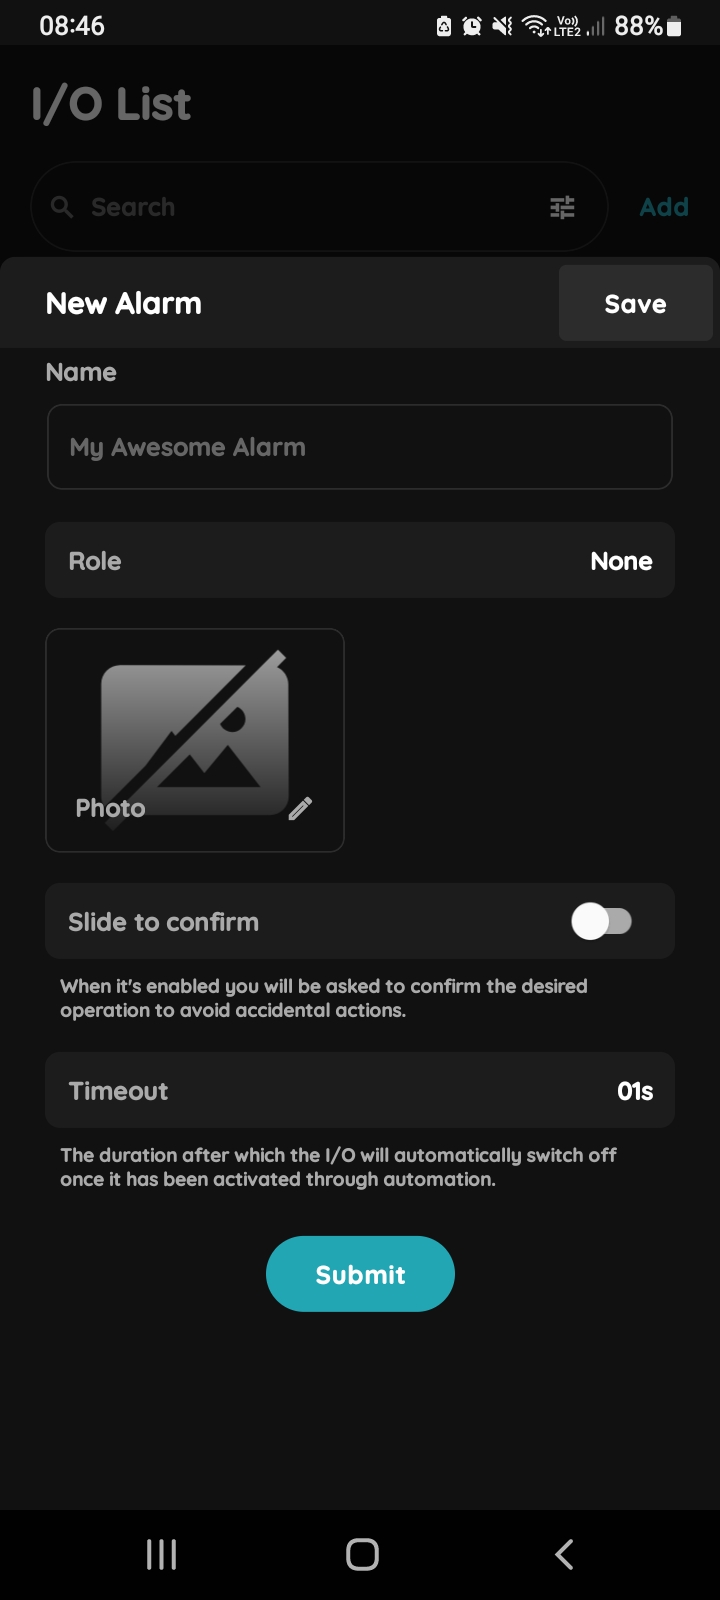
New Alarm
New Alarm can be added from the I/O List.
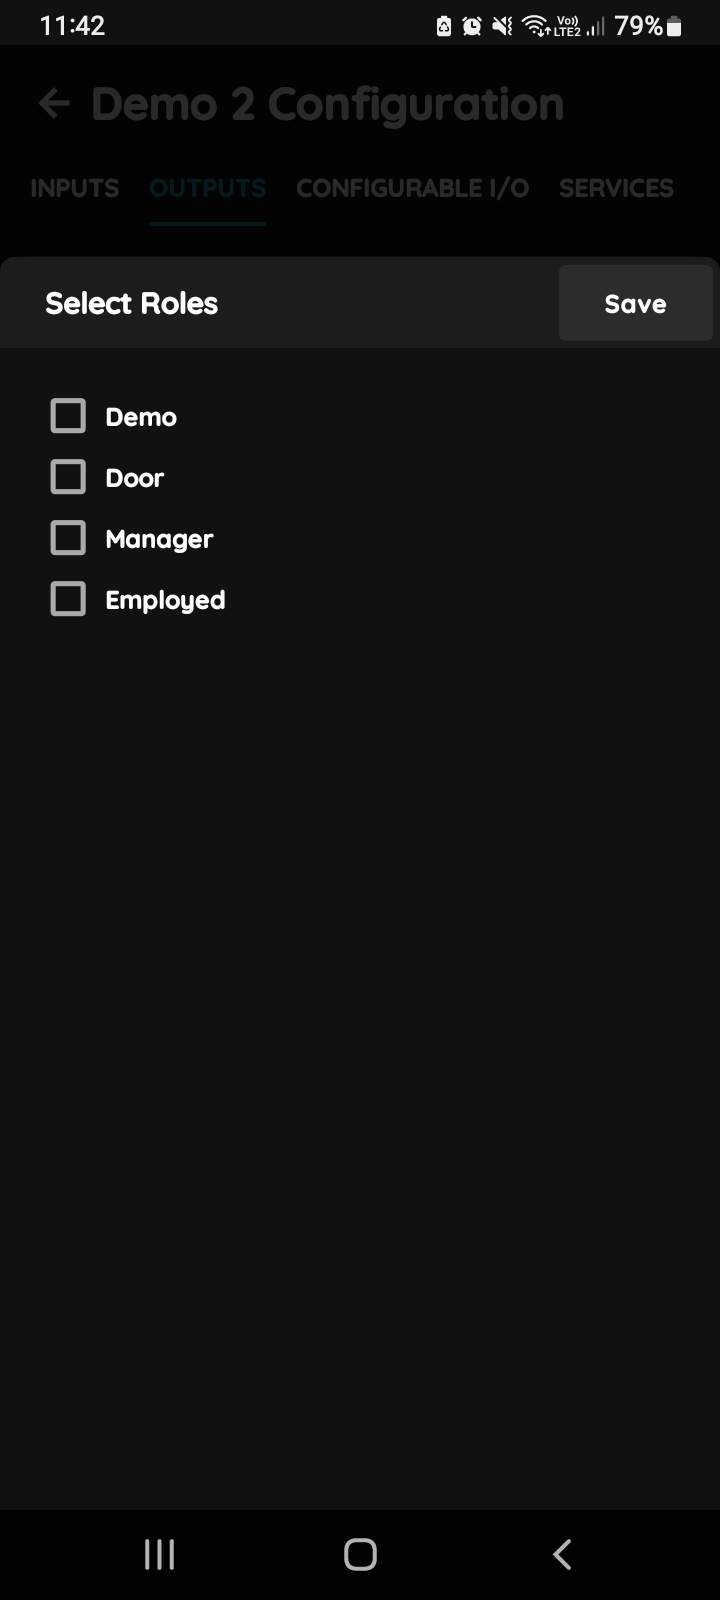
Select Roles
You can select desired Role or Roles - multiple choice if you tap on the checkboxes next to them.
Tap on Save/Done.
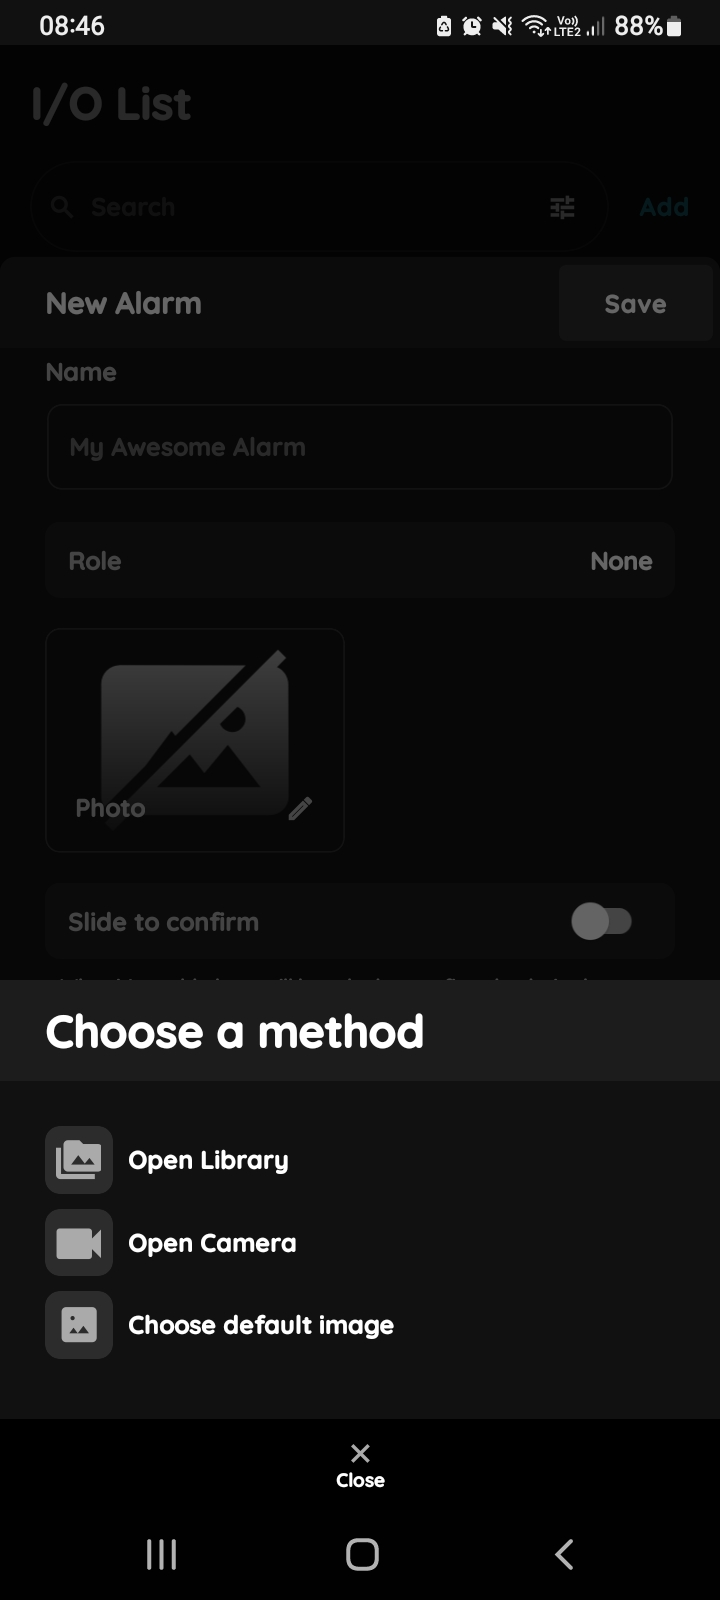
Change photo - Alarm
You have three options:
Open Library - The phone’s Library will open.
Open Camera - You can take a picture using your smartphone.
Choose default image - These images are prepared in advance in order to provide a complete and seamless experience.
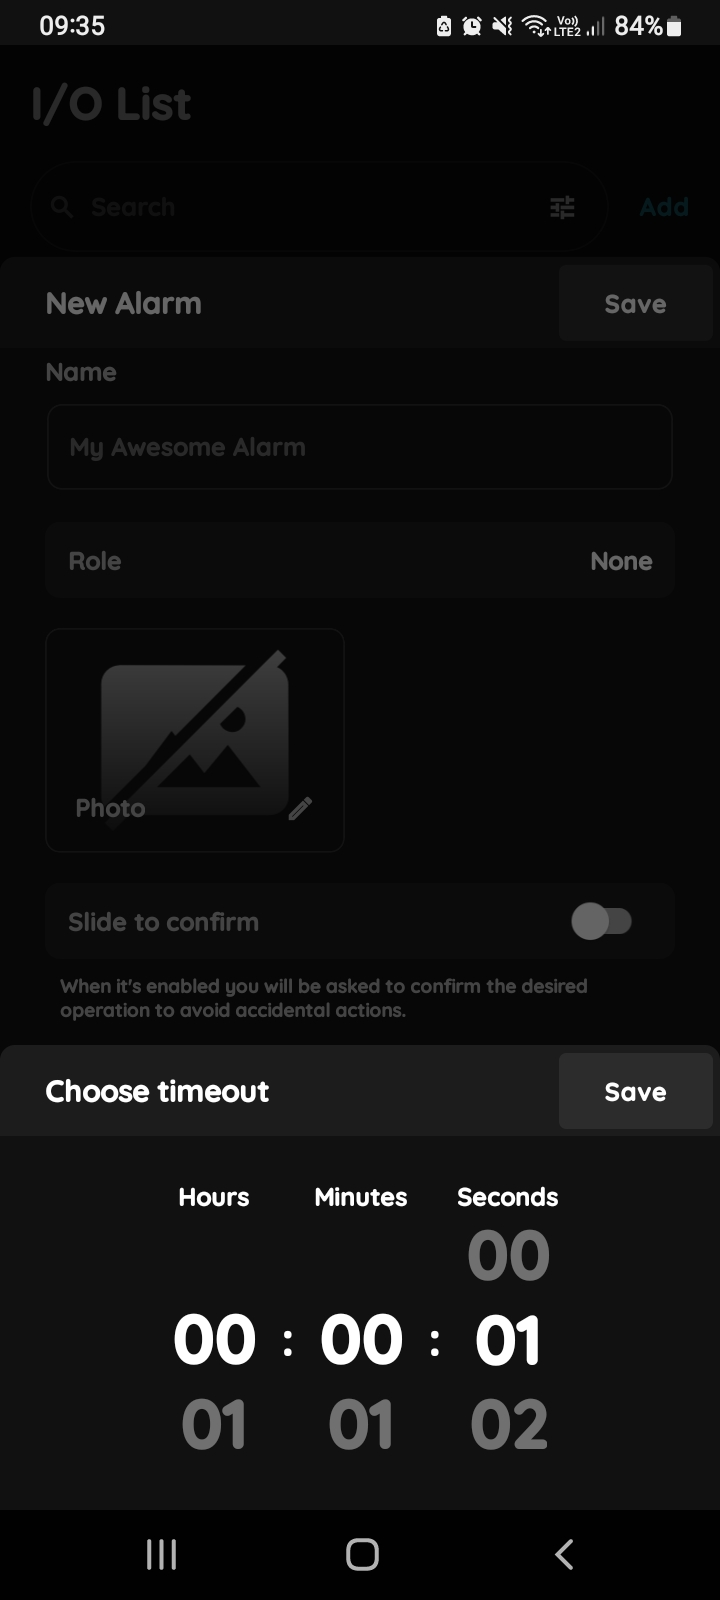
Timeout - Alarm
Scroll through three columns for Hours, Minutes and Seconds to set the Timer for the Alarm.
To confirm tap button Save.
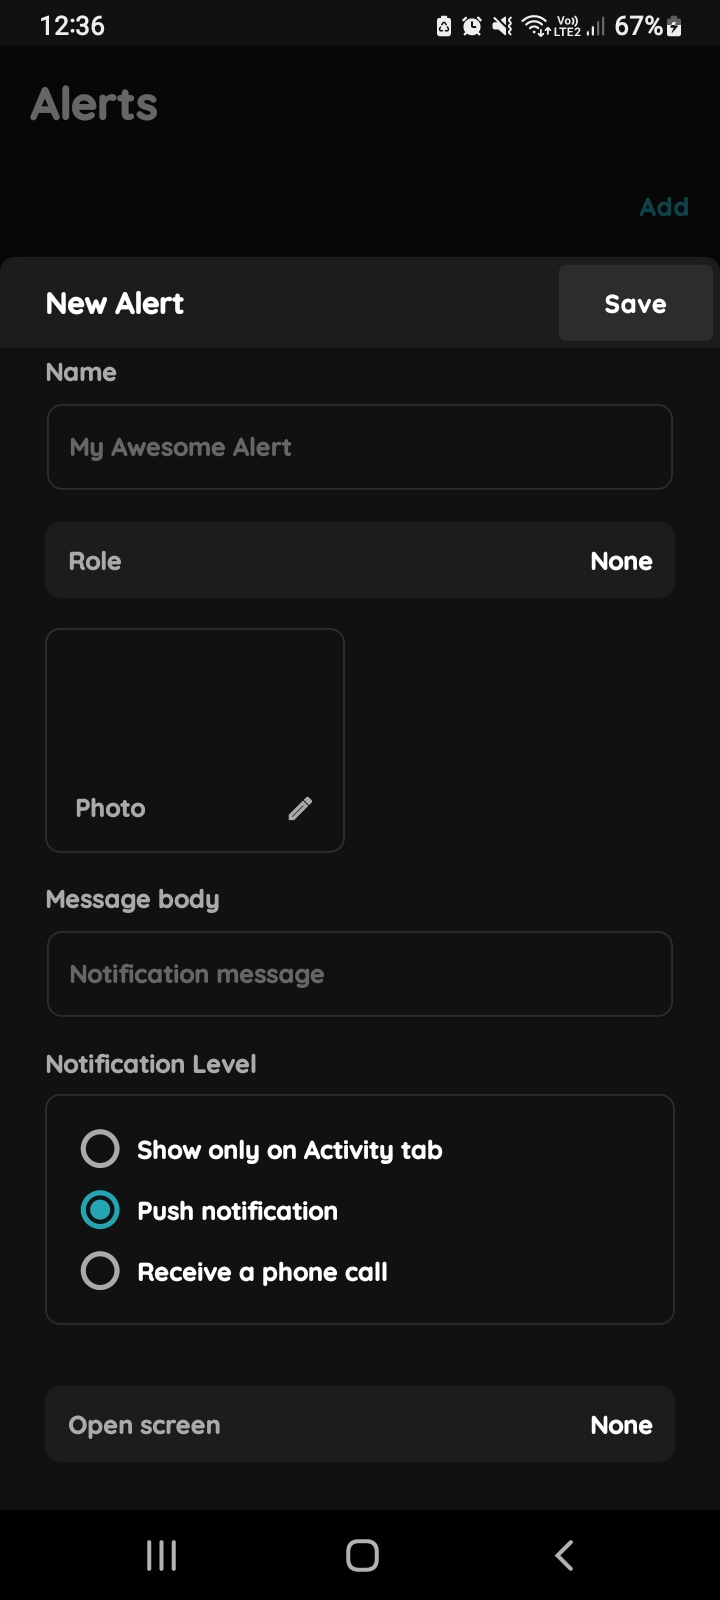
New Alert
New Alert can be added from from Alerts - Menu List and from the I/O List.
In this case follow next steps to add it from the I/O List.
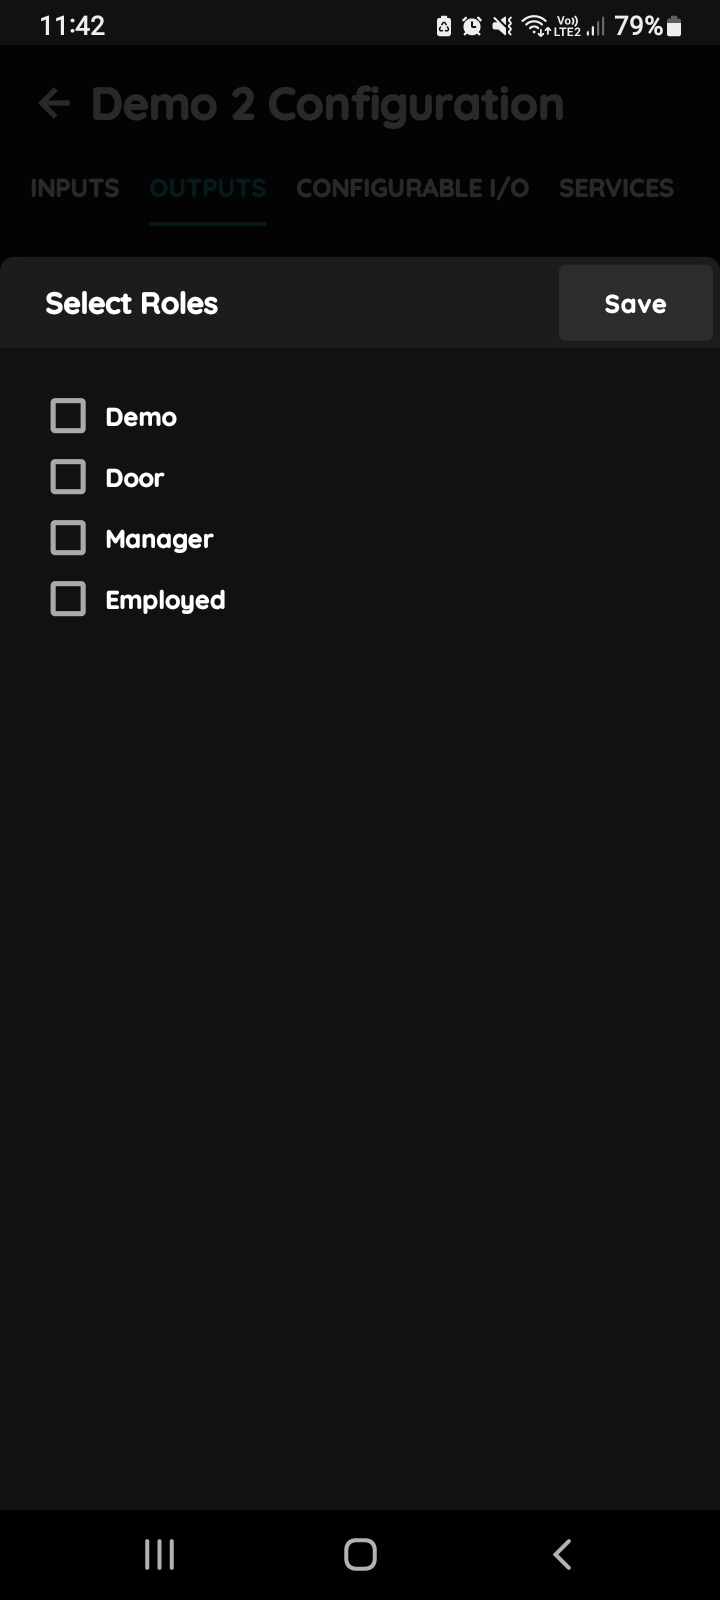
Select Roles
You can select desired Role or Roles - multiple choice if you tap on the checkboxes next to them.
Tap on Save/Done.
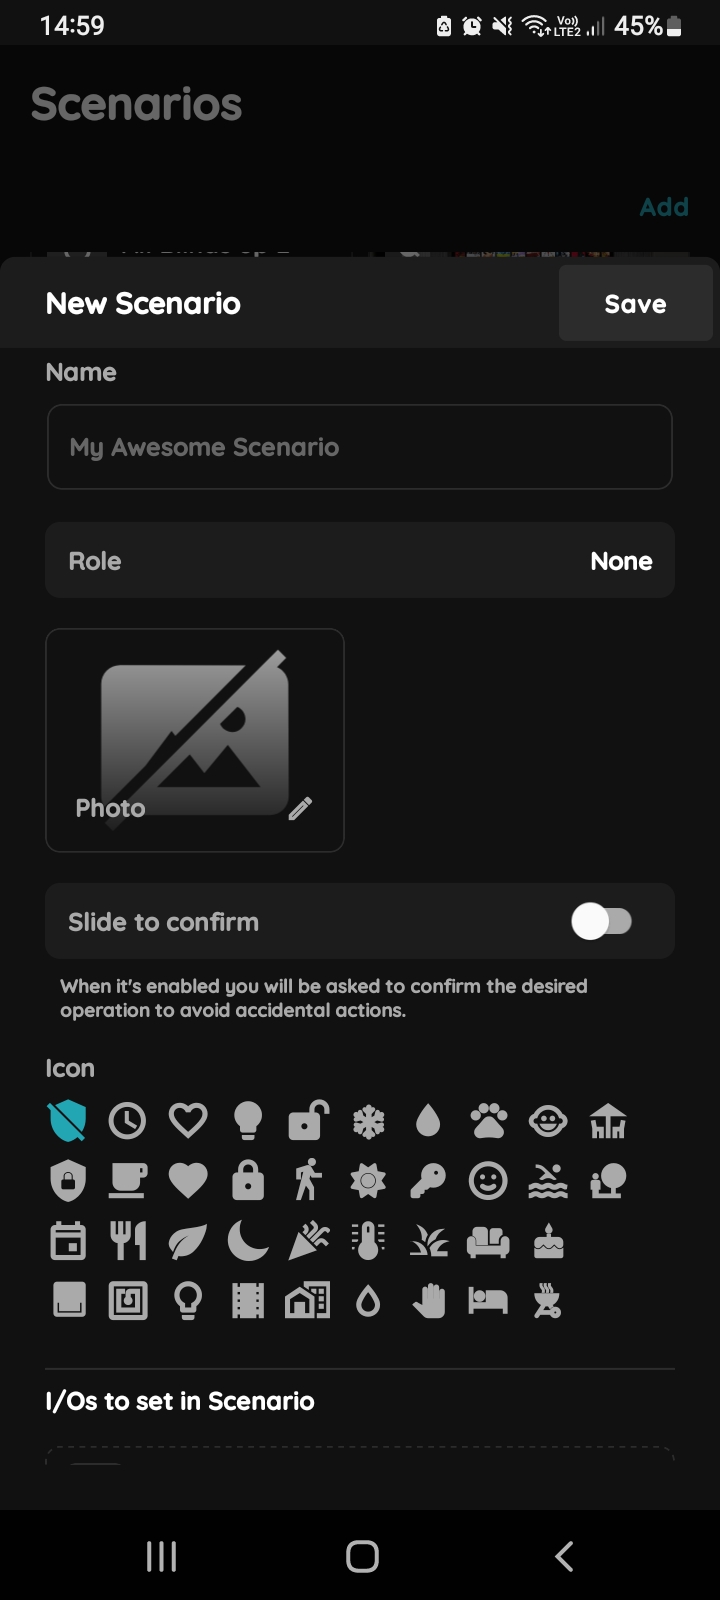
New Scenario
New Scenario can be added from the Scenario - Menu List and from the I/O List.
Follow next steps to add it from the I/O List.
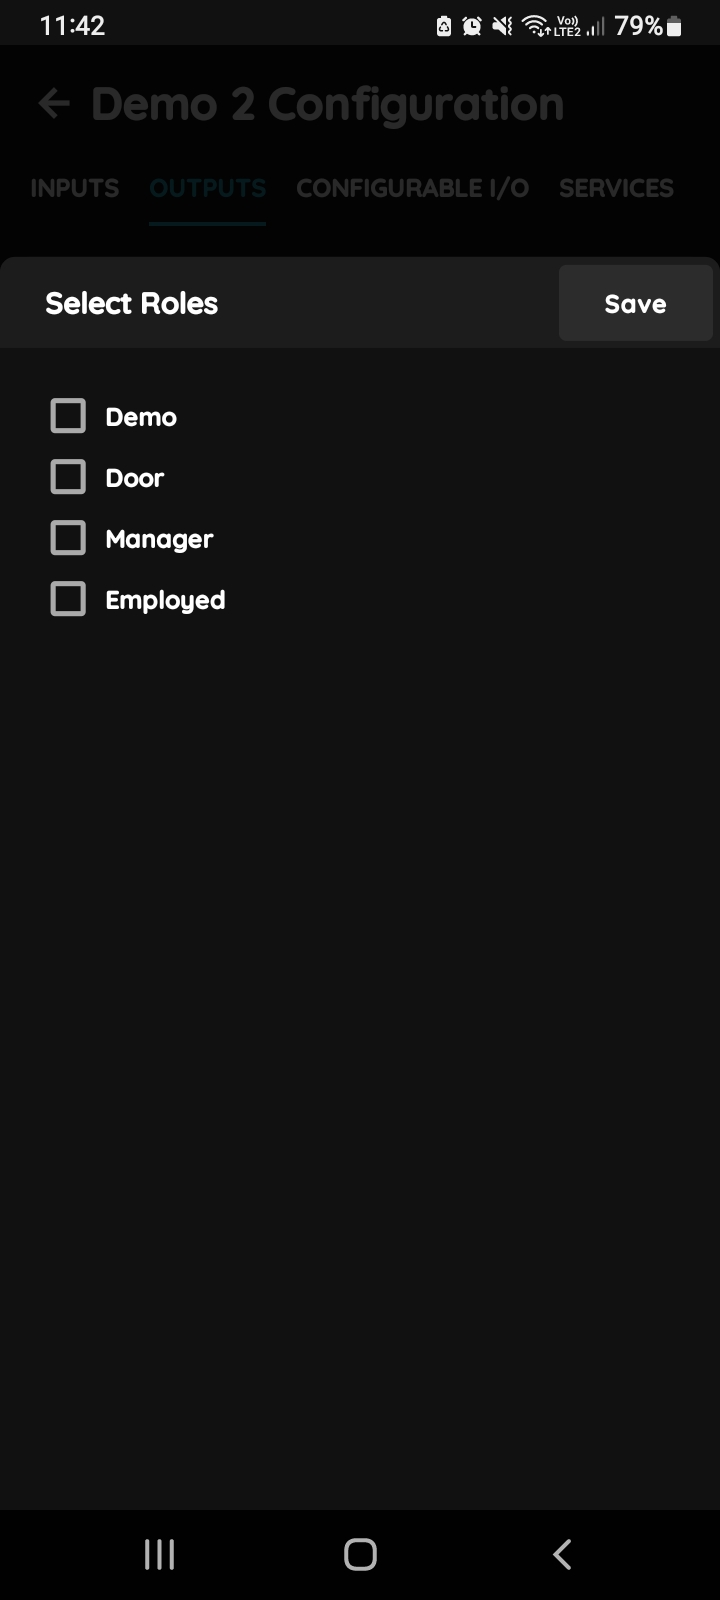
Select Roles
You can select desired Role or Roles - multiple choice if you tap on the checkboxes next to them.
Tap on Save/Done.
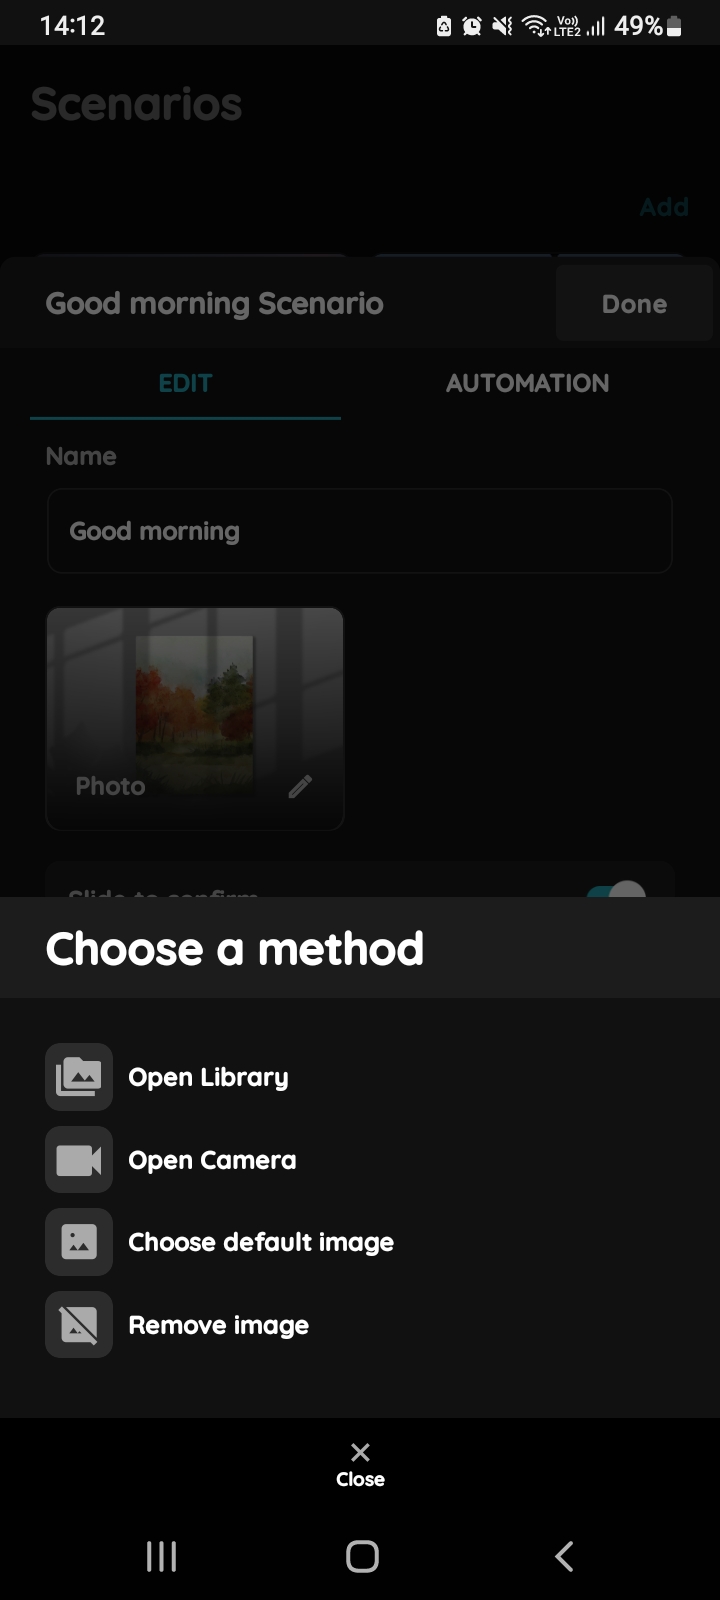
Change picture - Scenario
You have four options:
- Open Library - The phone’s Library will open.
- Open Camera - You can take a picture using your smartphone.
- Choose default image - These images are prepared in advance in order to provide a complete and seamless experience.
- Remove image - Removes existing image.
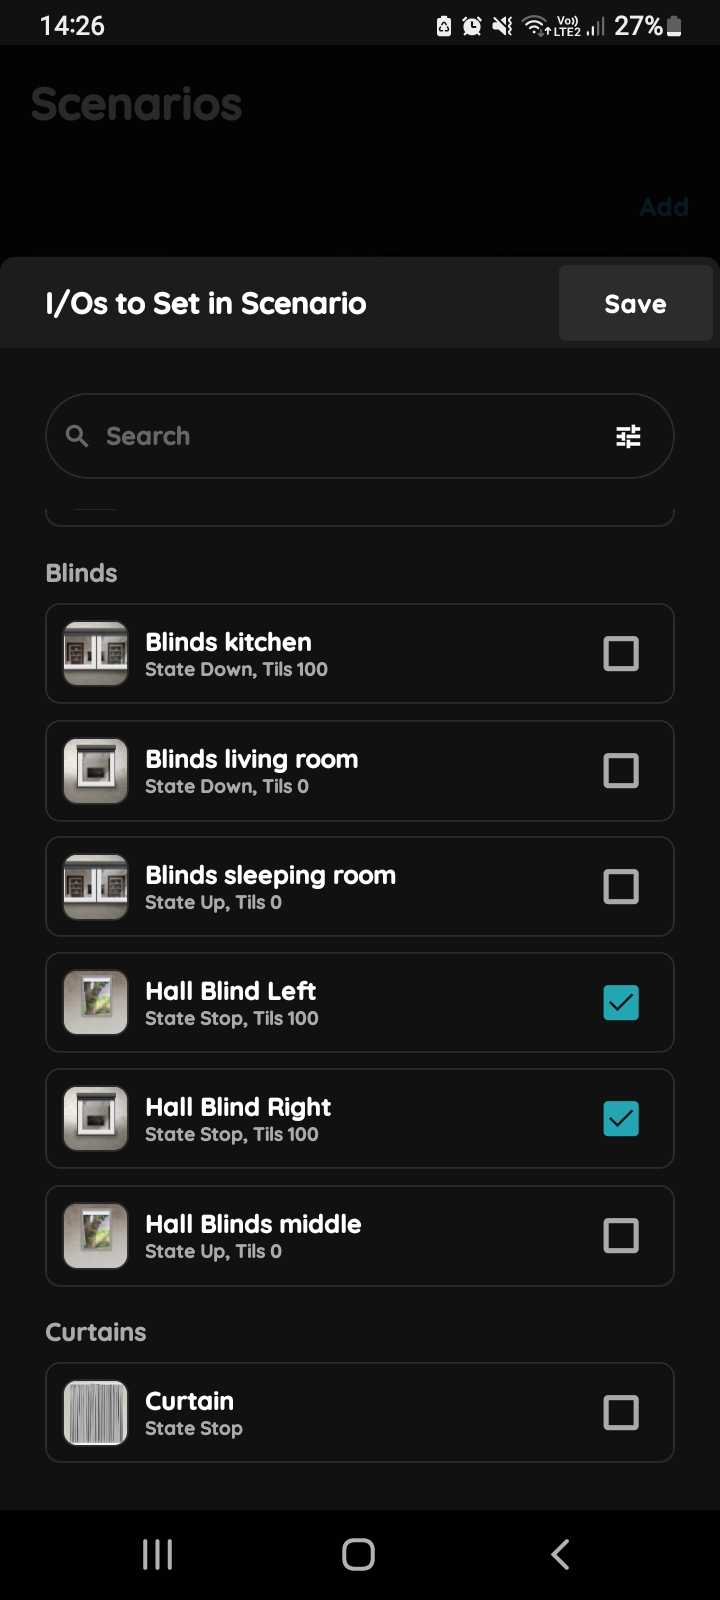
Add a new I/O - Scenario
You can search I/Os if you tap in the field Search and write the name of the I/O that you want to find, or to tap on the filter icon in the up right corner of the Search bar.
Tap on the checkbox/checkboxes next to the desired I/Os that you would like to add to the Scenario from the I/Os to Set in Scenario list.
Under each of the I/Os on this list is shown its current status.
The statuses are always those that have been set, and they can be changed later by tapping on the I/O.
Tap Save.
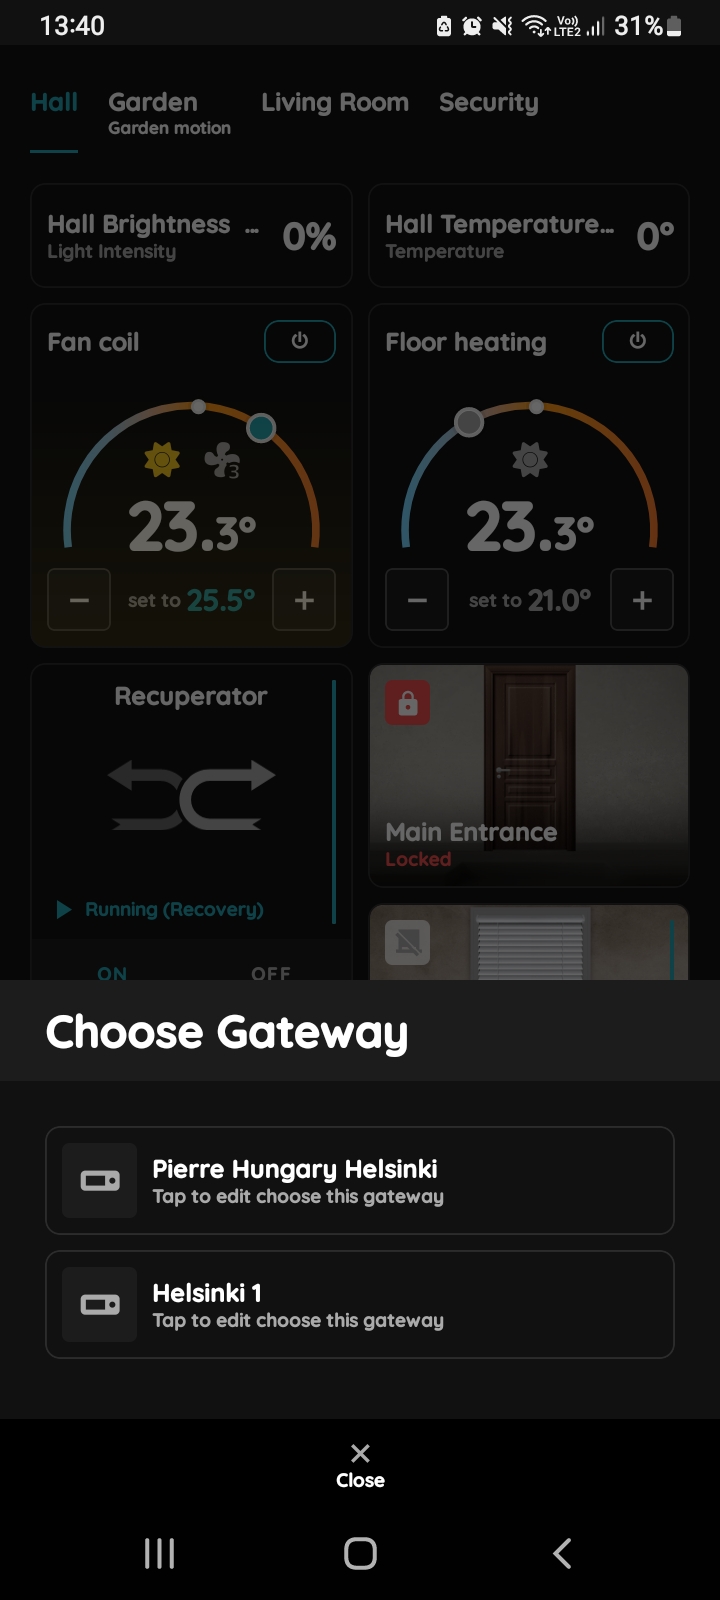
Choose Gateway
Wave I/O can be added from the Wave I/O - Menu List and from the I/O List.
Follow next steps to add it from the I/O List.
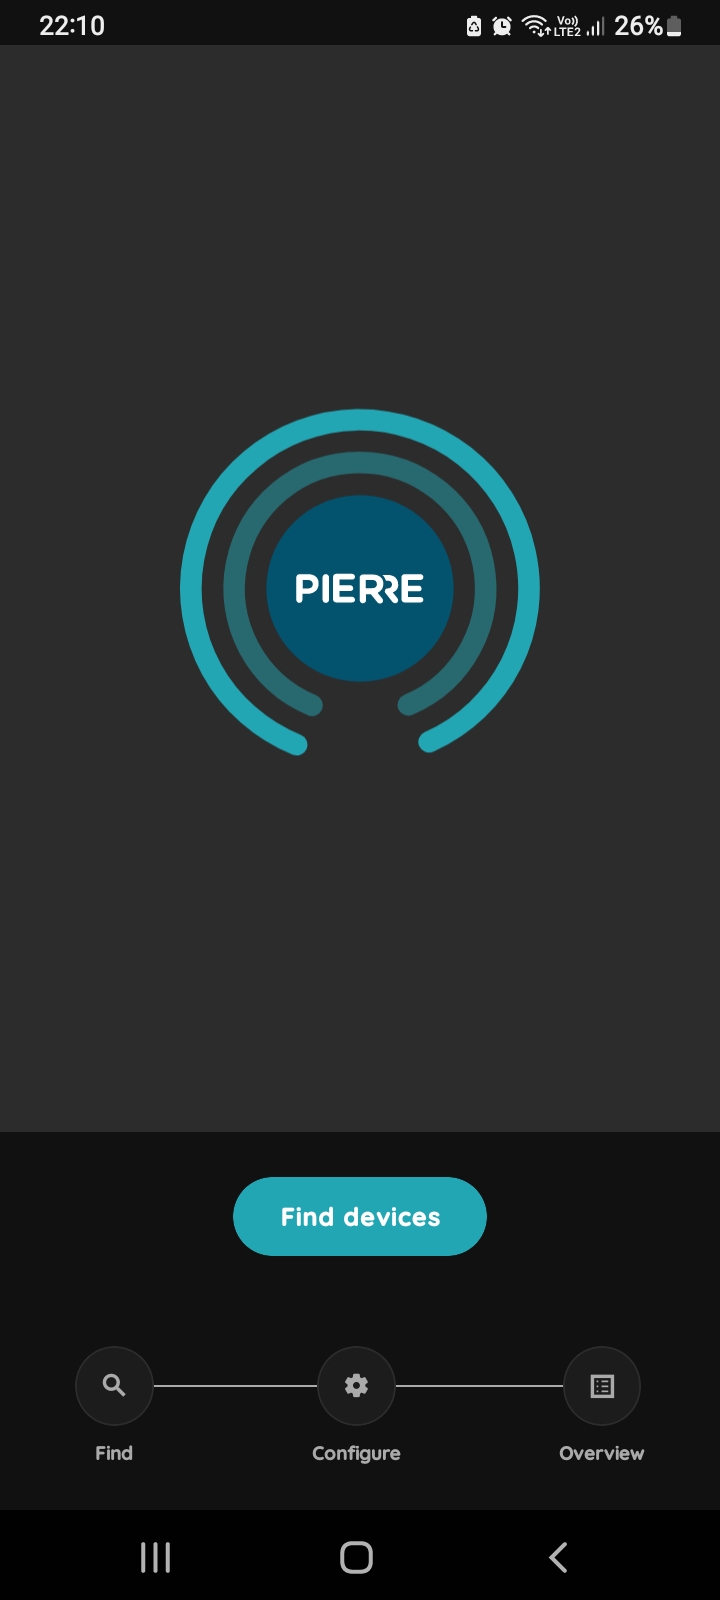
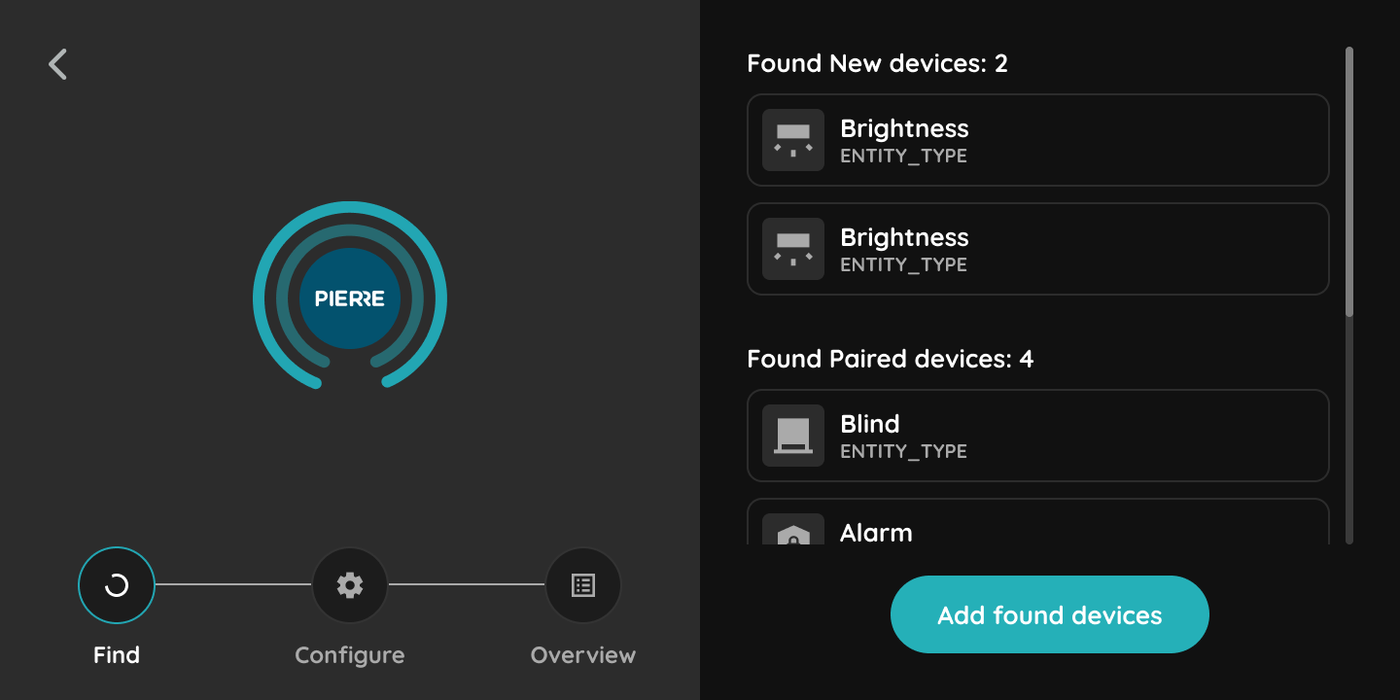
Find New Device
In this step system will find new device.
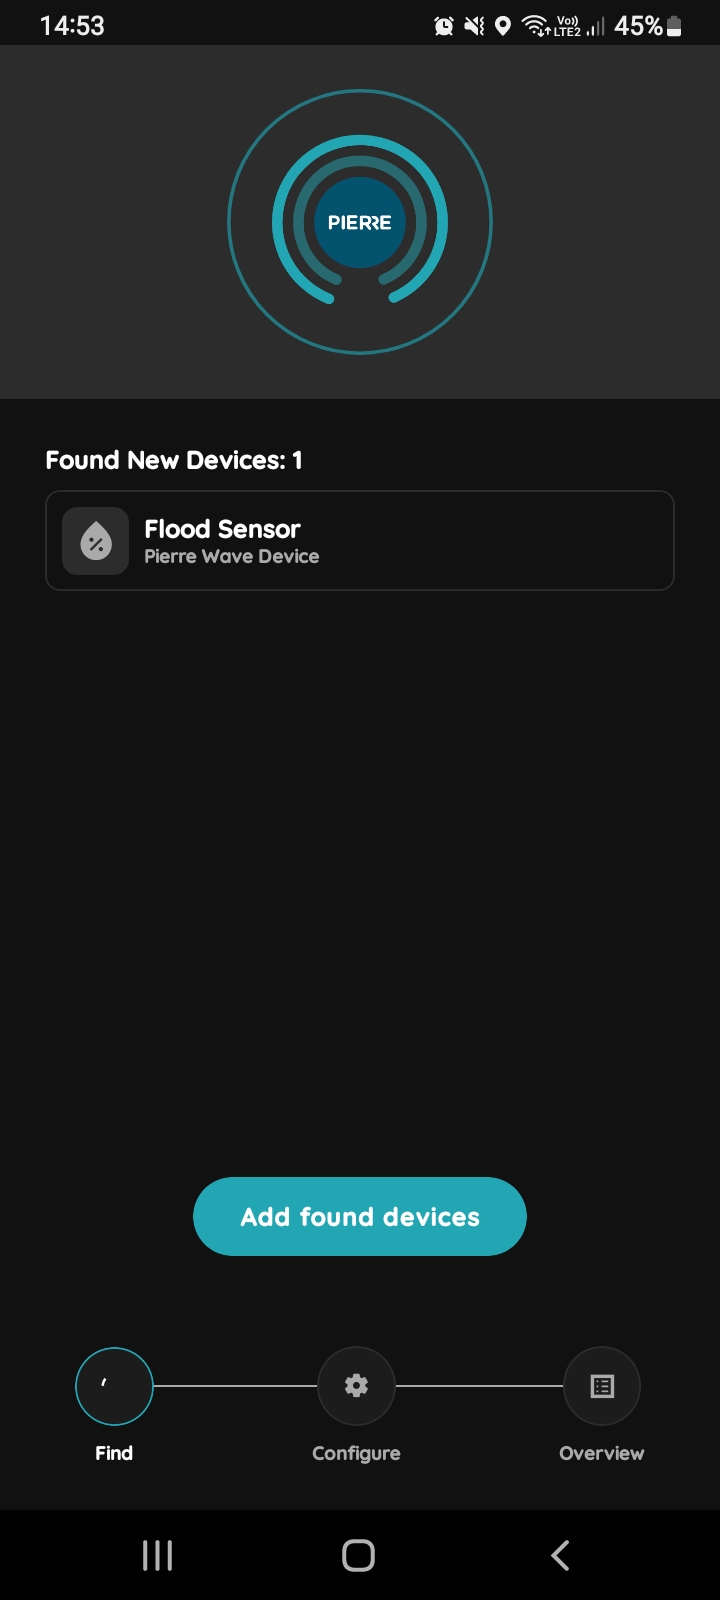
Add Found Devices
There will be shown which device is found and can be added.
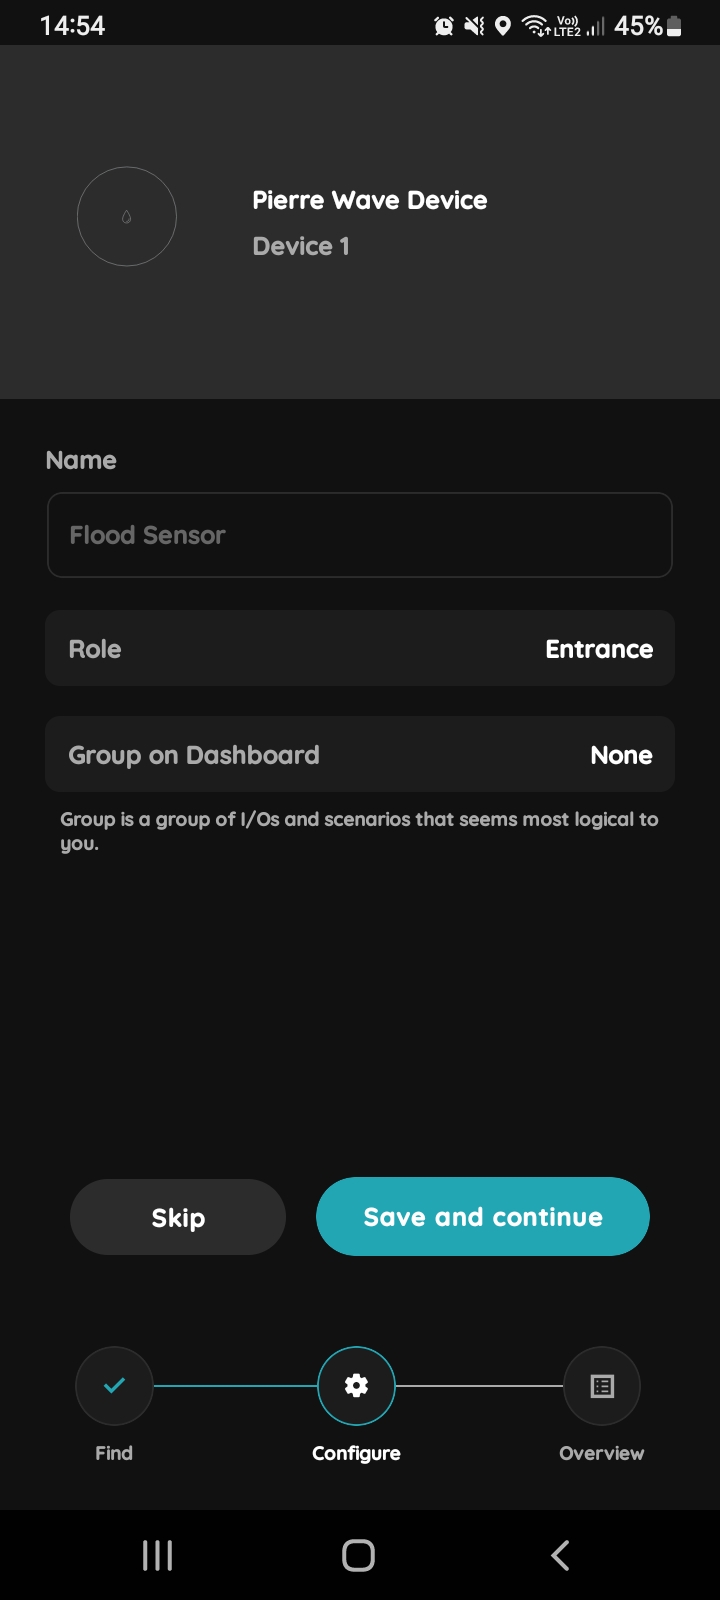
Name, Role, Group for Wave device
Fill following form:
Name - Write name of the device.
Role - Select Role from the list.
Group - Choose Group on Dashboard.
Group is a group of I/Os and scenario that seems most logical to you.
Tap Save and continue or Skip.
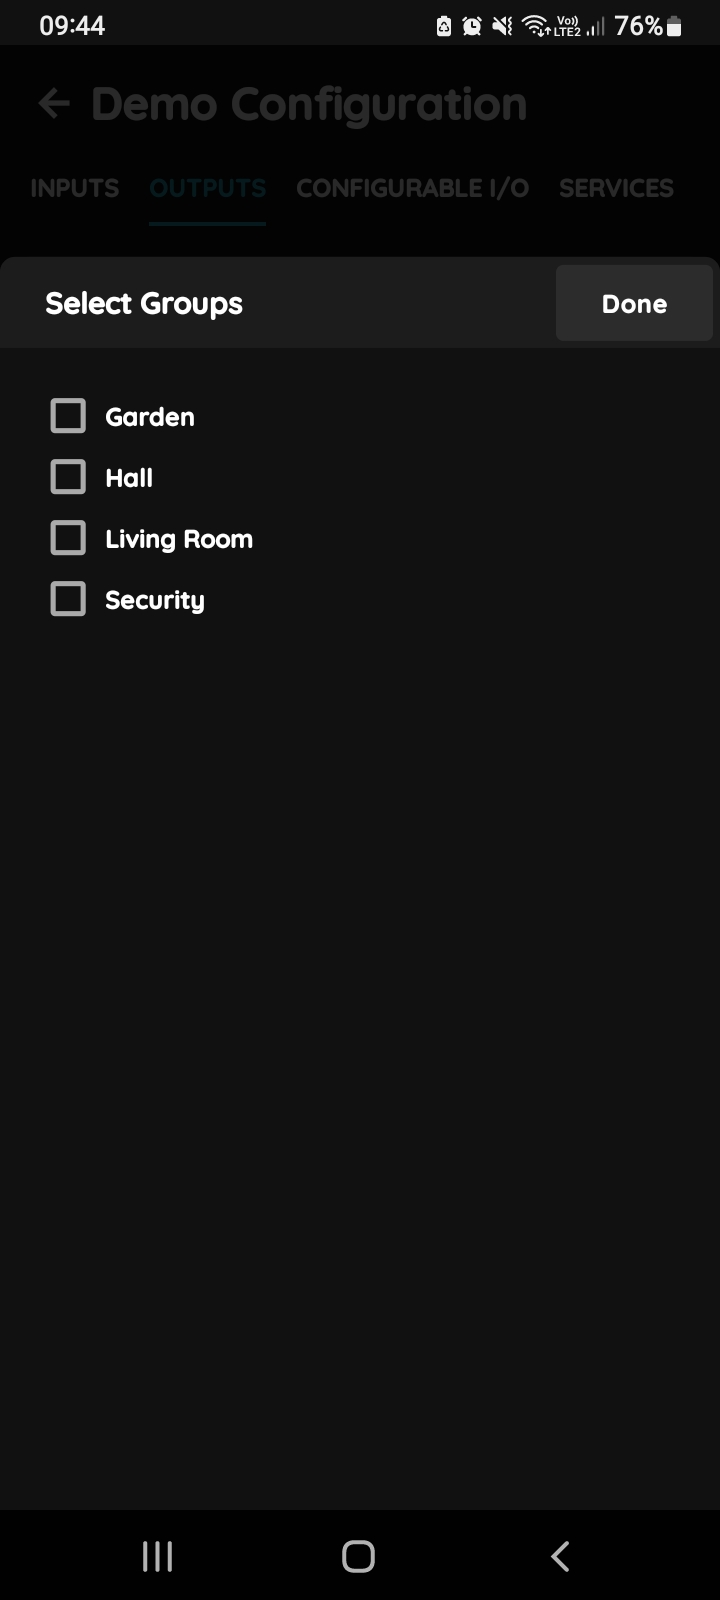
Select Groups
In this step, you need to select one or more Groups.
Select the checkbox/checkboxes next to the Group/Groups that you want to associate with the I/O.
Once selected, the I/O will appear in the chosen Groups on the Dashboard.
Tap Save/Done to confirm your selection.
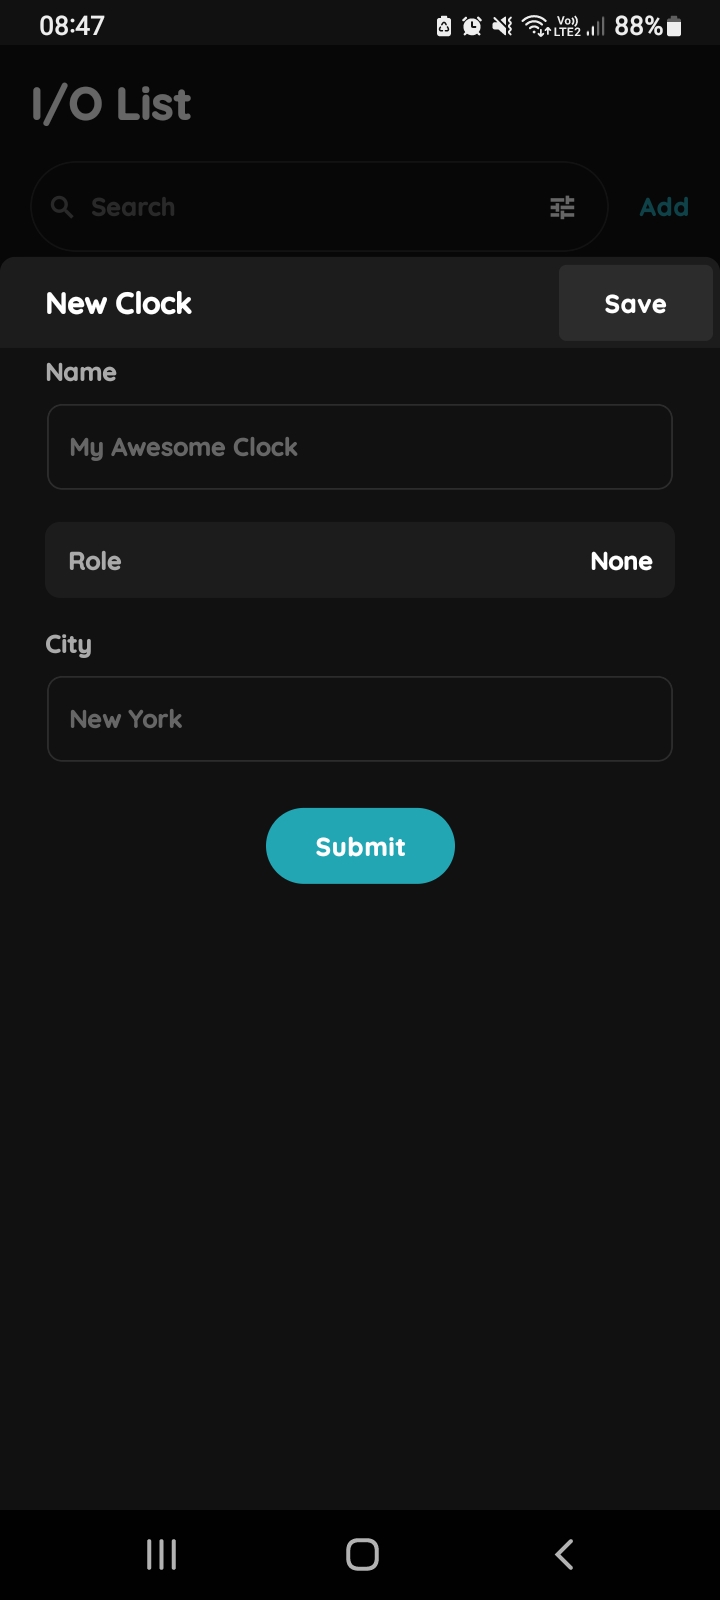
New Clock
Clock can be added from the I/O List.
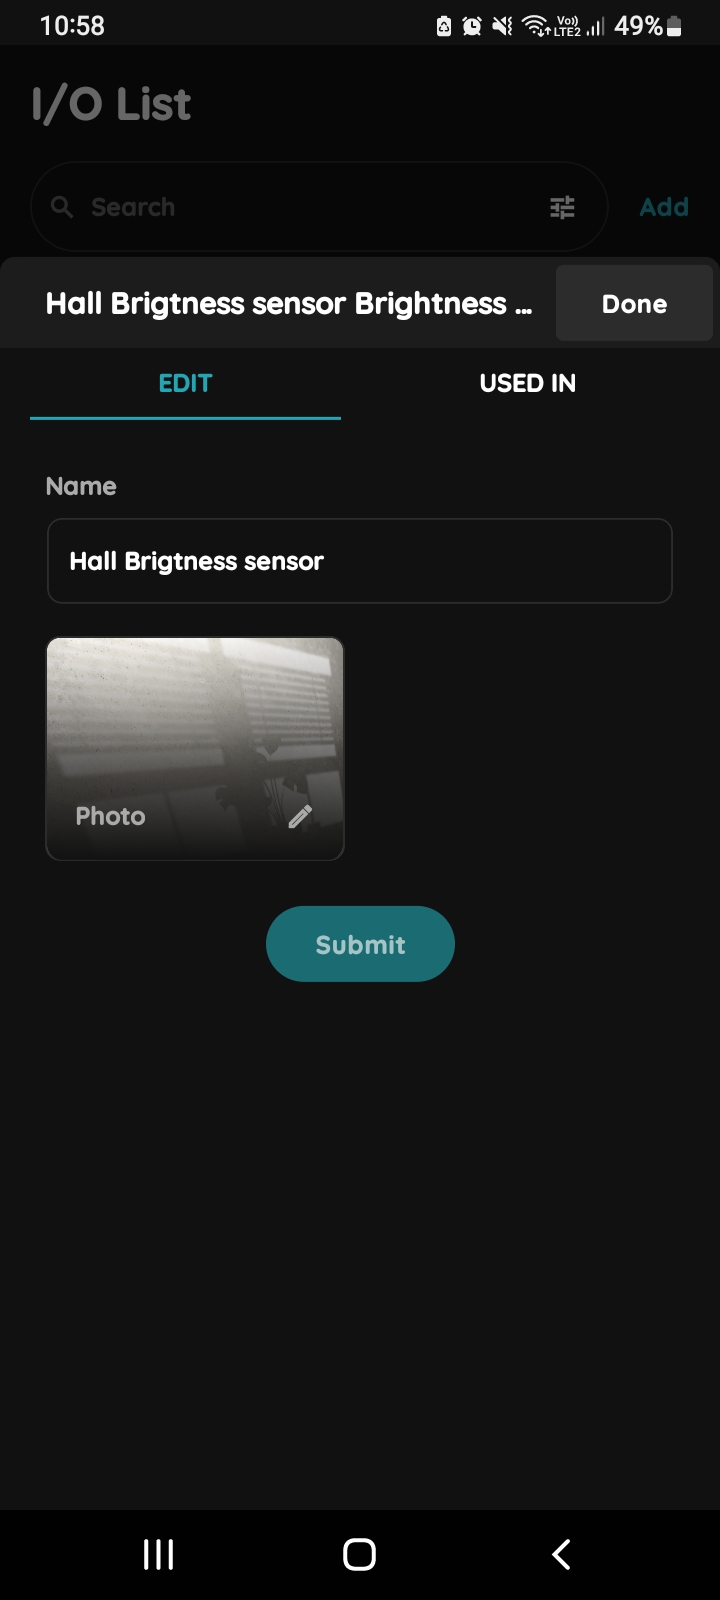
Edit Brightness sensor
Editing an I/O from the I/O list is quick and simple.
Tap on the I/O from the list in order to edit it..
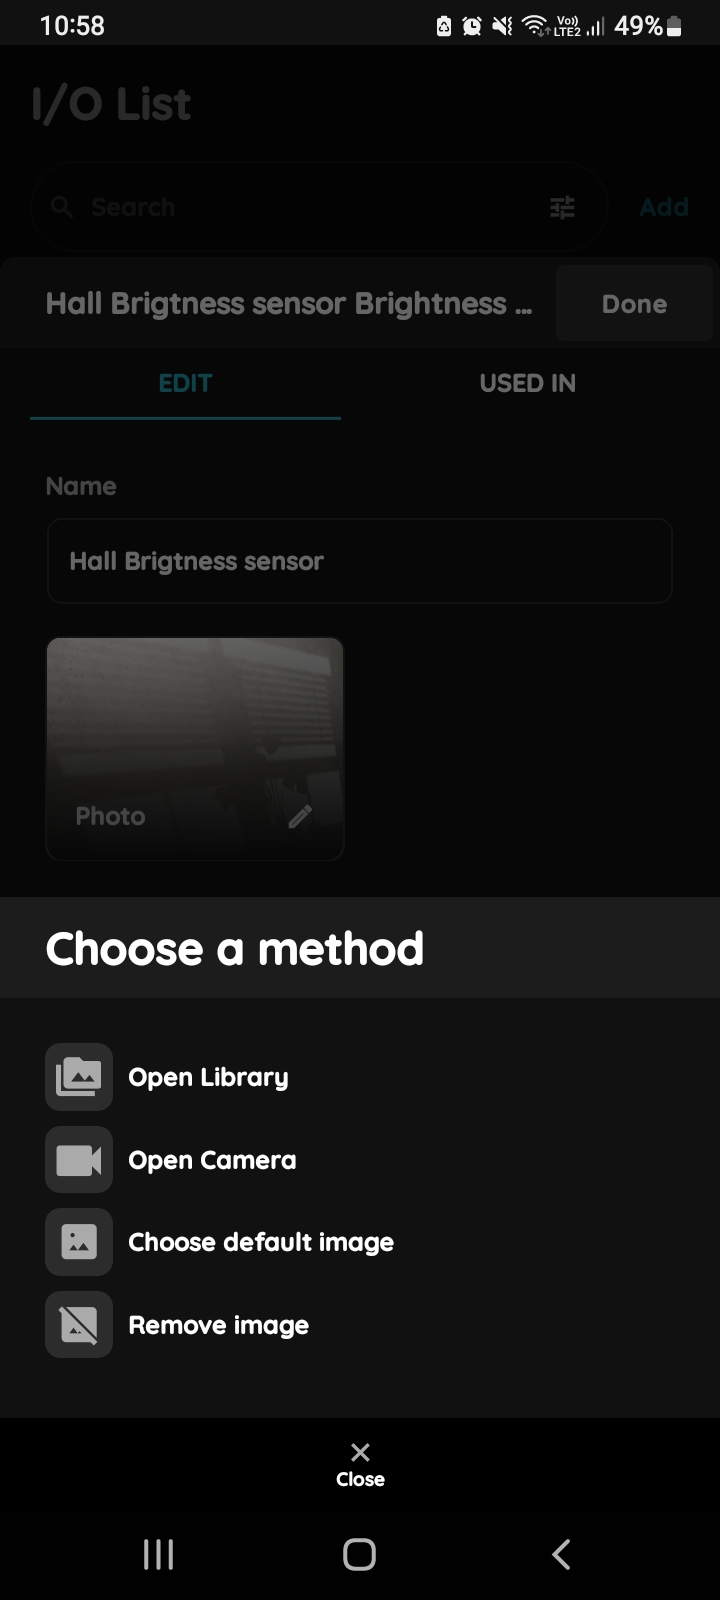
Change Photo - Brightness sensor
Tap photo of the Brightness sensor.
You have three options:
- Open Library - This opens the phone’s Library.
- Open Camera - Take a picture using your smartphone.
- Choose Default Image - These images are prepared in advance in order to provide a complete and seamless experience.
- Remove image - Removes existing image.