Smart PIERRE - Roles
Description
The Roles section in the Settings of the Smart PIERRE application defines which I/Os users can access and when that access is permitted.
A Role is the access-control unit of the system. Access permissions are assigned to Roles, and Roles are then assigned to users. This allows the same set of permissions to be managed consistently across multiple users.
Role Overview
The section lists all existing Roles and provides an overview of:
-
the Role name,
-
the I/Os assigned to the Role,
-
the configured access time restrictions.
Creating and Editing a Role
When creating or editing a Role, you can define:
-
the Name of the Role,
-
which I/Os the Role can access,
-
whether access is available ALL TIME or LIMITED TIME,
-
the permitted dates, days, and times when limited access is used,
-
the Timezone used for the access schedule.
This makes it possible to create different access levels for different types of users.
Assigning Roles
Roles are assigned to users and determine which I/Os they can access.
A user can have multiple Roles. In this case, the permissions of the assigned Roles together determine which I/Os the user can access and control.
Technical Notes
-
Design Roles according to the user's required level of access rather than simply grouping devices. For example, a family member, cleaner, guest, and installer may require different access permissions within the same property.
-
Use LIMITED TIME access for temporary or scheduled access instead of repeatedly creating and deleting users.
-
Time restrictions can define the validity period, permitted days, and daily access hours of a Role.
-
Dashboards are assigned to Roles, so the Role structure should be planned before configuring Dashboards. Each Dashboard is assigned to a specific Role.
-
Review the configured Roles during system handover and remove Roles that were created only for commissioning or temporary access.
Open Roles
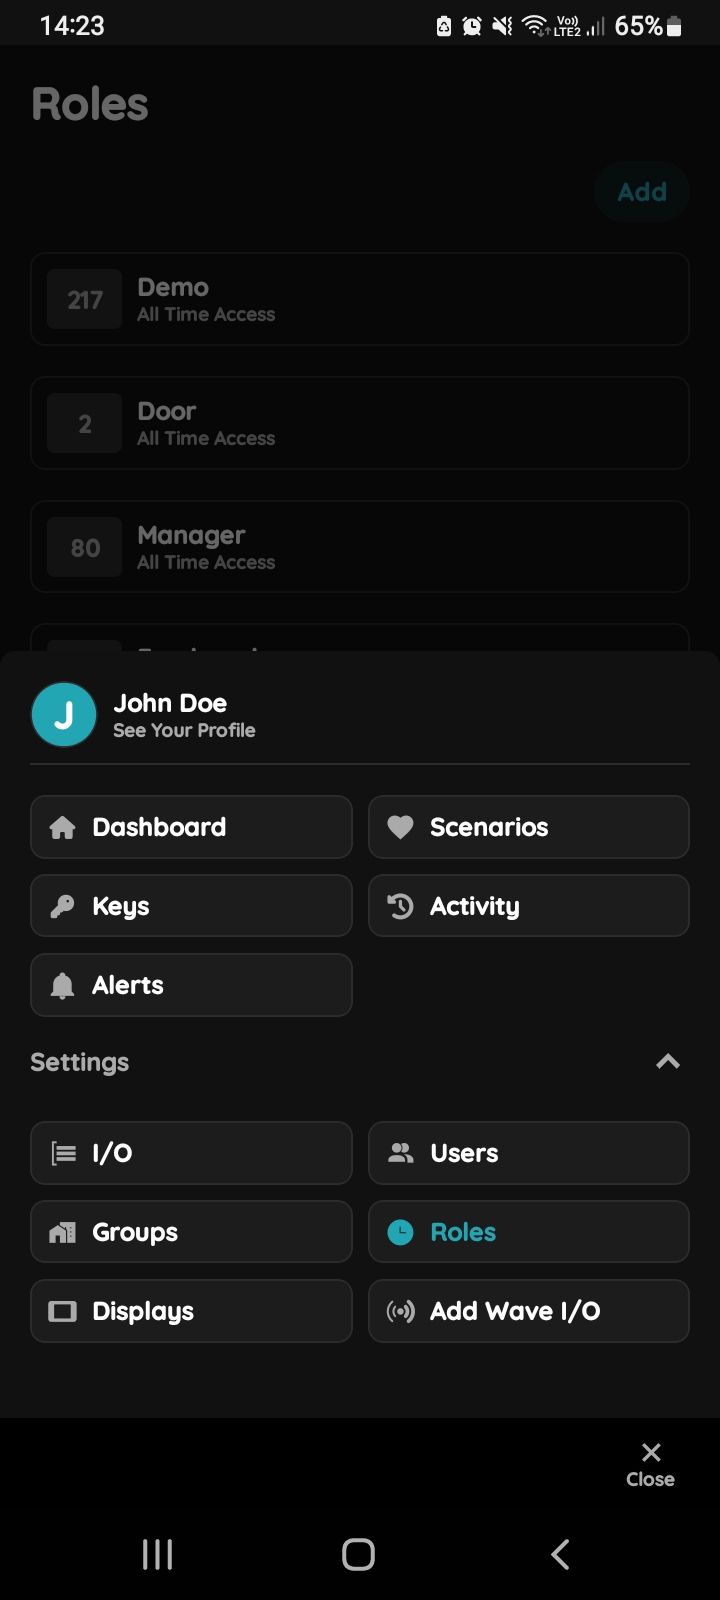
Open Roles under Settings.
Open Roles
Tap on the Roles from the Menu list.
Role's List
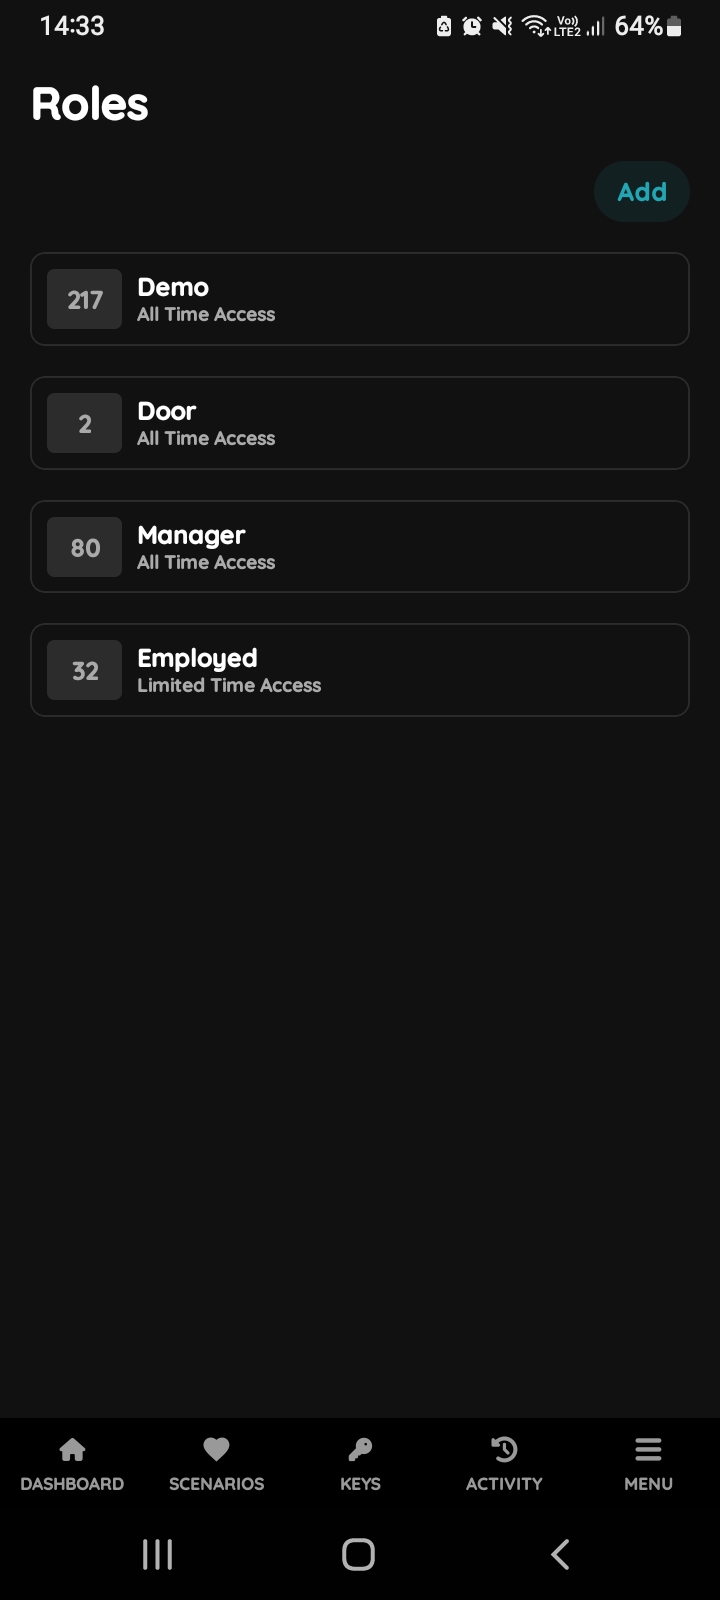
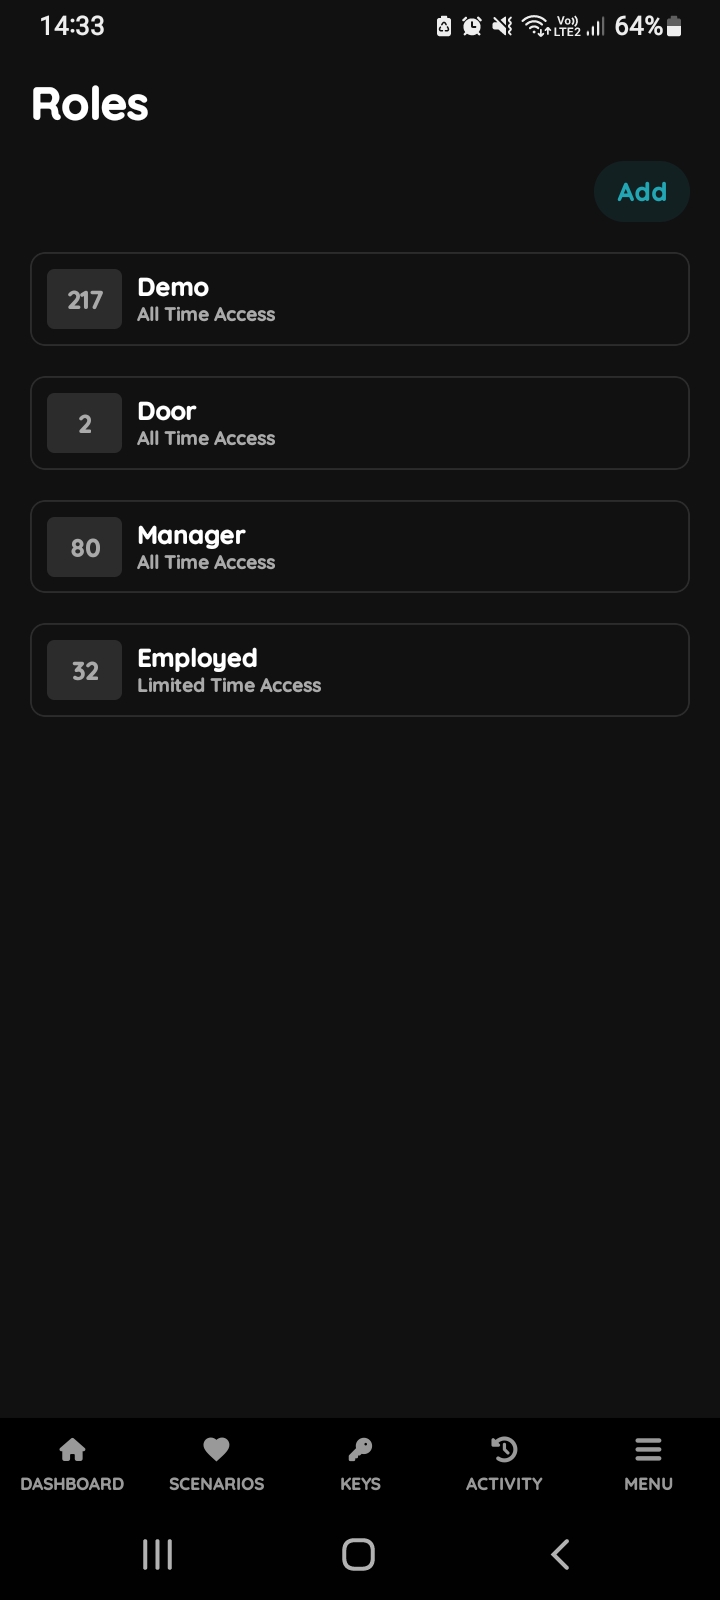
List of Roles is shown.
You can see all Roles at one place, or you can add new Role or edit any of them from the list if you tap on it.
Add button - Role
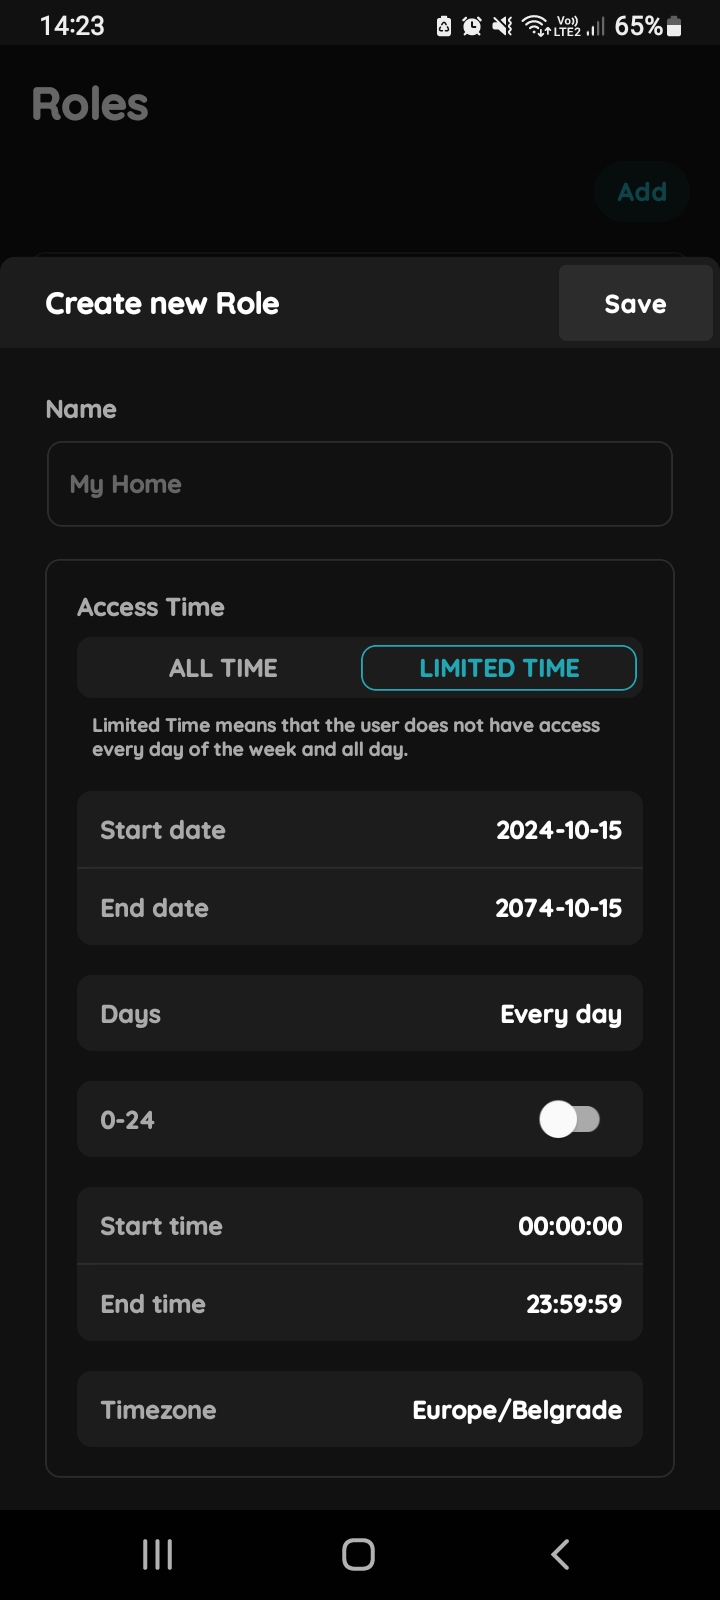
Add new Role in a few steps.
Create new Role
Complete the following fields:
- Name – Enter the name of the Role.
- Access Time – Select ALL TIME or LIMITED TIME.
ALL TIME provides access without a configured time restriction.
If LIMITED TIME is selected, configure the required access period:
- Start date – Select the first date on which access is allowed.
- End date – Select the last date on which access is allowed.
- Days – Select the days of the week on which access is allowed.
- 0–24 – Enable this option if access should be allowed throughout the selected days.
- Start time – If 0–24 is disabled, set the time from which access is allowed.
- End time – If 0–24 is disabled, set the time until which access is allowed.
- Timezone – Select the timezone used for the access schedule.
- I/Os – Select the I/Os that users assigned to this Role are allowed to access.
Tap Add a new I/O to select the required I/Os.
Tap Save when the configuration is complete.
Limited time - Start and End date
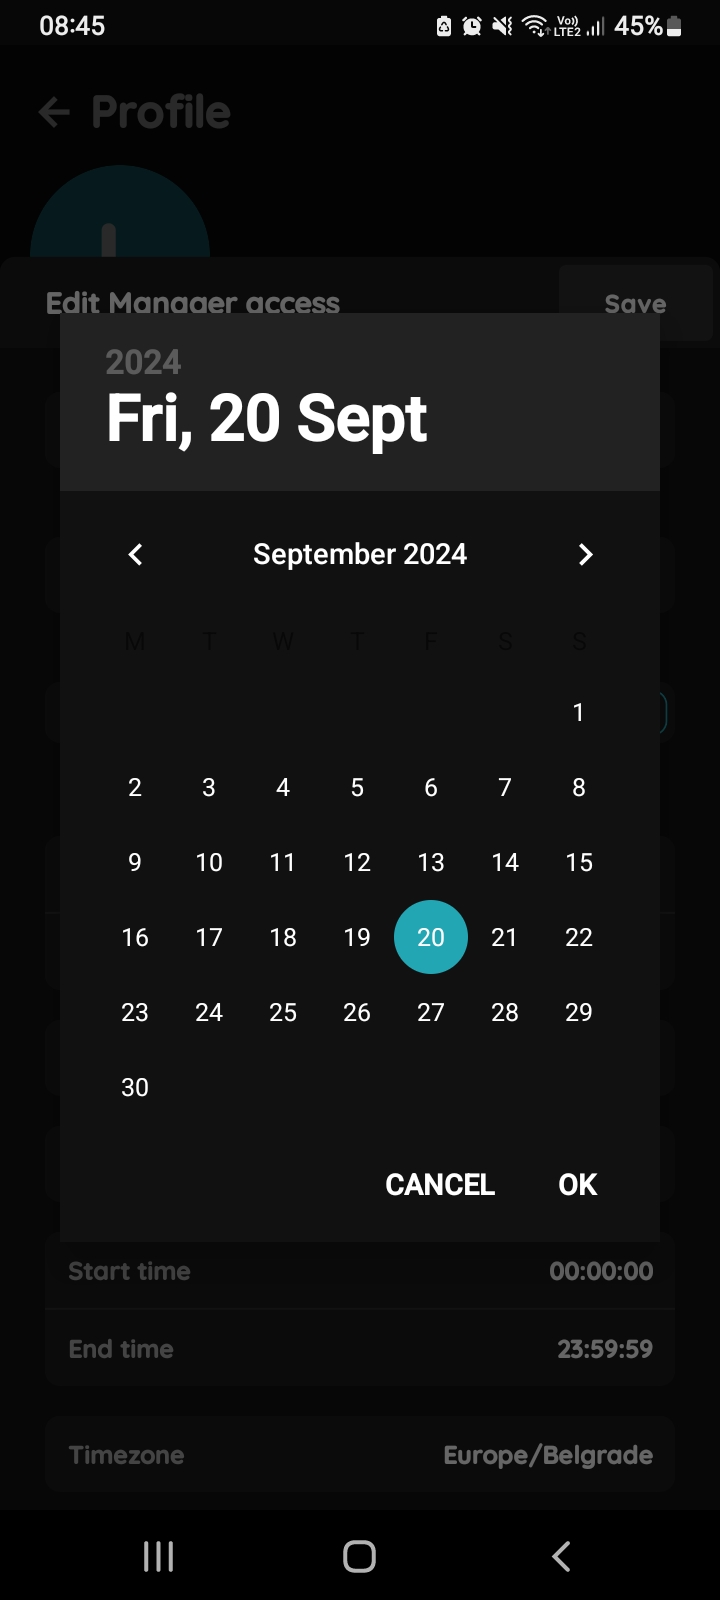
If LIMITED TIME is selected, tap Start date and End date to define the period during which the Role is valid.
Select the required dates from the Calendar.
In this example:
- Start date: 20 September 2024
- End date: 30 December 2024
Tap OK to confirm the selected date.
Start time and End time
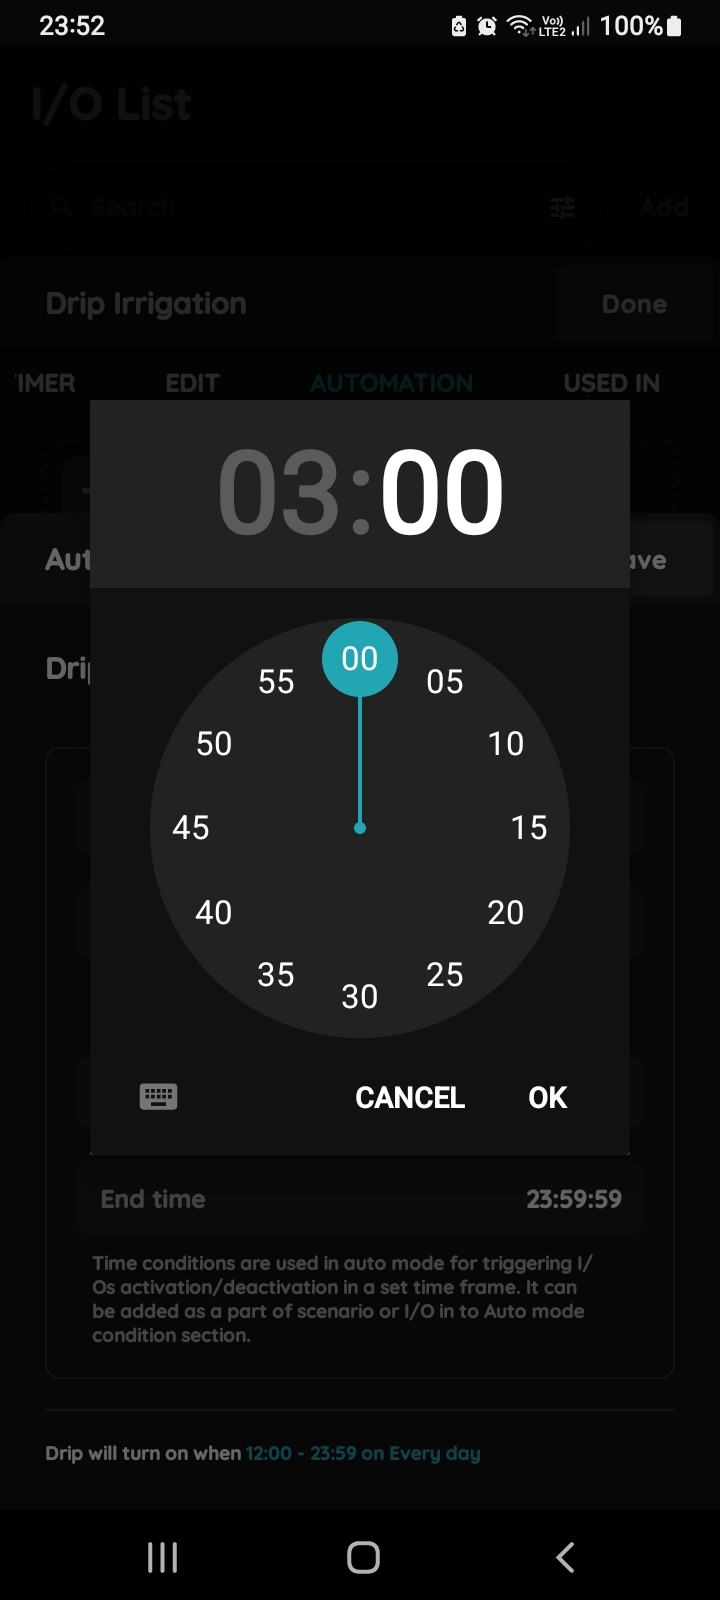
If 0–24 is disabled, configure the daily access period using Start time and End time.
Tap the corresponding field and use the time selector to set the required time. You can also use the keyboard input option if available.
Tap OK to confirm the selected time, or Cancel to discard the change.
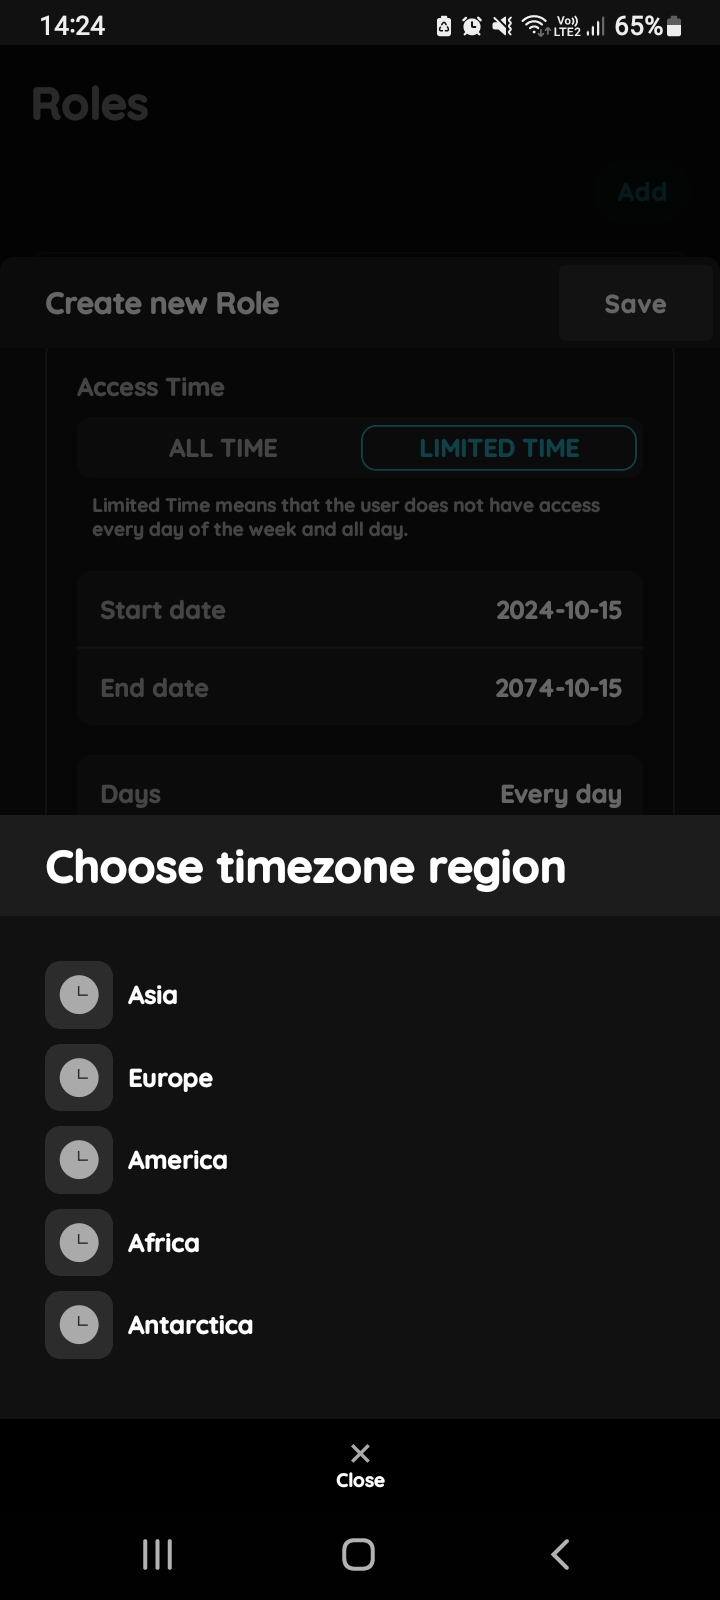
Timezone region
Tap Timezone and select the appropriate Timezone region from the list.
In this example, select Europe.
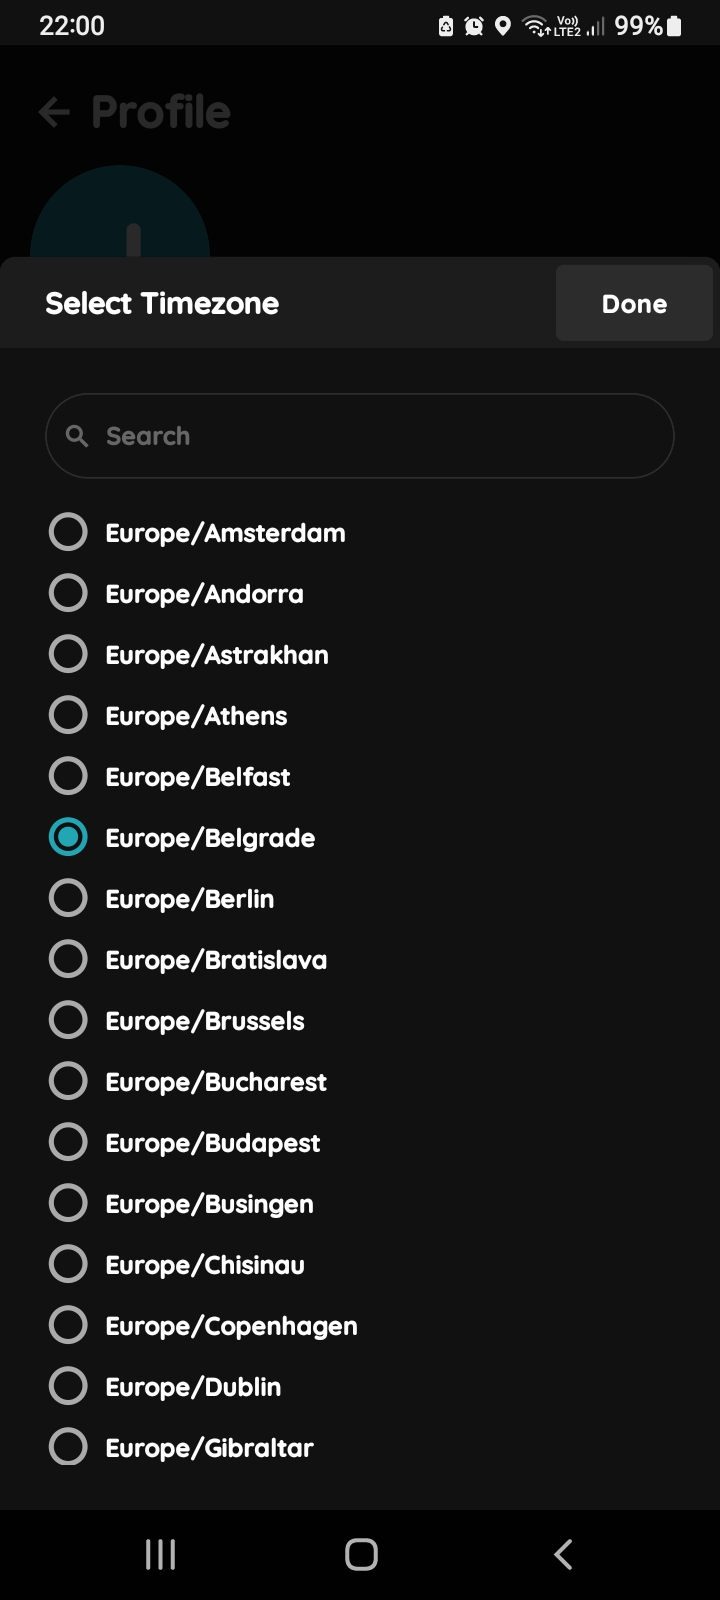
Select Timezone
Select the required Timezone by tapping the corresponding radio button.
In this example, Europe/Belgrade is selected.
Tap Done to confirm your selection.
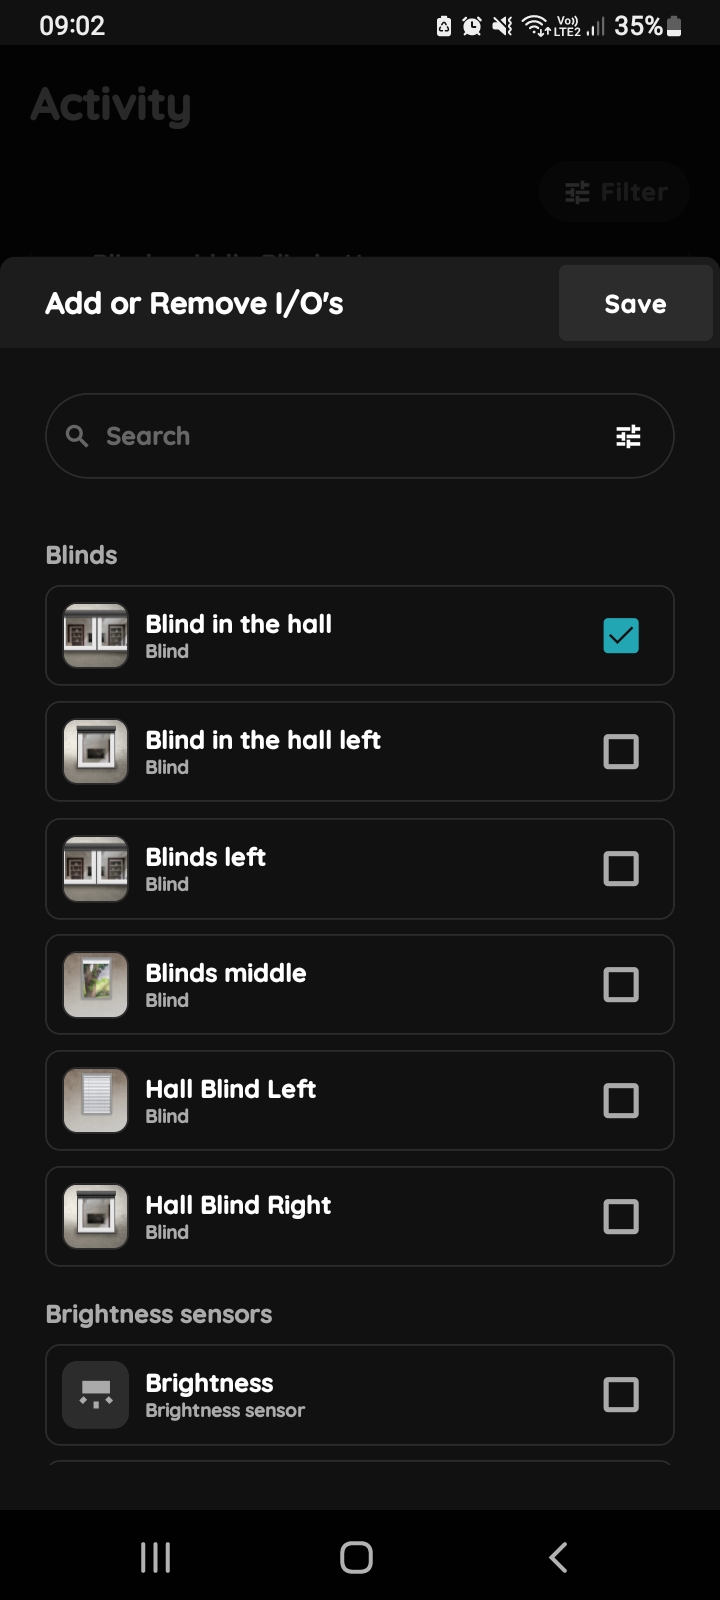
Add or Remove I/O's
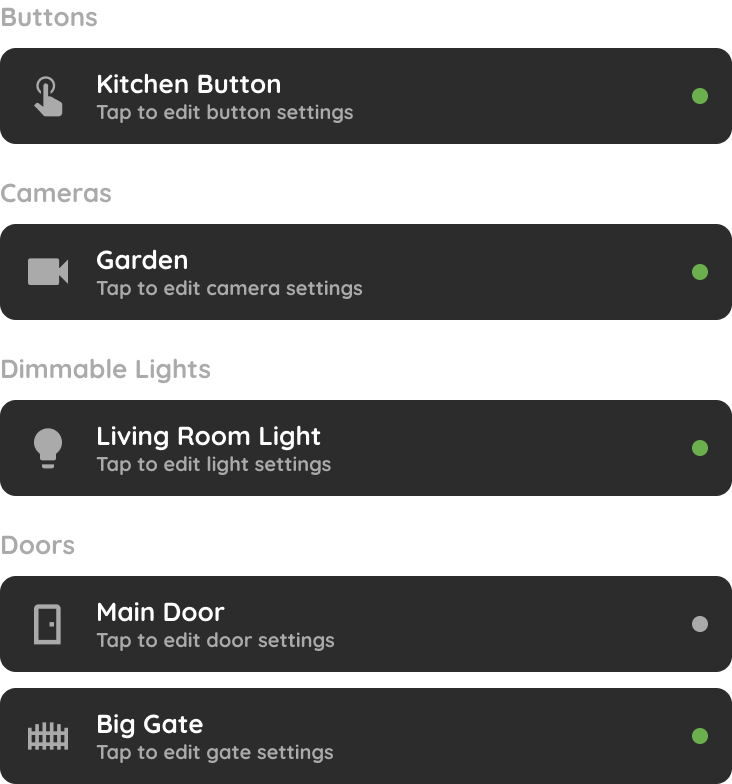
The list of available I/Os is displayed.
Select the checkbox next to each I/O that you want to assign to the Role. Deselect an I/O if you want to remove it from the Role.
Multiple I/Os can be selected.
Tap Save to confirm your selection.
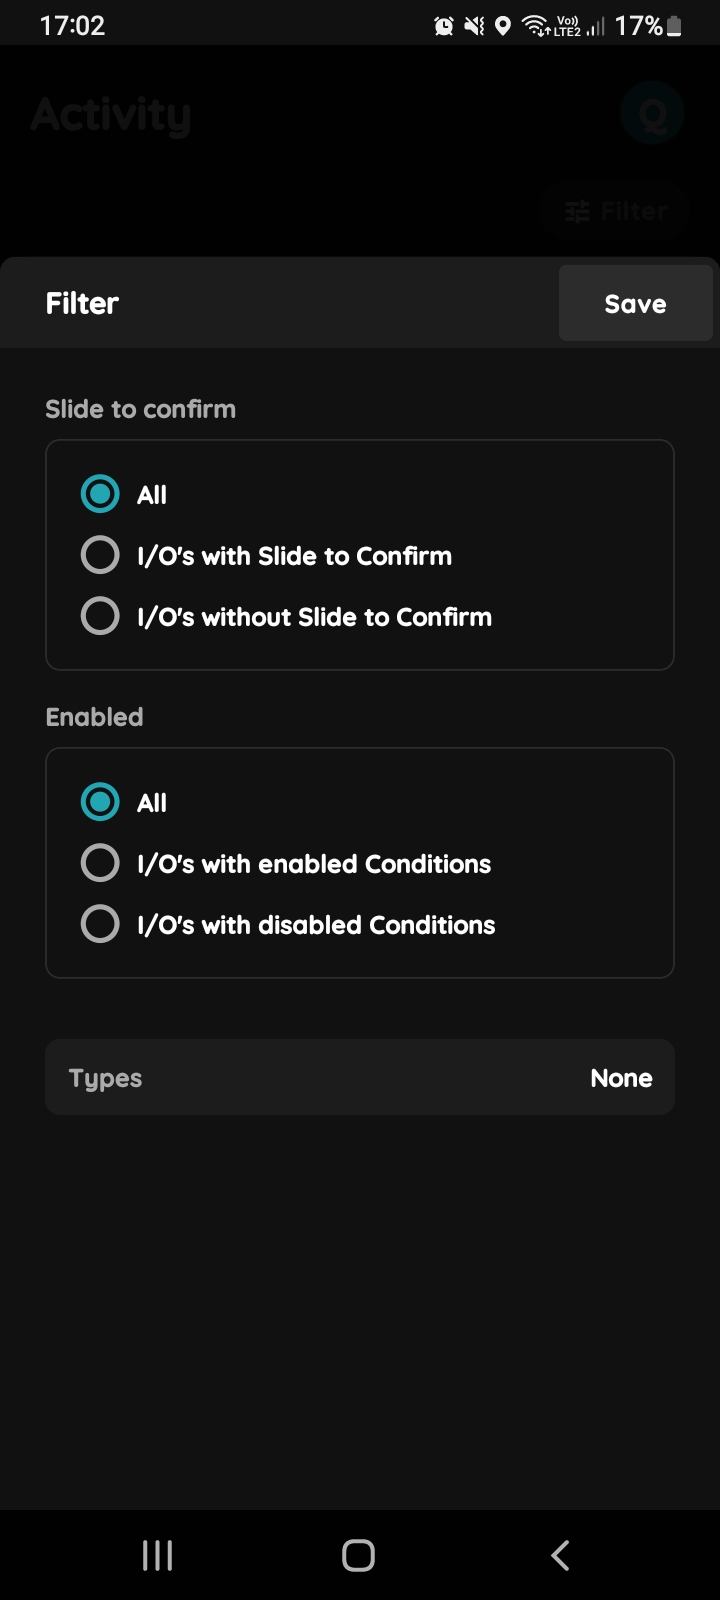
Filter I/O's
Use the available filters to make it easier to find the required I/Os.
The list can be filtered using:
- Slide to confirm
- Enabled
- Types
Select the required filters, then apply or save the selection using the available Save button.
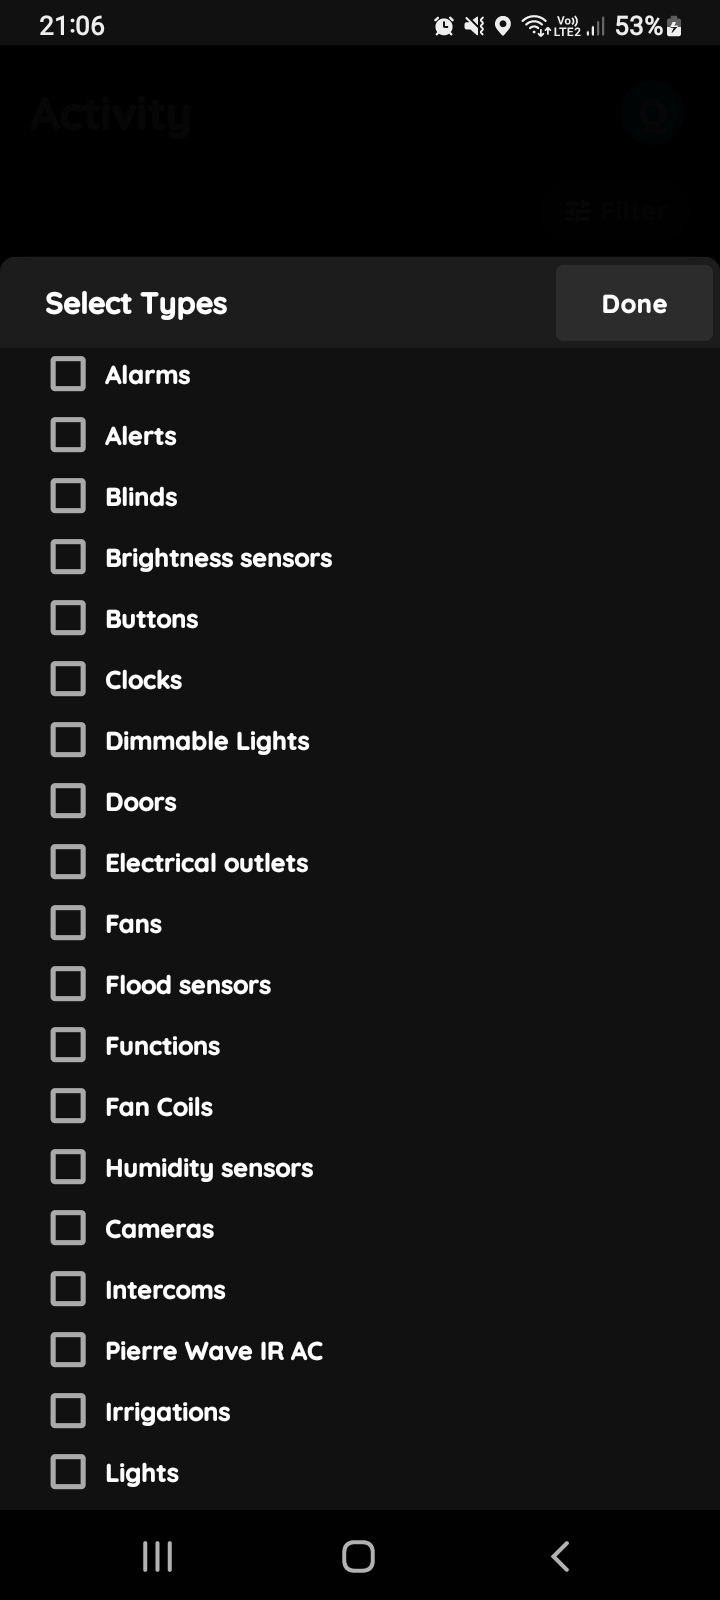
Select Types
Under Types, select one or more I/O types by tapping the corresponding checkboxes.
Multiple types can be selected.
Tap Save or Done to confirm your selection.
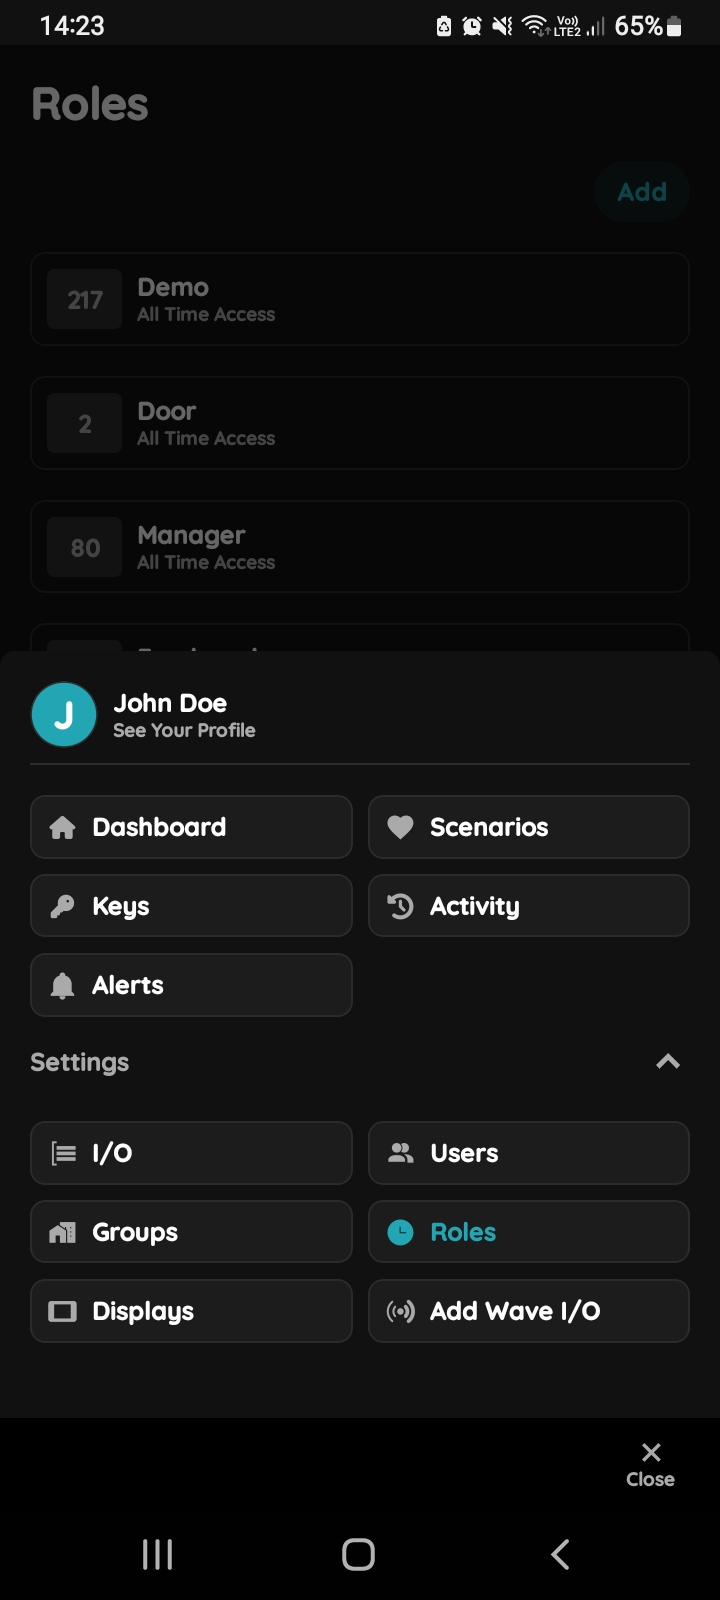
Open Roles
Edit Role in a few steps.
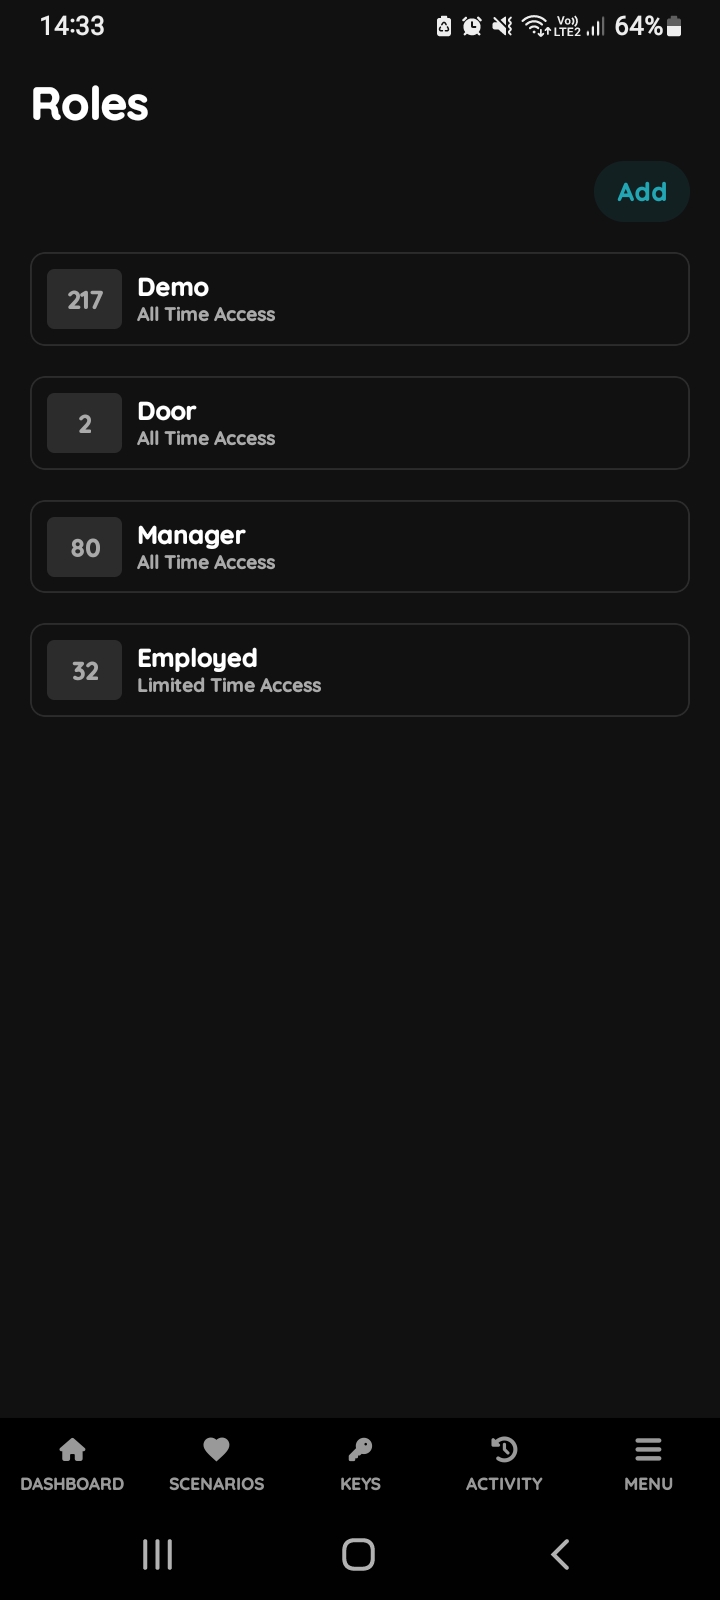
Role's List
The list of existing Roles is displayed.
Tap the Role you want to edit.
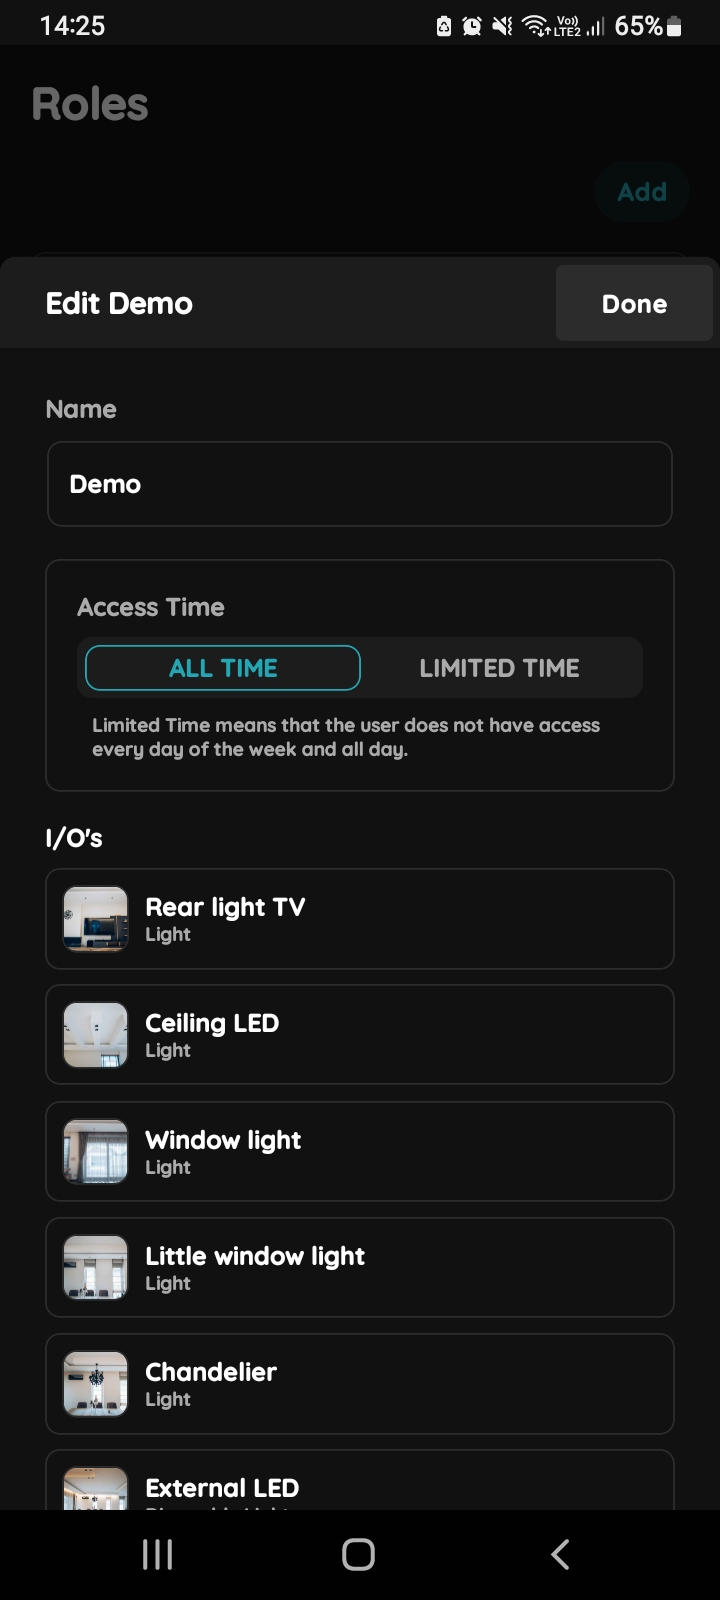
Edit Role
Modify the required settings:
- Name – Edit the name of the Role.
- Access Time – Select ALL TIME or LIMITED TIME.
- Start date – Set the first valid access date when LIMITED TIME is used.
- End date – Set the last valid access date.
- Days – Select the days on which access is allowed.
- 0–24 – Enable access throughout the selected days.
- Start time – If 0–24 is disabled, set the start of the permitted access period.
- End time – If 0–24 is disabled, set the end of the permitted access period.
- Timezone – Select the timezone used for the access schedule.
- I/Os – Add or remove the I/Os assigned to the Role.
Tap Done to save the changes.
To permanently remove the Role, tap Delete.
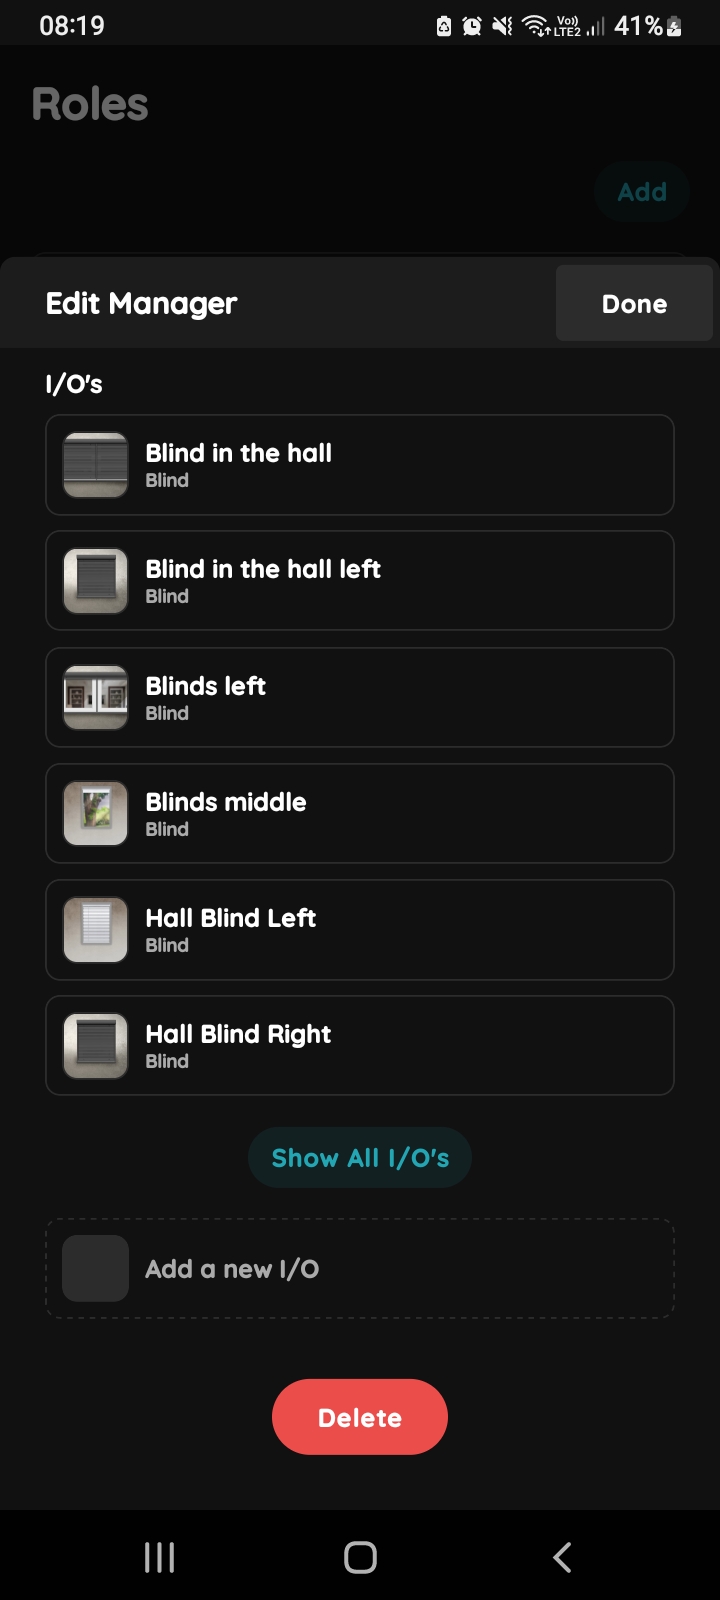
Show all I/Os
Only the I/Os assigned to the selected Role are displayed to users with that Role.