On this page
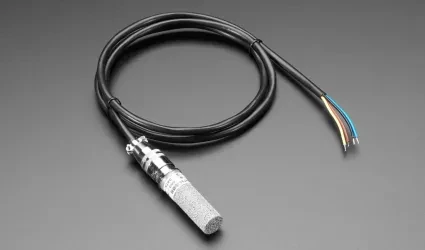
The Humidity Sensors feature in the Smart PIERRE app allows users to monitor and manage humidity levels in their home. Users can control the Humidity sensor from both the Dashboard and the Menu.
Key benefits of the Humidity sensor include:
1. Monitoring Humidity Levels:
- The sensor provides a real-time display of the current humidity level on the Dashboard, enabling users to track changes in air moisture and maintain optimal conditions.
2. Long Press for Advanced Options:
- A long press on the sensor icon provides access to the Edit and Used In tabs. The Edit tab allows users to edit the name, update the picture, enable or disable Humidity Offset, and if enabled, set the Humidity Offset using +/- controls. The Used In tab shows all automations where the sensor is integrated.
3. Automation Integration:
- Humidity sensors can be integrated into automations to regulate heating, cooling, or fan coils. For example, if the humidity exceeds a certain level, the system can trigger a Fan Coil or Air conditioner to cool the space and reduce humidity, ensuring a comfortable environment.
The Humidity Sensors feature integrates seamlessly with the PIERRE smart home system, offering real-time monitoring and automation to maintain optimal humidity levels and improve overall comfort and air quality.
This sensor shows humidity levels.

Follow Humidity hall sensor. It is shown that humidity level is 53.1 %.
Edit the Humidity sensor settings in just a few steps.

Open I/O list, scroll to the Humidity sensors and tap on the desired Humidity sensor.

Edit the following form:
- Name - Edit the name of the Humidity sensor.
- Photo - Choose the source of the photo.
- Enable Humidity Offset - When it is enabled, you can set the Humidity offset by tapping on the +/- buttons.
Tap Submit/Done.
Follow next step.
GOOD TO KNOW:
Humidity sensor can be edited by long-press the Humidity sensor card on the Dashboard or tapping it in the I/O list.

Tap on the picture of the Humidity sensor.
You have four options:
Open Library - The phone’s Library will open.
Open Camera - You can take a picture using your smartphone.
Choose default image - These images are prepared in advance in order to provide a complete and seamless experience.
Remove image - Removes existing image.
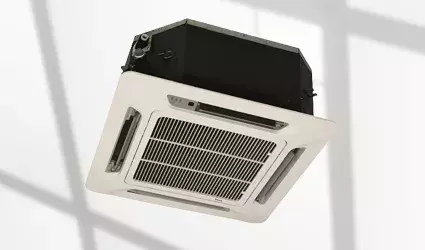
If you want to change the status of the Fan Coil to On or Off based on a sensor or trigger, it should be configured here. Additionally, if you want the Fan Coil to operate according to a predefined Humidity level (greater than, less than, or between specific values), this can also be set here through automation.
Fan Coil will turn On, when Humidity sensor shows humidity level that is larger than 50 %.
You can find Fan Coil on the Dashboard or on the I/O list.
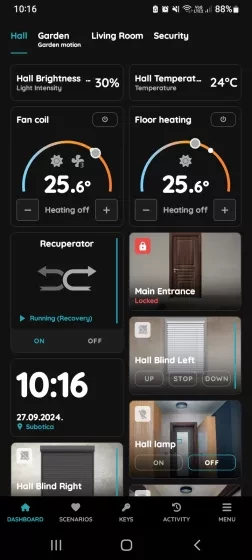
You can find Fan Coil on the Dashboard or on the I/O list.
Tap on the Fan Coil on the Dashboard in order to open it and add automation for it, or open I/O list from the Menu.

In the Menu, under Settings, tap on the I/O.

Open I/O list, scroll to the Fan Coils and tap on the desired Fan Coil.

Tap on the tab Automation.

Tap on the +Add new Automation.

There is possibility to add:
- New Time condition,
- New Delay,
- Existing I/O.
Tap on the Existing I/O.

Open I/O list, scroll to the Humidity sensors and tap on the desired Humidity sensor.

The Fan Coil will activate when the Humidity sensor detects a humidity level larger than 50 %.
You can adjust the Humidity level by sliding your finger along the Humidity Value slider or by selecting one of the preset options.
Tap the Save button to confirm your settings.

To confirm settings of the automation tap button Done.
The Used In tab shows all the scenarios and automations where the Humidity sensor is applied. If it isn't used in any, the list will be empty, and a message will display: "This I/O is not in use anywhere."

In this case Humidity sensor is used in Automation for Fan Coil.
