On this page
The Scenarios section in the Smart Pierre app allows users to create, manage, and automate a variety of actions across their smart home system. You can view all existing scenarios and use the Add button to create a new one.
Key Features:
1. Scenario Execution:
• Tapping any scenario allows you to run it manually or check if it’s connected to an automation. This gives instant control over predefined actions, like turning off devices or adjusting settings.
2. Automation Status:
• Each scenario displays whether it has an active automation, helping you easily see which scenarios are set to trigger automatically.
3. Edit and Customize Automation:
• With a long press on any scenario, you can edit its name, actions, and automation triggers, allowing you to fine-tune your smart home setup according to your preferences.
Example Scenario: “Leave Home”
Leave Home is a common scenario where the app automates various actions as you leave the house. Here’s how it could work:
• All devices turn off: Lights, appliances, and other smart devices are either turned off or set to auto mode.
• Alarm activation: The home security system is automatically armed.
• Lock all doors: All connected smart locks are automatically secured, ensuring the house is locked when you leave.
By setting up this scenario, you can simplify the process of securing your home and conserving energy whenever you’re away. With a single tap or automated trigger, you ensure everything is managed without any manual effort.
Good to Know:
• When a scenario is executed, all I/O devices are set to the specific states predefined in the scenario.
• Scenarios cannot revert the devices to their previous state before the scenario was triggered, meaning any changes made by the scenario will remain until manually adjusted or another automation occurs.
This addition should clarify how scenarios affect I/O devices and what users can expect when they trigger a scenario.
Scenarios can be open from the Taskbar from the Dashboard and from the Menu list.

In this case open Scenarios from the Dashboard, tap on the Scenarios from the Taskbar.
Scenarios page will be open.
Control of the scenarios is fast and easy. Follow next steps.

Tap on the Scenario that you would like to activate.
In this case tap on the Cinema scenario.

When the scenario is activated, the icon of the Scenario turns from grey to blue.
Status is changed to Active.

The Slide to confirm feature adds an extra layer of security, requiring you to confirm your action before activating the scenario. This helps prevent scenarios from being triggered accidentally.
To activate the Automated Scenario manually, tap on its card, use button Slide to Activate and slide from left to the right side.
Icon of the Scenario will turn from grey to blue and status of the Scenario will be changed to Active.

If the scenario is automated, Automations will appear under its status on the card.
It will trigger automatically when the automation conditions are met.
You can also activate it manually by pressing the card of the scenario.
Follow next steps to add New Scenario.

In this case open Scenarios from the Dashboard, tap on the Scenarios from the Taskbar.
Scenarios page will be open.

Tap on the Add button in order to add new Scenario.

In order to add new Scenario fill the following form:
- Name - Write the name of the Scenario.
- Role - Select the Role/Roles (in case of multiple choice) from the list.
- Slide to confirm - When enabled, you will be asked to confirm the operation to avoid accidental actions.
- Photo - Choose a source of the photo.
- Icon - Select the icon from the list that will represent your scenario by tapping on it.
- Add a new I/O - Select the checkbox/checkboxes (for multiple choice) next to I/Os that you want to add to the Scenario.
To confirm tap Submit and Done.

Select checkbox/checkboxes next to the desired Role/Roles (multiple choice).
Tap Save/Done.

Tap the photo of the Scenario. You have three options:
Open Library - The phone’s Library will open.
Open Camera - You can take a picture using your smartphone.
Choose default image - These images are prepared in advance in order to provide a complete and seamless experience.

You can search I/Os if you tap in the field Search and write the name of the I/O that you want to find, or to tap on the filter icon in the up right corner of the Search bar.
Tap on the checkbox/checkboxes next to the desired I/Os that you would like to add to the Scenario from the I/Os to Set in Scenario list.
Under each of the I/Os on this list is shown its current status.
The statuses are always those that have been set, and they can be changed later by tapping on the I/O.
Tap Save.

There are options to filter I/O's.
There are two groups of the I/O's - Slide to confirm and Enabled.
Also, you can choose Types of the I/O's here.
Tap on the button Save.

You can select types of the I/Os by tapping in the check box/checkboxes - for multiple choice, next to the desired I/Os.
Tap on Save/Done.
Follow next steps to edit Scenario.

In this case open Scenarios from the Dashboard, tap on the Scenarios from the Taskbar.
Scenarios page will be open.

Edit the following form:
- Name - Edit the name of the Scenario.
- Role - Select the Role/Roles (in case of multiple choice) from the list.
- Slide to confirm - When enabled, you will be asked to confirm the operation to avoid accidental actions.
- Photo - Choose a source of the photo.
- Icon - Select the icon that will represent your scenario by tapping on it.
- I/Os to set in Scenario - It is a list of I/Os that are included into the Scenario.
- Show All I/Os - It is a list of all I/Os.
- Add a new I/O - Select the checkbox/checkboxes (for multiple choice) next to I/Os that you want to add to the Scenario.
For more details follow next link: https://wiki.smartpierre.com/smart-pierre-application/menu-settings/scenarios#step-screenshot_item-1434
To confirm tap Submit and Done, or if you want to delete the Scenario tap button Delete.

Tap on the Show All I/O's to see all I/Os.
-
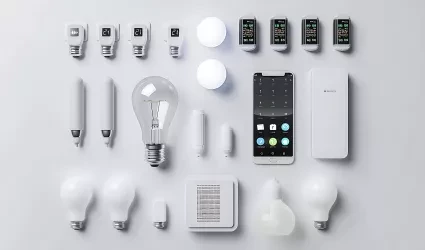
Compatible Light Devices
-
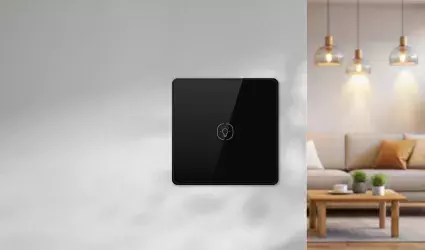
Pierre switch light
-
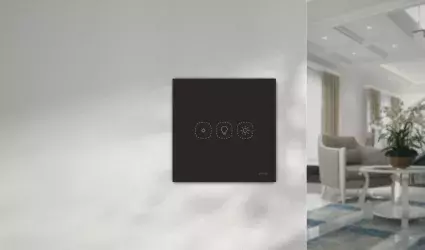
Pierre switch dimmer light
-

Light control
-

Dimmable light control with Pierre controller
-
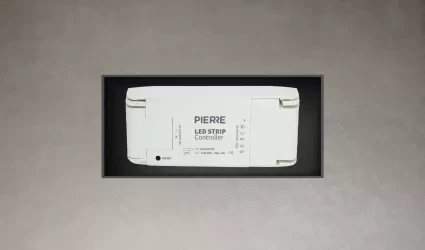
Pierre Driver 12/24V
-
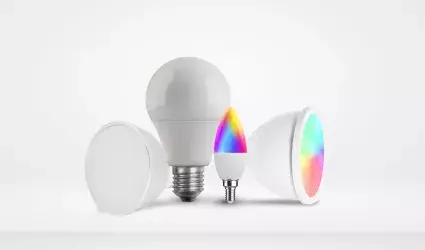
Pierre Bulb 220V
-
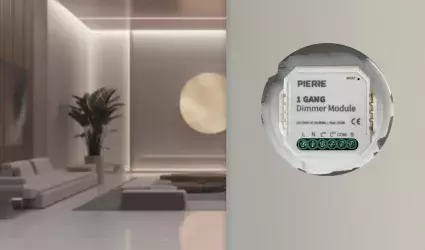
Pierre dimmer light module
-

Garage door control
-

Open/Close door locks
-

Gates control
-
Secure door locks (motorized)
-

Blinds control
-

Curtains control
-

On/Off HVAC - passive heating cooling
-

HVAC with blower speed
-

Magnetic/Motorized Valves
-
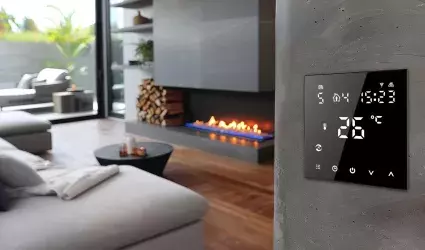
Pierre Wave Thermostat
-
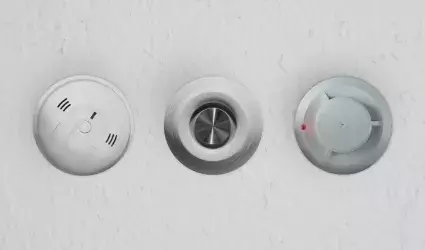
Compatibile smoke sensors
-
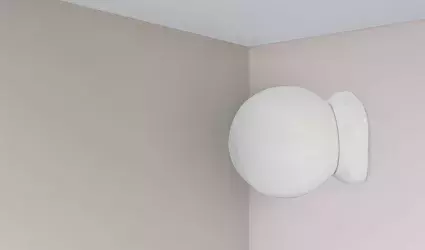
Pierre Wave motion sensor
-

Pierre motion sensor
-
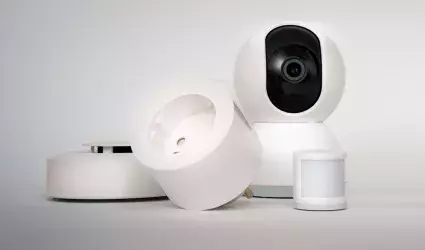
Compatibile motion sensor
-

Compatibile presence sensor
-
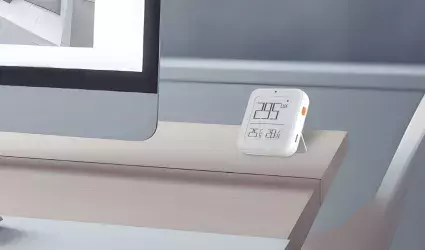
Pierre Wave brightness sensor
-

Pierre brightness sensor
-

Compatibile brightness sensor
-

Pierre Leak sensors
-
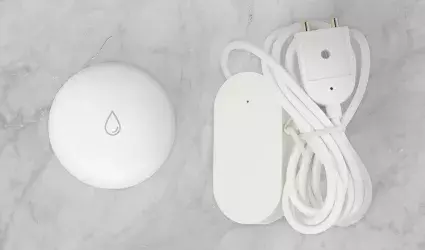
Pierre Wave Leak senor
-

Compatibile Leak sensor
-

Pierre contact sensor
-
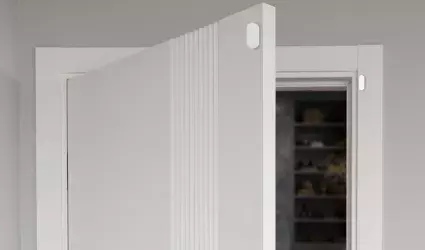
Pierre Wave contact sensor
-

Compatibile contact sensor
-

Pierre wave CO2/Gas sensor
-

Pierre CO2/Gas sensor
-

Compatibile CO2/Gas sensor
-

Irrigation valve
-

Fan/Motor
-

Valve
-
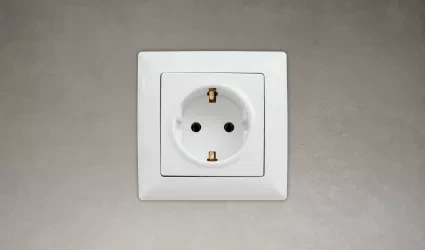
Socket
-

Water heater
-
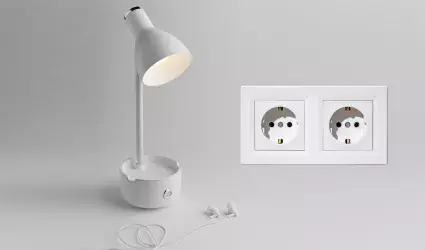
Regular device
-

Sirens
-
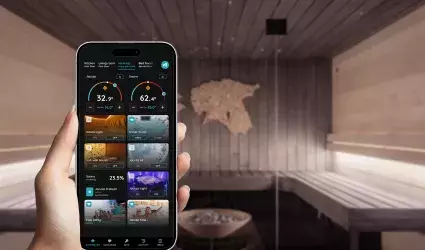
Sauna
-

Pool
-
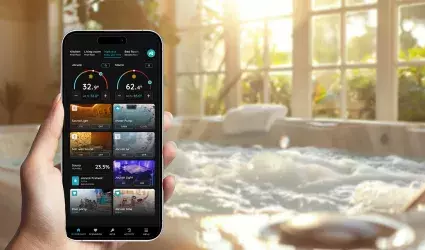
Hot tub with massage jets
-
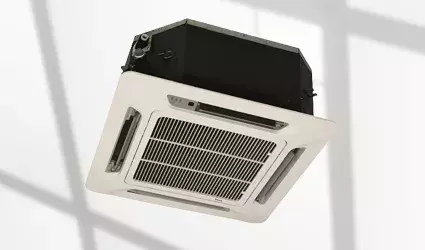
Fan Coil
-
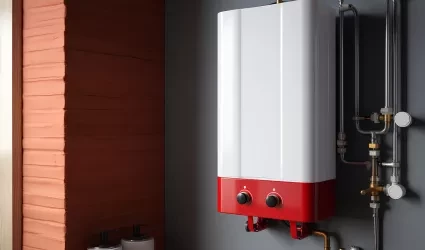
Gas Boiler
-

Recuperator
-

Compatible soil moisture sensor
-
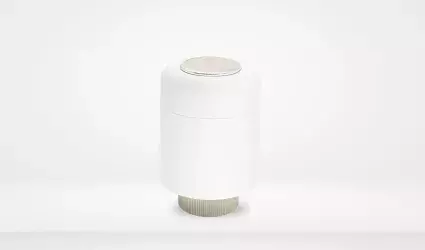
Radiator Valve (TRV)
-
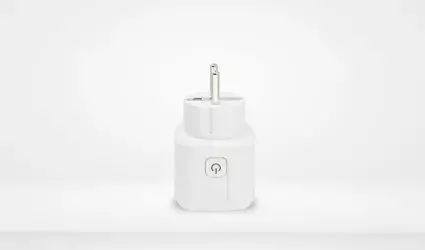
Smart Plug
-

Alarm systems